
Check Best Thermostat Pricing in Amazon
** As an Amazon Associate, I earn from qualifying purchases.
Removing the Nest Thermostat from the wall is straightforward. First, turn off the power to avoid electrical hazards.
Next, gently pull the display off the base to access the screws. The Nest Thermostat is a popular choice for home automation. Sometimes, you may need to remove it from the wall, whether for replacement, relocation, or troubleshooting. Understanding the correct steps ensures you avoid damage and electrical issues.
This guide will walk you through the process, making it simple and clear. By following these instructions, you’ll safely take your Nest Thermostat off the wall and handle any necessary adjustments or repairs with confidence. Let’s get started on making this task easy and stress-free.

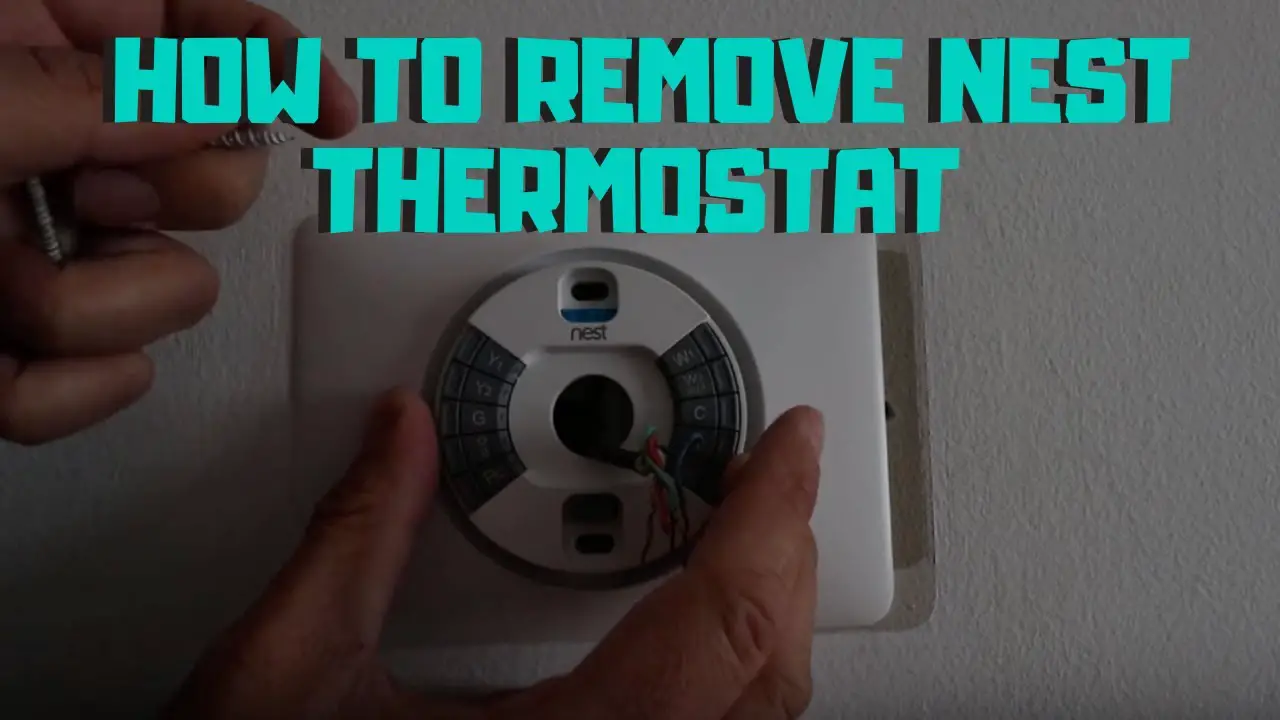
Credit: www.youtube.com
Tools Needed
To remove your Nest Thermostat from the wall, you need a few tools. These tools will help you do the job correctly and safely. Let’s see what you need.
Screwdriver
A screwdriver is essential for this task. The Nest Thermostat is secured with screws. You need a Phillips head screwdriver. It is the most common type and works well with the screws used. Make sure the screwdriver fits the screws perfectly. This prevents damage to the screws.
Level
A level is useful to ensure the thermostat is straight. This tool is not just for installation. You will need it when you put the thermostat back on the wall. A small, handheld level works best. It is easy to use and ensures precision. Keeping things level avoids problems later.

Credit: www.ifixit.com
Safety Precautions
When removing your Nest Thermostat from the wall, ensuring safety is paramount. Taking a few necessary precautions can prevent accidents and damage to your device. Here are some critical safety measures to follow:
Turn Off Power
First and foremost, you should turn off the power to your thermostat. This step is essential to avoid electrical shocks. Go to your circuit breaker and switch off the power supply to your thermostat.
Ensure the thermostat screen is completely off before you proceed. If you’re uncertain which breaker controls the thermostat, it’s safer to turn off the main power supply to your home. This extra step might seem like overkill, but it’s better to be overly cautious than to risk injury.
Use Gloves
Wearing gloves can protect your hands from sharp edges and debris. It’s a simple step that can prevent cuts and scrapes. Use a pair of sturdy, non-slip gloves for the best protection.
Remember, even if the thermostat appears clean, there can be hidden dirt or sharp components. Gloves also provide a better grip, ensuring you handle the device securely. Have you ever had an accident because you didn’t wear gloves? It’s a lesson learned the hard way.
Safety precautions might seem tedious, but they’re crucial. What other safety steps do you consider when handling electrical devices?
Removing Nest Thermostat Display
Removing the Nest Thermostat display might seem daunting. But with a few simple steps, you can do it safely. This guide will help you remove the display without any damage. Follow these instructions to get started.
Locate Display
First, locate your Nest Thermostat on the wall. Look at the front of the device. You will see a round display. This is what you need to remove.
Gently Pull
Next, place your fingers on the outer edge of the display. Gently pull the display towards you. Do this slowly to avoid breaking any parts. The display should come off easily.
If it feels stuck, do not use force. Check for any clips or screws holding it in place. Once free, you will see the wires and base of the thermostat. Handle the display with care to avoid damage.
Detaching The Base Plate
Removing the base plate of a Nest Thermostat is simple. First, gently detach the display by pulling it away from the wall. Then, unscrew the base plate from the wall.
To take your Nest Thermostat off the wall, you need to detach the base plate. This step involves a few simple actions. Follow these instructions to ensure a smooth process.Unscrew Base
First, locate the screws holding the base plate. These screws are usually at the top and bottom. Use a screwdriver to remove them. Keep the screws in a safe place. You will need them later.Remove Wires
After unscrewing the base, you will see wires connected to it. Take note of the wire colors and where they connect. This will help during reinstallation. Gently pull each wire out from its connector. Be careful not to damage the wires. By following these steps, you can easily detach the base plate of your Nest Thermostat. “`Handling Wires
When removing your Nest Thermostat from the wall, handling the wires correctly is crucial. Mismanaging them can lead to complications, like electrical shorts or difficulty re-installing the device. Let’s dive into how you can handle the wires with care.
Label Wires
Before you disconnect any wires, take a moment to label them. This simple step can save you a lot of trouble later.
Use small pieces of masking tape and a pen. Write down where each wire connects, like “Rc” or “Y1”. Attach the tape to the wire itself.
Think of it as setting a reminder for yourself. You’ll thank yourself when it’s time to reinstall the thermostat.
Secure Ends
Once the wires are labeled, you need to secure their ends. This prevents them from slipping back into the wall.
Check Best Thermostat Pricing in Amazon
** As an Amazon Associate, I earn from qualifying purchases.
Bend each wire into a small loop. This makes them easier to manage and keeps them from falling out of sight.
If you have twist-on wire connectors, use them. These will keep the wire ends safe from any accidental contact.
Have you ever had a wire disappear into the wall? It’s a hassle to fish it out again. Secure those ends, and you’ll avoid this headache.
Taking care of these small details can make a big difference. Handling wires properly ensures your thermostat removal process is smooth and trouble-free.
Cleaning The Wall
Taking your Nest Thermostat off the wall is just the beginning. Once you’ve removed the device, it’s crucial to clean the wall for a polished look. This process involves a few simple steps to ensure your wall is spotless and ready for whatever comes next. Let’s dive into the specifics.
Remove Debris
After taking the Nest Thermostat off, you’ll likely notice some dust and small debris around the area. Use a soft, dry cloth to gently wipe away any loose particles. This prevents smudges and gives you a clearer view of what needs fixing.
If there are any stubborn spots, a slightly damp cloth can help. Avoid using harsh chemicals, as they can damage your wall’s paint. Just a bit of water should do the trick. Always test a small, hidden area first to ensure there won’t be any discoloration.
Patch Holes
Removing your Nest Thermostat might leave small holes in the wall. These holes are usually where screws or anchors were used to mount the device. Don’t worry, patching them is straightforward.
First, get some wall putty and a putty knife. Apply a small amount of putty to the hole, smoothing it out with the knife. Allow it to dry according to the product instructions. Sand the area lightly once it’s dry to ensure a smooth finish.
Have you considered painting over the patched area to match the rest of your wall? A touch-up can make your wall look brand new. If you don’t have the original paint, many hardware stores can help match your wall color.
Cleaning and patching your wall might seem like minor tasks, but they make a big difference. Have you experienced any unique challenges while removing your Nest Thermostat? Share your tips in the comments below!
Storing Nest Thermostat
Removing the Nest Thermostat is simple. First, turn off the power to the system. Next, gently pull the device off the wall mount.
Taking your Nest Thermostat off the wall is just the first step. Proper storage is essential to keep it safe and functional. This guide will help you store your Nest Thermostat efficiently.Pack Components
Before storing, gather all the components. These include the thermostat, base plate, and screws. Use the original box if you have it. Place the thermostat in a protective cover or wrap it in bubble wrap. Ensure the components are secured and won’t move inside the box.Store Safely
Find a cool, dry place to store your Nest Thermostat. Avoid areas with extreme temperatures or high humidity. A closet or a drawer in a climate-controlled room works well. Keep the box away from heavy items that could damage it. Label the box clearly for easy identification later. “`Reinstalling Thermostat
Reinstalling your Nest Thermostat is a simple process. After removing it from the wall, you need to reattach it properly. This guide will help you reinstall your thermostat with ease. Follow these steps to ensure everything is connected correctly. Let’s start with attaching the base.
Attach Base
First, hold the base against the wall. Align it with the screw holes. Use a screwdriver to secure the base to the wall. Make sure it is tight and stable. The base should not move when you touch it.
Connect Wires
Next, connect the wires to the base. Insert each wire into the correct terminal. Each terminal is labeled. Match the wires to the labels. Use the wire labels from your old setup. Press the small button next to each terminal to insert the wire. Ensure the wires are fully inserted and secure.
Once all wires are connected, double-check your work. Make sure no wires are loose. Proper connection ensures your thermostat works correctly. Now, you are ready to attach the display to the base. Press it gently until it clicks into place. Your thermostat is now reinstalled and ready to use.

Credit: www.wikihow.com
Frequently Asked Questions
How Do You Remove A Nest Thermostat From A Wall?
To remove a Nest thermostat, pull off the display gently. Unscrew the base plate using a screwdriver. Disconnect the wires carefully.
How To Remove Nest Thermostat From Wall To Change Battery?
Gently pull the Nest thermostat display straight off the wall. Replace the battery in the back. Reattach the display.
How To Remove A Thermostat From A Wall?
Turn off the power. Remove the thermostat cover. Unscrew the mounting screws. Disconnect the wires, labeling them for reconnection. Remove the thermostat.
How Do You Remove A Nest From A Holder?
To remove a Nest from its holder, press the Nest down. Gently pull it away from the base.
Conclusion
Removing your Nest thermostat from the wall is simple with these steps. Always turn off power first for safety. Gently detach the display and unscrew the base plate. Keep screws safe for reinstallation later. Handle the wires carefully to avoid damage.
Reinstalling is just as easy, following these steps in reverse order. Regular maintenance ensures your thermostat works efficiently. Remember, patience and care are key. Now, you can confidently manage your Nest thermostat without worry.
Check Best Thermostat Pricing in Amazon
** As an Amazon Associate, I earn from qualifying purchases.