
Check Best Thermostat Pricing in Amazon
** As an Amazon Associate, I earn from qualifying purchases.
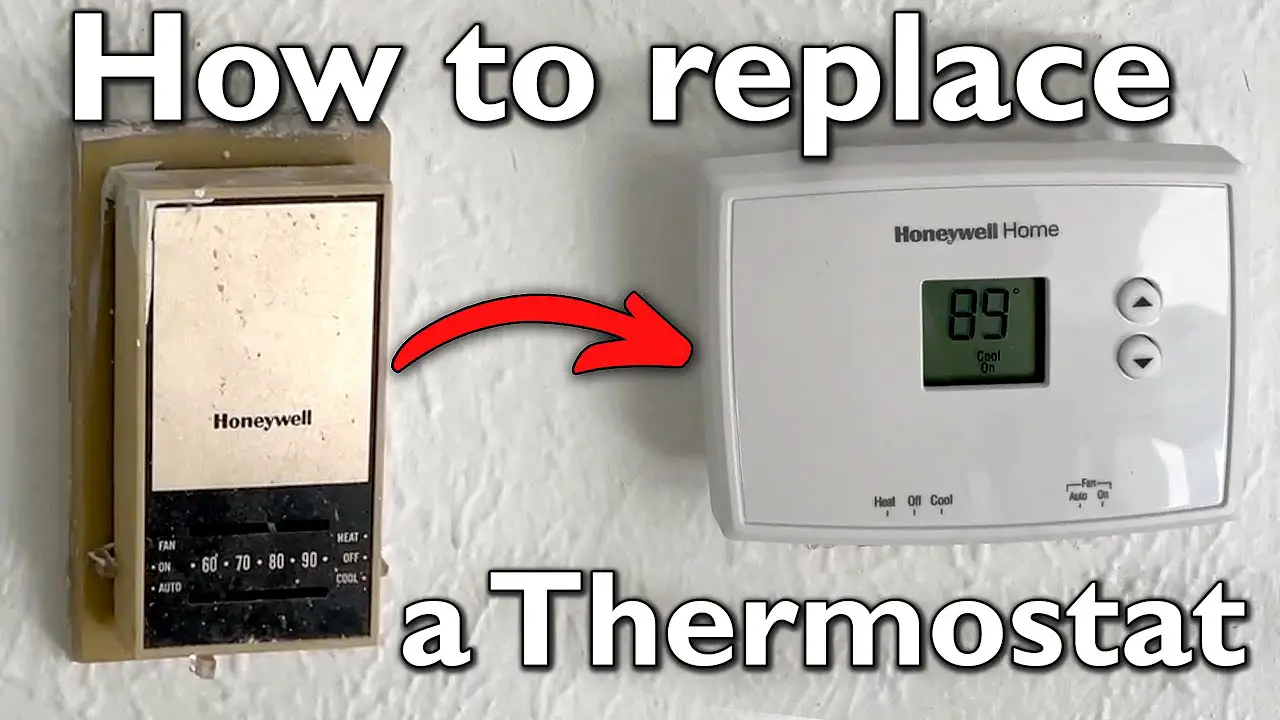
Replacing an old thermostat can seem tricky. But, with the right steps, it’s quite simple.
An old thermostat might not work well anymore. This can lead to higher energy bills and discomfort at home. Learning how to replace it can save you money and improve comfort. This guide will help you through the process. We’ll cover the tools needed and the steps to take.
By the end, you’ll know exactly how to replace your old thermostat with a new one. This task is easier than you think and can make a big difference in your home’s efficiency. Let’s dive in and get started!
Preparation
Before diving into the process of replacing your old thermostat, preparation is key. Taking the time to get ready can save you a lot of headaches and ensure a smooth and successful installation. Let’s break down the steps you need to take to prepare for this task.
Gather Tools
First things first, gather all the tools you will need. It’s frustrating to start a project only to realize you are missing a crucial item. Here’s a simple checklist to help you:
- Phillips and flat-head screwdrivers
- Drill and bits
- Level
- Wire strippers
- Electrical tape
- New thermostat (with instructions)
Having these tools ready will streamline your installation process. Plus, it keeps you from making multiple trips to the hardware store. Do you have everything on this list? If not, it’s best to gather all items before starting.
Safety Precautions
Now, let’s talk safety. Working with electrical components can be dangerous if you’re not careful. Always start by turning off the power to your HVAC system at the breaker box. This step is non-negotiable for your safety.
Double-check that the power is off by trying to turn on the thermostat. If it doesn’t power up, you’re good to go. Use a voltage tester if you have one for an extra layer of security.
Also, make sure your work area is dry and free from any clutter. A clean workspace helps you focus on the task at hand. Have you taken all necessary safety precautions? It’s better to be safe than sorry.
With your tools gathered and safety measures in place, you’re now ready to move on to the next step. Stay tuned for the installation process in our next section!
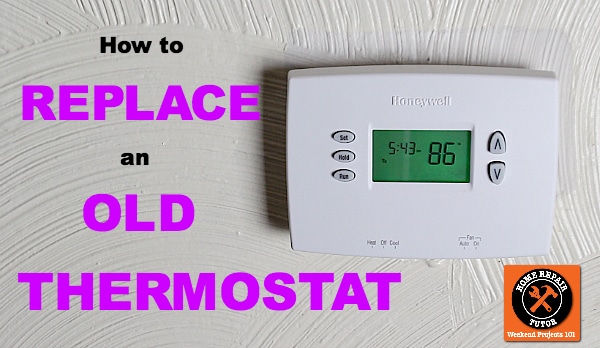
Credit: homerepairtutor.com
Turn Off Power
When replacing an old thermostat, the first crucial step is to turn off the power to avoid any electrical mishaps. Skipping this step can lead to serious injury or damage to your HVAC system. Ensuring the power is off will make the process safe and stress-free.
Locate Circuit Breaker
Begin by finding your home’s electrical panel. It’s usually in the basement, garage, or a utility closet.
Once you locate it, look for the breaker labeled “HVAC” or “Thermostat.” Switch it off to cut the power supply to your thermostat.
If you’re unsure which breaker controls the thermostat, turn off the main power switch. This will cut power to the entire house, ensuring safety during your replacement.
Verify Power Is Off
After switching off the breaker, you need to double-check that the power is indeed off.
Use a non-contact voltage tester. Place it near the thermostat wires to check for any remaining electrical current. The tester should not light up or make any noise if the power is off.
If you don’t have a voltage tester, another method is to try turning on the heating or cooling system from the thermostat. If it doesn’t respond, the power is likely off.
Have you ever accidentally skipped this step and faced issues? Share your experiences in the comments. Safety is paramount, and your insights could help others avoid the same mistake.
Remove Old Thermostat
Removing an old thermostat is the first step to installing a new one. This task might seem daunting, but it’s quite simple. Follow these steps to ensure a smooth process.
Detach Faceplate
First, turn off the power to your HVAC system. This prevents any electrical hazards. Use a screwdriver to remove the screws holding the faceplate. Gently pull the faceplate away from the wall. Set it aside carefully.
Disconnect Wiring
Next, take a picture of the wiring. This helps you remember where each wire goes. Use a screwdriver to loosen the screws holding the wires. Gently pull the wires from their terminals. Label the wires if they are not already marked. This ensures you connect them correctly later.
Install New Thermostat
Replacing an old thermostat can improve your home’s energy efficiency. Installing a new thermostat involves a few simple steps. Let’s dive into the process of mounting the baseplate and connecting the wiring.
Mount Baseplate
First, turn off the power to your HVAC system. This ensures safety. Next, remove the old thermostat and its baseplate. Hold the new baseplate against the wall. Use a level to make sure it’s straight. Mark the screw holes with a pencil.
Now, drill small pilot holes where you marked. Insert wall anchors if needed. Screw the baseplate into the wall. Make sure it’s secure. This baseplate will hold the thermostat firmly in place.
Connect Wiring
Check the wires coming from the wall. They should be labeled. If not, label them before disconnecting from the old unit. Carefully attach these wires to the new thermostat. Match each wire to its terminal on the new device. Most thermostats have a guide.
Ensure each wire is snugly connected. Loose wires can cause issues. Once all wires are connected, attach the thermostat to the baseplate. It should click into place. Turn the power back on. Test the thermostat to see if it works properly.
Configure Settings
Replacing an old thermostat can seem daunting, but configuring the settings on your new one is a crucial step that can significantly impact your home’s comfort and energy efficiency. Once you’ve physically installed the new thermostat, it’s time to dive into the settings. This part is where you get to tailor the device to your specific needs.
Set Temperature
The first thing you’ll want to do is set the temperature. It’s a straightforward but essential task. Begin by deciding on a comfortable temperature for your home.
For instance, you might set it to 72°F during the day. At night, a slightly lower temperature, say 68°F, can be more comfortable for sleeping.
Most modern thermostats have easy-to-use interfaces, often with a touch screen. Follow the on-screen instructions to set your desired temperatures. Be sure to save your settings to avoid having to re-enter them later.
Program Schedule
Programming your thermostat’s schedule is where you can make a real difference in your energy bills. Think about your daily routine.
If you’re out of the house during work hours, set the thermostat to a more energy-efficient temperature during that time. For example, you could set it to 78°F during the summer when you’re not home.
In the winter, you might set it to 62°F. Then, have the thermostat return to your preferred temperature just before you arrive home.
Check Best Thermostat Pricing in Amazon
** As an Amazon Associate, I earn from qualifying purchases.
Many thermostats allow you to set different schedules for weekdays and weekends. Take advantage of this feature to optimize your home’s comfort and efficiency.
Have you ever programmed a thermostat before? What challenges did you face? Share your thoughts and let’s make this process easier together.
Test Installation
Once you’ve replaced your old thermostat with a new one, it’s crucial to test the installation to ensure everything is working correctly. Testing your new thermostat will help you avoid any potential issues and guarantee that your home stays comfortable. Let’s walk through the essential steps to test your new thermostat’s installation.
Turn On Power
First, you need to turn the power back on to your HVAC system. Head to your circuit breaker and flip the switch connected to your heating and cooling system.
Double-check that all connections are secure before powering up. This simple step can prevent short circuits or damage to your new thermostat.
Once the power is back on, go to your thermostat to begin checking its functionality.
Check Functionality
With the power on, it’s time to test your thermostat’s functionality. Set your thermostat to a temperature that will trigger your heating or cooling system to turn on.
Listen for the sound of your HVAC system starting up. You should hear a click followed by the system running.
If your system doesn’t start, recheck the wiring connections and ensure your thermostat is configured correctly.
Does your thermostat display the correct temperature? This is another indicator that your installation is successful. If you notice any discrepancies, refer to your thermostat’s manual for calibration instructions.
Have you ever had a thermostat that didn’t work as expected? How did you resolve it? Share your experiences in the comments below. Your insights could help others troubleshoot their installations!
Troubleshooting
Replacing an old thermostat can be a straightforward task. However, sometimes things don’t go as planned. In this section, we will troubleshoot common issues you might encounter during the replacement process.
Common Issues
There are a few typical problems you might face when replacing an old thermostat:
- Your new thermostat isn’t turning on.
- The thermostat is not communicating with your HVAC system.
- The temperature readings are inaccurate.
If your new thermostat isn’t turning on, it might be due to incorrect wiring. Double-check that all the wires are connected to the right terminals.
When the thermostat isn’t communicating with your HVAC system, it can be frustrating. This issue often occurs when the thermostat model is incompatible with your system. Ensure your new thermostat is suitable for your HVAC setup.
Temperature inaccuracies can arise if the thermostat is installed in a poor location. Avoid placing it near windows, doors, or direct sunlight.
Solutions
Here are some practical solutions to these common issues:
- Check the wiring: Ensure each wire is securely connected to the correct terminal. A loose or incorrect connection can prevent the thermostat from powering on.
- Verify compatibility: Confirm that your new thermostat is compatible with your HVAC system. Refer to the manufacturer’s instructions or consult a professional.
- Relocate the thermostat: If temperature readings are off, consider moving the thermostat to a more central location away from drafts and heat sources.
Have you ever faced any of these issues while replacing a thermostat? How did you solve them? Share your experience in the comments below. Your insights could help someone else dealing with the same problem.
Remember, troubleshooting can sometimes be a trial and error process. Stay patient and methodical, and you’ll have your new thermostat up and running smoothly in no time.

Credit: smartthermostatguide.com
Maintenance Tips
Keeping your thermostat in good shape ensures a comfortable home. Simple maintenance can save energy and money. Here are some key tips to keep your thermostat functioning well.
Regular Checks
Check your thermostat regularly. Dust and dirt can affect its performance. Clean it gently with a soft brush or cloth. Make sure it is level. An uneven thermostat may not work right. Inspect the wiring for any damage. Loose or frayed wires can cause issues.
If you have an older thermostat, consider upgrading. Newer models are more efficient and easier to maintain.
Energy Efficiency
Set your thermostat to save energy. In winter, lower the temperature when you sleep or are away. In summer, raise it during these times. Use a programmable thermostat for better control. It adjusts the temperature automatically based on your schedule.
Keep your HVAC system clean and well-maintained. Dirty filters and vents can make your system work harder. This wastes energy and raises your bills.
By following these tips, your thermostat will work efficiently. You will save money and keep your home comfortable year-round.

Credit: www.youtube.com
Frequently Asked Questions
Can I Replace My Old Thermostat Myself?
Yes, you can replace your old thermostat yourself. Follow the manufacturer’s instructions carefully. Ensure you turn off the power before starting. If unsure, consult a professional.
Is It Safe To Change A Thermostat Yourself?
Yes, changing a thermostat yourself is safe if you follow instructions carefully. Always turn off power before starting.
Can I Replace My Thermostat With Any Thermostat?
You can’t replace your thermostat with any thermostat. Compatibility with your HVAC system is crucial. Check voltage, wiring, and features before purchasing.
Do I Need An Electrician To Replace A Thermostat?
Yes, hiring an electrician is recommended for replacing a thermostat. They ensure proper installation and avoid potential issues.
Conclusion
Replacing an old thermostat can be simple and rewarding. Follow the steps carefully. Ensure safety by turning off the power. Remove the old unit and label wires. Install the new thermostat according to instructions. Double-check connections before turning the power back on.
Test your new thermostat to confirm it’s working. Enjoy better control over your home’s temperature. Save money and energy with a more efficient thermostat. Feel proud of your DIY accomplishment.
Check Best Thermostat Pricing in Amazon
** As an Amazon Associate, I earn from qualifying purchases.