
Check Best Thermostat Pricing in Amazon
** As an Amazon Associate, I earn from qualifying purchases.
Facing issues with your Nest Thermostat’s WiFi connection? Reconnecting it can be simple.
The Nest Thermostat is a smart device that helps manage your home’s temperature. But, sometimes it loses its WiFi connection. This can be frustrating because you lose remote control features. Don’t worry. This guide will help you reconnect your Nest Thermostat to WiFi.
You’ll be back in control in no time. Keep reading to understand the steps and get your smart thermostat working smoothly again.

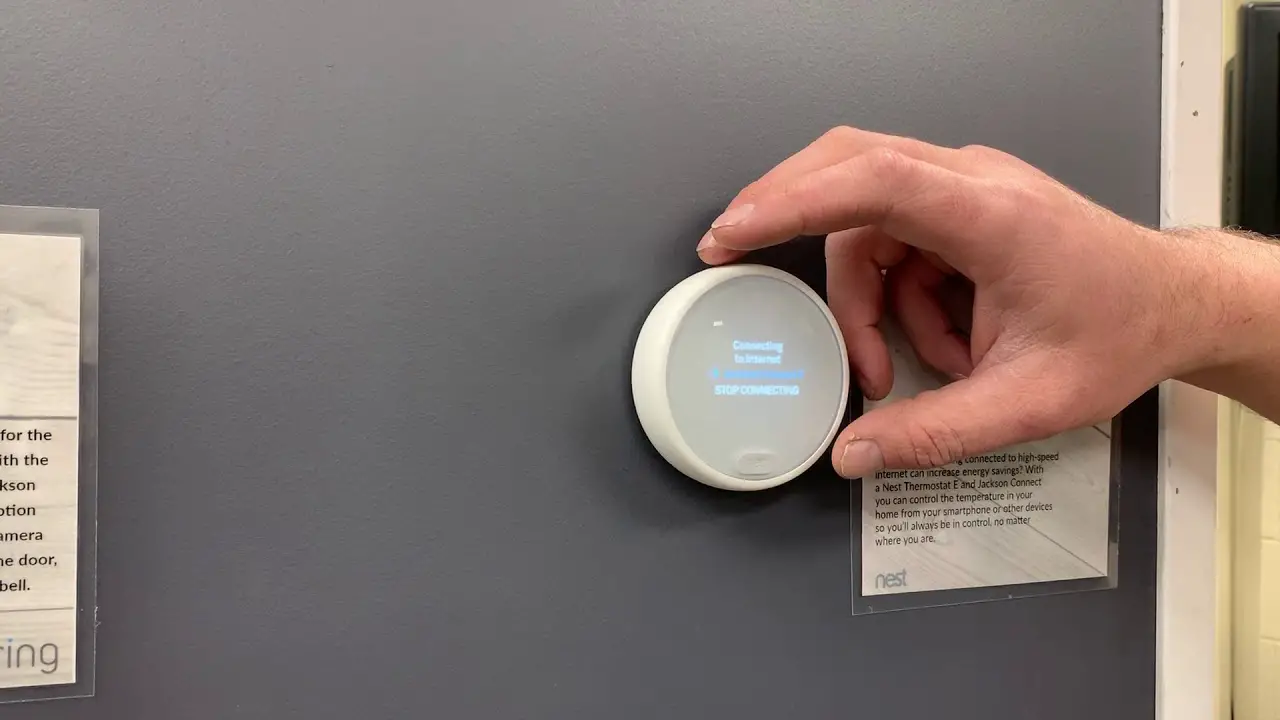
Credit: www.reddit.com
Preparing For Reconnection
Preparing your Nest Thermostat for reconnection involves a few simple steps. These steps ensure a smooth and successful process. You’ll need to check your WiFi network and restart your thermostat.
Check Wifi Network
Ensure your WiFi network is up and running. Check your router for any issues. Restart the router if needed. Verify other devices connect to the WiFi without problems. A stable connection is crucial for the Nest Thermostat to work correctly.
Restart Thermostat
Restarting the thermostat can resolve minor glitches. To restart, go to the thermostat’s settings. Select “Reset” and then choose “Restart.” Wait for the thermostat to reboot completely. This simple step often fixes connectivity issues.
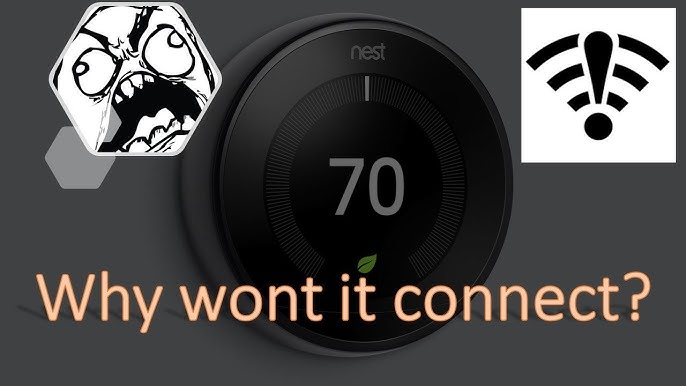
Credit: www.youtube.com
Accessing Thermostat Settings
Accessing the thermostat settings on your Nest Thermostat is a crucial step when you need to reconnect it to your Wi-Fi network. Whether you’ve recently changed your router or your Wi-Fi password, knowing how to navigate through these settings will save you time and frustration. Let’s dive into the process of accessing these settings, so you can get your thermostat back online quickly and easily.
Navigate To Settings
First things first, you need to find the settings menu on your Nest Thermostat. Start by pressing the thermostat ring to open the Quick View menu. It’s the main control center where you can access different options.
Once you’re in the Quick View menu, turn the ring until you reach the ‘Settings’ option. Click on it to enter the settings menu. This is where all the magic happens.
Remember the first time you set up your Nest Thermostat? Navigating through these options might bring back those memories. It’s a similar process but much quicker this time around.
Select Network Option
After entering the settings menu, scroll through until you find the ‘Network’ option. This is where you can manage your Wi-Fi connections. Click on it to proceed.
You’ll see a list of available networks. If your Wi-Fi network is visible, select it. If not, you might need to wait a few seconds for the list to refresh.
Once you select your network, you will be prompted to enter your Wi-Fi password. Make sure you enter it correctly to avoid any connection issues. Double-checking can save you from potential headaches.
Have you ever wondered why connectivity issues arise at the most inconvenient times? Keeping your network details handy can prevent these disruptions and keep your home running smoothly.
With these steps, you should be well on your way to reconnecting your Nest Thermostat to Wi-Fi. Does reconnecting technology ever surprise you with its simplicity? It’s all about knowing where to look and what to do. Now, go ahead and get your Nest Thermostat back online!
Choosing Your Wifi Network
Choosing the right Wi-Fi network for your Nest Thermostat is crucial for seamless operation and connectivity. If you’re having trouble reconnecting it, this guide will walk you through the steps to select the correct network. Let’s dive into the process and ensure your Nest Thermostat is back online in no time.
Scanning For Networks
First, you need to initiate a scan for available networks. Go to the settings menu on your Nest Thermostat and select “Network.” This will start a search for all Wi-Fi networks within range.
You should see a list of networks appear on the screen. Ensure your router is turned on and functioning properly. The scanning process should only take a few seconds. If nothing shows up, try restarting your router and scanning again.
Selecting The Correct Network
Once the list of available networks appears, find your home Wi-Fi network. It’s usually named something familiar, like “HomeWiFi” or your internet provider’s name. Click on your network name to select it.
If your network is secured, you’ll be prompted to enter the password. Make sure you type it correctly. A common mistake is typing an incorrect password, which results in connection failure.
After entering the password, your Nest Thermostat should attempt to connect to the network. This might take a minute, so be patient. Once connected, you’ll see a confirmation message, and your thermostat should be back online.
Have you ever had trouble finding your network in the list? It’s often a simple fix, but it can be frustrating. Remember, ensuring your router is close to your Nest Thermostat can improve connectivity. If you’re still experiencing issues, consider using a Wi-Fi extender to boost signal strength.
Choosing the right network and ensuring a strong connection can save you from future headaches. Have you reconnected your Nest Thermostat successfully? Share your tips and experiences in the comments!
Entering Wifi Password
Entering the Wifi password is a crucial step to reconnect your Nest Thermostat. This ensures your device communicates smoothly with your home network. It’s a simple process, but entering the correct password is vital. Follow these steps to ensure a seamless connection.
Input Password
First, go to your Nest Thermostat’s settings menu. Select the ‘Network’ option. Choose your Wifi network from the list. A prompt will appear to enter your Wifi password. Use the dial to scroll through characters. Select each character by pressing the unit. Double-check for any mistakes. Wifi passwords are case-sensitive. Enter each letter and number carefully.
Verify Connection
After entering the password, select ‘Done.’ The Thermostat will try to connect to the Wifi. Wait for a few seconds. The screen should display a confirmation message. If the connection fails, recheck the password. Ensure there are no typos. Try again if needed. A successful connection means your device is ready to use.
Troubleshooting Connection Issues
Experiencing issues while reconnecting your Nest Thermostat to Wi-Fi can be frustrating. Don’t worry. We’ll walk you through common problems and how to fix them. This section will help you troubleshoot connection issues.
Check Best Thermostat Pricing in Amazon
** As an Amazon Associate, I earn from qualifying purchases.
Incorrect Password
One of the most common issues is entering the wrong Wi-Fi password. Double-check the password. Ensure it matches the one on your router. Passwords are case-sensitive. Make sure you use the correct upper and lower case letters.
If you still face issues, try resetting your router password. This can resolve any confusion. Also, ensure there are no spaces before or after the password. These can cause connection issues.
Network Not Found
Sometimes, the Nest Thermostat can’t find your Wi-Fi network. This can happen if your Wi-Fi is hidden. To fix this, make sure your Wi-Fi is visible. Go to your router settings. Enable the SSID broadcast. This will make your network visible to all devices.
Another reason could be the distance between the thermostat and the router. Ensure they are not too far apart. Walls and other obstacles can weaken the signal. Try moving the router closer to the thermostat. This can improve the connection.
Lastly, check if other devices can connect to your Wi-Fi. If they can’t, the issue might be with your router. Restart the router. This can often resolve network issues.
Ensuring Stable Connection
To maintain a stable connection for your Nest Thermostat, focus on a few key aspects. A strong and consistent Wifi connection is crucial. This ensures your thermostat communicates smoothly with your devices and the internet.
Below are some important factors to consider. These will help in ensuring a stable connection for your Nest Thermostat.
Wifi Signal Strength
Check the Wifi signal strength at the thermostat’s location. Weak signals can cause disconnections. Use a Wifi analyzer app to test signal strength. Aim for at least a 70% signal strength for optimal performance.
If the signal is weak, consider moving the thermostat closer to the router. This can help improve the connection.
Router Placement
Router placement plays a vital role in signal strength. Place the router in a central location. Avoid placing it near walls or metal objects. These can interfere with the signal.
Keep the router away from other electronic devices. Devices like microwaves and cordless phones can cause interference. Elevate the router if possible. This can help distribute the signal more evenly.
Final Checks
Once you’ve successfully reconnected your Nest Thermostat to your Wi-Fi, it’s crucial to perform some final checks to ensure everything is running smoothly. These checks will help you confirm that your thermostat is fully functional and that the Wi-Fi connection is stable. Let’s dive into the final steps to guarantee your peace of mind.
Test Thermostat Features
Start by testing the thermostat’s basic features. Adjust the temperature settings and see if the changes reflect on both the thermostat and your mobile app. A quick way to do this is to set a target temperature that’s significantly different from the current room temperature and observe the response.
Next, explore the different modes such as Eco mode, heating, and cooling. Check if switching between these modes is seamless. I remember once I switched to Eco mode and noticed a delay—it turned out my Wi-Fi signal was weak.
Don’t forget to test the scheduling feature. Set up a simple schedule and monitor if the thermostat follows it accurately. You might also want to test voice commands if you use a smart assistant like Google Home or Amazon Alexa.
Confirm Connection Stability
Now, confirm the stability of your Wi-Fi connection. A stable connection ensures your thermostat can communicate with your app and other smart devices efficiently.
Begin by checking the Wi-Fi signal strength on your thermostat. You can usually find this information in the settings menu. If the signal is weak, consider moving your router closer or using a Wi-Fi extender.
Observe the thermostat’s performance over a few days. Pay attention to any disconnections or delays in response. If you notice frequent issues, you might need to troubleshoot your Wi-Fi network or seek technical support.
Have you ever experienced a sudden drop in Wi-Fi while you’re away? That’s frustrating, right? Ensure your router firmware is up-to-date to prevent such occurrences.
By performing these final checks, you can ensure your Nest Thermostat is connected and functioning optimally. Have you noticed any quirks or interesting behavior with your smart devices? Share your experiences and tips in the comments below!
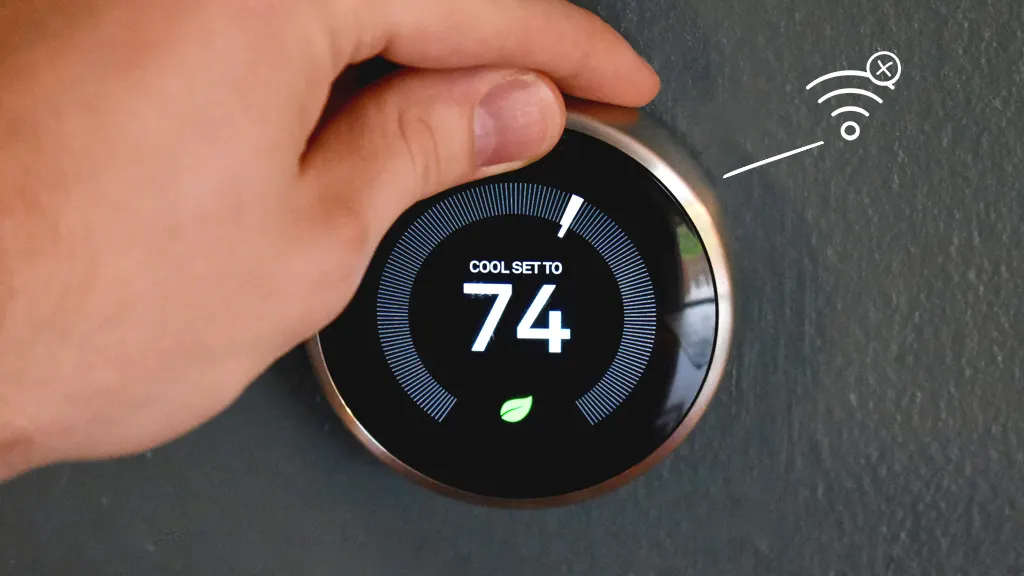
Credit: www.asurion.com
Frequently Asked Questions
How Do I Get My Nest Thermostat Back Online?
To get your Nest thermostat back online, first check your Wi-Fi connection. Restart your router and thermostat. Ensure your Wi-Fi password is correct. If needed, reset the thermostat’s network settings. Reconnect it to Wi-Fi through the Nest app.
How Do I Reconnect My Nest To Wi-fi?
To reconnect your Nest to Wi-Fi, open the Nest app. Select your thermostat, tap on Settings, then Wi-Fi, and follow the on-screen instructions. Ensure your Wi-Fi network name and password are correct. Reboot your router if needed.
How Do I Reconnect My Nest Thermostat?
To reconnect your Nest thermostat, go to Settings, select Network, and choose your Wi-Fi network. Enter the password, and connect.
How Do I Get My Nest Wi-fi Back Online?
Restart your Nest Wi-Fi router. Ensure your modem is connected to the internet. Check cables and connections. Use the Google Home app to troubleshoot.
Conclusion
Reconnecting your Nest Thermostat to WiFi is simple. Follow the steps carefully. Ensure your router works properly. Check your WiFi password. Restart your thermostat if needed. These steps help maintain your thermostat’s performance. Stay connected for a comfortable home. If issues persist, consider contacting Nest support.
They can provide additional help. Keeping your Nest Thermostat online ensures efficient energy use. Enjoy the convenience of a smart home.
Check Best Thermostat Pricing in Amazon
** As an Amazon Associate, I earn from qualifying purchases.