
Check Best Thermostat Pricing in Amazon
** As an Amazon Associate, I earn from qualifying purchases.
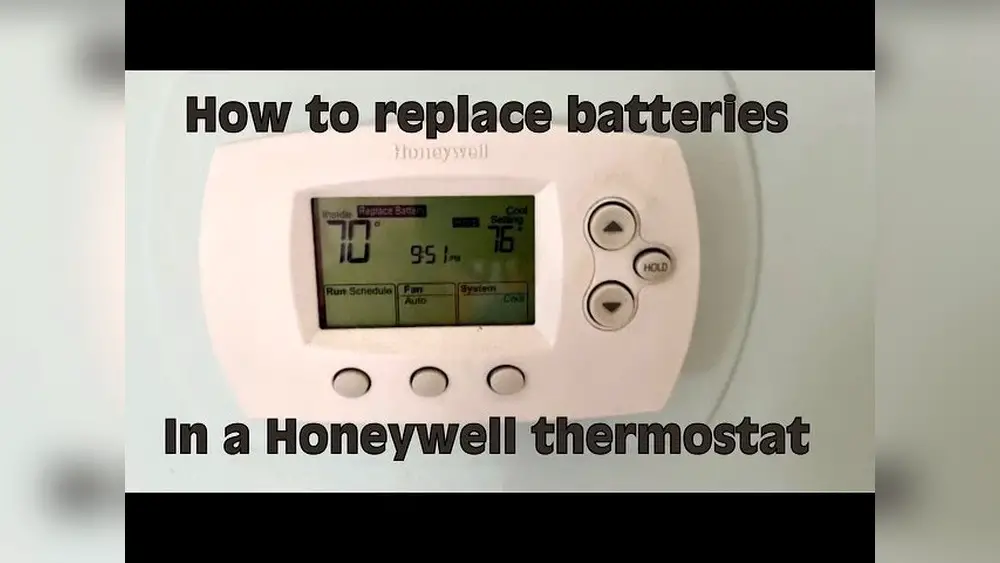
Is your Honeywell thermostat acting up or showing low battery alerts? Changing the batteries might be the quick fix you need.
But if you’re unsure how to do it right, don’t worry—you’re in the right place. In this guide, you’ll discover simple, step-by-step instructions to replace your thermostat batteries safely and easily. By the end, you’ll have your system running smoothly again, saving you time and avoiding costly service calls.
Let’s get started and make sure your home stays comfortable without any interruptions.
Credit: environmentmasters.com
- Tools Needed
- Locate The Battery Compartment
- Remove The Thermostat From The Wall
- Open The Battery Cover
- Take Out Old Batteries
- Insert New Batteries
- Close The Battery Cover
- Reattach The Thermostat
- Reset And Test The Thermostat
- Troubleshooting Tips
- Battery Maintenance Tips
- Frequently Asked Questions
- Conclusion
Tools Needed
Changing the batteries in your Honeywell thermostat is a simple task. Having the right tools ready makes the process faster and easier. This section lists the tools you will need to complete the job safely and correctly.
Screwdriver
A small flathead or Phillips screwdriver is helpful. It allows you to open the thermostat cover gently. Some models have screws securing the battery compartment.
Replacement Batteries
Use fresh batteries that match the thermostat’s requirements. Most Honeywell thermostats use AA or AAA alkaline batteries. Check your manual to confirm the correct type.
Soft Cloth
A soft cloth helps clean the thermostat surface. It removes dust and dirt before you open the device. Clean surfaces prevent damage and keep the thermostat working well.
Locate The Battery Compartment
Locating the battery compartment on a Honeywell thermostat is the first step to changing its batteries. This part holds the power source and needs easy access for replacement. Knowing where it is helps avoid damage and speeds up the process.
Battery compartments vary by model but usually share common spots. Some are hidden behind the thermostat cover, while others have a visible panel. Finding this compartment is simple with a few quick checks.
Check The Thermostat Front Panel
Start by looking at the thermostat’s front. Many Honeywell models have a removable faceplate. Gently pull or slide the cover to see if batteries are inside. This area often hides the battery compartment.
Inspect The Back Of The Thermostat
If the front panel does not open, examine the back. The battery slot might be on the rear side of the thermostat. Carefully remove the unit from the wall plate to check behind.
Look For A Battery Door Or Slot
Search for a small door or slot on the thermostat body. It may have a tab or latch to open. This door holds the batteries and protects them from dust.
Consult The User Manual
The user manual provides exact details for your thermostat model. It shows where to find the battery compartment. Manuals often include images to guide you step-by-step.
Remove The Thermostat From The Wall
Removing the thermostat from the wall is the first step in changing the batteries. This step is simple but requires care to avoid damage. Handle the thermostat gently to keep it safe. Follow these easy steps to remove your Honeywell thermostat safely.
Turn Off Power To The Thermostat
Switch off the power to your thermostat at the circuit breaker. This prevents electrical shocks. It also protects the thermostat’s internal parts during removal.
Locate The Release Tab Or Screws
Look for a release tab or screws on your thermostat’s base. Some models have a small tab to press. Others require a screwdriver to remove screws.
Gently Pull The Thermostat From The Wall
Hold the thermostat firmly and pull it straight off the wall. Do not force it. If it does not come off easily, check for hidden screws or tabs.
Place The Thermostat On A Flat Surface
Put the thermostat on a clean, flat surface. This keeps it steady while you change the batteries. Avoid placing it where it can fall or get damaged.
Open The Battery Cover
Opening the battery cover on your Honeywell thermostat is the first step to changing its batteries. This part of the process is simple and quick. You need to access the batteries safely to replace them.
Most Honeywell thermostats have a battery cover located at the back or bottom of the device. Knowing how to open this cover helps avoid damage to your thermostat.
Locate The Battery Cover
Look for a small panel or slot on the thermostat. It is usually on the back or bottom side. The cover might have a small tab or indentation for easy opening.
Use Gentle Pressure
Press the tab or edge gently. Slide or lift the cover away from the thermostat. Avoid using sharp tools that can break the cover.
Remove The Cover Completely
Take off the cover carefully. Place it somewhere safe to avoid losing it. Now, you can see the batteries inside.
Take Out Old Batteries
Removing old batteries from your Honeywell thermostat is a simple step. It helps keep the thermostat working well. This section explains how to take out old batteries safely and easily.
First, find the battery compartment on your thermostat. It is usually at the back or bottom. Gently pull or slide the cover to open it. Some models may have small clips to press.
Remove The Battery Cover
Carefully take off the battery cover. Avoid using too much force. The cover may snap off or slide away. Keep the cover safe for later use.
Take Out The Old Batteries
Look inside the compartment. Notice the position of the batteries. Use your fingers to lift out each old battery. Do not use sharp tools to avoid damage.
Dispose Of Old Batteries Properly
Old batteries should not go in regular trash. Take them to a recycling center or a battery drop-off point. Proper disposal protects the environment.

Credit: www.youtube.com
Insert New Batteries
Inserting new batteries into your Honeywell thermostat is a simple task. It ensures your thermostat runs smoothly and keeps your home comfortable. Follow the steps carefully to avoid any problems.
Check Battery Orientation
Before inserting the batteries, look inside the battery compartment. You will see plus (+) and minus (-) signs. These signs show how to place the batteries. Insert each battery with the correct end matching the sign. Wrong placement can stop the thermostat from working.
Use Recommended Battery Type
Use the type of batteries recommended by Honeywell. Usually, AA or AAA alkaline batteries work best. Avoid rechargeable or old batteries. Using the right type helps your thermostat last longer and work well. Always replace all batteries at the same time for best results.
Close The Battery Cover
Closing the battery cover on your Honeywell thermostat is a simple but important step. It protects the batteries and keeps the thermostat working well. A properly closed cover stops dust and moisture from getting inside.
Take your time to make sure the cover fits snugly. A loose cover can cause the batteries to fall out or lose power. This small action helps your thermostat last longer and perform better.
Check Best Thermostat Pricing in Amazon
** As an Amazon Associate, I earn from qualifying purchases.
Align The Battery Cover Correctly
Hold the cover so it lines up with the thermostat’s battery compartment. Check for any clips or tabs that must match the slots. This makes closing the cover easier and secure.
Press The Cover Firmly Into Place
Push the cover gently but firmly until it clicks or feels tight. Avoid using too much force to prevent breaking the cover. A good seal means the batteries stay safe inside.
Check For Gaps Or Loose Edges
Look around the cover edges for any openings. Even small gaps can let dust inside. Press again if needed to close any space fully.
Test The Thermostat Function
Turn on your thermostat to confirm it works after closing the cover. If it does not power on, open the cover and check battery placement. Correct battery placement is key to proper function.
Reattach The Thermostat
Reattaching the thermostat is the final step after changing the batteries. It ensures the device works correctly and stays secure on the wall. This step is simple but important for proper thermostat function.
Align The Thermostat Base
Start by lining up the thermostat base with the wall plate. Check that the connectors match. The base should fit easily without force.
Press The Thermostat Gently
Push the thermostat gently onto the base. You will feel it click into place. Avoid pressing too hard to prevent damage.
Check For A Secure Fit
Make sure the thermostat does not wobble or fall off. It should sit flush against the wall. A tight fit means a good connection.
Power On And Test
Turn the thermostat on to check if it works. Look for a display or response. This confirms the batteries and reattachment are correct.
Reset And Test The Thermostat
After changing the batteries in your Honeywell thermostat, resetting and testing the device is important. This step ensures the thermostat works correctly and the new batteries power it well. A proper reset clears old settings and prepares the thermostat for smooth operation.
Testing the thermostat after a reset confirms it responds to commands and controls your heating or cooling system as expected. Follow simple steps to power on the device and check its functionality.
Power On The Device
Insert the new batteries into the thermostat. Close the battery compartment securely. Press the power button if your model has one. Most Honeywell thermostats power on automatically after battery installation. Wait a few seconds for the screen to light up. If the screen remains blank, check battery placement and try again.
Verify Functionality
Check the display for clear, bright numbers and icons. Use the thermostat buttons to adjust the temperature setting. Listen for a click sound from your heating or cooling system. Confirm the system responds to temperature changes. Test both heating and cooling modes if applicable. This confirms the thermostat works with your HVAC system.

Credit: willplumb.com
Troubleshooting Tips
Troubleshooting your Honeywell thermostat can help solve common battery problems fast. This guide covers two main issues that often appear during battery changes. Follow these tips to keep your thermostat working well.
Battery Drain Issues
Check the battery type first. Use only recommended batteries for your model. Old or wrong batteries can drain quickly.
Look for settings that may cause high power use. Features like Wi-Fi or backlight can drain batteries fast. Turn off unused options.
Inspect the thermostat for dirt or dust. Clean the battery contacts gently. Poor contact can cause power loss and quick drain.
Thermostat Not Powering On
Make sure batteries are inserted correctly. Polarity matters. The plus and minus sides must match the markings.
Try replacing old batteries with fresh ones. Dead batteries prevent the thermostat from turning on.
Check the battery compartment for damage or corrosion. Clean any buildup carefully with a soft cloth.
If the thermostat still won’t power on, reset it. Follow the user manual for reset instructions. This can fix minor glitches.
Battery Maintenance Tips
Proper battery care helps your Honeywell thermostat work well. It also saves money and time. Good battery habits keep the device running smoothly. This section shares easy tips to maintain batteries in your thermostat.
Check Batteries Regularly
Look at the batteries every month. Replace them if power looks low. This stops sudden thermostat shutdowns. Regular checks keep your home comfortable.
Use Quality Batteries
Choose reliable brands for longer life. Cheap batteries drain fast and may leak. Quality batteries give steady power. This protects your thermostat from damage.
Remove Batteries During Long Absence
Take out batteries if away for many days. This prevents leaks that ruin the device. Store batteries in a cool, dry place.
Clean Battery Contacts
Wipe contacts gently with a dry cloth. Dirt or rust can block power flow. Clean contacts help batteries last longer.
Frequently Asked Questions
How Do I Know When To Change Honeywell Thermostat Batteries?
Your Honeywell thermostat shows a low battery icon or screen dimming. Replace batteries immediately to ensure consistent temperature control and prevent device shutdown.
What Type Of Batteries Does Honeywell Thermostat Use?
Most Honeywell thermostats use AA or AAA alkaline batteries. Check your model’s manual to confirm the correct battery type before purchasing replacements.
How Can I Safely Change Batteries On Honeywell Thermostat?
Turn off the thermostat, remove the faceplate gently, replace old batteries with new ones, and reattach the faceplate securely. Avoid touching circuitry to prevent damage.
Will Changing Batteries Reset My Honeywell Thermostat Settings?
No, changing batteries does not reset your settings. Your thermostat retains programmed schedules and preferences during battery replacement.
Conclusion
Changing batteries in your Honeywell thermostat keeps it working well. Always use fresh batteries to avoid interruptions. Open the cover gently and replace old batteries with new ones. Check the display to make sure it turns on. Regular battery changes help your thermostat control temperature better.
Simple steps save time and prevent problems later. Keep your home comfortable with a well-powered thermostat. Easy to do, and important for smooth heating and cooling.
Check Best Thermostat Pricing in Amazon
** As an Amazon Associate, I earn from qualifying purchases.