
Check Best Thermostat Pricing in Amazon
** As an Amazon Associate, I earn from qualifying purchases.
To charge the Nest Thermostat, connect it to a USB charger. This simple process ensures your device stays powered and functional.
The Nest Thermostat is a smart home device that helps manage your home’s temperature efficiently. Sometimes, it may need a charge to function properly. Whether you’re experiencing issues or just want to ensure it’s working well, knowing how to charge it is essential.
This guide will walk you through the easy steps to keep your Nest Thermostat running smoothly. By understanding these steps, you can avoid common issues and ensure your home remains comfortable. Let’s dive into the process of charging your Nest Thermostat.
- Introduction To Nest Thermostat Charging
- Tools And Materials Needed
- Preparing The Nest Thermostat
- Removing The Thermostat From The Wall
- Charging With Usb Cable
- Charging With A C-wire
- Reinstalling The Thermostat
- Testing The Thermostat
- Troubleshooting Charging Issues
- Frequently Asked Questions
- Conclusion
Introduction To Nest Thermostat Charging
Charging the Nest Thermostat is easy. Connect the thermostat to its base, and it charges through the wires. Make sure the wires are properly connected.
Nest Thermostat offers a smart way to control your home temperature. Charging it correctly ensures it works smoothly. This guide will help you understand how to charge your Nest Thermostat efficiently.Purpose Of The Guide
Many people struggle with charging their Nest Thermostat. This guide explains the steps clearly. You’ll learn why proper charging is important. It also covers common issues and solutions.Benefits Of Charging Properly
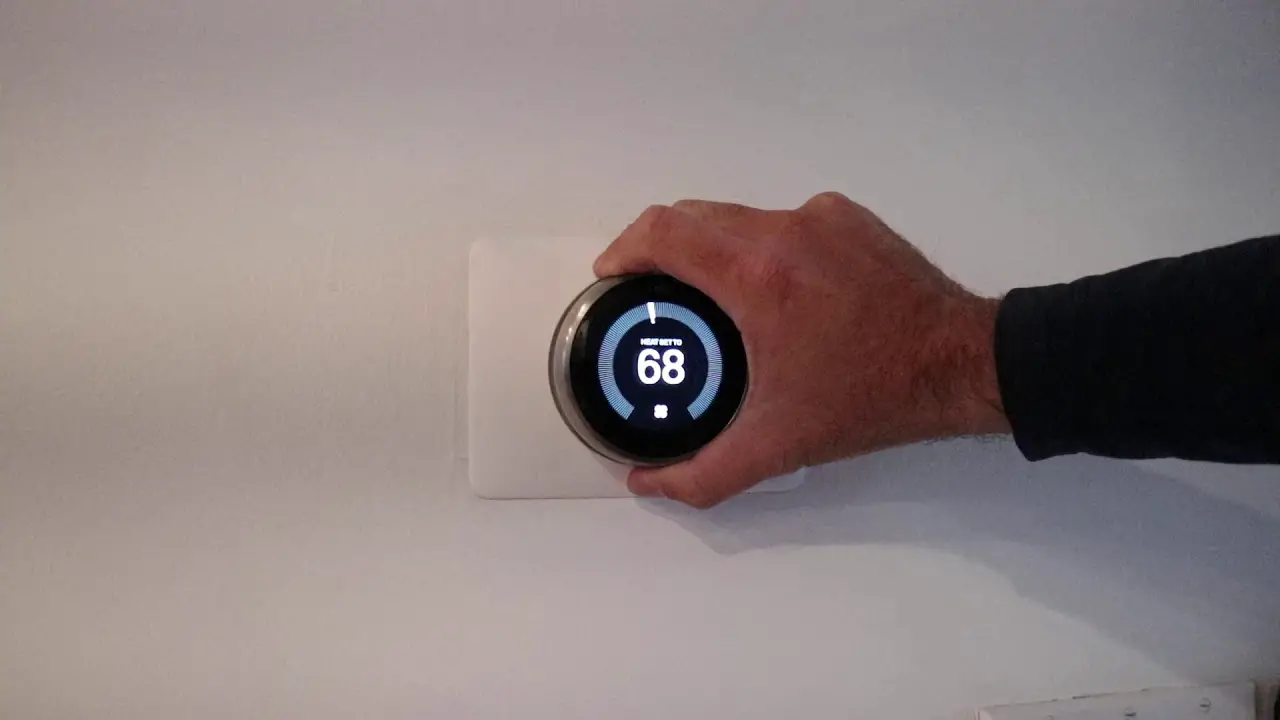
Proper charging keeps your Nest Thermostat running. It avoids sudden shutdowns. You will also save energy. Proper charging can extend the device’s life. It ensures accurate temperature control. This helps in maintaining a comfortable home environment. “`
Credit: www.reddit.com
Tools And Materials Needed
Charging the Nest Thermostat may seem straightforward. But having the right tools and materials is essential for a smooth process. This section outlines what you need to get started.
Required Tools
First, gather these essential tools. A small flat-head screwdriver is needed to remove the thermostat from the wall. Next, a micro-USB cable will connect the thermostat to a power source. Lastly, have a USB wall charger ready. These tools ensure you can charge the thermostat efficiently.
Optional Accessories
Some accessories can make the process easier. A wall plate helps in mounting the thermostat securely. A level ensures the device is perfectly aligned. These optional items aren’t necessary but can enhance your setup. Consider them if you want a cleaner installation.
Preparing The Nest Thermostat
Before charging your Nest Thermostat, you need to prepare it properly. This ensures a smooth and safe process. Follow these steps to get your device ready for charging.
Safety Precautions
Safety is crucial. Always take necessary precautions to avoid any mishaps. Wear protective gloves if needed. Ensure your hands are dry to prevent electrical shocks.
Use a non-metallic tool for any adjustments. This reduces the risk of short circuits. Avoid using wet or damp materials near the device.
Turning Off Power
Turn off the power supply to the thermostat. Locate the circuit breaker panel in your home. Identify the switch controlling the thermostat power. Flip the switch to the “Off” position.
Double-check to ensure the power is off. The display on the thermostat should go blank. This confirms that the power is cut off completely.
Removing The Thermostat From The Wall
Removing the Nest Thermostat from the wall might seem daunting, but it’s actually quite straightforward. Whether you need to charge it or perform maintenance, taking it off the wall is the first step. Follow these simple steps to ensure you do it correctly and safely.
Detaching The Unit
Before you start, make sure you turn off your HVAC system. This can be done via the circuit breaker to prevent any electrical mishaps.
Next, gently pull the thermostat straight out from the wall. Avoid twisting or forcing it, as this could damage the unit or the wall plate.
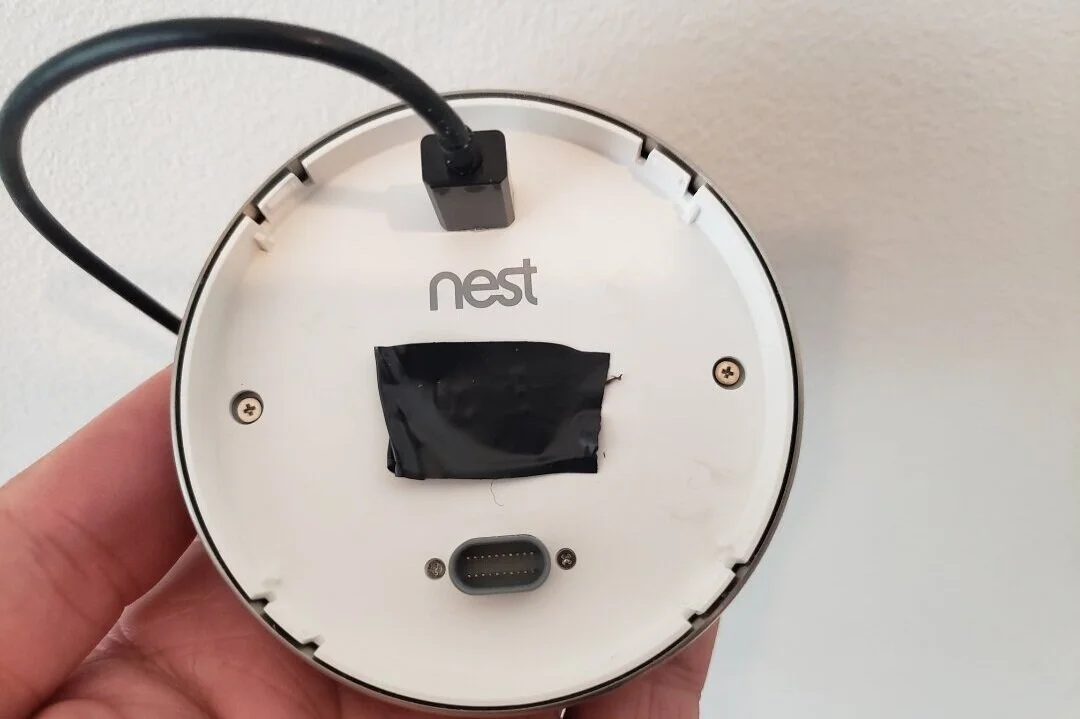
Once detached, you should see the back of the Nest Thermostat and the wall plate with wires connected to it. This is a good time to inspect for any dust or debris that may have accumulated.
Handling With Care
It’s crucial to handle the thermostat with care. The device is sensitive, and rough handling could damage the screen or internal components.
Place the unit on a soft surface, like a clean towel, to avoid scratches. If you need to clean it, use a microfiber cloth to gently wipe the surface.
Are you wondering why the thermostat is not charging properly? This could be an opportunity to check the wiring or the battery.
By following these steps, you can easily remove and handle your Nest Thermostat. Have you ever struggled with removing your thermostat? Share your experiences in the comments below!
Charging With Usb Cable
Charging your Nest Thermostat with a USB cable is a simple process. This method ensures your thermostat stays powered even when the battery runs low. Follow these steps to connect and charge your device efficiently.
Connecting The Cable
First, find a compatible USB cable. Most modern USB cables will work. Next, locate the USB port on the back of your Nest Thermostat. Plug one end of the USB cable into the port. Connect the other end to a power source. This could be a wall adapter, computer, or USB charging station.
Charging Duration
The charging duration depends on the battery level. If the battery is very low, it might take a couple of hours. A partially charged battery will take less time. Check the Nest Thermostat display. It will show when the battery is fully charged. Once fully charged, you can unplug the USB cable.
Charging With A C-wire
Charging your Nest Thermostat with a C-Wire ensures a steady power supply. This method is reliable and efficient. It helps avoid battery drain issues. Let’s explore how to use a C-Wire for charging your Nest Thermostat.
Identifying The C-wire
First, locate your HVAC system’s control panel. It’s usually near your furnace or air handler. Open the control panel to see the wires. Look for a wire labeled “C” or “Common”. This is the C-Wire. If you don’t see it, check your thermostat’s wiring. The C-Wire might be tucked behind the wall.
Connecting The C-wire
Turn off the power to your HVAC system. Safety first. Next, connect the C-Wire to the “C” terminal on the Nest Thermostat base. Ensure a secure connection. If your HVAC system doesn’t have a C-Wire, you might need a C-Wire adapter. Follow the adapter’s instructions for proper installation.
Check Best Thermostat Pricing in Amazon
** As an Amazon Associate, I earn from qualifying purchases.
After connecting, turn the power back on. The Nest Thermostat should now receive a steady charge. Check the display to confirm. If there’s no power, double-check your connections. Make sure everything is secure. Enjoy a consistently powered Nest Thermostat with the C-Wire!
Reinstalling The Thermostat
After charging your Nest Thermostat, the next step is reinstalling it. This process ensures your device functions correctly. Follow these simple steps to get your thermostat back in place.
Attaching To The Wall
First, ensure the base plate is securely attached to the wall. Align the thermostat’s connectors with the base plate. Gently press the thermostat onto the base until it clicks into place. Make sure it is level and firmly attached.
Restoring Power
Once the thermostat is attached, restore power to your system. Turn on the circuit breaker or switch connected to the thermostat. Wait for the Nest Thermostat to power up. It should display the startup screen.
Check the settings and ensure everything is working properly. Your Nest Thermostat is now ready to use again.
Credit: www.onehoursmarthome.com
Testing The Thermostat
After you charge your Nest Thermostat, testing it is crucial. This ensures everything works as it should. This section guides you through the process of testing.
Powering On
First, power on your Nest Thermostat. Press the display until the screen lights up. The Nest logo should appear. This means the device is booting up. If the screen stays dark, check the power source. Ensure the device is fully charged.
Checking Functionality
Once the thermostat powers on, check its functionality. Navigate through the menu. Set a temperature target. Ensure the device responds correctly. Adjust the settings to see if they work. Test each function one by one. Confirm the thermostat is connected to Wi-Fi. This is important for remote control.
Troubleshooting Charging Issues
Having trouble charging your Nest Thermostat can be frustrating. It’s not uncommon to face charging issues, but understanding the common problems and solutions can save you a lot of headaches. Let’s dive into some of the typical issues and how you can resolve them.
Common Problems
One of the most frequent problems is that the thermostat doesn’t charge properly or loses charge quickly. This might be due to a low battery or power supply issues.
Sometimes, the thermostat might not charge because of a faulty USB cable. This is often overlooked but can be a simple fix.
Another common issue is software glitches. These can sometimes interfere with the charging process.
Solutions And Tips
First, check the power supply. Ensure your Nest Thermostat is connected to a reliable power source. If you’re using a USB cable, try using a different one to see if it resolves the issue.
Reboot your thermostat. A simple restart can sometimes fix software glitches. Just like rebooting your computer or phone can solve many issues, this can work for your thermostat too.
Check for software updates. Ensure your thermostat has the latest firmware. Outdated software can sometimes cause charging issues.
Is your thermostat in direct sunlight? Excessive heat can affect charging efficiency. Move it to a cooler location if you suspect this might be the problem.
Lastly, if none of these solutions work, it might be time to contact Nest support. They can help troubleshoot further and determine if there’s a deeper issue.
Have you faced charging issues with your Nest Thermostat? What worked for you? Share your experiences and help others in the comments below!

Credit: www.onehoursmarthome.com
Frequently Asked Questions
What Happens If The Nest Thermostat Battery Dies?
The Nest thermostat stops working if the battery dies. Your HVAC system won’t operate until the battery recharges.
How Do I Change The Battery In My Nest Thermostat?
Remove the Nest thermostat display. Locate the battery compartment at the back. Replace with new batteries. Reattach the display.
How Do I Charge My Nest Thermostat?
Charge your Nest thermostat by connecting it to the base plate. Ensure the base plate is wired correctly. The device charges automatically while connected.
Does The Google Nest Thermostat Charge Itself?
Yes, the Google Nest thermostat charges itself. It draws power from your heating and cooling system’s wires.
Conclusion
Charging your Nest Thermostat is simple and straightforward. Connect it to a USB cable. Ensure your device is plugged into a reliable power source. It charges quickly and efficiently. Regular maintenance ensures smooth operation. Always monitor the battery level. Keep your Nest Thermostat functioning at its best.
Proper care extends its lifespan. Following these steps will help maintain optimal performance. Enjoy the convenience of a well-charged thermostat. Happy heating and cooling!
Check Best Thermostat Pricing in Amazon
** As an Amazon Associate, I earn from qualifying purchases.