
Check Best Thermostat Pricing in Amazon
** As an Amazon Associate, I earn from qualifying purchases.
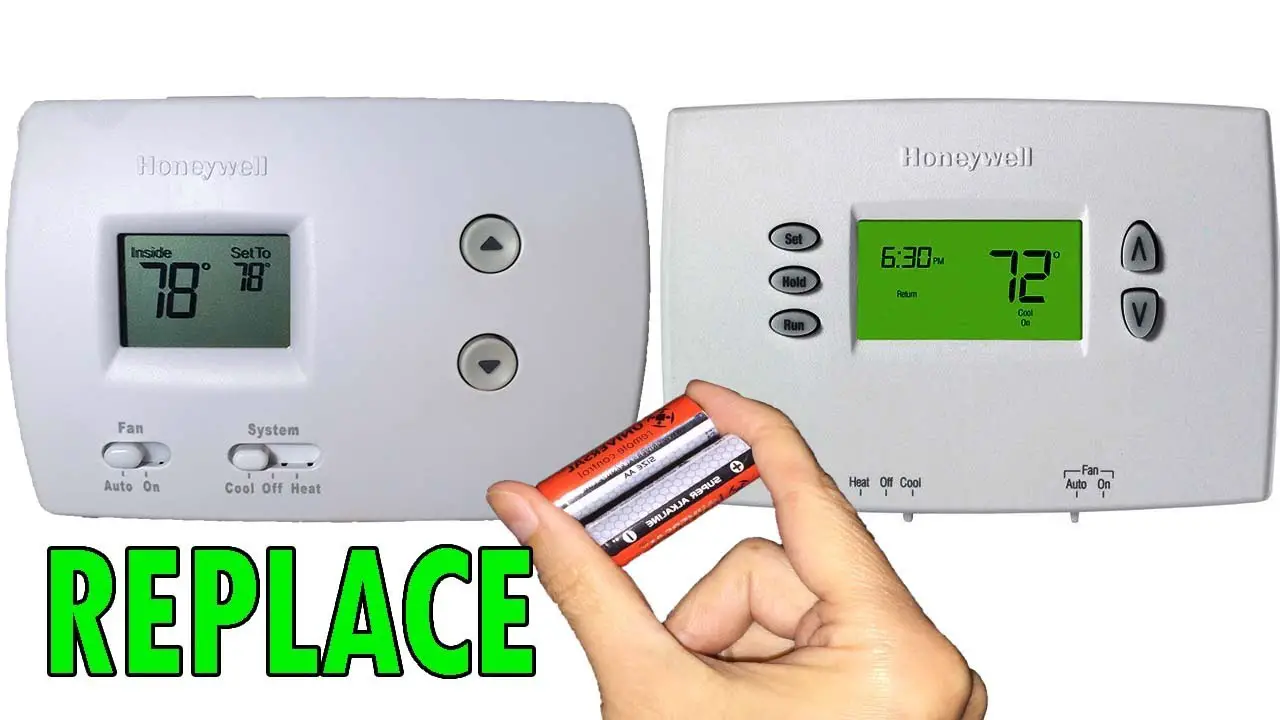
Changing the battery in a Honeywell thermostat is simple. First, locate the battery compartment.
Then, replace the old batteries with new ones. Honeywell thermostats are popular for their reliability and ease of use. However, like all battery-operated devices, they need new batteries from time to time. If your thermostat’s display is blank or if it’s not working properly, the battery may be the culprit.
Fortunately, replacing the battery is a quick and straightforward process. In this guide, you’ll learn how to change the battery efficiently and keep your thermostat running smoothly. Whether you’re a seasoned DIY enthusiast or a beginner, you’ll find these steps easy to follow. Let’s ensure your home stays comfortable with a fully functioning thermostat.

Credit: www.youtube.com
Necessary Tools
Changing the battery in a Honeywell thermostat requires basic tools. A small screwdriver and fresh AA or AAA batteries will suffice. Ensure you follow the manual for safety and accuracy.
Changing the battery in a Honeywell thermostat is a straightforward task. However, having the right tools can make the process smoother and quicker. Let’s dive into what you need to get the job done efficiently.Required Tools
To begin, you’ll need a few essential tools:- Small Phillips Head Screwdriver: Most Honeywell thermostats are secured with small screws. A small Phillips head screwdriver fits these screws perfectly.
- Replacement Batteries: Check your thermostat model to see the type of batteries required. Common choices are AA or AAA batteries. Make sure you have fresh ones on hand.
Optional Tools
While the required tools will get the job done, having these optional tools can make the process even easier:- Flat Head Screwdriver: Sometimes, prying open the battery compartment can be tricky. A flat head screwdriver can help with leverage without damaging your thermostat.
- Magnifying Glass: If you have trouble reading small print or seeing small parts, a magnifying glass can be very helpful.

Credit: willplumb.com
Safety Precautions
Ensure the Honeywell thermostat is off before changing the battery. Remove the unit from the wall. Replace the old batteries with new ones, then reattach the unit securely.
Changing the battery in a Honeywell thermostat might seem like a straightforward task, but it’s important to prioritize safety. Mishandling your thermostat could lead to problems, or even harm you. Here are some crucial safety precautions to follow.Power Off Thermostat
Before you do anything, make sure to turn off the power to your thermostat. This is crucial. You don’t want to risk getting an electric shock. Locate your circuit breaker and switch off the corresponding circuit. Double-check that the thermostat is off by trying to turn it on.Handle With Care
Thermostats are delicate. Handle yours carefully to avoid damaging it. Use a gentle touch when removing the cover. Avoid using excessive force. Have you ever accidentally broken something by being too rough? It’s an easy mistake to make, especially with small devices. Handle the components inside with equal care. You don’t want to break any wires or connectors. Changing the battery in your Honeywell thermostat doesn’t have to be risky. With these safety precautions, you can ensure a smooth and safe process.Accessing The Battery Compartment
Changing the battery in your Honeywell thermostat is a simple task. Start by accessing the battery compartment. This guide will help you through each step.
Locate The Thermostat
Find your Honeywell thermostat on the wall. It is usually in a central location. Look for the main control unit. It is the part you interact with daily.
Remove The Faceplate
Gently pull the faceplate away from the wall. Use both hands to avoid breaking it. You might hear a click as it comes free. The battery compartment is behind the faceplate.
Check the faceplate for any screws. If there are screws, use a screwdriver to remove them. Be careful not to lose the screws. Place them somewhere safe.
Removing The Old Battery
Changing the battery in your Honeywell thermostat is a simple task. Knowing the steps ensures your thermostat works smoothly. This section explains how to remove the old battery properly.
Identify Battery Type
First, find out the type of battery your Honeywell thermostat uses. Check the user manual or the back of the thermostat. Most models use AA or AAA batteries. Knowing the battery type helps you prepare for the replacement.
Careful Removal
Turn off the power to your thermostat. This step ensures safety. Next, remove the thermostat from the wall mount. Some models need you to press a button or tab to release the unit.
Once the thermostat is free, locate the battery compartment. Open the compartment gently. Use a small screwdriver if needed. Carefully take out the old batteries. Dispose of them according to local regulations.
Now, your thermostat is ready for new batteries. Ensure you handle the unit with care to avoid damage. Following these steps ensures a smooth battery replacement process.
Installing The New Battery
Changing the battery in your Honeywell thermostat is a straightforward task. However, installing the new battery correctly ensures your thermostat functions efficiently. Let’s walk through the steps to make sure you do it right.
Check Battery Orientation
First, check the orientation of the old battery before removing it. Note the positive (+) and negative (-) ends. This is crucial as installing the new battery in the wrong direction can cause the thermostat to malfunction.
Have you ever put a battery in backwards? It’s easy to do, but it can be frustrating. Pay close attention to the markings inside the battery compartment. This small detail makes a big difference.
Secure Battery
Once you have the orientation sorted, slide the new battery into the compartment. Make sure it fits snugly. A loose battery might cause intermittent power issues, which can be a headache.
Press down gently to ensure the battery is seated properly. Close the battery compartment cover securely. This helps avoid any contact issues that might disrupt your thermostat’s performance.
Check Best Thermostat Pricing in Amazon
** As an Amazon Associate, I earn from qualifying purchases.
Did you know a loose battery can drain faster? Ensuring a tight fit can prolong battery life. How often do you check your battery compartment for a proper fit?
With these simple steps, you can confidently change the battery in your Honeywell thermostat. Remember, attention to detail is key. Happy troubleshooting!
Reassembling The Thermostat
After successfully replacing the battery in your Honeywell thermostat, it’s time to reassemble the unit. This step is crucial to ensure your thermostat functions properly. Let’s dive into the key steps for reassembling the thermostat, focusing on replacing the faceplate and ensuring a proper fit.
Replace Faceplate
Once you’ve inserted the new battery, grab the faceplate of the thermostat. Align it carefully with the base. You’ll notice grooves or clips that help it snap back into place.
Gently press the faceplate until you hear a click. This sound indicates that the faceplate is securely attached. If it doesn’t click, try realigning and pressing again.
Using a personal touch, I remember my first time changing the battery. I fumbled with the faceplate, thinking it was more complicated. The click sound was a reassuring sign that I had done it right.
Ensure Proper Fit
After attaching the faceplate, double-check that it fits snugly. Run your fingers around the edges to make sure there are no gaps. A loose faceplate can lead to issues with the thermostat’s performance.
Next, turn on the thermostat to ensure it’s working correctly. Check the display and any settings you may have adjusted. Everything should be back to normal.
Have you ever ignored a loose fit, only to face problems later? Ensuring a proper fit now saves you from potential headaches down the road.
Finally, take a step back and appreciate your work. You’ve successfully changed the battery and reassembled the thermostat. Simple steps like these can make a big difference in maintaining your home’s comfort.
Changing the battery in your Honeywell thermostat doesn’t have to be a daunting task. By carefully reassembling the unit, you ensure its continued efficiency. Feel empowered to tackle this small but essential home maintenance task.
Testing The Thermostat
Replacing the battery in a Honeywell thermostat is simple. Remove the cover, take out the old batteries, and insert new ones. Ensure they are placed correctly.
Testing the Thermostat Once you’ve replaced the battery in your Honeywell thermostat, it’s essential to test it to ensure it’s working correctly. A simple test can save you from future headaches. Let’s dive into the steps you need to follow to get your thermostat up and running smoothly.Power On Thermostat
First, power on your thermostat. You should see the display light up, indicating that it has power. If the screen stays blank, double-check the battery placement. Sometimes, the batteries may not be seated correctly. Make sure the batteries are the right type and properly installed. A quick glance at the user manual can help confirm this. If all looks good, but the screen is still blank, you might have a different issue, such as a wiring problem.Check Functionality
Next, check the functionality of your thermostat. Set the temperature to a level that will trigger your heating or cooling system. Listen for the click sound that indicates the system is turning on. Feel the air vents to ensure warm or cool air is coming through as expected. If the system doesn’t respond, you might need to reset the thermostat. Refer to your manual for specific reset instructions. If everything works correctly, you’re all set! If not, consider seeking professional help to diagnose the problem. Testing your thermostat after a battery change is a small step that can prevent larger issues down the road. Have you ever encountered issues after changing batteries? Share your experiences in the comments below.
Credit: www.homeserve.com
Frequently Asked Questions
How Do I Open My Honeywell Thermostat To Change The Battery?
To open your Honeywell thermostat, gently pull the thermostat cover off the wall plate. Replace the batteries and reattach the cover.
How Do You Take The Cover Off Of A Honeywell Thermostat?
To remove the cover of a Honeywell thermostat, gently pull the cover from the bottom or sides. Use slight pressure.
How To Remove Thermostat Cover To Replace Battery?
To remove the thermostat cover, gently pull it off from the wall. Replace the battery by opening the compartment.
Why Would My Honeywell Thermostat Go Blank?
Your Honeywell thermostat might go blank due to power loss, tripped circuit breaker, drained batteries, or a wiring issue.
Conclusion
Changing the battery in a Honeywell thermostat is straightforward. Following the steps ensures your thermostat works efficiently. A fresh battery keeps your home comfortable. Always check the battery regularly. Don’t wait for it to die. Regular maintenance avoids problems. Keep a spare battery handy.
This saves time and stress. Your thermostat will thank you. Enjoy a cozy home with no interruptions. Regular checks make a big difference. Now, you’re ready for a hassle-free battery change. Stay proactive and enjoy peace of mind. Your home comfort is worth it.
Check Best Thermostat Pricing in Amazon
** As an Amazon Associate, I earn from qualifying purchases.