
Check Best Thermostat Pricing in Amazon
** As an Amazon Associate, I earn from qualifying purchases.
Venstar thermostats are popular among homeowners because of their ease of use and reliable performance. However, there may be instances when the thermostat fails to turn on, leaving you without heat or cooling. This can be frustrating, especially during extreme weather conditions.
One of the most common reasons why a Venstar thermostat may not turn on is due to power issues. This can be caused by a tripped circuit breaker, a blown fuse, or a loose wire connection. It is important to check the power source and ensure that the thermostat is receiving the correct voltage.
Another possible reason why a Venstar thermostat may not turn on is due to a malfunctioning thermostat unit. This can be caused by a faulty wiring or a damaged component within the thermostat. In such cases, it may be necessary to replace the thermostat unit to restore its functionality.
Troubleshooting Basics
If your Venstar thermostat is not turning on, there are a few basic troubleshooting steps you can take before calling a professional. Here are some things to check:
Check Power Supply
The first thing to check is whether your thermostat is receiving power. Make sure it is properly connected to your HVAC system and that the power switch is turned on. If the thermostat is battery-powered, make sure the batteries are fresh and installed correctly. You can also check the circuit breaker to ensure that power is flowing to the thermostat.
Verify Thermostat Settings
If your thermostat is receiving power but still not turning on, check the settings. Make sure the temperature setting is correct and that the thermostat is set to the right mode (e.g. heating or cooling). You can also try resetting the thermostat to its default settings.
Inspect Circuit Breakers
If your thermostat is still not turning on, it’s possible that the circuit breaker has tripped. Check the circuit breaker panel to see if any breakers have been tripped. If you find a tripped breaker, reset it and see if that resolves the issue.
By following these basic troubleshooting steps, you may be able to identify and resolve the issue with your Venstar thermostat not turning on. If the problem persists, it may be time to call in a professional technician for further assistance.
Advanced Diagnostics
If the Venstar thermostat is not turning on, advanced diagnostics can help identify the root cause of the issue. Here are some steps to follow:
Test Thermostat Wires
First, check the thermostat wires. Ensure that the wires are properly connected to the thermostat and the HVAC system. Check for any loose or damaged wires, and replace them if necessary. Use a multimeter to test for continuity and voltage at the thermostat and HVAC system.
Examine the HVAC System
Next, examine the HVAC system. Check if the circuit breaker is tripped, and reset it if necessary. Inspect the air filter and clean or replace it if it is dirty. Check if the furnace or air conditioner is working properly. If the HVAC system is not functioning correctly, it may cause the thermostat to not turn on.
Assess the Control Board
Finally, assess the control board. Check if the control board is receiving power and if it is functioning correctly. Look for any signs of damage or corrosion on the control board. If the control board is faulty, it may need to be replaced.
By following these steps, one can identify the cause of the Venstar thermostat not turning on. If the issue persists, it is recommended to contact a professional HVAC technician for further assistance.
Venstar Thermostat Features
Understanding the Model
Venstar Thermostats are known for their user-friendly design and advanced features. The brand offers a wide range of models, each with unique features to cater to different needs. The most popular models are the T7900 and T8800 series, which come with Wi-Fi connectivity, remote control, and programmable settings.
The T7900 series is a budget-friendly option that offers basic features such as a backlit display, easy-to-use interface, and programmable settings. On the other hand, the T8800 series is a high-end model that comes with advanced features such as voice control, geofencing, and energy-saving modes.
Check Best Thermostat Pricing in Amazon
** As an Amazon Associate, I earn from qualifying purchases.
Utilizing the User Interface
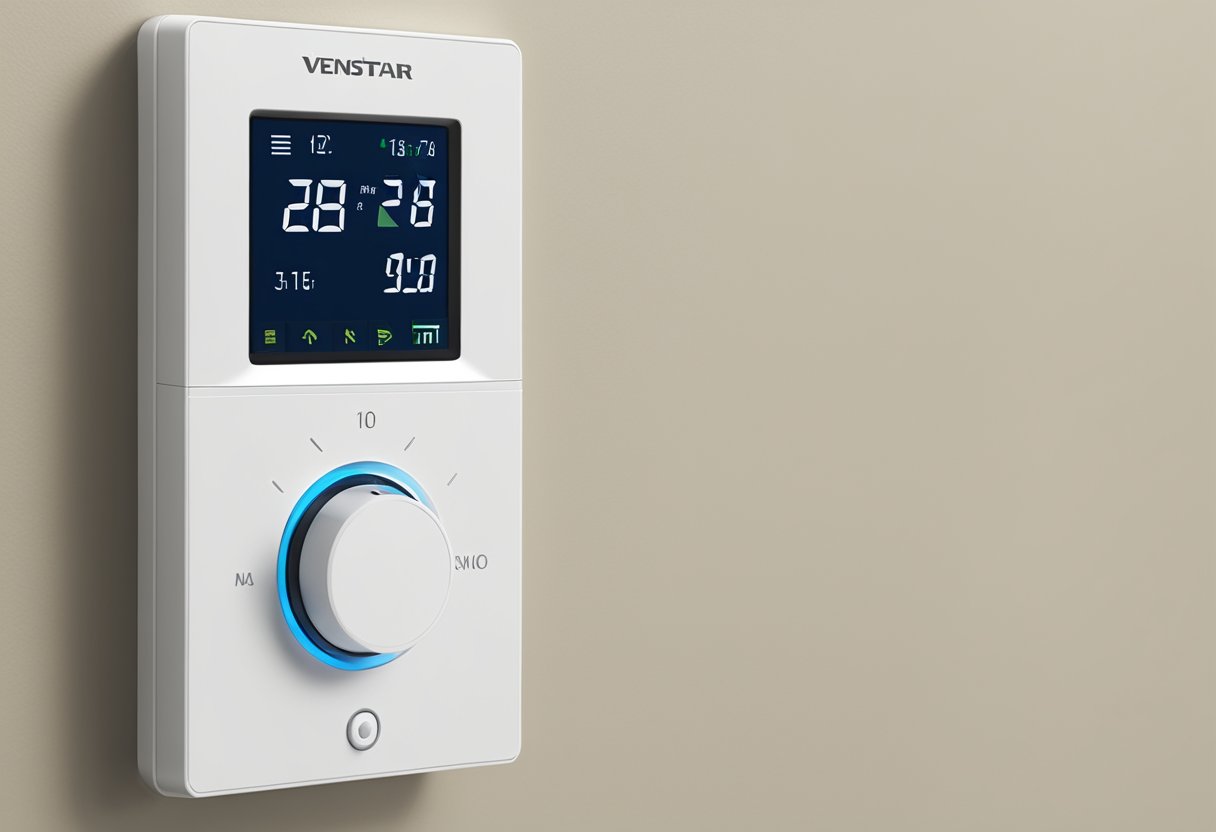
Venstar Thermostats are designed with a user-friendly interface that allows users to easily navigate through the settings. The thermostat has a touch screen display that shows the current temperature, humidity, and other settings. Users can adjust the temperature, set schedules, and configure other settings through the interface.
The interface also allows users to view energy usage and set energy-saving modes to reduce energy consumption. The thermostat can also be connected to a mobile app, which allows users to control the thermostat remotely. This feature is especially useful for those who want to adjust the temperature while away from home.
In summary, Venstar Thermostats offer a wide range of features to cater to different needs. The user-friendly interface and advanced features make it a popular choice among homeowners. With the ability to control the thermostat remotely, users can enjoy greater convenience and energy savings.
Maintenance Tips
If your Venstar thermostat is not turning on, there are some maintenance tips you can follow to troubleshoot the issue. Here are some things you can do:
Regular Cleaning
One of the easiest things you can do to keep your Venstar thermostat working properly is to clean it regularly. Dust and debris can accumulate on the device, which can affect its performance. To clean your thermostat, turn it off and remove the cover. Use a soft brush or a can of compressed air to remove any dirt or dust that has accumulated on the device. Be careful not to touch any of the internal components.
Battery Replacement
If your Venstar thermostat is not turning on, it might be because the batteries are dead. Most Venstar thermostats use AA batteries, which need to be replaced periodically. To replace the batteries, remove the cover from the thermostat and replace the old batteries with new ones. Make sure to insert the batteries correctly, following the instructions on the device.
Firmware Updates
Another reason why your Venstar thermostat might not be turning on is because it needs a firmware update. Venstar releases firmware updates periodically to fix bugs and improve performance. To update your thermostat’s firmware, you will need to download the latest version from the Venstar website and follow the instructions provided. Make sure to follow the instructions carefully, as updating the firmware incorrectly can cause serious problems.
By following these maintenance tips, you can keep your Venstar thermostat working properly and avoid any issues with it not turning on.
Professional Assistance
If your Venstar thermostat is not turning on, you may need to seek professional assistance to resolve the issue. Here are a few things to consider before calling a technician.
When to Call a Technician
If you have tried troubleshooting your Venstar thermostat and it still won’t turn on, it may be time to call a technician. A qualified technician will be able to diagnose the problem and provide a solution. Some common issues that may require professional assistance include faulty wiring, a malfunctioning control board, or a defective thermostat.
Warranty and Support
If your Venstar thermostat is still under warranty, you may be able to receive support from the manufacturer. Check the documentation that came with your thermostat to see if it is still covered under warranty. If it is, contact Venstar customer support for assistance.
Keep in mind that attempting to repair your Venstar thermostat yourself may void the warranty. It is always best to seek professional assistance if you are unsure about how to proceed.
In summary, if your Venstar thermostat is not turning on, it may be time to seek professional assistance. Consider the warranty and support options available to you before attempting any repairs yourself.
Check Best Thermostat Pricing in Amazon
** As an Amazon Associate, I earn from qualifying purchases.