
Check Best Thermostat Pricing in Amazon
** As an Amazon Associate, I earn from qualifying purchases.
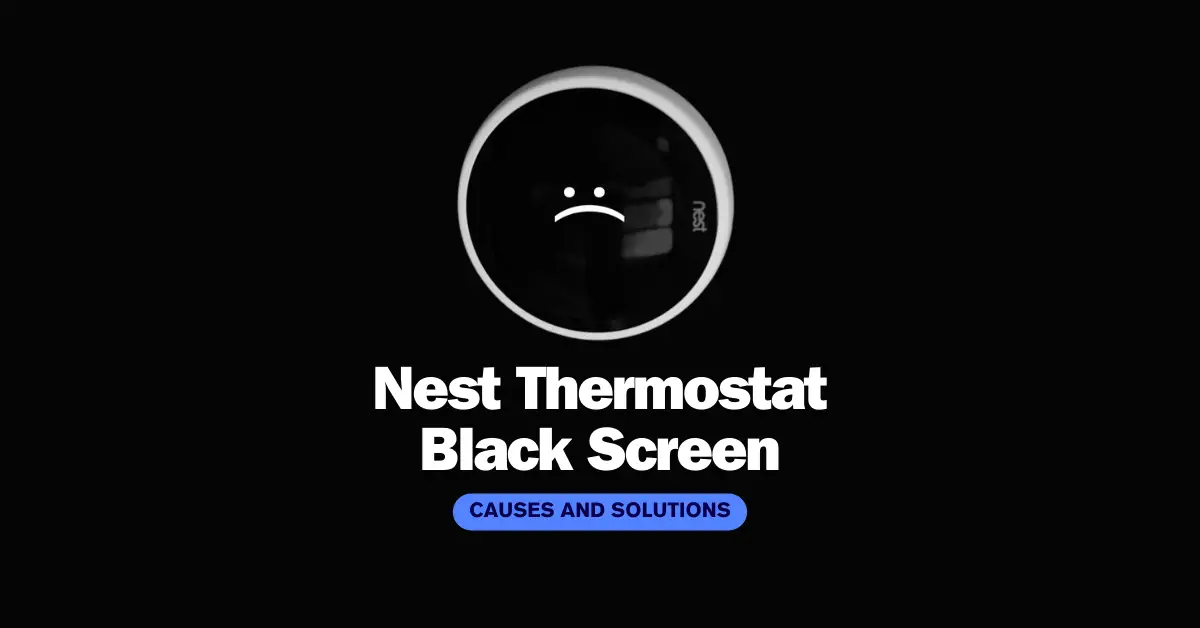
When the Nest thermostat’s screen goes black, it can be frustrating and confusing for users who rely on the device to regulate their home’s temperature. The black screen can prevent users from adjusting the temperature, checking the weather, or accessing other features of the device. While there are several potential causes of the black screen issue, there are also some simple troubleshooting steps that users can take to resolve the problem.
In this article, we will explore the causes of the Nest thermostat black screen issue and provide step-by-step instructions for troubleshooting and resolving the problem. Whether you are a new user of the Nest thermostat or a long-time owner, this article will help you get your device back up and running so that you can enjoy its many features and benefits.
Common Causes of Black Screen
The Nest thermostat is a popular smart thermostat that allows users to control their home’s temperature remotely. However, some users have reported experiencing a black screen on their Nest thermostat. This issue can be frustrating, as it prevents the user from accessing the thermostat’s controls and settings.
There are several common causes of the Nest thermostat black screen issue. One possible cause is a power issue. If the thermostat is not receiving power, it may display a black screen. Another possible cause is a software issue. If the thermostat’s software is outdated or corrupted, it may also display a black screen.
How the Nest Thermostat Works
To understand the Nest thermostat black screen issue, it’s important to understand how the thermostat works. The Nest thermostat uses a combination of sensors, algorithms, and machine learning to learn the user’s temperature preferences and adjust the temperature accordingly.
The thermostat has a built-in display that shows the current temperature, as well as options for adjusting the temperature and accessing the thermostat’s settings. The display is controlled by the thermostat’s software, which is regularly updated to improve performance and add new features.
Overall, the Nest thermostat black screen issue can be caused by a variety of factors, including power issues and software problems. It’s important to troubleshoot the issue to determine the root cause and find a solution.
Troubleshooting Steps
If your Nest thermostat is displaying a black screen, there are a few troubleshooting steps you can take to try and resolve the issue.
Initial Checks
Before attempting any troubleshooting steps, it’s important to check a few basic things. Make sure that the thermostat is properly connected to the wall and that the wires are securely attached. Check that the thermostat is receiving power by looking for the green light on the front of the device. If the light is not on, the thermostat may not be receiving power.
Power Cycle the Thermostat
One of the first steps to try when troubleshooting a Nest thermostat with a black screen is to power cycle the device. To do this, simply remove the device from the wall and wait for 30 seconds before plugging it back in. This can often help to reset the device and resolve any issues that may be causing the black screen.
Check the Wiring
Another possible cause of a black screen on a Nest thermostat is an issue with the wiring. Check that the wires are properly connected and that there are no loose or damaged wires. If there are any issues with the wiring, this could be preventing the thermostat from receiving power and causing the black screen.
By following these troubleshooting steps, you may be able to resolve the issue with your Nest thermostat and get it back up and running. If the issue persists, it may be necessary to contact Nest support for further assistance.
Advanced Solutions
Factory Reset
If the Nest thermostat’s screen is still black after trying the basic solutions, a factory reset may be necessary. Keep in mind that a factory reset will erase all the settings and data, so it’s important to have them backed up before proceeding.
To perform a factory reset, follow these steps:
- Press and hold the Nest button for 10 seconds.
- Release the button when the screen turns off.
- Press the button again to turn the thermostat back on.
- Follow the on-screen instructions to set up the thermostat again.
Firmware Update
If the factory reset doesn’t work, a firmware update may be needed. The firmware is the software that runs the thermostat, and updating it can fix bugs and improve performance.
Check Best Thermostat Pricing in Amazon
** As an Amazon Associate, I earn from qualifying purchases.
To update the firmware, follow these steps:
- Connect the Nest thermostat to Wi-Fi.
- Press the Nest button to bring up the menu.
- Select “Settings” and then “Software” from the menu.
- If an update is available, select “Update” to start the process.
- Wait for the update to complete, which may take several minutes.
It’s important to note that the Nest thermostat will automatically update its firmware when connected to Wi-Fi, so it’s a good idea to keep it connected to ensure it’s always up to date.
Replacement and Repair
If your Nest thermostat is experiencing a black screen, it may be time for a replacement or repair. Here are some options to consider:
Warranty and Support
If your Nest thermostat is still under warranty, contact Nest customer support for assistance. They may be able to provide a replacement or repair at no cost to you.
Nest offers a two-year limited warranty for their thermostats. However, keep in mind that the warranty does not cover damage caused by accidents, misuse, or unauthorized modifications.
Professional Assistance
If your Nest thermostat is no longer under warranty or you prefer professional assistance, consider contacting a licensed HVAC technician. They can diagnose the issue and provide repair or replacement options.
Before hiring a technician, be sure to research their qualifications and experience. Look for reviews and ask for references to ensure you are hiring a reputable professional.
Replacing or repairing a Nest thermostat can be a straightforward process with the right knowledge and resources. Consider the options available to you and choose the one that best fits your needs.
Preventative Measures
Regular Maintenance
Regular maintenance of the Nest thermostat can help prevent issues such as a black screen. It is recommended to clean the thermostat regularly to ensure that the sensors are not obstructed by dust or debris. Use a soft, dry cloth to wipe the front of the thermostat and remove any dirt or smudges that may have accumulated.
In addition, it is important to check the battery level of the thermostat regularly. A low battery can cause the thermostat to malfunction and display a black screen. To check the battery level, go to the settings menu and select “Technical Info”. The battery level will be displayed on the screen.
Software Updates
Regularly updating the software on the Nest thermostat can also help prevent a black screen. Software updates often include bug fixes and performance improvements that can address issues that may cause the thermostat to malfunction.
To check for software updates, go to the settings menu and select “Software Update”. If an update is available, follow the on-screen instructions to download and install it.
It is important to note that while regular maintenance and software updates can help prevent issues with the Nest thermostat, they may not completely eliminate the possibility of a black screen or other malfunctions. If a black screen or other issue persists, contact Nest customer support for assistance.
Check Best Thermostat Pricing in Amazon
** As an Amazon Associate, I earn from qualifying purchases.