
Check Best Thermostat Pricing in Amazon
** As an Amazon Associate, I earn from qualifying purchases.
Wiring a 24V transformer to your thermostat might sound tricky, but it doesn’t have to be. If you want your heating or cooling system to work smoothly, understanding this simple step is key.
Imagine avoiding costly mistakes and saving time by doing it right the first time. In this guide, you’ll learn exactly how to connect your transformer safely and correctly. Keep reading, and you’ll gain the confidence to handle this task like a pro—no confusion, no stress.

Credit: diy.stackexchange.com
Tools And Materials Needed
Gathering the right tools and materials is key to wiring a 24V transformer to a thermostat. Having everything ready makes the job easier and safer. This section lists what you need for the task.
Basic Tools
Start with a screwdriver set. Both flathead and Phillips types are useful. Wire strippers help remove insulation cleanly. A voltage tester checks power before you work. Needle-nose pliers assist with bending and holding wires.
Essential Materials
You need a 24V transformer designed for HVAC systems. Thermostat wire, usually 18-gauge, connects the parts. Wire nuts or electrical tape secure wire connections. A mounting box or bracket may be necessary to fix the transformer.
Safety Equipment
Wear insulated gloves to avoid electric shocks. Safety goggles protect your eyes from sparks or debris. Keep a fire extinguisher nearby, just in case. Always turn off power before starting any wiring.
Safety Precautions
Working with electrical devices like a 24V transformer and a thermostat requires care. Safety is the top priority to avoid shocks and damage. Follow clear steps to protect yourself and your equipment.
Turn Off Power
Always switch off the main power before starting. This stops electricity from flowing to the wires. Use a voltage tester to confirm the power is off.
Use Proper Tools
Choose insulated tools designed for electrical work. These tools reduce the risk of electric shock. Avoid using damaged or worn-out tools.
Wear Safety Gear
Wear rubber gloves and safety glasses. They protect your hands and eyes from sparks and sharp objects. Avoid loose clothing that might catch on wires.
Check For Damaged Wires
Inspect wires for cracks or frays before wiring. Damaged wires can cause shorts or fires. Replace any faulty wiring immediately.
Follow Wiring Diagrams
Use the correct wiring diagram for your thermostat and transformer. Incorrect wiring can damage the devices or cause malfunction. Double-check connections before powering up.
Keep Work Area Dry
Never work in wet or damp areas. Water increases the risk of electrical shock. Ensure the workspace is clean and dry for safety.
Identify Transformer Terminals
Start by finding the transformer’s primary and secondary terminals. The 24V terminals connect directly to the thermostat wires. Clear labeling on the transformer helps avoid confusion during wiring.
Before wiring a 24V transformer to a thermostat, find the terminals on the transformer. These terminals connect the transformer to your thermostat and HVAC system.
Transformers usually have two sets of terminals. One set connects to the power source, and the other set connects to the thermostat and heating system.
Locate Primary Terminals
The primary terminals connect the transformer to the main power supply. These terminals often have labels like “120V,” “240V,” or “Input.”
Check the transformer label to know the correct voltage for your home power. Connecting the wrong voltage can damage the transformer.
Locate Secondary Terminals
The secondary terminals provide low voltage to the thermostat. These are usually labeled “24V,” “R,” “C,” or “Output.”
These terminals deliver 24 volts to power the thermostat and control heating or cooling.
Identify Terminal Labels And Colors
Terminal labels and wire colors help avoid wiring mistakes. The red wire often connects to the “R” terminal, which is the 24V hot wire.
The common wire, or “C,” is usually blue or black. It completes the circuit for continuous power.
Use A Multimeter To Verify Terminals
A multimeter helps check voltage and confirm terminals. Set the multimeter to measure AC voltage and test the secondary terminals.
You should see around 24 volts between the “R” and “C” terminals. This confirms correct terminal identification.

Credit: sensi.copeland.com
Locate Thermostat Wiring
Finding the thermostat wiring is the first step in wiring a 24V transformer. The wires carry signals between the thermostat and your heating system. Knowing their location helps connect the transformer correctly.
Thermostat wires usually run inside the walls or baseboards. They connect the thermostat to the furnace or air handler. These wires are often thin and color-coded for easy identification.
Turn Off Power
Always turn off the power before touching any wires. This prevents electric shock and damage. Use the circuit breaker to cut power to the heating system.
Remove Thermostat Cover
Gently take off the thermostat cover. This exposes the wiring terminals. Use a screwdriver if needed. Avoid pulling the thermostat off the wall forcefully.
Identify Wire Colors
Look for common wire colors: red, white, green, and yellow. Red usually carries 24V power. White controls heating. Green is for the fan. Yellow connects to cooling.
Check Best Thermostat Pricing in Amazon
** As an Amazon Associate, I earn from qualifying purchases.
Locate The Terminal Labels
Check the thermostat base for terminal letters. Letters like R, W, G, and Y match wire colors. These labels guide proper wiring connections for the transformer.
Trace Wires To Furnace
Follow the wires from the thermostat to the furnace or air handler. This helps verify wiring paths. It also shows where to connect the transformer wires safely.
Connect Transformer To Power Source
Connecting the transformer to the power source is the first step in wiring a 24V transformer to a thermostat. This step ensures the transformer receives electricity to work properly. Safety is important. Always turn off the main power before starting any electrical work.
Follow the wiring instructions carefully. Use the right tools and materials. A proper connection keeps your system safe and efficient.
Turn Off The Main Power
Locate the circuit breaker or fuse that controls the power to your HVAC system. Switch it off. This prevents electrical shocks during wiring.
Identify The Transformer Wires
The transformer usually has two primary wires for power input. These wires connect to your home’s electrical supply. Check the wire colors and labels for correct identification.
Connect Primary Wires To Power Source
Attach the transformer’s primary wires to the power source wires. Use wire nuts or connectors to secure the connection. Match black to black (hot) and white to white (neutral) wires.
Secure And Insulate Connections
Wrap electrical tape around wire nuts for extra safety. Place all connections inside a junction box or electrical box. This prevents accidental contact and keeps wires safe.
Wire Transformer To Thermostat
Wiring a 24V transformer to a thermostat is a key step in setting up your heating or cooling system. This connection powers the thermostat and controls the system’s operation. Proper wiring ensures your system runs safely and efficiently. Follow these simple steps to connect the transformer to your thermostat correctly.
Connect Low Voltage Wires
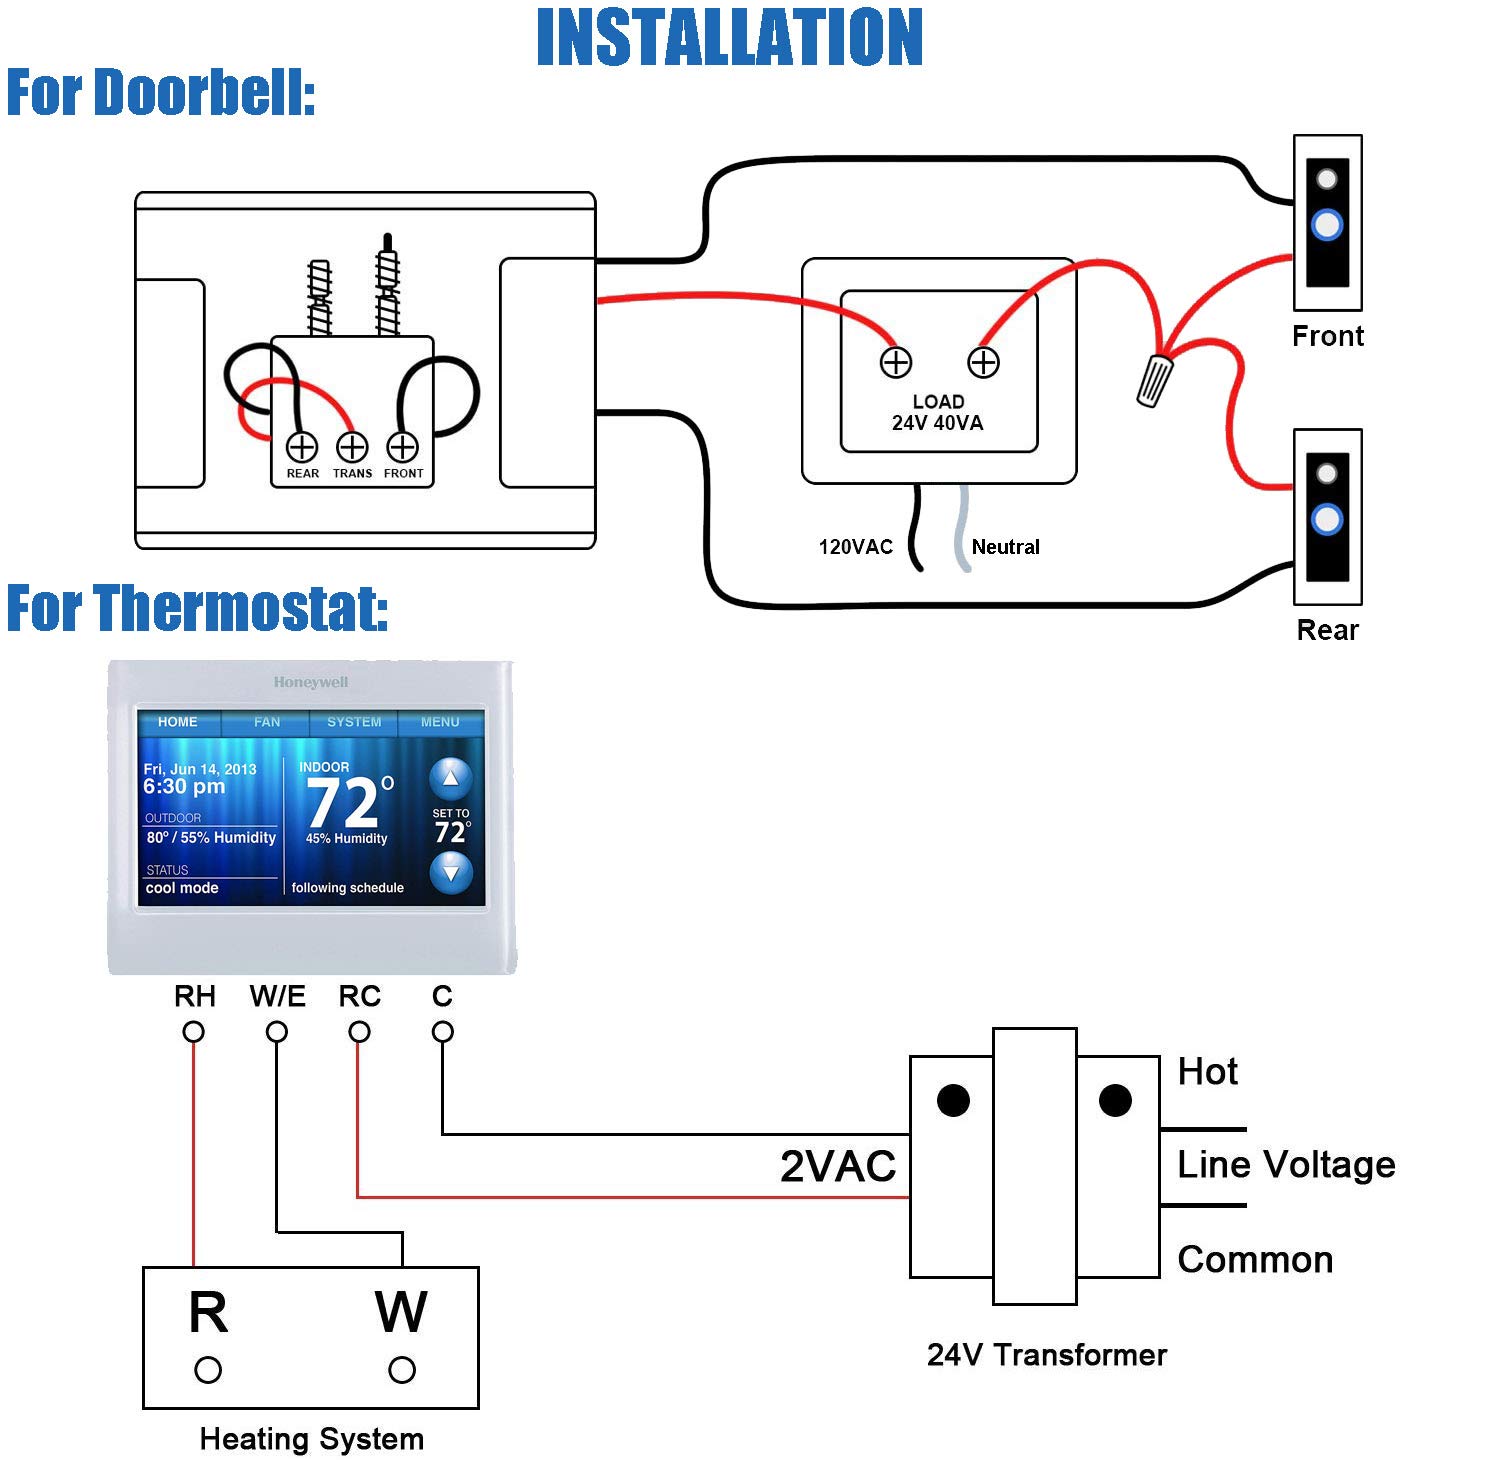
Start by turning off the power to the system. Find the low voltage wires on the transformer; these usually carry 24 volts. Typically, these wires are red and white. Connect the red wire from the transformer to the R terminal on the thermostat. Then, attach the white wire from the transformer to the C terminal. This setup allows the thermostat to receive power and communicate with your system.
Secure Connections
Use wire nuts or terminal screws to secure each connection tightly. Loose wires can cause the system to malfunction or stop working. Make sure no bare wire is exposed after securing the connection. Double-check each wire to confirm it is firmly attached. Proper connections prevent shorts and ensure reliable system performance.
Test The Thermostat System
Testing the thermostat system is the final step after wiring a 24V transformer. It confirms that the connections work well. Proper testing helps avoid future problems with heating or cooling.
Testing is simple and takes only a few minutes. It ensures the thermostat controls the system correctly. Follow these steps to check the thermostat system safely and effectively.
Check Power Supply To The Thermostat
First, make sure the transformer supplies 24 volts. Use a multimeter to measure voltage at thermostat terminals. The reading should be around 24 volts AC. No voltage means a wiring issue or a faulty transformer.
Test Thermostat Control Function
Set the thermostat to heating mode and increase the temperature. The heating system should turn on within seconds. Then, lower the temperature below room level. The system should turn off. This test shows the thermostat sends correct signals.
Inspect System Response And Safety
Listen for furnace or air conditioner starting sounds. Check if the system runs smoothly without strange noises. Watch for any error lights or system faults. Proper response ensures safe operation and comfort in your home.
Troubleshooting Common Issues
Troubleshooting common issues helps keep your thermostat working well. Wiring a 24V transformer to a thermostat can cause some problems. Knowing how to find and fix these issues saves time and effort.
Problems often happen because of wiring mistakes or power issues. Checking each part carefully is key. Use simple tools like a multimeter and a screwdriver. Test connections step-by-step to find the problem fast.
Checking For Loose Or Incorrect Wiring
Loose wires cause the thermostat to stop working. Turn off power before inspecting. Look for wires not fully attached or connected to wrong terminals. Tighten any loose screws and match wires to correct thermostat terminals.
Testing The Transformer Voltage Output
A faulty transformer may not send the right voltage. Use a multimeter to measure the output. It should read about 24 volts AC. Lower or no voltage means the transformer may need replacing.
Inspecting The Thermostat For Power Issues
Thermostats need power to run properly. Check the batteries if your model uses them. For hardwired units, ensure the 24V power supply is steady. A blank or unresponsive display often signals a power problem.
Verifying The Common Wire (c-wire) Connection
The common wire completes the circuit for the thermostat. Missing or loose C-wire causes power loss. Confirm the C-wire connects from the transformer to the thermostat terminal marked “C.” Secure the wire firmly.
Resetting The Thermostat
Sometimes a reset fixes minor glitches. Turn off the thermostat power for a few minutes. Turn it back on and check if it works. This simple step can clear errors and restore function.
Credit: monctonveinclinic.ca
Frequently Asked Questions
How Do I Connect A 24v Transformer To A Thermostat?
To connect, first turn off power. Attach the transformer’s primary wires to power supply. Connect secondary wires to thermostat terminals marked R and C. Ensure proper grounding and secure all connections. Turn power back on and test the thermostat for proper operation.
What Tools Are Needed To Wire A 24v Thermostat?
You need a screwdriver, wire strippers, voltage tester, and electrical tape. These tools help safely expose, connect, and secure wires. Using a voltage tester ensures power is off before working. Proper tools make wiring easier and safer.
Can I Use Any 24v Transformer For My Thermostat?
No, use a transformer matching your thermostat’s voltage and current needs. Check the thermostat specifications for voltage rating, typically 24V AC, and required VA rating. Using the correct transformer prevents damage and ensures optimal thermostat function.
Why Is The Common Wire (c Wire) Important In Wiring?
The C wire provides continuous 24V power to the thermostat. It enables advanced thermostats to operate Wi-Fi and digital displays. Without a C wire, some smart thermostats won’t function properly or require alternative power solutions.
Conclusion
Wiring a 24V transformer to a thermostat is simple with clear steps. Follow safety rules to avoid any problems. Double-check all connections before turning power on. A properly wired thermostat helps keep your home comfortable. Take your time and work carefully.
This small task can save money on heating and cooling. Trust your skills and stay safe throughout the process. Now, you are ready to control your home’s temperature easily.
Check Best Thermostat Pricing in Amazon
** As an Amazon Associate, I earn from qualifying purchases.