
Check Best Thermostat Pricing in Amazon
** As an Amazon Associate, I earn from qualifying purchases.
To use an old Honeywell thermostat, start by understanding its basic functions. These thermostats can control heating and cooling systems in your home.
Learning to operate an old Honeywell thermostat might seem tricky, but it’s quite straightforward once you know the basics. These devices have been a staple in households for years, providing reliable temperature control. Whether you’ve inherited one or found it in your new home, knowing how to use it efficiently can make a huge difference in your comfort levels.
This guide will walk you through the essential steps to make sure your thermostat is set up correctly and functions optimally. With the right knowledge, you can maintain a cozy home environment effortlessly.
Types Of Honeywell Thermostats
When it comes to managing your home’s temperature, Honeywell thermostats are a popular choice. They come in various types, each designed to cater to different needs and preferences. Understanding these types can help you choose the right one for your home.
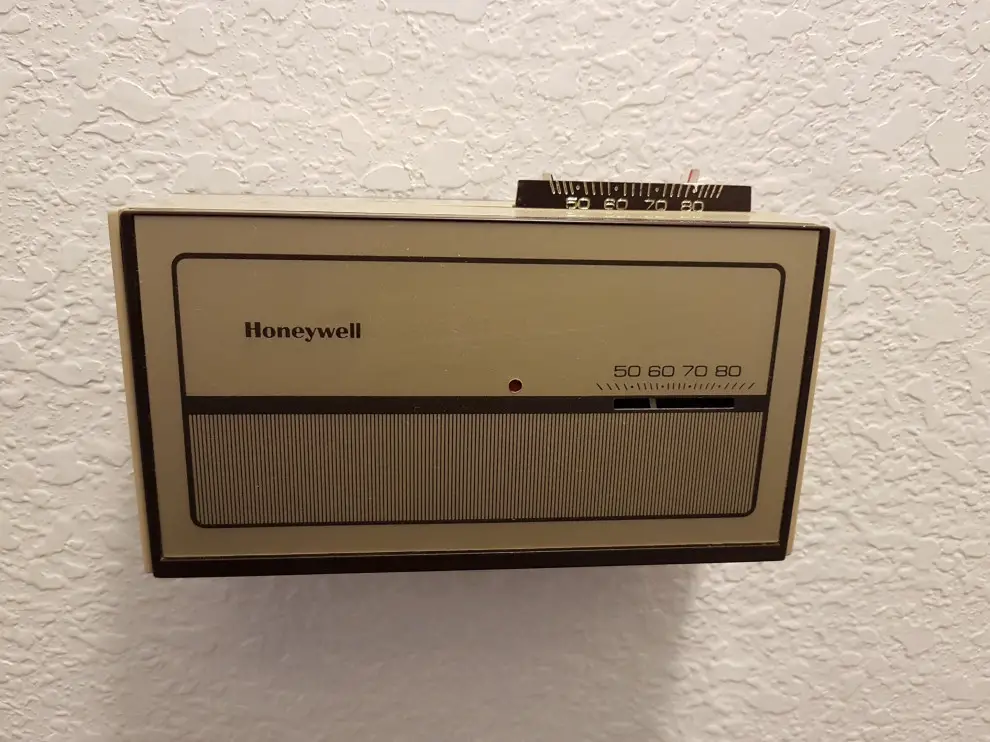
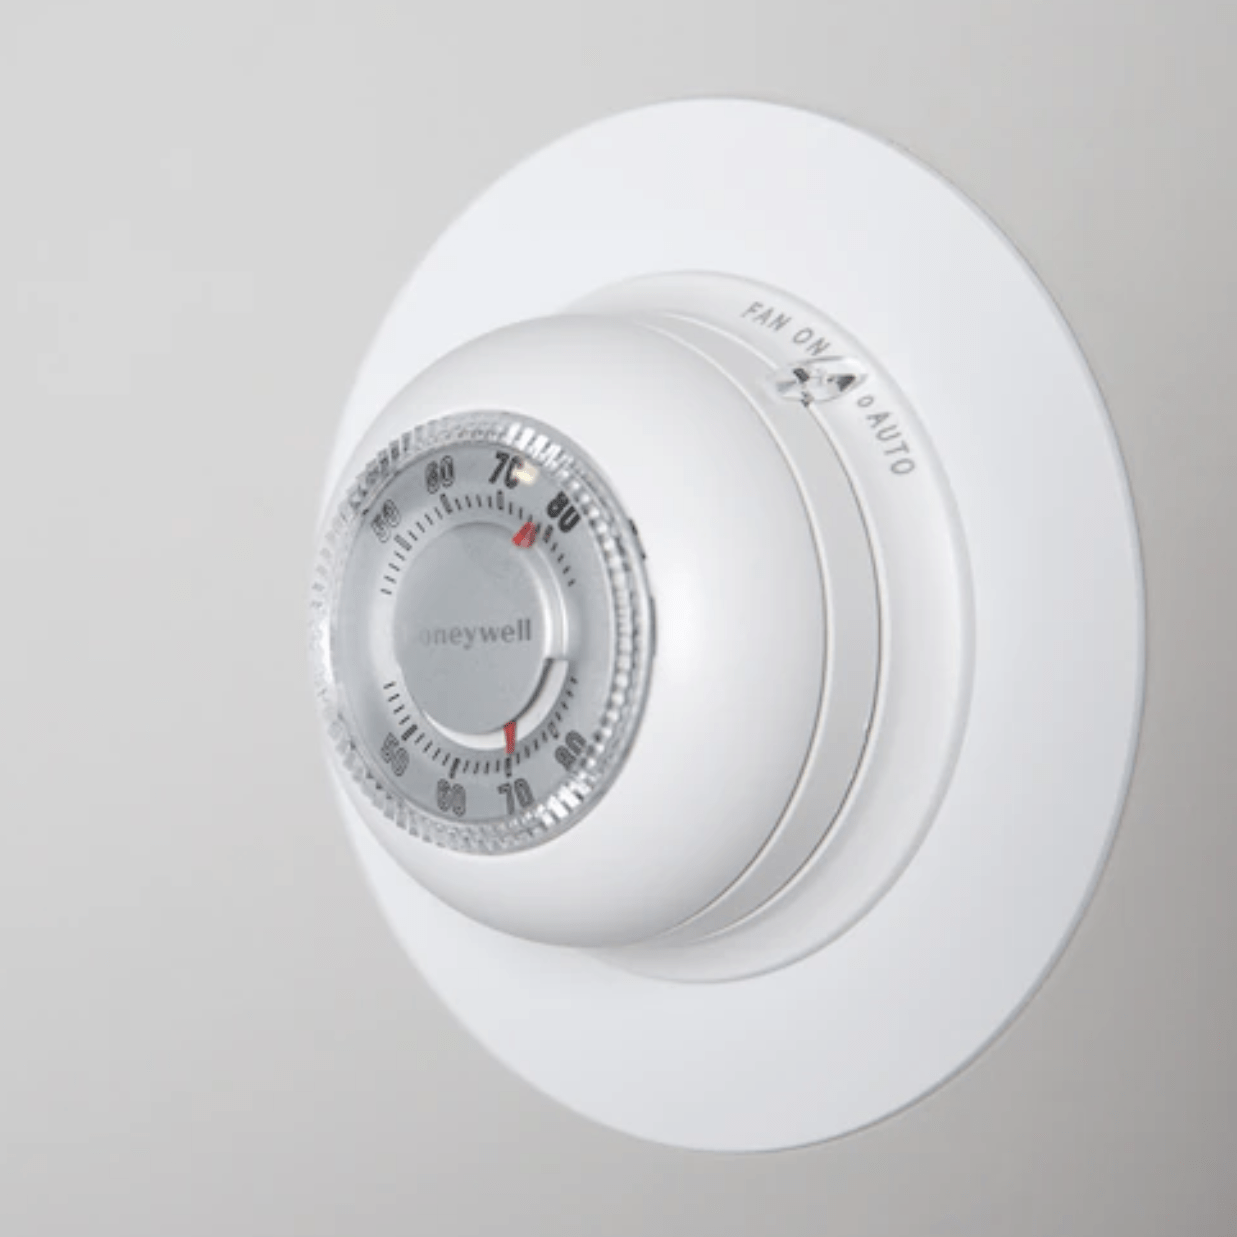
Analog Models
Analog models are the traditional type of thermostat. They use a simple dial to set the temperature. You might remember these from your childhood home. They are straightforward and reliable.
These models are easy to use. You simply turn the dial to your desired temperature. No need to worry about programming or digital screens.
However, they do lack some of the advanced features of digital models. But if you prefer simplicity and reliability, analog models are a great choice. I remember using one in my first apartment, and it worked like a charm.
Digital Models
Digital models offer more features and flexibility. They come with a digital display, making it easier to read and set the temperature. Many of these models also allow you to program your heating and cooling schedule.
For example, you can set the thermostat to lower the temperature while you’re at work and raise it before you get home. This can lead to energy savings and more comfort. I personally love being able to adjust settings without even being home, thanks to smart features.
Some digital models also connect to Wi-Fi. This means you can control them using your smartphone or voice assistant. If you love tech, you might find these features very appealing.
So, which type of Honeywell thermostat do you think suits your home best? Consider your preferences and needs, and make an informed choice. Whether you go for the reliability of analog or the advanced features of digital, you can’t go wrong with Honeywell.

Credit: www.youtube.com
Initial Setup
Setting up your Honeywell Thermostat for the first time may seem challenging. But with this guide, you will find it simple and straightforward. Follow these steps to get started quickly and easily.
Unboxing And Checking Components
Start by unboxing your Honeywell Thermostat. Ensure you have all the components. The box should include the thermostat unit, a wall plate, screws, and a user manual. Double-check everything is there before proceeding.
Installing Batteries
Next, install the batteries. Flip the thermostat to access the battery compartment. Insert the batteries according to the positive and negative terminals. Make sure they are secure. This step is crucial for the thermostat to function properly.
Mounting The Thermostat
Mounting the Honeywell thermostat is simple. First, choose a good spot on the wall. Then, secure the thermostat base with screws.
Mounting the thermostat is a crucial step in ensuring your Honeywell thermostat works effectively. Proper placement can make a big difference in the accuracy of temperature readings and the efficiency of your heating and cooling systems. ###Choosing The Location
First, pick a spot that’s easily accessible. This makes it easier to make adjustments. Avoid placing it near windows, doors, or direct sunlight. These areas can give false readings due to drafts or direct heat. Consider the height. Mounting the thermostat at eye level is generally recommended. This makes it convenient to read and adjust. ###Mounting Instructions
Once you’ve chosen the right location, it’s time to mount the thermostat. Start by turning off the power to your heating and cooling systems. This ensures safety while you work. Next, remove the cover of the old thermostat. Note the wiring configuration and label the wires. This will help you connect them correctly to the new thermostat. Now, attach the mounting plate to the wall using screws and anchors. Make sure it’s level. This ensures the thermostat functions accurately. After mounting the plate, connect the wires to the corresponding terminals on the new thermostat. Replace the cover and restore power to your systems. Your thermostat should now be securely mounted and ready to use. Test it to make sure it’s working properly. Adjust settings and see how it responds. If you encounter any issues, consult the user manual or seek professional help. Proper mounting is key to efficient operation.
Credit: www.reddit.com
Wiring The Thermostat
Connecting an old Honeywell thermostat is simple. Match the wire colors to the labeled terminals. Tighten screws to secure the wires.
Wiring a Honeywell thermostat can seem intimidating, especially if you’re dealing with an older model. However, with some guidance, even beginners can manage it. Let’s break down the steps to make your journey smoother.Identifying Wires
Before you start, turn off your HVAC system to avoid any electrical hazards. Begin by removing the cover of your old thermostat. You’ll see various colored wires connected to labeled terminals. Each wire corresponds to a specific function. For instance, the red wire (often labeled ‘R’) controls the power. Take a photo of the current wiring setup. This will help you reference the original connections if needed.Connecting Wires
Now, match the wires from your old thermostat to the corresponding terminals on the Honeywell thermostat. Start by connecting the red wire to the ‘R’ terminal. This wire powers the thermostat. Next, connect the white wire to the ‘W’ terminal. This wire controls the heating. Continue with the yellow wire to the ‘Y’ terminal for cooling. Lastly, connect the green wire to the ‘G’ terminal for the fan. Ensure each wire is securely connected. Loose wires can cause your thermostat to malfunction. Are you wondering if you missed any wires? Double-check your photo or the manual to confirm all connections are correct. Wiring your Honeywell thermostat might seem like a daunting task, but remember, patience and attention to detail are key. Happy wiring!Configuring Settings
Configuring settings on your old Honeywell thermostat doesn’t have to be hard. With a few simple steps, you can set the date, time, and temperature schedules. This ensures your home stays comfortable all year round.
Setting The Date And Time
First, locate the “Set” button on your thermostat. Press it once. You should see the date and time settings appear on the screen.
Use the arrow buttons to adjust the year, month, and day. Press “Set” after each adjustment to confirm. Next, set the time using the same method.
Confirm your settings by pressing “Run” or “Home.” The display should now show the correct date and time. This step ensures your thermostat runs accurately.
Check Best Thermostat Pricing in Amazon
** As an Amazon Associate, I earn from qualifying purchases.
Programming Temperature Schedules
Programming temperature schedules can save energy and money. Start by pressing the “Program” button on your thermostat. Choose a day or a block of days you want to adjust.
Set the desired temperature for different times of the day. For example, you might set a lower temperature while you sleep. Use the arrow buttons to adjust the temperature and time.
Press “Set” to confirm each time period. Repeat this process for each day or block of days. Once done, press “Run” or “Home” to activate your schedule.
Your thermostat will now follow the set temperature schedule. This ensures your home stays comfortable and energy-efficient.
Using Basic Functions
Learn to adjust your Honeywell thermostat with ease. Set the temperature, switch modes, and program schedules quickly. Keep your home comfortable effortlessly.
When it comes to using an old Honeywell thermostat, understanding the basic functions can make your life much easier. You don’t need to be a tech wizard to get it right. Let’s dive into the simple steps to adjust the temperature and switch between modes.Adjusting Temperature
To adjust the temperature, start by locating the up and down arrow buttons on your Honeywell thermostat. These buttons are typically found on the front panel. Press the up arrow to increase the temperature. If your room feels too warm, press the down arrow to lower the temperature. Keep an eye on the digital display to see the current temperature setting. If you have an older analog model, turn the dial to your desired temperature.Switching Between Modes
Switching between heating and cooling modes is straightforward. Look for the mode switch, usually labeled with “Heat,” “Cool,” and “Off.” Move the switch to “Heat” when you want to warm up your home. Flip it to “Cool” if you need to lower the room temperature. Setting the mode to “Off” will turn off the HVAC system, useful for those mild days when you don’t need heating or cooling. Using these basic functions ensures your home remains comfortable throughout the seasons. Have you ever found yourself struggling with an old thermostat? Share your thoughts and experiences in the comments.Troubleshooting
Is your old Honeywell thermostat acting up? Don’t worry, you’re not alone. Many people face common issues with older models, but the good news is that most problems can be easily fixed.
Common Issues
One of the most frequent problems is the thermostat not turning on. Check if the batteries are dead or improperly installed. If the screen is blank, it’s likely a power issue.
Another common issue is incorrect temperature readings. This can happen if the thermostat is placed in a poor location, like near a heat source. Move it to a central location away from direct sunlight and vents.
Is the thermostat not following the set schedule? This often occurs due to programming errors. Double-check the settings and make sure the current time and date are correct.
Maintenance Tips
Regular maintenance can prevent many of these issues. Start by cleaning the thermostat. Dust and debris can affect its performance.
Replace the batteries annually, even if they still seem to work. This ensures that your thermostat has a constant power supply.
Check the wiring periodically. Loose or corroded wires can cause malfunction. Tighten any loose connections and replace damaged wires.
Are you facing any of these issues? Share your experiences and tips in the comments below. What worked for you?
Credit: www.familyhandyman.com
Frequently Asked Questions
How To Work A Basic Honeywell Thermostat?
To work a basic Honeywell thermostat, set the desired temperature using the up/down arrows. Switch between heat, cool, and off modes using the mode button. Adjust the fan settings to auto or on using the fan button.
How Do I Manually Set The Temperature On My Honeywell Thermostat?
Press the “System” button to select heating or cooling. Use the up and down arrows to set the desired temperature. Press “Hold” to maintain this setting.
Which Model Honeywell Thermostat Do I Have?
Check the model number on the thermostat’s front or inside the cover. Refer to the user manual for details.
How To Reset Honeywell Thermostat Old Model?
To reset an old Honeywell thermostat, turn off the device. Remove batteries, wait 10 seconds, then reinsert them. Set your desired settings.
Conclusion
Using a Honeywell thermostat is simple and efficient. Follow the steps outlined. You’ll enjoy consistent comfort at home. Adjust settings for optimal temperature control. Regularly check batteries to avoid disruptions. Keep it clean for better performance. Understand the basic functions and features.
This will help you manage energy use. A well-maintained thermostat ensures a cozy living space. Practice makes perfect, so keep exploring its options. Happy heating and cooling!
Check Best Thermostat Pricing in Amazon
** As an Amazon Associate, I earn from qualifying purchases.