
Check Best Thermostat Pricing in Amazon
** As an Amazon Associate, I earn from qualifying purchases.
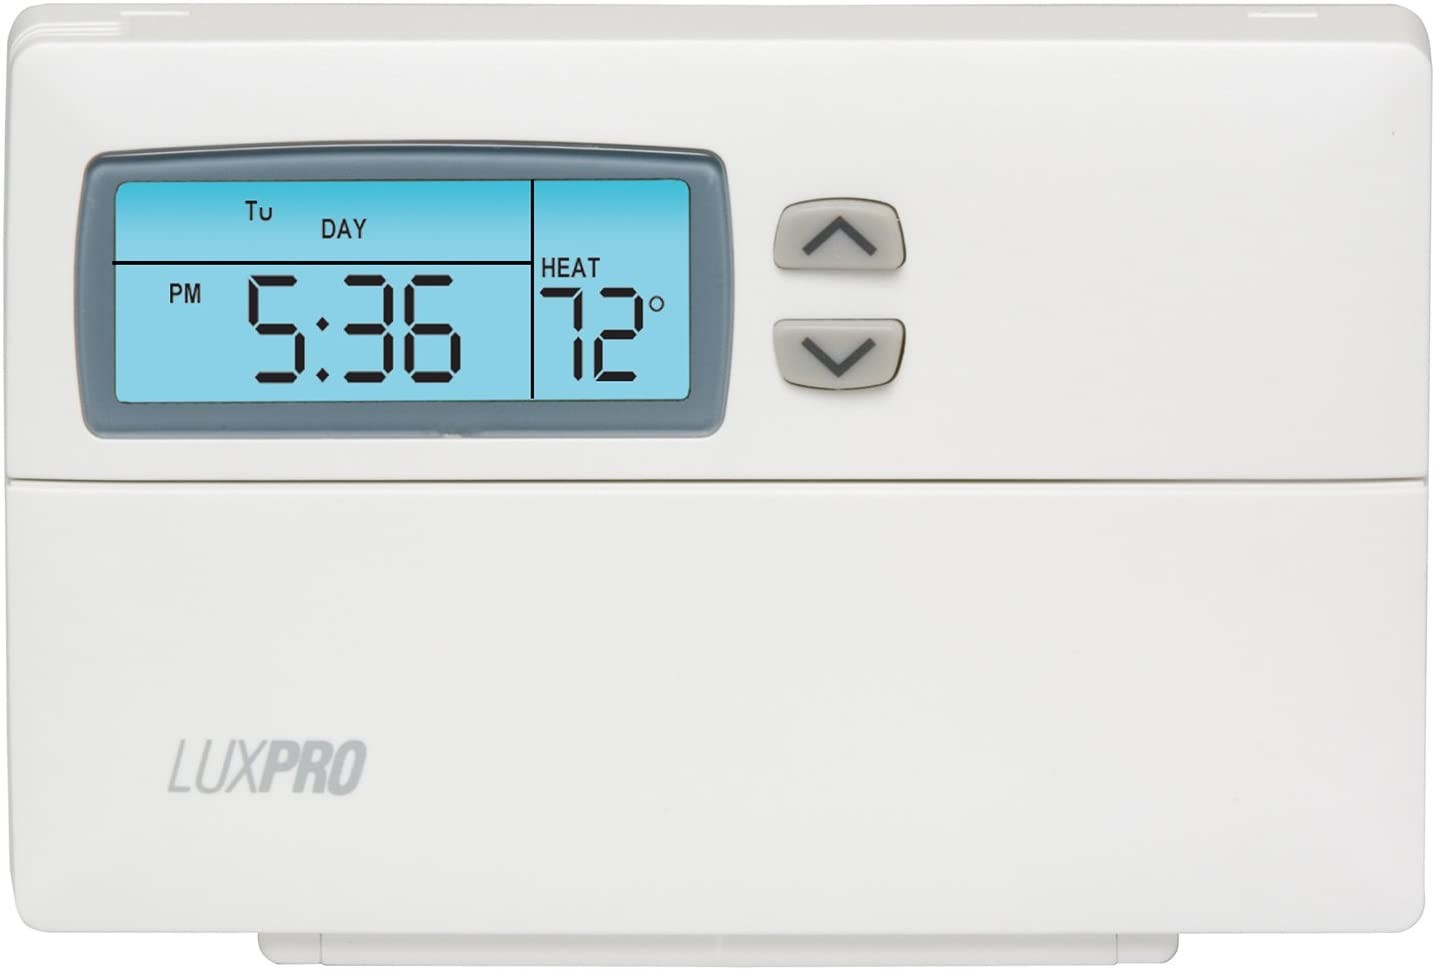
To turn on a Luxpro thermostat, press the ‘Power’ button. Adjust the settings using the ‘Up’ and ‘Down’ arrows.
Luxpro thermostats offer efficient temperature control for homes and offices. These devices are user-friendly and designed for easy operation. With simple steps, you can adjust your indoor climate to your comfort. Understanding how to turn on and set your Luxpro thermostat is crucial for maintaining a comfortable environment.
By familiarizing yourself with the basic functions, you can ensure optimal performance. This guide will help you get started with your Luxpro thermostat, making it easier to manage your heating and cooling needs efficiently.

Credit: jacksonsystems.com
Introduction To Luxpro Thermostats
Luxpro Thermostats are user-friendly devices designed to make your home comfortable. They offer a range of features that ensure you always enjoy the perfect temperature.
These thermostats are known for their ease of use and reliability. If you are new to Luxpro, this guide will help you understand why they are a great choice and highlight their key features.
Why Choose A Luxpro Thermostat
Luxpro Thermostats are a favorite among homeowners for many reasons. Here are some key points:
- Easy to Install: You can set it up quickly without expert help.
- Energy Efficient: They help reduce your energy bills.
- Reliable Performance: You can count on them to work well every day.
Key Features Of Luxpro Thermostats
Luxpro Thermostats come with a variety of features that make them stand out:
| Feature | Description |
|---|---|
| Programmable Settings | You can set schedules to match your daily routine. |
| Touchscreen Interface | Easy to navigate and use with a clear display. |
| Wi-Fi Connectivity | Control your thermostat from your smartphone. |
| Energy Reports | Track your energy usage and find ways to save. |
Choosing a Luxpro Thermostat means investing in a device that offers convenience and efficiency. With their user-friendly interface and energy-saving features, they are an excellent addition to any home.
Before You Begin
Before you start the process of turning on your Luxpro thermostat, it’s essential to prepare. This preparation ensures that you can complete the task smoothly and safely. In this section, we will cover the necessary safety precautions and tools you may need.
Safety Precautions
Safety is paramount when dealing with any electrical device. Follow these safety tips to protect yourself and your home:
- Turn off the power to your HVAC system at the circuit breaker.
- Ensure your hands are dry before touching the thermostat or any wires.
- Use insulated tools to prevent electrical shocks.
- Keep children and pets away from the work area.
Tools You May Need
Having the right tools can make the process easier and faster. Here is a list of tools you may need:
| Tool | Purpose |
|---|---|
| Phillips screwdriver | To remove or tighten screws on the thermostat |
| Flathead screwdriver | To pry open covers or panels |
| Wire strippers | To strip insulation from wires |
| Voltage tester | To ensure the power is off |
With these tools and safety precautions in place, you are ready to proceed with turning on your Luxpro thermostat.
Identifying Your Luxpro Model
Before you can turn on your Luxpro thermostat, you need to identify its model. Each Luxpro thermostat model has a unique design and interface. Understanding which model you have is crucial for proper operation.
Locating The Model Number
The first step in identifying your Luxpro thermostat is to locate the model number. The model number is usually found on the back of the thermostat. Remove the thermostat from the wall to see the back.
If you can’t find the model number there, check the user manual. The user manual often contains the model number along with other important information.
Different Models And Their Interfaces
Luxpro thermostats come in various models. Each model has its own unique interface. Knowing the interface helps in setting up and using the thermostat correctly.
| Model | Interface |
|---|---|
| Luxpro PSP511LC | Simple buttons and digital display |
| Luxpro PSPA711 | Touchscreen interface |
| Luxpro PSP722E | Advanced touchscreen with Wi-Fi |
Basic models like the PSP511LC have simple buttons and a digital display. These models are easy to use and perfect for basic needs.
Advanced models like the PSPA711 feature a touchscreen interface. These models offer more settings and customization options.
High-end models such as the PSP722E come with an advanced touchscreen and Wi-Fi. These models provide remote access and smart home integration.
Once you know your Luxpro thermostat model, you can proceed to turn it on. Follow the specific instructions for your model in the user manual or on the Luxpro website.
Setting Up The Basics
Setting up your Luxpro Thermostat is simple if you follow basic steps. This guide will help you start easily. Let’s break it down into easy-to-follow instructions. Follow these steps to ensure your thermostat works perfectly.
Installing Batteries
The first step is to install the batteries. Make sure you use fresh, high-quality batteries. This ensures the thermostat functions correctly.
- Remove the thermostat cover. Gently pull it off.
- Locate the battery compartment. It’s usually at the back.
- Insert two AA batteries. Ensure the positive and negative ends match the markings.
- Close the battery compartment. Snap the cover back on.
Important: Check the display. If it turns on, the batteries are installed correctly.
Mounting The Thermostat On The Wall
Mounting the thermostat on the wall is the next step. This ensures the device is secure and functions well.
- Choose a location. Pick a spot away from direct sunlight and drafts.
- Mark the screw holes. Use the backplate as a template.
- Drill holes at the marked spots. Use a drill bit suitable for your wall type.
- Insert wall anchors if needed. These provide extra support.
- Screw the backplate into place. Use the provided screws.
- Attach the thermostat to the backplate. Snap it into place securely.
Tip: Make sure the thermostat is level. This ensures accurate temperature readings.
Powering On Your Luxpro Thermostat
Turning on your Luxpro Thermostat is simple. Follow these steps to get started with your new device.
Turning On The Power
First, ensure the thermostat is properly installed. Check the wires are connected securely.
Next, locate the power button on the thermostat. Press and hold the power button for 3 seconds.
You should see the screen light up. This means the thermostat is now on.
Initial Setup Screen
Once the device is on, the initial setup screen will appear. This screen helps you configure basic settings.
Follow these steps to navigate the initial setup:
Check Best Thermostat Pricing in Amazon
** As an Amazon Associate, I earn from qualifying purchases.
- Select your preferred language using the arrow buttons.
- Press “Select” to confirm your language choice.
- Set the date and time by pressing the arrow buttons.
- Press “Select” to save the date and time settings.
Now, your Luxpro Thermostat is ready for use. You can start adjusting your temperature settings.
Programming Your Thermostat
Programming your Luxpro Thermostat is essential for maintaining comfort in your home. This guide will help you set the time and date, and adjust the temperature settings efficiently.
Setting The Time And Date
Setting the correct time and date on your thermostat is the first step. Follow these simple steps to ensure your thermostat operates correctly:
- Press the Menu button on your thermostat.
- Navigate to the Time/Date option using the arrow buttons.
- Press OK to select Time/Date.
- Use the arrow buttons to set the correct time. Press OK.
- Next, set the correct date using the arrow buttons. Press OK again.
Adjusting Temperature Settings
Adjusting the temperature settings helps you maintain a comfortable environment. Here’s how you can do it:
- Press the Menu button.
- Select Temperature using the arrow buttons. Press OK.
- Set your desired daytime temperature using the arrow buttons. Press OK.
- Next, set your desired nighttime temperature. Press OK once done.
For further convenience, you can set different temperatures for weekdays and weekends. This ensures your home is always comfortable.
Troubleshooting Common Issues
Experiencing issues with your Luxpro Thermostat can be frustrating. Here are some common problems and their solutions. This guide will help you get your thermostat working again.
When Your Thermostat Won’t Turn On
If your thermostat won’t turn on, check the power supply first. Make sure the batteries are not dead. Replace them if necessary.
Verify that the circuit breaker is not tripped. If it is, reset it and see if that resolves the issue. Sometimes, a tripped breaker can prevent the thermostat from turning on.
Make sure the wiring connections are secure. Loose wires can cause the thermostat to malfunction. Use a screwdriver to tighten any loose connections.
If these steps don’t work, refer to the Luxpro manual. It will guide you through additional troubleshooting steps.
Resetting The Thermostat
Resetting your thermostat can resolve many issues. Here’s how to do it:
- Locate the reset button on the thermostat. It is usually behind the cover or on the side.
- Press and hold the reset button for about 5 seconds. This will reset the system.
- Release the button and wait for the thermostat to restart. This may take a few minutes.
After resetting, you may need to reprogram your settings. Make sure to set the correct time, date, and temperature preferences.
| Issue | Solution |
|---|---|
| Thermostat won’t turn on | Check power supply, batteries, circuit breaker, and wiring connections |
| Need to reset | Press and hold reset button for 5 seconds |
By following these steps, you can fix most common issues with your Luxpro Thermostat. If problems persist, consult a professional.
Maintenance Tips
Maintaining your Luxpro Thermostat ensures it runs efficiently and lasts longer. Regular upkeep helps you avoid unexpected breakdowns and keeps your home comfortable.
Regular Cleaning
Dust and dirt can clog your thermostat, causing it to work poorly. Clean the exterior with a soft, damp cloth. Avoid using harsh chemicals. Gently wipe the screen and buttons. Make sure to clean the vents to ensure proper airflow. If dust gets inside, it can affect the thermostat’s sensors.
Battery Replacement And Care
Weak batteries can cause your thermostat to malfunction. Check the battery status regularly. Replace them at least once a year. Use high-quality batteries for better performance. Follow these simple steps for battery replacement:
- Turn off the thermostat.
- Remove the cover gently.
- Take out the old batteries.
- Insert new batteries, matching the positive and negative ends correctly.
- Replace the cover and turn on the thermostat.
Ensure you dispose of old batteries properly. Never mix old and new batteries or different types of batteries. This can damage your thermostat.
Advanced Features
The Luxpro Thermostat offers a variety of advanced features to make your home more comfortable and energy-efficient. These features include the ability to control your thermostat remotely, integrate with smart home systems, and customize settings to match your lifestyle. Let’s dive into some of these advanced features.
Using The Luxpro App
The Luxpro App allows you to control your thermostat from anywhere. You can adjust the temperature, set schedules, and monitor energy usage directly from your smartphone.
- Remote Control: Adjust the temperature from anywhere, whether you’re at home or away.
- Scheduling: Set daily or weekly schedules to match your routine.
- Energy Monitoring: Keep track of your energy usage and find ways to save.
To get started, download the Luxpro App from the App Store or Google Play. Follow the in-app instructions to connect your thermostat to your phone.
Setting Up Smart Home Integration
Integrate your Luxpro Thermostat with your smart home system for even more convenience. Whether you use Amazon Alexa, Google Home, or another smart home hub, you can control your thermostat with voice commands.
- Amazon Alexa: Enable the Luxpro Skill in the Alexa app and link your account.
- Google Home: Use the Google Home app to connect your thermostat.
- Other Smart Hubs: Check compatibility and follow the hub’s instructions for integration.
Once integrated, you can use simple voice commands like “Alexa, set the thermostat to 72 degrees” or “Hey Google, lower the temperature by 3 degrees.”
Smart home integration makes it easier to manage your home’s climate without lifting a finger.
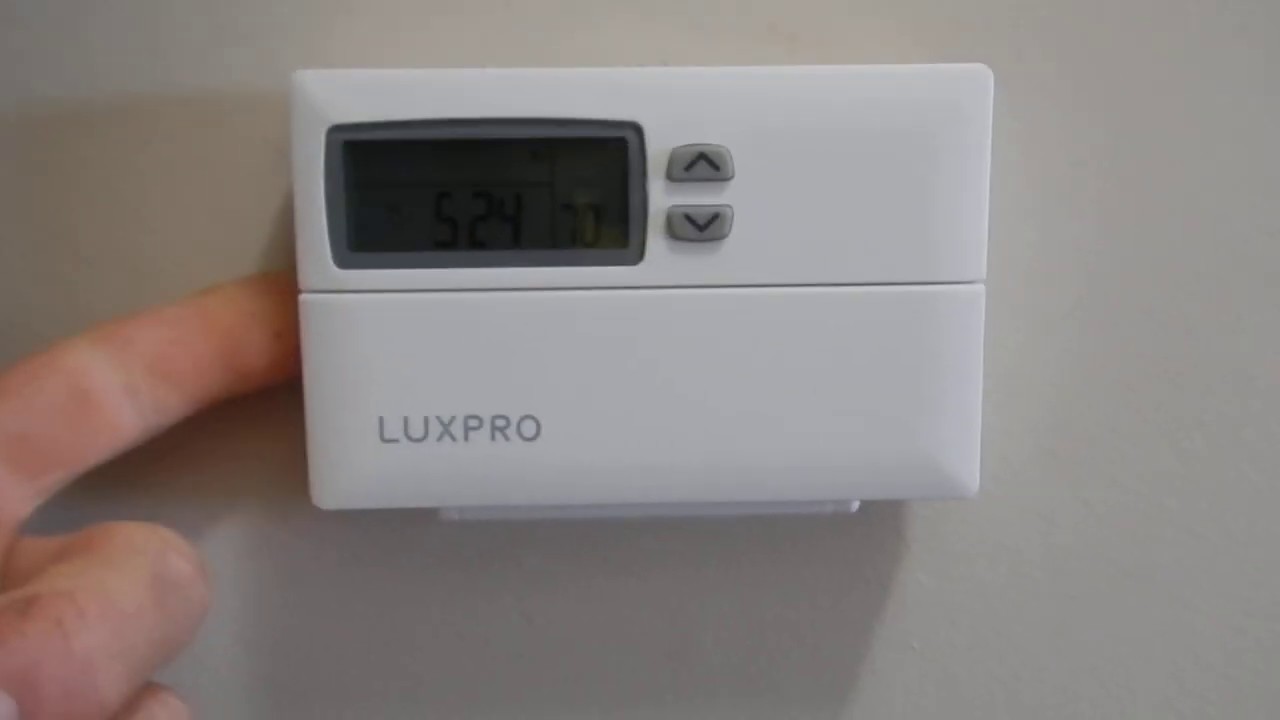
Credit: m.youtube.com
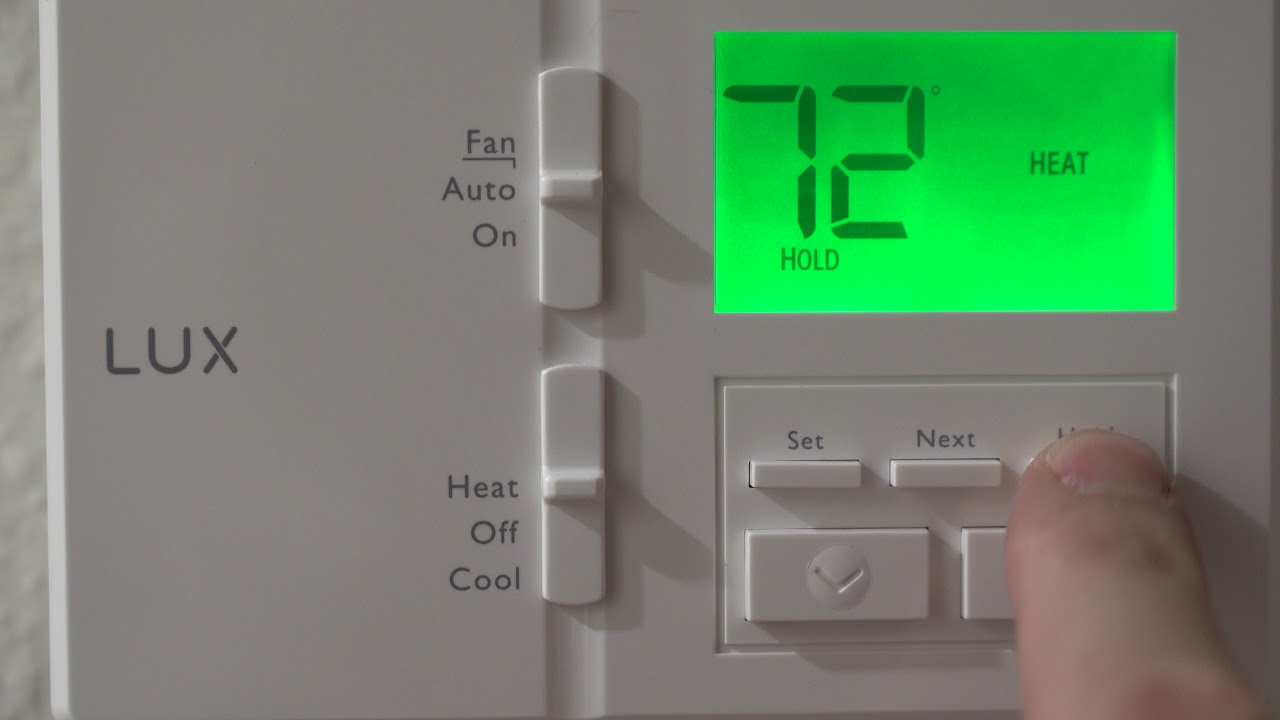
Credit: m.youtube.com
Frequently Asked Questions
How Do You Work A Luxpro Thermostat?
To work a Luxpro thermostat, press the “Menu” button, select “Set” for temperature, and adjust using the arrow keys. Save settings by pressing “Done. “
How Do I Reset A Luxpro Thermostat?
To reset a Luxpro thermostat, press and hold the “Reset” button for 5 seconds. Release the button. Your thermostat will reset to factory settings.
When Your Thermostat Won’t Turn On?
Check batteries, circuit breaker, and wiring connections. Ensure the thermostat is set correctly. Contact a professional if needed.
How To Unlock A Luxpro Thermostat?
To unlock a Luxpro thermostat, press the “Menu” button. Enter the default code “0000” or your custom code.
Conclusion
Mastering your Luxpro thermostat is straightforward with these steps. A well-managed thermostat enhances home comfort and energy efficiency. Regularly check and adjust settings for optimal performance. Enjoy a cozy and efficient home environment. For more tips, explore our other guides and keep your home comfortable year-round.
Check Best Thermostat Pricing in Amazon
** As an Amazon Associate, I earn from qualifying purchases.