
Check Best Thermostat Pricing in Amazon
** As an Amazon Associate, I earn from qualifying purchases.
Are you selling or giving away your Nest Thermostat? Transferring it to the new owner might seem tricky, but it doesn’t have to be.
If you want to make sure the new user can set it up easily and your personal information stays safe, this guide is for you. Keep reading to learn simple steps that will help you hand over your Nest Thermostat smoothly and securely.
You’ll avoid common mistakes and save time, making the whole process stress-free. Let’s get started!
Prepare Your Nest Thermostat
Preparing your Nest Thermostat before handing it over is important. It protects your privacy and ensures the new owner can set it up easily. Taking the right steps helps avoid confusion or trouble later.
Follow simple steps to clear your personal data and reset the device. This makes the thermostat ready for new use without your information.
Remove Personal Information
Start by disconnecting the thermostat from your Google account. This stops the device from linking to your apps or settings. Open the Nest app, select your thermostat, and remove it from your home. On the thermostat, check the settings to delete any stored Wi-Fi passwords and schedules. Erasing this data keeps your details safe and private.
Factory Reset Process
Next, perform a factory reset on the Nest Thermostat. This clears all settings and returns it to default. On the thermostat, press the ring to open the menu. Navigate to Settings, then select Reset. Choose “All Settings” to erase everything. The device will restart as if it is new. After resetting, the new owner can set up the thermostat from scratch without issues.

Credit: www.youtube.com
Disconnect Nest From Account
Disconnecting your Nest Thermostat from your account is the first step before handing it over to someone else. This step ensures your personal information stays safe. It also allows the new owner to set up the device with their own account. Follow these simple steps to remove your Nest Thermostat from your Google account and apps.
Using The Nest App
Open the Nest app on your phone or tablet. Tap on the thermostat you want to remove. Go to the settings menu by tapping the gear icon. Scroll down and select “Remove Device.” Confirm the removal by tapping “Remove.” The thermostat will disconnect from your account immediately.
Removing Device From Google Home
Launch the Google Home app. Find your Nest Thermostat on the home screen. Tap the device, then tap the settings icon. Scroll to the bottom and choose “Remove Device.” Confirm by selecting “Remove.” This action disconnects the thermostat from your Google Home account.
Set Up For New Owner
Setting up the Nest Thermostat for a new owner is simple but important. It helps the new user get started fast without any issues. Preparing the device and providing clear instructions make the transfer smooth.
Leave Instructions For Setup
Write easy steps on how to connect the Nest Thermostat. Include details about Wi-Fi setup and app installation. Explain how to create a new account and link the device. Clear instructions reduce confusion and save time for the new owner.
Provide Necessary Accessories
Give the new owner all items needed for use. This includes the power adapter, mounting screws, and user manual. Check if batteries are included or needed. Having everything together helps the new owner start using the thermostat right away.
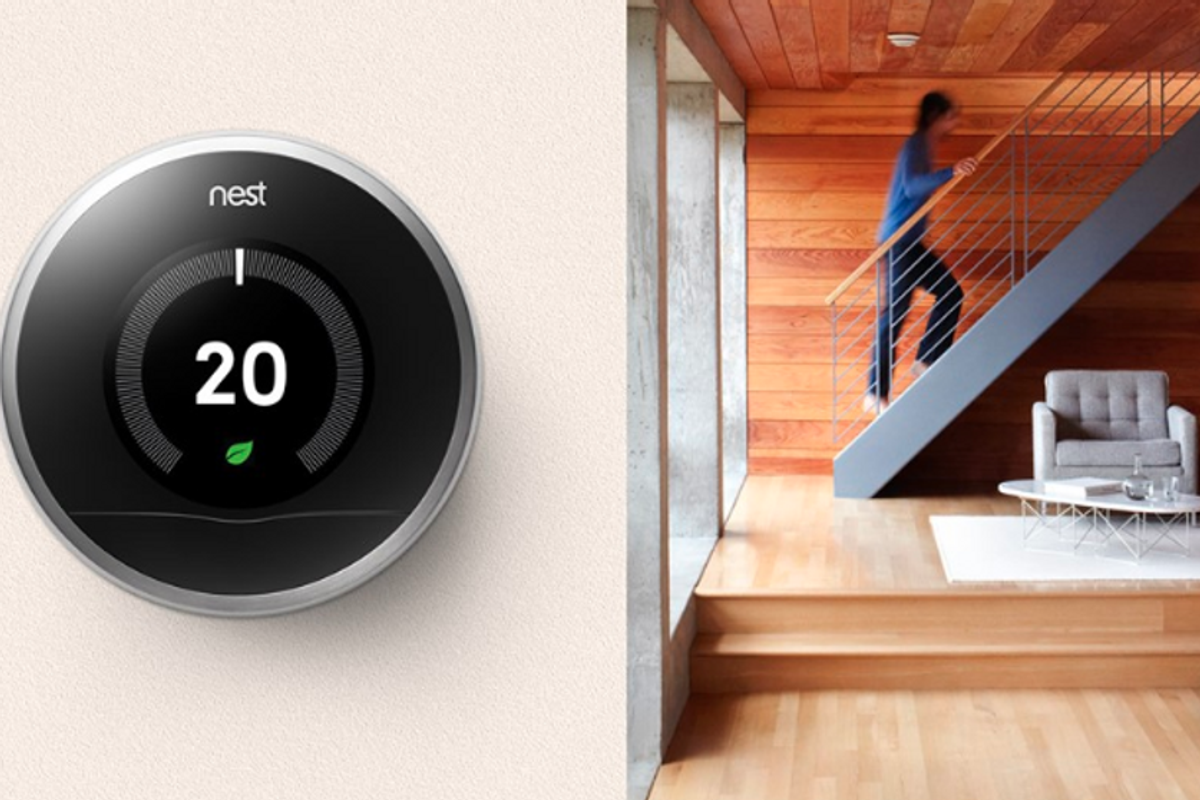
Credit: www.gearbrain.com
Troubleshooting Common Issues
Troubleshooting common problems helps complete the Nest thermostat transfer smoothly. Some issues may block the device reset or account transfer steps. Solving these problems early saves time and avoids frustration.
Device Not Resetting
Sometimes the Nest thermostat does not reset properly. This can happen if the device is still linked to the old account. Press and hold the thermostat ring for 10 seconds to force a reset. Make sure the device is powered during this process.
Check Best Thermostat Pricing in Amazon
** As an Amazon Associate, I earn from qualifying purchases.
If the reset fails, check for software updates. Old software can prevent resets. Try restarting the device by removing it from the base and placing it back. This can clear minor errors blocking the reset.
Account Transfer Errors
Account transfer errors occur when the new owner cannot add the device to their Nest app. Confirm the old account has removed the thermostat from their devices. The device must be unlinked before adding it to a new account.
Check the internet connection on the thermostat. A weak connection can cause transfer failures. Also, verify that the new owner uses the latest version of the Nest app. Outdated apps can cause syncing problems.
Tips For Smooth Ownership Transfer
Transferring your Nest Thermostat to a new owner is easy with a few simple steps. Clear communication and proper checks make the process smooth. These tips help avoid confusion and ensure the new owner gets full control without issues.
Follow these guidelines to make the handover quick and hassle-free. Keep everything clear and ready before the transfer. This saves time and helps the new owner start using the thermostat right away.
Communicate With New Owner
Talk to the new owner about the Nest Thermostat features. Explain how to use the basic functions and where to find help. Share any important details, like the Nest app and account setup.
Confirm the new owner knows how to reset the thermostat. This clears your account and lets them add their own. Good communication avoids confusion and makes the transfer easier.
Check Compatibility And Updates
Verify the new owner’s home system works with the Nest Thermostat. Some HVAC systems may not be compatible. Checking this early prevents problems later on.
Make sure the thermostat has the latest software updates. Updated devices work better and connect smoothly. This helps the new owner enjoy all the features without trouble.

Credit: www.handsonmovingandstorage.com
Frequently Asked Questions
How Do I Remove My Nest Thermostat From My Account?
To remove your Nest Thermostat, open the Google Home app. Select the device, go to settings, and choose “Remove device. ” This unlinks the thermostat from your account, allowing the new owner to set it up fresh.
Can The New Owner Use The Nest Thermostat Immediately?
No, the new owner must reset the thermostat. Perform a factory reset to erase all settings. After that, they can connect it to their Google account and customize preferences.
Is Factory Reset Necessary For Transferring Nest Thermostat?
Yes, factory reset is crucial. It deletes your personal data and removes device settings. This ensures privacy and allows the new owner to configure the thermostat as new.
How To Factory Reset Nest Thermostat?
Go to the thermostat’s settings menu, select “Reset,” then choose “All Settings. ” Confirm the action. The device will restart with default factory settings, ready for the new user.
Conclusion
Transferring your Nest Thermostat to a new owner is simple. Just follow the key steps carefully. Remove your account and reset the device first. This keeps your information safe and private. The new owner can then set up the thermostat easily.
Taking these steps helps avoid common problems. It also ensures the thermostat works well for them. Share this guide to help others transfer their Nest Thermostat without trouble. A smooth transfer means happy new users and peace of mind for you.
Check Best Thermostat Pricing in Amazon
** As an Amazon Associate, I earn from qualifying purchases.