
Check Best Thermostat Pricing in Amazon
** As an Amazon Associate, I earn from qualifying purchases.
To stop your Nest Thermostat from changing temperature, you need to adjust its settings. This can be done through the thermostat itself or the Nest app.
Here’s a quick guide to help you get started. Nest Thermostats are designed to learn your habits and adjust temperatures automatically. While this feature is convenient, it may not suit everyone. You might find that your thermostat changes the temperature at times you don’t want it to.
This can be frustrating, especially if you prefer a constant temperature. Thankfully, you can control this feature and set the temperature to stay where you want. In this guide, we will show you simple steps to stop your Nest Thermostat from changing temperature on its own.
Common Issues
Struggling to keep your Nest Thermostat from changing the temperature on its own? You are not alone. Many users face common issues with this smart device. Understanding these problems can help you regain control over your home’s climate.
Automatic Adjustments
One of the most frequent issues involves automatic adjustments. The Nest Thermostat uses learning algorithms. It tries to predict your preferred settings. This feature can sometimes lead to unexpected temperature changes. If your schedule varies, the thermostat might get confused. This can result in uncomfortable indoor conditions.
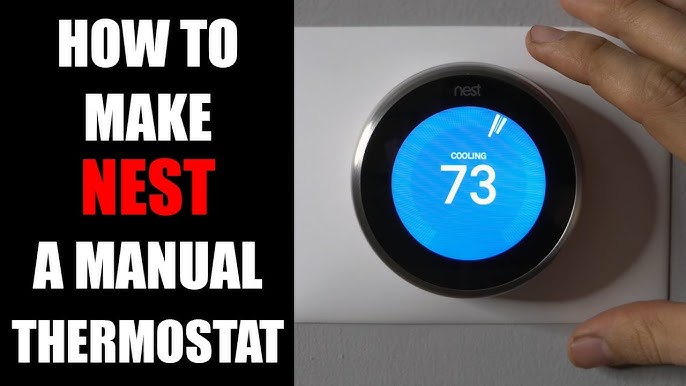
Temperature Swings
Another common problem is temperature swings. Your thermostat might overcompensate for changes. It can switch from too hot to too cold quickly. This can be frustrating. These swings can disrupt your comfort. They can also lead to increased energy use. This means higher utility bills. You need consistent temperature control. Identifying the cause of these swings is crucial.

Credit: support.google.com
Manual Control
Manual control of your Nest Thermostat gives you the power to set and maintain your desired temperature. It prevents automatic changes that might not suit your comfort. This way, you can enjoy consistent temperatures without constant adjustments.
Disable Auto-schedule
The Auto-Schedule feature learns your habits and adjusts the temperature automatically. To stop this, disable the Auto-Schedule feature. Open the Nest app and go to Settings. Select Auto-Schedule and turn it off. This prevents the thermostat from making changes based on your past behavior.
Set Fixed Temperatures
Setting fixed temperatures is another way to maintain control. Go to the Nest app and choose your thermostat. Select the temperature you want for different times of the day. Make sure to save your settings. This keeps the temperature steady and avoids unwanted changes.
Nest App Settings
The Nest App offers several settings to help you control your thermostat. Adjusting these settings can stop your Nest Thermostat from changing the temperature automatically. You can access the app and modify preferences easily.
Accessing The App
First, download the Nest App on your smartphone or tablet. Open the app and log in with your account details. If you don’t have an account, create one. Once logged in, find your thermostat in the list of connected devices. Select it to access the main control screen.
Adjusting Preferences
On the main control screen, tap the settings icon. Navigate to the “Home/Away Assist” section. Turn off the automatic switching between Home and Away modes. This prevents the thermostat from changing temperatures based on your location.
Next, go to the “Eco Temperatures” section. Set both the heating and cooling temperatures to your preferred levels. This ensures your home remains at a comfortable temperature without frequent changes.
Finally, visit the “Schedule” section. Adjust or delete any pre-set schedules that may change the temperature. Save your changes to keep the Nest Thermostat stable.
Energy-saving Mode
Energy-Saving Mode is a great feature on your Nest Thermostat. It helps save energy and reduce utility bills. But sometimes, it can change the temperature when you do not want it to. This can be annoying, especially if you prefer a specific temperature. Here is how to manage the Energy-Saving Mode.
Turn Off Eco Mode
Eco Mode is a key part of the Energy-Saving Mode. It sets the temperature to a range that saves energy. But you can turn it off if it bothers you.
Go to your Nest Thermostat and press the ring. Select “Settings” and then “Eco”. Turn the Eco Mode off. This will stop the thermostat from changing the temperature. You can always turn it back on later if needed.
Customize Eco Settings
If you do not want to turn off Eco Mode, you can customize it. This way, it will save energy but still meet your needs.
Go to “Settings” on your Nest Thermostat. Select “Eco” and then “Temperature”. Here, you can set the minimum and maximum temperatures. Adjust these settings to your comfort level. Save the changes and exit the menu. Now, your thermostat will use your preferred range for Eco Mode.
By customizing Eco settings, you can enjoy both comfort and energy savings. You do not have to compromise on either.
Learning Mode
Prevent your Nest Thermostat from changing the temperature automatically by disabling its learning mode. Adjust the settings to maintain your preferred temperature consistently. This ensures a comfortable home environment at all times.
Nest Thermostat’s Learning Mode helps it adjust to your preferences. It studies your habits and sets the temperature based on your schedule. Sometimes, you may want more control over your thermostat. Here’s how to stop Nest from changing the temperature.Disable Learning
Disabling the Learning Mode can give you more control. First, open the Nest app on your phone. Go to the settings menu and select the thermostat. Find the “Auto-Schedule” option and turn it off. This stops the thermostat from learning new habits. It will keep the current schedule until you change it manually.Reset Learning Data
Resetting learning data can clear the thermostat’s memory. This lets you start fresh with your temperature settings. To do this, go to the thermostat itself. Press the ring and select “Settings.” Scroll to “Reset” and choose “Schedule.” Confirm your selection to erase all learning data. Now, you can set a new schedule that suits your needs. By following these steps, you can stop the Nest Thermostat from changing the temperature automatically. You will have more control over your home’s climate.Home/away Assist
Have you ever come home to find your Nest Thermostat set to an uncomfortably high or low temperature? The culprit might be the Home/Away Assist feature. This smart functionality automatically adjusts the temperature based on whether it detects someone at home or not. While useful, it can sometimes make unwanted changes. Here’s how you can take control.
Turn Off Home/away
First, you might want to turn off the Home/Away Assist. This will prevent the thermostat from making automatic adjustments when it thinks you’ve left.
To do this:
- Open the Nest app on your smartphone.
- Tap on your thermostat.
- Select “Settings” (the gear icon).
- Choose “Home/Away Assist.”
- Toggle off the Home/Away Assist feature.
After turning off this feature, your thermostat will no longer change the temperature based on your presence. This can be particularly useful if you have a variable schedule or work from home sporadically.
Set Consistent Preferences
Another way to avoid unexpected temperature changes is to set consistent preferences.
Here’s how:
Check Best Thermostat Pricing in Amazon
** As an Amazon Associate, I earn from qualifying purchases.
- Go to “Settings” in the Nest app.
- Choose “Temperature Preferences.”
- Set your preferred temperature range for different times of the day.
By setting these preferences, you ensure the thermostat maintains a comfortable temperature throughout the day.
Adjust these settings according to your daily routine. For instance, if you’re usually home around 6 PM, set a comfortable evening temperature around that time. This way, you avoid coming home to an overly hot or cold house.
Have you tried setting consistent preferences or turning off the Home/Away Assist before? What other tips do you have for keeping your home at the perfect temperature? Let us know in the comments below!
Firmware Updates
Firmware updates are essential for keeping your Nest Thermostat functioning smoothly. These updates can fix bugs, improve performance, and add new features. Ensuring your thermostat’s firmware is up-to-date can prevent it from changing the temperature unexpectedly.
Check For Updates
First, ensure your Nest Thermostat is connected to Wi-Fi. Open the Nest app on your smartphone. Navigate to the settings menu. Look for the option that says “Technical Info” or “Device Info.” Here, you will find the current firmware version.
Compare this version with the latest firmware available. You can find this information on the Nest support website. If your firmware is outdated, your thermostat might be missing critical updates.
Apply Updates
If an update is available, it is important to apply it. In the Nest app, go back to the settings menu. Find the option that says “Software Update.” Follow the prompts to start the update process. This may take a few minutes, so be patient.
Ensure your thermostat stays connected to Wi-Fi during the update. Losing connection can interrupt the update process. Once completed, your Nest Thermostat will restart with the new firmware. Check the temperature settings to see if the issue persists.
Regularly checking and applying firmware updates can keep your thermostat running smoothly. It ensures you have the latest features and fixes. This simple step can help stop your Nest Thermostat from changing the temperature on its own.
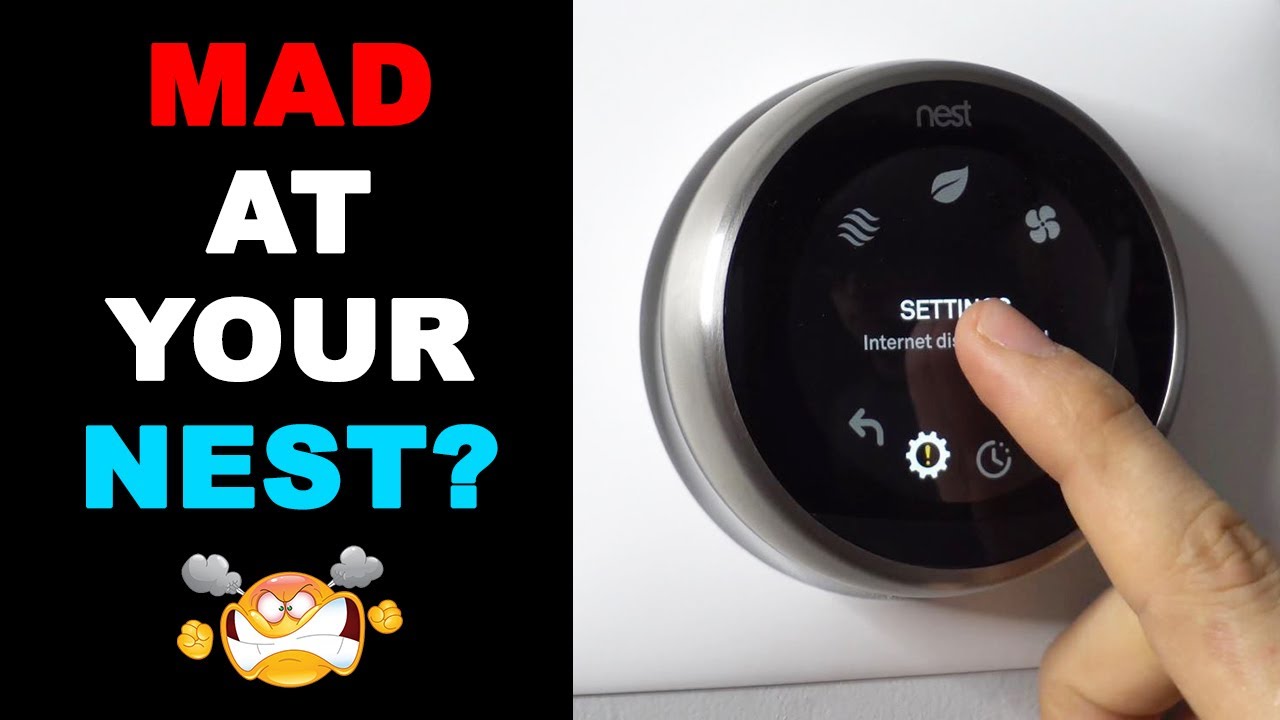
Credit: www.youtube.com
Troubleshooting
Sometimes, your Nest Thermostat might change temperatures unexpectedly. This can be frustrating, especially if it happens often. Let’s dive into some troubleshooting steps to help you stop your Nest Thermostat from changing the temperature on its own.
Check Sensor Placement
The placement of your Nest Thermostat’s sensors is crucial. If the sensors are placed in a spot with poor airflow, it might not accurately detect the room’s temperature.
Make sure the thermostat is not near windows, doors, or direct sunlight. These can cause false readings, leading to unexpected temperature changes.
I once had my thermostat near a drafty window. Moving it to an interior wall made all the difference. Have you checked where your sensors are placed?
Verify Connectivity
Another common issue can be connectivity. If your thermostat loses its connection to your Wi-Fi, it might revert to default settings or not function properly.
Ensure your Wi-Fi signal is strong where the thermostat is installed. Sometimes, a simple router restart can resolve connectivity issues.
Also, check if there are any firmware updates available. Keeping your device updated can help prevent random temperature changes.
Have you ever had trouble with other devices on your Wi-Fi? If so, your Nest Thermostat might be facing the same issue.
By focusing on these practical steps, you can regain control over your Nest Thermostat and maintain a comfortable home environment. What troubleshooting steps will you try first?
Credit: support.google.com
Frequently Asked Questions
How Do I Get My Nest Thermostat To Stop Changing Temperature?
Turn off the Nest thermostat’s Auto-Schedule feature. Go to Settings > Nest Sense > Auto-Schedule, then select “Off. “
How Do I Keep My Nest Thermostat At A Constant Temperature?
Set your Nest thermostat to hold mode. Go to Settings, then Temperature Preferences, and select Hold Temperature. Adjust as needed.
Why Does My Nest Thermostat Keep Resetting The Temperature?
Your Nest thermostat might reset the temperature due to scheduled programming, Eco Mode, or a malfunction. Check the schedule settings and software updates.
How Do I Stop My Thermostat From Changing Temperature After?
To stop your thermostat from changing temperature, disable the automatic schedule. Set it to manual mode. Adjust settings as needed.
Conclusion
Take control of your Nest Thermostat easily. Follow these steps to stop it from changing temperature automatically. Customize settings to fit your lifestyle. Ensure consistent comfort in your home. Simple adjustments can make a big difference. Enjoy the perfect temperature without any hassle.
Stay comfortable all year round. Remember to check your settings regularly. This helps maintain your desired environment. Happy adjusting!
Check Best Thermostat Pricing in Amazon
** As an Amazon Associate, I earn from qualifying purchases.