
Check Best Thermostat Pricing in Amazon
** As an Amazon Associate, I earn from qualifying purchases.
Setting up a Honeywell thermostat is easy and efficient. With a few steps, your home can be more comfortable.
A thermostat is crucial for managing your home’s temperature. Honeywell thermostats are popular for their reliability and ease of use. Knowing how to set one up properly can save you time and energy. In this guide, we will walk you through the process step by step.
Whether you have just bought a new Honeywell thermostat or want to reinstall an existing one, understanding the setup is vital. This post will help you get your thermostat up and running smoothly, ensuring you have full control over your home’s climate. Let’s dive in and make your home more comfortable.
Introduction To Honeywell Thermostats
Honeywell thermostats are well-known for their quality and reliability. Setting up a Honeywell thermostat can improve your home’s comfort and energy efficiency. In this guide, you will learn how to set up your Honeywell thermostat quickly and easily.
Benefits Of Using Honeywell
Honeywell thermostats offer several benefits. They help you save energy by maintaining optimal temperature levels. With programmable options, you can set different temperatures for different times of the day. This flexibility allows you to reduce heating or cooling when you are not home.
Honeywell thermostats also provide a user-friendly interface. You can easily adjust the settings to suit your needs. Many models come with smart features. These features allow you to control the thermostat using your smartphone.
Types Of Honeywell Thermostats
There are various types of Honeywell thermostats available. The basic models are non-programmable. They are easy to use and provide consistent temperature control.
Programmable thermostats allow for more customization. You can set different schedules for weekdays and weekends. This helps in managing energy usage more effectively.
Smart thermostats offer advanced features. They connect to your Wi-Fi network. This allows you to control them remotely using a mobile app. They can also learn your schedule and adjust settings automatically.
Choosing the right Honeywell thermostat depends on your needs. Consider the level of control and convenience you want. Each type offers unique benefits to enhance your home’s comfort.
Preparation Before Installation
Setting up a Honeywell thermostat is a straightforward process. Before you start the installation, proper preparation is crucial. This ensures a smooth setup and optimal performance of your thermostat. Follow these steps carefully to ensure you are ready for the task.
Tools You Need
Gathering the right tools is the first step. You will need a screwdriver, a drill, and a level. Make sure you have wire cutters and a wire stripper. A small flashlight can be handy too. These tools will help you complete the installation efficiently.
Safety Precautions
Safety should be your top priority. Turn off the power to your heating and cooling system. You can do this at the circuit breaker. This prevents any risk of electrical shock during installation. Check with a voltage tester to ensure the power is off.
Wear safety goggles to protect your eyes. If you have allergies, consider wearing a dust mask. This can protect you from dust and debris. Always read the thermostat’s manual carefully. It includes important safety instructions.
Removing The Old Thermostat
Removing the old thermostat is the first step in setting up your new Honeywell thermostat. This step ensures the new unit can be installed correctly. Follow these simple steps to remove your old thermostat safely and efficiently.
Turning Off Power
First, turn off the power to your HVAC system. Locate the circuit breaker panel in your home. Find the switch that controls your heating and cooling systems. Flip the switch to the “off” position. This step is crucial for your safety. It prevents any electrical shock or damage.
Detaching The Old Unit
Next, remove the old thermostat from the wall. Use a screwdriver to take out the screws holding the cover plate. Gently pull the cover off to reveal the wiring. Take a photo of the wiring setup. This photo will help you with the new installation.
Loosen the screws that secure the wires. Carefully disconnect the wires from the old unit. Label each wire with masking tape and a pen. This labeling will make it easier to connect the wires to the new thermostat.
Finally, remove the baseplate of the old thermostat. Unscrew the baseplate from the wall. Keep the screws in a safe place. You might need them for the new installation. Now, you are ready to set up your new Honeywell thermostat.
Installing The Honeywell Thermostat
Installing the Honeywell Thermostat is a straightforward process. It ensures your home’s temperature stays comfortable. Follow these simple steps to set up your thermostat.
Check Best Thermostat Pricing in Amazon
** As an Amazon Associate, I earn from qualifying purchases.
Mounting The Base Plate
First, turn off the power to your HVAC system. Safety first! Next, remove the old thermostat. Keep the wires accessible. Use a screwdriver to remove the old base plate. Align the new base plate with the holes on the wall. Use the provided screws to secure it. Make sure it is level. A crooked base plate can affect the thermostat’s performance.
Connecting The Wires
Identify the wires. Each wire is usually labeled with a letter. Match each wire to the corresponding terminal on the base plate. Insert the wires into the terminals. Tighten the screws to secure the wires. Double-check your connections. Ensure there are no loose wires.
After connecting the wires, attach the thermostat to the base plate. Follow the instructions in the manual. Now, restore power to your HVAC system. Your Honeywell Thermostat is ready for programming. Enjoy the comfort of a well-regulated home temperature.
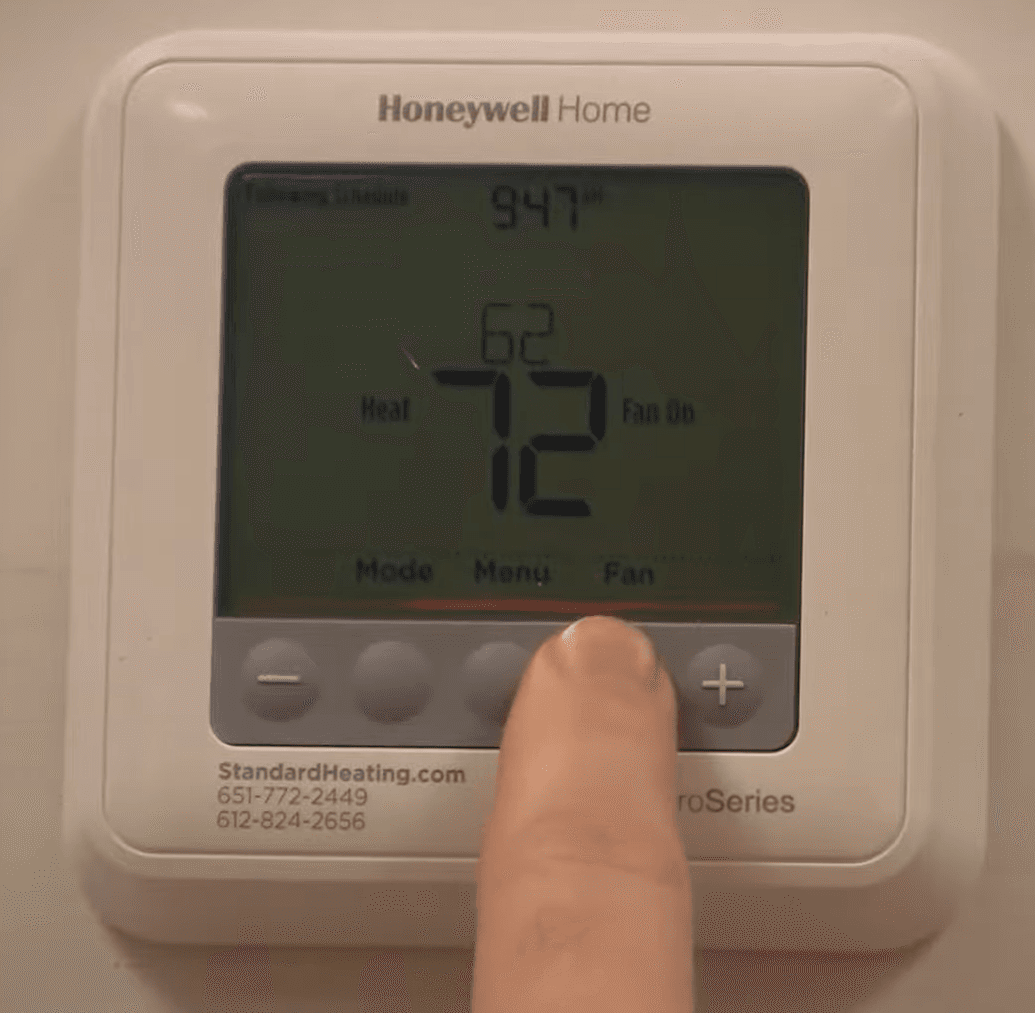
Configuring Settings
Configuring settings on your Honeywell thermostat is essential for optimal performance. You’ll need to set the time, date, and temperature settings. Follow these steps to ensure your thermostat operates efficiently.
Setting The Time And Date
First, access the thermostat menu. Find the option labeled ‘Time’ or ‘Clock.’ Press the ‘Set’ button. Use the arrow keys to adjust the hour. Press ‘Next’ to move to minutes. Adjust the minutes the same way. Press ‘Set’ to confirm the time. Now, find the ‘Date’ option. Use the arrow keys to set the day, month, and year. Confirm your settings by pressing ‘Set.’ Your thermostat now displays the correct time and date.
Adjusting Temperature Settings
Access the ‘Temperature’ menu on your thermostat. Choose either ‘Heating’ or ‘Cooling.’ Press ‘Set’ to enter the adjustment mode. Use the arrow keys to set your desired temperature. Press ‘Set’ to confirm. For energy savings, set the temperature a few degrees higher in summer. Lower it a few degrees in winter. Adjust temperatures for different times of the day. Use the ‘Schedule’ option to set these times. Ensure you confirm each setting by pressing ‘Set.’

Credit: www.techsolutions.support.com
Connecting To Wi-fi
Easily connect your Honeywell thermostat to Wi-Fi through the settings menu. Follow the on-screen instructions to complete the setup. Ensure a stable connection for optimal performance.
Connecting your Honeywell thermostat to Wi-Fi is a game-changer. It allows you to control your home’s temperature from anywhere using your smartphone. Let’s dive into the steps to get your thermostat online and ready for remote control.Enabling Wi-fi On The Thermostat
First, you need to enable Wi-Fi on your Honeywell thermostat. Start by tapping the menu button on your thermostat’s display. Navigate to the “Wi-Fi Setup” option and select it. Your thermostat will now search for available Wi-Fi networks. Make sure your home Wi-Fi is turned on and within range. Once your network appears on the list, select it and enter your Wi-Fi password. After entering your password, your thermostat will connect to the Wi-Fi network. You should see a confirmation message on the display. If you encounter any issues, double-check your password and try again.Pairing With The Honeywell App
Next, you’ll need to pair your thermostat with the Honeywell Home app. Download the app from the App Store or Google Play Store if you haven’t already. Open the app and create an account or log in if you already have one. Follow the on-screen instructions to add a new device. Select “Thermostat” from the list of device types. The app will guide you through the pairing process. Ensure your phone is connected to the same Wi-Fi network as your thermostat. You may need to enter a code displayed on your thermostat into the app to complete the pairing. Once paired, you can control your thermostat’s settings directly from your phone. Adjust the temperature, set schedules, and even receive alerts about your system’s performance. Connecting your Honeywell thermostat to Wi-Fi opens up a world of convenience. Have you ever wished you could warm up your home before you arrive? Now you can. Give it a try and see how it transforms your home comfort experience.Troubleshooting Common Issues
Setting up a Honeywell thermostat involves a few simple steps. Follow the user manual to connect wires correctly. Ensure your thermostat is properly mounted and powered.
Setting up your Honeywell thermostat can be a breeze, but sometimes, you might run into a few hiccups. Knowing how to troubleshoot common issues can save you a lot of time and frustration. Here are some practical tips to help you fix the most common problems.Thermostat Not Turning On
One common issue is the thermostat not turning on. Check if the display is blank. This could mean the device isn’t receiving power. First, ensure the batteries are fresh and properly inserted. Many thermostats use AA or AAA batteries, and a quick battery swap can solve the problem. Next, inspect the circuit breaker. Sometimes, a tripped breaker can cut off power to the thermostat. Reset the breaker if needed. Another possibility is a loose wire connection. Remove the thermostat faceplate and check that all wires are securely connected to their terminals. A loose wire could be the culprit.Wi-fi Connection Problems
Connecting your Honeywell thermostat to Wi-Fi can sometimes be tricky. If you’re having trouble, start by checking your internet connection. Ensure your Wi-Fi network is working properly. Try connecting another device to the network to confirm it’s not an issue with your router. Make sure your thermostat is within range of your Wi-Fi signal. Thick walls and electronic interference can weaken the signal. If the thermostat still won’t connect, try resetting the device. Hold down the reset button (usually found on the back or side) for a few seconds until the display resets. Is your Wi-Fi password correct? Double-check to avoid any typos. A small mistake can prevent a successful connection. By addressing these common issues, you can get your Honeywell thermostat up and running smoothly. Have you experienced any other problems? Share your tips and solutions in the comments!
Credit: www.youtube.com
Maintenance Tips
Setting up a Honeywell thermostat involves connecting it to your home’s Wi-Fi and following the on-screen instructions. Ensure your system is off before starting. Follow the step-by-step guide provided in the manual.
Setting up your Honeywell thermostat is just the beginning. To ensure it runs smoothly and efficiently, regular maintenance is essential. Here are some practical tips to keep your thermostat in top-notch condition.Cleaning The Thermostat
Dust and dirt can accumulate on your thermostat, affecting its performance. Use a soft, dry cloth to gently wipe the surface. Avoid using water or cleaning agents as they can damage the device. It’s also important to clean the vents around the thermostat. This helps in accurate temperature readings. A quick vacuum or a gentle brush should do the trick. Check the battery compartment occasionally. Ensure there are no leaks or corrosion. Replace the batteries if needed to avoid interruption in your thermostat’s function.Updating Firmware
Firmware updates are crucial for the optimal functioning of your Honeywell thermostat. These updates often fix bugs and improve performance. Check for updates regularly. To update, connect your thermostat to Wi-Fi and navigate to the settings menu. Follow the on-screen instructions to download and install the latest firmware. Firmware updates can sometimes add new features. This makes your thermostat more efficient and user-friendly. Keep an eye out for notifications about updates. Maintaining your thermostat not only ensures comfort but also extends its lifespan. What other maintenance tips have you found useful? Share your thoughts in the comments below!
Credit: www.youtube.com
Frequently Asked Questions
How Do I Set My Honeywell Thermostat?
To set your Honeywell thermostat, press the “Menu” button, select “Schedule,” and follow on-screen instructions to set desired temperatures.
How Do I Reprogram My Honeywell Thermostat?
To reprogram your Honeywell thermostat, press the “Menu” button, select “Schedule,” and follow the prompts to adjust settings. Save changes.
How Do You Get A Honeywell Thermostat To Work?
Install the Honeywell thermostat as per the manual. Connect wires correctly. Power it on. Set your desired temperature.
How Do I Connect My Honeywell Thermostat?
To connect your Honeywell thermostat, first, turn off power. Then, mount the thermostat, connect wires to terminals, and restore power. Follow on-screen instructions for setup.
Conclusion
Setting up your Honeywell thermostat is straightforward. Follow the steps carefully. Ensure proper wiring. Use the user manual for guidance. Test settings to confirm functionality. Enjoy the comfort of a well-regulated home temperature. Regular maintenance helps keep the system efficient.
Troubleshoot any issues promptly. A well-set thermostat saves energy. It also reduces utility costs. Keep your home cozy with minimal effort. Your thermostat should serve you well for years. Happy adjusting!
Check Best Thermostat Pricing in Amazon
** As an Amazon Associate, I earn from qualifying purchases.