

Check Best Thermostat Pricing in Amazon
** As an Amazon Associate, I earn from qualifying purchases.
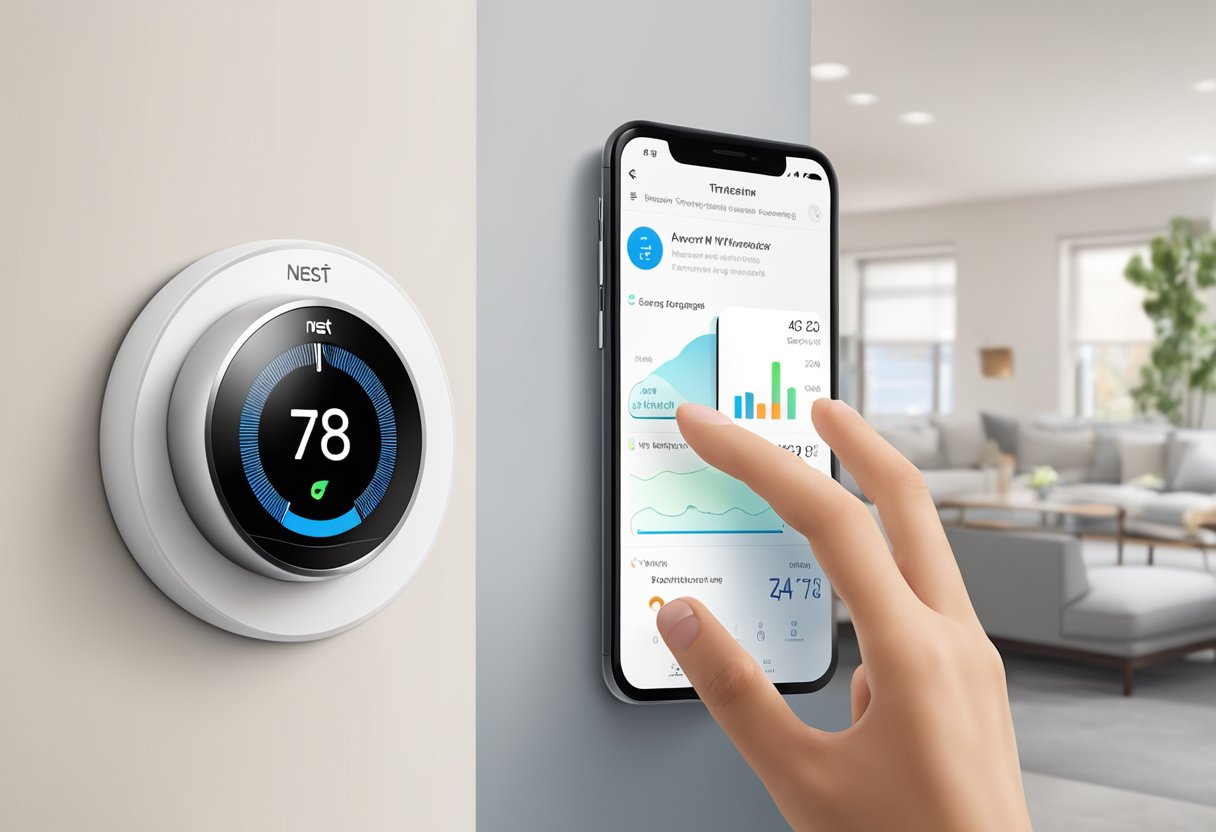
The Nest Thermostat app is a powerful tool that allows you to control your home’s temperature and energy usage from anywhere. Whether you’re at work or on vacation, the app gives you complete control over your home’s heating and cooling system, so you can save money on your energy bills and stay comfortable no matter where you are.
Setting up the Nest Thermostat app is easy and straightforward, but it does require a few steps. First, you’ll need to download the app from the App Store or Google Play and create an account. Once you’ve done that, you’ll need to connect your Nest Thermostat to your home Wi-Fi network and configure it using the app. This process can be done in just a few minutes, and once it’s complete, you’ll be able to control your thermostat from anywhere using your smartphone or tablet.
Requirements for Setup
Compatible Devices
Before setting up the Nest Thermostat app, it is important to ensure that your device is compatible. The Nest app is available for both Android and iOS devices. For Android devices, the app requires Android 5.0 or later, and for iOS devices, the app requires iOS 12.0 or later. It is also important to note that the Nest app is not compatible with Windows or Blackberry devices.
Wi-Fi Connectivity
To use the Nest Thermostat app, you must have a Wi-Fi connection. The app requires a Wi-Fi network that is compatible with 802.11 b/g/n at 2.4GHz. It is recommended to have a strong and stable Wi-Fi connection to ensure proper functionality of the Nest Thermostat app.
Nest App Account
To use the Nest Thermostat app, you must create a Nest account. The app is free to download, but you will need to create an account to access the features. The account requires an email address and a password. It is recommended to use a strong and unique password to ensure the security of your account. Once the account is created, you can log in to the Nest app and begin setting up your Nest Thermostat.
Installing the Nest Thermostat
Setting up the Nest thermostat app starts with installing the device itself. This section will guide you through the process of unboxing, preparing, mounting, and connecting the Nest thermostat to power.
Unboxing and Preparing
Before beginning the installation process, ensure that you have the following items:
- Nest thermostat
- Nest base
- Mounting screws
- Screwdriver
- Power drill
- Level
Once you have all the necessary items, unbox the Nest thermostat and base. The Nest thermostat comes with a built-in rechargeable battery that can last up to a few hours, so it is not necessary to connect it to power immediately.
Mounting the Thermostat
The next step is to mount the Nest thermostat onto the wall. Follow these steps:
- Use the level to ensure that the base is mounted straight.
- Use the power drill to drill two holes into the wall where you want to mount the Nest base.
- Insert the mounting screws into the holes and tighten them until they are secure.
- Attach the Nest base to the mounting screws.
Connecting to Power
Once the Nest thermostat is mounted, the next step is to connect it to power. Follow these steps:
- Turn off the power to your HVAC system.
- Remove the old thermostat from the wall and disconnect the wires.
- Connect the wires to the Nest base according to the wiring diagram provided in the Nest app.
- Attach the Nest thermostat to the base.
- Turn the power back on to your HVAC system.
Congratulations! You have successfully installed your Nest thermostat. The next step is to connect it to your home Wi-Fi network and start using the Nest app.
Setting Up the Nest App
Setting up the Nest app is a quick and easy process that can be done in just a few steps. Here’s how to get started:
Downloading the App
The first step in setting up the Nest app is to download it onto your mobile device. The app is available for both iOS and Android devices and can be downloaded from the App Store or Google Play Store, respectively. Once downloaded, open the app and follow the on-screen instructions to create an account.
Creating an Account
To use the Nest app, you’ll need to create an account. This can be done directly within the app by providing your email address and creating a password. Alternatively, you can use your Google or Facebook account to sign in. Once you’ve created an account, you’ll be prompted to add your Nest thermostat.
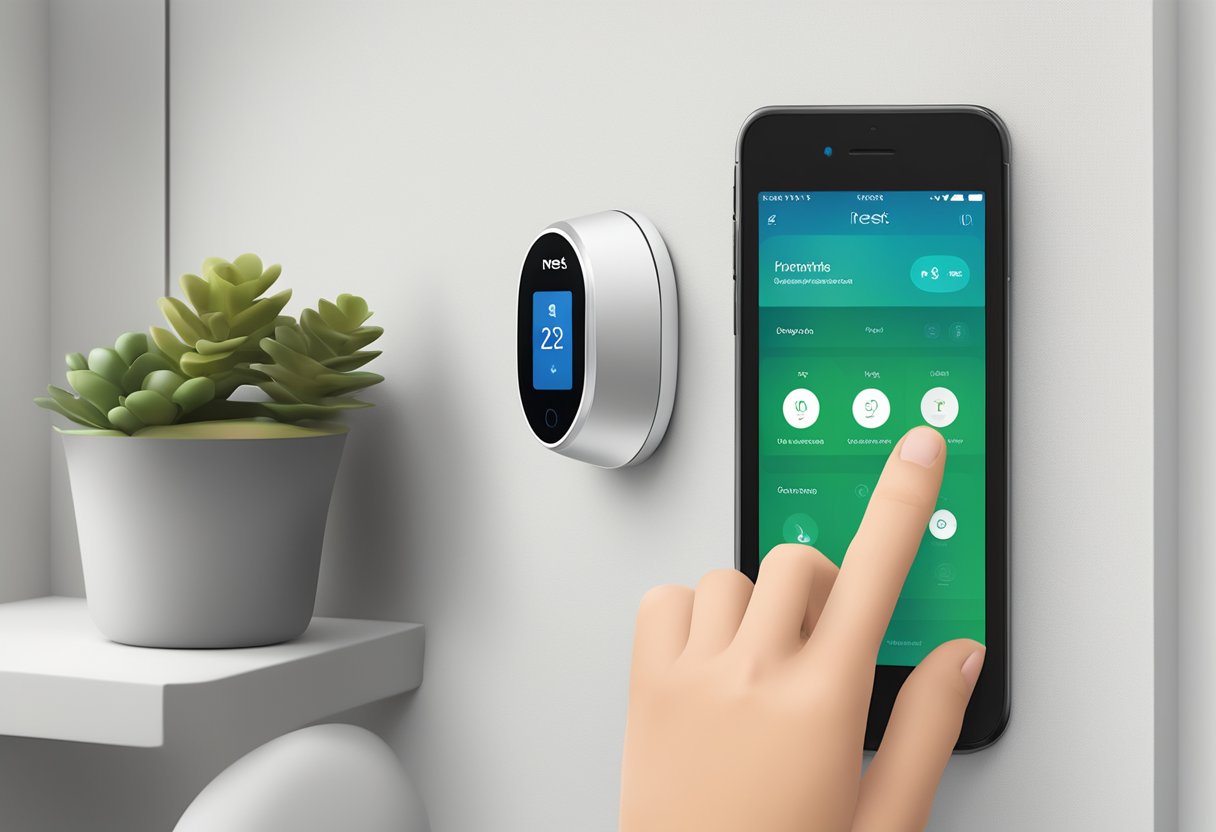
Adding Your Thermostat
To add your Nest thermostat to the app, you’ll need to follow a few simple steps. First, make sure your thermostat is connected to your Wi-Fi network. Then, select “Add Product” from the app’s main menu and follow the on-screen instructions to connect your thermostat. Once connected, you’ll be able to control your thermostat from anywhere using the Nest app.
Connecting Thermostat to Wi-Fi
Selecting Wi-Fi Network
To connect the Nest Thermostat to a Wi-Fi network, the user needs to select the network from the list of available networks. This can be done by following the steps below:
- On the Nest Thermostat, go to the Settings menu.
- Select “Network” and then “Wi-Fi”.
- A list of available Wi-Fi networks will appear. Select the network you wish to connect to.
It is important to note that the Nest Thermostat only supports 2.4GHz Wi-Fi networks. If your network is a 5GHz network, the Nest Thermostat will not be able to connect.
Entering Wi-Fi Password
After selecting the Wi-Fi network, the user needs to enter the Wi-Fi password to connect the Nest Thermostat to the network. The steps to enter the password are as follows:
- When prompted, enter the Wi-Fi password using the on-screen keyboard.
- Use the arrows on the keyboard to move between letters and numbers.
- Press the checkmark button when finished.
It is important to enter the password correctly to ensure a successful connection. If the password is entered incorrectly, the Nest Thermostat will not be able to connect to the Wi-Fi network.
Check Best Thermostat Pricing in Amazon
** As an Amazon Associate, I earn from qualifying purchases.
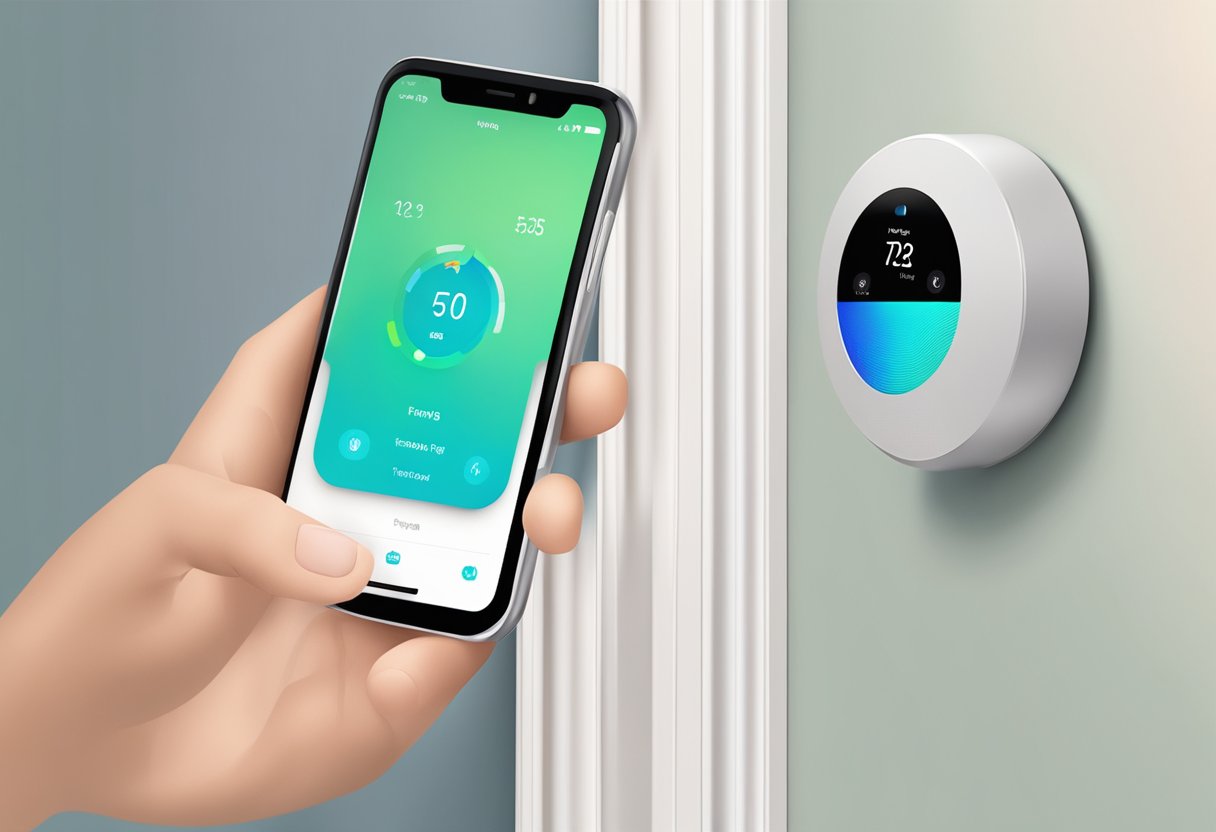
Once the Nest Thermostat is connected to the Wi-Fi network, the user can control the thermostat remotely using the Nest app on their smartphone or tablet.
Configuring Thermostat Settings
After installing the Nest Thermostat app, users can configure the thermostat settings to their preferences. This section covers the three main subsections of configuring the thermostat settings: setting the temperature, scheduling, and energy saving preferences.
Setting the Temperature
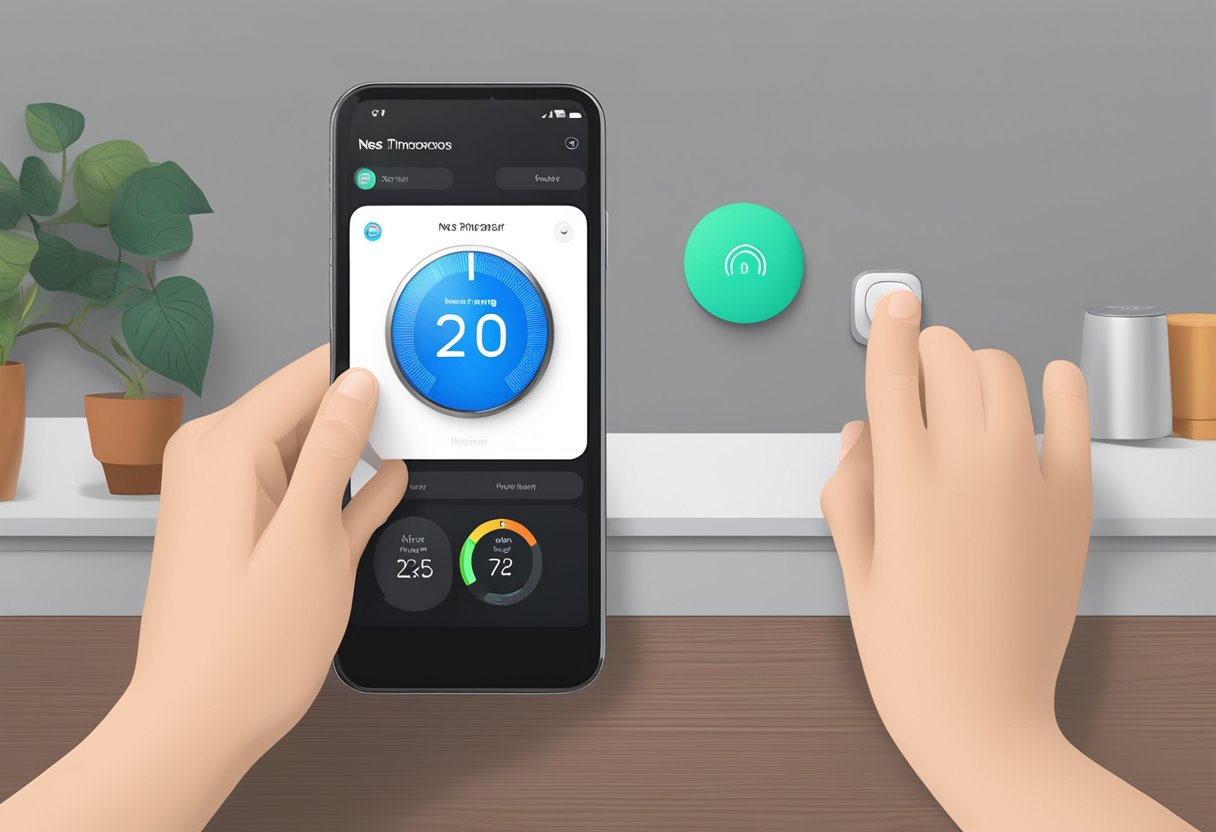
Users can set the temperature of their Nest Thermostat by tapping on the thermostat icon on the app’s home screen. This will bring up the temperature control screen, where users can adjust the temperature by sliding their finger up or down on the screen. The temperature range is between 40°F and 90°F.
Users can also set the temperature for specific times of the day by creating a schedule, which is covered in the next subsection.
Scheduling
The scheduling feature allows users to set the temperature for different times of the day. To create a schedule, users can tap on the “Schedule” icon on the app’s home screen. From there, they can select the days of the week they want to create a schedule for and set the temperature for different times of the day.
For example, users can set the temperature to be lower during the day when they are at work and higher in the evening when they are at home. Users can also set a different schedule for the weekend.
Energy Saving Preferences
The Nest Thermostat app offers several energy-saving preferences that can help users save money on their energy bills. Users can access these preferences by tapping on the “Settings” icon on the app’s home screen and selecting “Energy.” From there, users can choose from several options, including:
- Eco Temperature: This setting allows users to set a temperature range that the thermostat will automatically adjust to when they are away from home.
- Early-On: This feature allows the thermostat to start heating or cooling the home before the scheduled temperature change to ensure that the desired temperature is reached at the scheduled time.
- Home/Away Assist: This feature uses the location of the user’s phone to determine whether they are home or away and adjusts the temperature accordingly.
By utilizing these energy-saving preferences, users can save money on their energy bills without sacrificing comfort.
Using the Nest App Features

The Nest app offers a range of features that allow users to remotely control their thermostat, monitor their energy usage, and receive notifications and alerts. In this section, we will explore some of the key features of the Nest app.
Remote Control
One of the most useful features of the Nest app is the ability to remotely control your thermostat. With the app, you can adjust the temperature of your home from anywhere in the world, as long as you have an internet connection. This means that you can turn up the heat when you’re on your way home from work, or turn it down when you’re on vacation and want to save energy.
In addition to temperature control, the app also allows you to set schedules for your thermostat. This means that you can set your thermostat to automatically adjust the temperature at certain times of the day, such as when you wake up in the morning or when you go to bed at night.
Energy History
Another useful feature of the Nest app is the ability to monitor your energy usage. The app provides a detailed energy history that shows you how much energy you’ve used over time, as well as how much money you’ve spent on heating and cooling your home.
The energy history feature also allows you to compare your energy usage to other Nest users in your area. This can help you identify areas where you might be able to save energy, such as by adjusting your thermostat settings or by upgrading to more energy-efficient appliances.
Notifications and Alerts
Finally, the Nest app allows you to receive notifications and alerts about your thermostat and your home. For example, you can set up alerts to let you know when your home has reached a certain temperature, or when your thermostat battery is running low.
You can also set up notifications to alert you when there are changes to your energy usage, such as when you’ve used more energy than usual or when you’ve saved a significant amount of money on your energy bill.
Troubleshooting and Support
Common Issues
While the Nest Thermostat app is generally reliable, there may be times when users encounter issues. Some of the most common issues include:
- Connection issues: If the app is having trouble connecting to the thermostat, make sure that the thermostat is connected to Wi-Fi and that the Wi-Fi signal is strong. If the issue persists, try resetting the thermostat and the Wi-Fi router.
- Incorrect temperature readings: If the temperature readings on the app do not match the actual temperature in the home, make sure that the thermostat is installed in a location that is not subject to direct sunlight or drafts. If the issue persists, try calibrating the thermostat.
- App crashes or freezes: If the app is crashing or freezing, try closing the app and reopening it. If the issue persists, try uninstalling and reinstalling the app.
Contacting Customer Support
If users are unable to resolve issues on their own, they can contact Nest customer support for assistance. The Nest website provides a comprehensive support center with articles and videos that address common issues and questions.
If users still need assistance, they can contact Nest customer support by phone or email. The support team is available 24/7 to help users troubleshoot issues and find solutions. To contact customer support, users can visit the Nest website and navigate to the support center.
Check Best Thermostat Pricing in Amazon
** As an Amazon Associate, I earn from qualifying purchases.