
Check Best Thermostat Pricing in Amazon
** As an Amazon Associate, I earn from qualifying purchases.
Setting your Trane thermostat doesn’t have to be confusing or time-consuming. Whether you want to save money on energy bills, keep your home comfortable, or just get the most out of your heating and cooling system, knowing how to set your thermostat correctly is key.
In this guide, you’ll discover simple, step-by-step instructions that anyone can follow. By the end, you’ll feel confident controlling your Trane thermostat like a pro—and enjoy a cozy home all year round. Keep reading to unlock the easy way to take full control of your comfort.
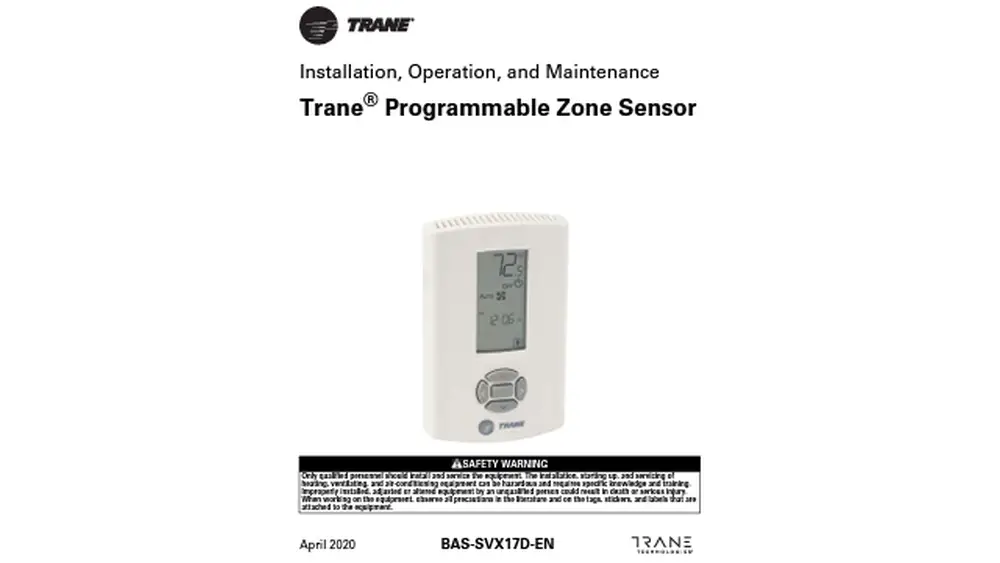
Choosing The Right Trane Thermostat
Choosing the right Trane thermostat can make your home more comfortable. The right thermostat controls your heating and cooling efficiently. It also helps save energy and lower bills. Understanding your options helps you pick the best model for your needs.
Types Of Trane Thermostats
Trane offers several thermostat types. Basic models control temperature manually. Programmable thermostats let you set schedules for different times. Smart thermostats connect to Wi-Fi and adapt to your habits. Each type suits different needs and budgets.
Features To Consider
Look for easy-to-use controls. A clear display helps with quick settings. Compatibility with your HVAC system is important. Some models support voice control or mobile apps. Energy-saving features reduce waste and cost. Consider if you want learning capabilities or simple use.

Credit: www.youtube.com
Preparing For Installation
Preparing for installation is the first step to set your Trane thermostat correctly. Proper preparation makes the process smooth and safe. It helps avoid mistakes and saves time. Focus on gathering the right tools and ensuring safety by turning off the power.
Gathering Necessary Tools
Collect all tools before starting the installation. You will need a screwdriver, drill, and level. A small flashlight helps to see inside the wall. Have the new thermostat and its manual ready. Keeping everything close prevents interruptions during work.
Turning Off Power Safely
Switch off power to your HVAC system at the circuit breaker. This step avoids electrical shocks and damage. Confirm the power is off by testing the existing thermostat. Never work on wires with power on. Safety first for a smooth installation.
Removing The Old Thermostat
Removing the old thermostat is the first step in installing your new Trane thermostat. This process requires care to avoid damaging wires or the wall. Taking it slow helps ensure a smooth transition to the new device.
Detaching The Cover
Start by gently pulling the thermostat cover away from the base. Most covers snap off with light pressure. Avoid using tools that might scratch or break the cover.
Labeling Wires
Before disconnecting, label each wire with tape or stickers. This step prevents confusion later. Note the color and terminal letter for each wire. Double-check labels to match the original setup.
Removing The Base
Unscrew the base from the wall using a screwdriver. Keep screws in a safe place for later use. Carefully pull the base away, making sure wires stay intact. Avoid yanking wires to prevent damage.
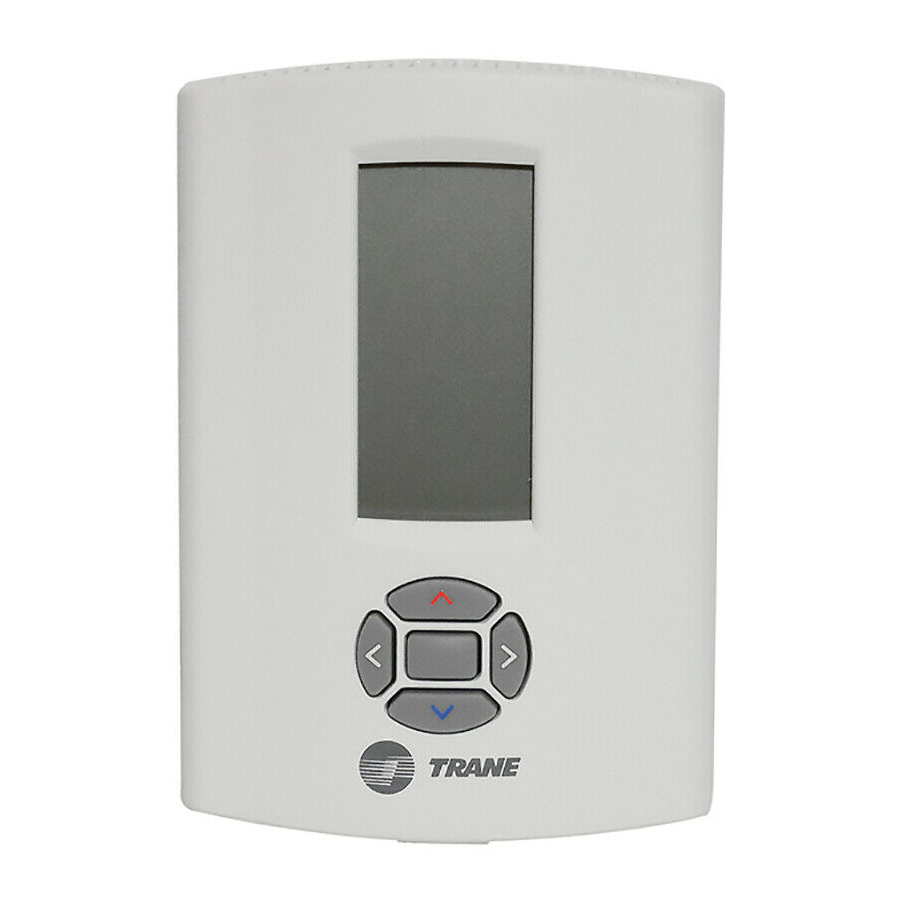
Installing The Trane Thermostat
Installing your Trane thermostat is a simple process. It requires careful steps to ensure correct setup. Follow these instructions to install the thermostat properly. This will help your system work efficiently and save energy.
Mounting The Base
Start by turning off the power to your HVAC system. This keeps you safe during installation. Remove the old thermostat and clean the wall area. Use the base plate of the new Trane thermostat as a template. Mark the screw holes on the wall carefully. Drill holes and insert wall anchors if needed. Secure the base plate tightly using screws. Make sure it is level for a neat look.
Connecting The Wires
Check the labels on the wires coming from your wall. Match each wire to the corresponding terminal on the base plate. Use a small screwdriver to connect the wires firmly. Avoid mixing up wires to prevent system errors. If a wire is loose, tighten the terminal screw. Double-check all connections before moving on.
Attaching The Thermostat Unit
Align the thermostat unit with the mounted base plate. Gently press the unit until it clicks into place. Ensure it fits securely and does not wobble. Turn the power back on to your HVAC system. Test the thermostat to confirm it powers up correctly. Adjust settings as needed for comfort.
Configuring Basic Settings
Configuring basic settings on your Trane thermostat ensures it works correctly. Start by setting the date and time. This helps the thermostat follow your schedule accurately. Next, choose the temperature units. You can select Celsius or Fahrenheit to match your preference.
Setting Date And Time
Press the menu button on the thermostat screen. Find the option labeled “Date & Time.” Use the arrows to set the correct day, month, and year. Then, set the current time. Confirm the settings by pressing “OK” or “Save.” This keeps your thermostat on schedule for heating and cooling cycles.
Selecting Temperature Units
Open the settings menu again. Look for “Temperature Units” or similar wording. Choose between Celsius and Fahrenheit. This changes how the temperature appears on the screen. Confirm your choice to save it. The thermostat will now display temperatures in your selected unit.
Programming Temperature Schedules
Programming temperature schedules on your Trane thermostat helps save energy and keeps your home comfortable. You set different temperatures for different times of the day. This way, the thermostat changes the temperature automatically. No need to adjust it every hour.
Schedules can be different for weekdays and weekends. You can also set a vacation mode. It keeps your home at a safe temperature while you are away. Let’s explore how to create and adjust these schedules.
Creating Daily Schedules
Start by choosing the day you want to program. Set temperature for each time slot: morning, day, evening, and night. Pick a temperature that fits your routine. For example, cooler in the morning and warmer at night. Repeat for every day you want to schedule.
Check Best Thermostat Pricing in Amazon
** As an Amazon Associate, I earn from qualifying purchases.
Use the touchscreen or buttons on your Trane thermostat. Save each setting after you enter it. This helps your system run smoothly and efficiently.
Adjusting For Weekends
Weekends often have different routines than weekdays. Set a separate schedule for Saturday and Sunday. Choose temperatures that match your weekend plans. Maybe warmer during the day if you stay home. Or cooler if you go out more.
Adjust the times and temperatures easily on the thermostat. This keeps your home comfortable without wasting energy.
Using Vacation Mode
Vacation mode keeps your home safe and energy-efficient while away. Set the thermostat to a basic temperature that saves energy. Avoid freezing pipes in winter or overheating in summer.
Activate vacation mode before you leave. The thermostat keeps your home at this set temperature. No need to change schedules or worry about energy waste.
Optimizing Comfort And Efficiency
Optimizing comfort and efficiency with your Trane thermostat helps save energy and keep your home cozy. Adjusting settings properly ensures the system runs smoothly. This balance improves air quality and lowers utility bills.
Using Smart Features
Trane thermostats come with smart features to make life easier. Set schedules for heating and cooling to match your daily routine. The thermostat learns your preferences and adjusts automatically. This avoids wasting energy when no one is home.
Adjusting Fan Settings
Fan settings control airflow and air quality in your home. Choose “Auto” to run the fan only when heating or cooling is active. Select “On” to keep air moving constantly, which helps reduce allergens. Adjust these settings based on your comfort needs.
Monitoring Energy Usage
Track energy use through the thermostat’s display or app. This shows how much power your system consumes daily. Use this information to change settings and reduce waste. Saving energy also means saving money on bills.

Credit: www.trane.com
Troubleshooting Common Issues
Troubleshooting your Trane thermostat can save time and prevent service calls. Many common issues have simple fixes. Knowing these helps keep your system working properly. Below are solutions for frequent problems users face.
Thermostat Not Responding
Check the thermostat’s power source first. Replace batteries if it uses them. Ensure the circuit breaker is not tripped. Reset the thermostat by turning it off and on. A factory reset can fix software glitches. Refer to your user manual for reset instructions.
Incorrect Temperature Reading
Thermostats may show wrong temperatures due to placement. Avoid direct sunlight or drafts near the unit. Clean the thermostat sensor gently with a soft cloth. Make sure the thermostat is mounted on an interior wall. Calibration may be needed; check your manual for steps.
Connectivity Problems
Wi-Fi thermostats need a strong network signal. Move your router closer if the signal is weak. Restart your router and thermostat to refresh the connection. Confirm your network password is correct. Update the thermostat’s firmware through the app for better stability.
Credit: www.manualslib.com
Frequently Asked Questions
How Do I Install A Trane Thermostat?
To install a Trane thermostat, turn off your HVAC power first. Remove the old thermostat, connect the wires to the new one, mount it, and power on. Follow the specific wiring diagram and instructions in the Trane manual for accurate setup.
How To Program A Trane Thermostat For Efficiency?
Access the programming menu on your Trane thermostat. Set temperature schedules based on your daily routine. Use energy-saving settings like setback temperatures when away or sleeping. This helps optimize comfort and reduces energy bills effectively.
Why Is My Trane Thermostat Not Responding?
If your Trane thermostat is unresponsive, check the batteries first. Ensure the HVAC system power is on. Restart or reset the thermostat if needed. If problems persist, inspect wiring connections or contact a professional technician.
Can I Control Trane Thermostat Remotely?
Yes, many Trane thermostats support remote control via Wi-Fi. Use the Trane mobile app to adjust temperature, set schedules, and monitor energy usage from anywhere. Ensure your thermostat model supports smart features for remote access.
Conclusion
Setting your Trane thermostat is simple and saves energy. Follow each step to ensure correct setup. Check your settings often for comfort and efficiency. Adjust the temperature based on your daily needs. This keeps your home cozy without extra costs.
Enjoy a well-regulated home with your Trane thermostat. Easy to use, it helps control your heating and cooling. Keep it maintained for long-lasting performance and comfort.
Check Best Thermostat Pricing in Amazon
** As an Amazon Associate, I earn from qualifying purchases.