
Check Best Thermostat Pricing in Amazon
** As an Amazon Associate, I earn from qualifying purchases.
Setting a Honeywell thermostat is straightforward. It helps maintain a comfortable home temperature.
Whether you’re dealing with chilly winters or scorching summers, knowing how to set your Honeywell thermostat can make a big difference in your comfort. This guide will walk you through the simple steps to ensure your home stays just the right temperature.
You’ll learn how to adjust settings, program schedules, and make the most out of your thermostat’s features. No more guessing games—just a cozy, well-regulated home environment. Let’s get started!
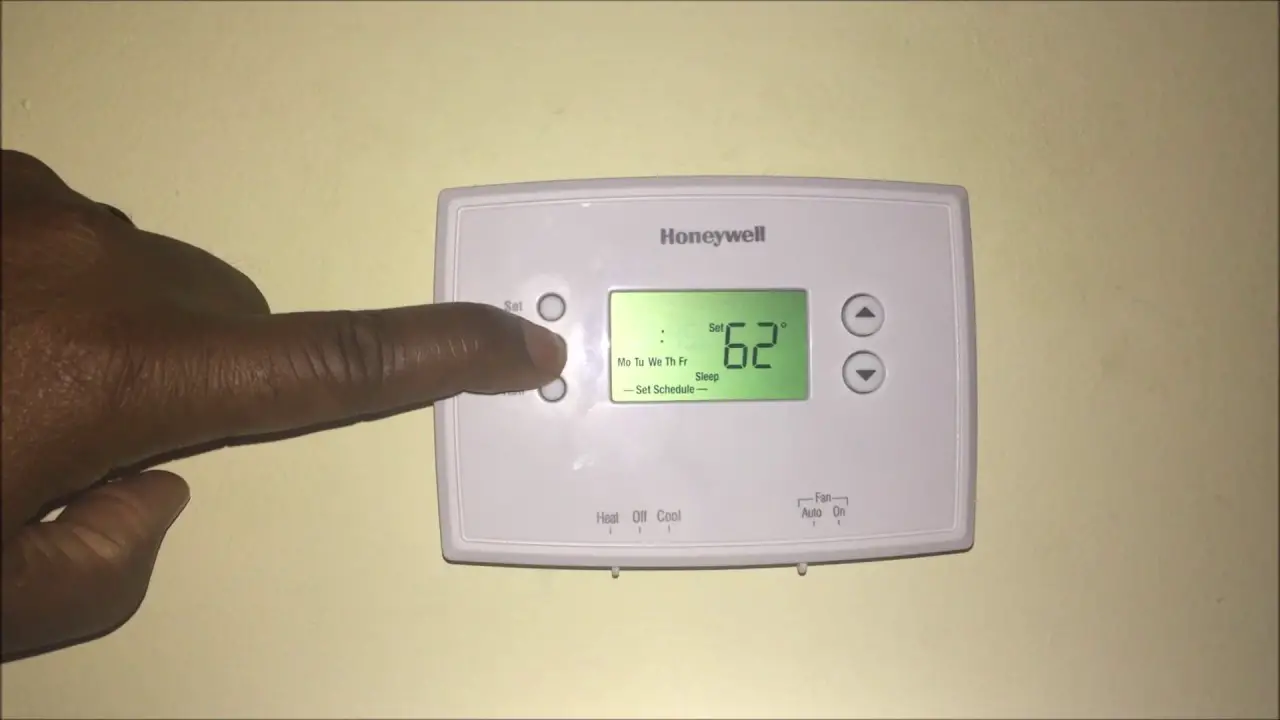
Credit: www.youtube.com
Choosing The Right Honeywell Thermostat
Choosing the right Honeywell thermostat can be overwhelming. With many options available, it’s important to understand what suits your needs best. This guide will help you make an informed decision.
Types Of Honeywell Thermostats
Honeywell offers various thermostat types. These include programmable, non-programmable, and smart thermostats. Each type has its own features and benefits.
Programmable thermostats let you set schedules. Non-programmable thermostats keep a constant temperature. Smart thermostats connect to Wi-Fi and can be controlled remotely.
Factors To Consider
Several factors should be considered before choosing a Honeywell thermostat. First, think about your home’s heating and cooling needs. Larger homes may need more advanced models.
Next, consider your daily routine. Programmable and smart thermostats are great for people with varying schedules. Non-programmable thermostats are simpler and easier to use.
Budget is another important factor. Some models are more affordable, while others come with advanced features at a higher price.
Finally, think about compatibility with your current HVAC system. Not all thermostats work with all systems. Check the specifications to ensure a good match.
Installation Preparations
Start by gathering all necessary tools and instructions. Ensure power to the thermostat is off to avoid any electrical hazards. Follow the provided manual for mounting and wiring.
Setting up your Honeywell thermostat can be a straightforward process, but it’s essential to prepare adequately before diving in. Proper installation ensures that your thermostat functions efficiently, helping you maintain a comfortable home environment. Let’s walk through the necessary preparations to make your installation smooth and hassle-free.Tools And Materials Needed
Before you start, gather all the tools and materials required for the installation. This not only saves time but also helps avoid unnecessary interruptions. You’ll need a screwdriver, preferably a Phillips head, to remove and attach screws. A drill might come in handy if you need to create new holes in the wall for the mounting plate. Make sure to have a level to ensure your thermostat is perfectly aligned. This ensures accurate temperature readings. A pencil can be useful for marking holes before drilling. Additionally, keep wire labels or masking tape nearby to label wires during disconnection.Safety Precautions
Safety is paramount when dealing with electrical installations. Always turn off the power to your heating and cooling systems at the breaker box before you start working. Check that the power is off by trying to turn on the heating or cooling system. If it doesn’t turn on, you’re good to go. Wear insulated gloves to protect yourself from any accidental electric shocks. It’s also wise to have a voltage tester to double-check that no electrical current is running through the wires. Remember, even though this installation is straightforward, it involves dealing with electrical components. If you feel unsure at any point, consult a professional. — By preparing adequately and following these steps, you set yourself up for a successful Honeywell thermostat installation. What are the tools or precautions you often overlook during home installations? Share your experiences and tips in the comments below!Installing Your Honeywell Thermostat
Installing a Honeywell thermostat can seem daunting. But with a bit of patience, it’s manageable. Follow these steps to ensure a smooth installation process.
Removing The Old Thermostat
First, turn off the power to your HVAC system. This step ensures safety during installation. Next, remove the cover of the old thermostat. Use a screwdriver to detach the old thermostat from the wall. Carefully label each wire with masking tape. This will help you match them correctly later.
Disconnect the wires and remove the mounting plate. Keep the old screws; they might be useful for the new thermostat. Double-check that no wires are touching each other or exposed.
Mounting The New Thermostat
Begin by attaching the new mounting plate to the wall. Use the old screws if they fit. Ensure the plate is level. Use a small bubble level to check.
Next, connect the labeled wires to the corresponding terminals on the new thermostat. Follow the instructions in the Honeywell manual. Make sure each wire is secure. Push any extra wire back into the wall.
Once the wires are connected, attach the thermostat faceplate. Snap it into place securely. Turn the power back on to your HVAC system. Follow the on-screen prompts to set up your new Honeywell thermostat.
Congratulations! You have installed your Honeywell thermostat. Enjoy the comfort of your new system.
Connecting The Wires
Connecting the wires of your Honeywell thermostat is a crucial step. It ensures your thermostat communicates properly with your HVAC system. Follow these steps to ensure a smooth installation process.
Identifying Wire Labels
First, turn off the power to your HVAC system. This prevents electrical shocks. Next, remove the old thermostat cover. You will see several wires, each labeled with a letter. Common labels include ‘R’, ‘W’, ‘Y’, ‘G’, and ‘C’. Refer to your Honeywell thermostat manual for specific wire functions.
Take a picture of the wiring setup. This can serve as a reference. It helps if you need to troubleshoot later. Check the wire labels carefully. Ensure each wire is in good condition. Replace any damaged wires before proceeding.
Attaching Wires To Terminals
Now, it’s time to connect the wires to your new Honeywell thermostat. Begin by matching the wire labels to the corresponding terminals. The ‘R’ wire usually connects to the ‘R’ terminal. The ‘W’ wire goes to the ‘W’ terminal, and so on.
Loosen the terminal screws using a screwdriver. Insert the wire into the terminal. Tighten the screw to secure the wire. Ensure each wire is firmly attached. Double-check your connections to avoid any loose wires.
After attaching all wires, mount the thermostat onto the wall plate. Restore power to your HVAC system. Your Honeywell thermostat should now be ready for use.
Check Best Thermostat Pricing in Amazon
** As an Amazon Associate, I earn from qualifying purchases.
Configuring Thermostat Settings
Adjusting your Honeywell thermostat is simple. First, press the “Menu” button. Then, use the arrows to set your desired temperature.
Configuring your Honeywell thermostat settings can seem daunting at first, but it’s easier than you might think. Whether you’re a new homeowner or just looking to optimize your home’s heating and cooling, getting your thermostat settings right is crucial. Let’s walk through the key steps to ensure your home is as comfortable and energy-efficient as possible.Setting The Date And Time
The first step in configuring your Honeywell thermostat is setting the correct date and time. Accurate date and time settings are essential for your thermostat to follow your programmed schedules effectively. Start by pressing the “Menu” button. Navigate to “Preferences” and select “Date & Time.” Use the arrow buttons to adjust the date and time. Confirm your settings by pressing “Done.” It’s that simple. Now your thermostat is ready to follow your daily schedules.Programming Temperature Schedules
Next, let’s focus on programming temperature schedules. This feature allows you to set different temperatures for different times of the day, helping you save energy and maintain comfort. Select the “Schedule” option from the main menu. You’ll see options for weekdays and weekends. Choose “Weekday” to start. Use the arrow buttons to set the desired temperature for the morning, afternoon, evening, and night. Repeat the process for the weekend. Don’t forget to save your settings. This step ensures that your home is always at the right temperature when you need it. Imagine waking up to a cozy home in the winter or coming back to a cool house in the summer. With the right settings, your Honeywell thermostat can make this a reality. Have you ever walked into your home after a long day and found it too hot or too cold? By setting a schedule, you can avoid these uncomfortable moments. Configuring your Honeywell thermostat might take a few minutes, but the comfort and energy savings are well worth it. What settings do you find most effective for your home?Advanced Features
Explore advanced features of the Honeywell thermostat to optimize your home comfort. Learn how to set schedules, adjust settings, and utilize energy-saving modes effortlessly.
When it comes to setting up your Honeywell thermostat, understanding its advanced features can make a huge difference. These features are designed to provide you with greater control, energy savings, and convenience. Let’s dive into two key advanced features: Wi-Fi connectivity and using the Honeywell app.Wi-fi Connectivity
Wi-Fi connectivity is one of the standout features of Honeywell thermostats. By connecting your thermostat to your home Wi-Fi, you gain the ability to control it remotely. This means you can adjust the temperature from anywhere using your smartphone or tablet. For instance, imagine you’re coming home from a long trip. You can ensure your home is at the perfect temperature by the time you arrive, simply by adjusting the settings on your phone. To set up Wi-Fi, follow the instructions provided with your Honeywell thermostat. Usually, it involves selecting your home network and entering the password. Ensuring your thermostat is connected to Wi-Fi opens up a whole new level of convenience and control. Plus, it can help you save on energy bills by allowing you to make adjustments even when you’re not home.Using The Honeywell App
The Honeywell app is your companion for managing your thermostat’s settings with ease. Through the app, you can create schedules, set temperature preferences, and receive alerts. For example, you can create a schedule that lowers the temperature when you’re at work and raises it when you’re home. This not only ensures comfort but also optimizes energy usage. One personal tip: take some time to explore the app’s settings. You might find features you weren’t aware of, like humidity control or air filter change reminders. I found these particularly useful in maintaining a comfortable home environment and ensuring my HVAC system runs efficiently. The app also allows for multiple users, so everyone in your household can have access. Just think about the convenience of everyone being able to adjust the thermostat to their liking, without having to get up. Are you maximizing the potential of your Honeywell thermostat? If not, give these advanced features a try and see how they can transform your home’s comfort and efficiency.Troubleshooting Common Issues
Setting up a Honeywell thermostat can sometimes be frustrating, especially when things don’t go as planned. If you’re encountering issues, don’t worry; you’re not alone. Let’s walk through some common troubleshooting tips to get your thermostat working smoothly again.
Thermostat Not Turning On
If your Honeywell thermostat isn’t turning on, the first thing to check is the power source. Ensure the thermostat is properly connected to the power supply. Look for loose wires or tripped circuit breakers.
Another common issue is drained batteries. Replace the batteries with new ones and see if that solves the problem. If your model is hardwired, check the circuit breaker or the fuse box for any issues.
In some cases, a factory reset can do wonders. Refer to your thermostat’s manual for instructions on how to reset it. This can often resolve any software glitches preventing it from turning on.
Incorrect Temperature Readings
Is your thermostat showing incorrect temperature readings? Start by ensuring it’s installed in the right location. Avoid placing it near windows, doors, or direct sunlight, as these can affect temperature accuracy.
Calibrating your thermostat might be necessary. Check your Honeywell thermostat’s manual for calibration instructions. This can help you adjust the temperature readings to match the actual room temperature.
Dirt and dust can also affect the sensor. Clean your thermostat gently using a soft cloth. Sometimes, a simple cleaning can resolve incorrect readings and improve performance.
Have you faced any of these issues before? How did you solve them? Share your experiences in the comments below, and let’s help each other out.
Remember, troubleshooting doesn’t have to be a solo journey. Honeywell’s customer support is always there to assist you, ensuring your home stays comfortable and energy-efficient.

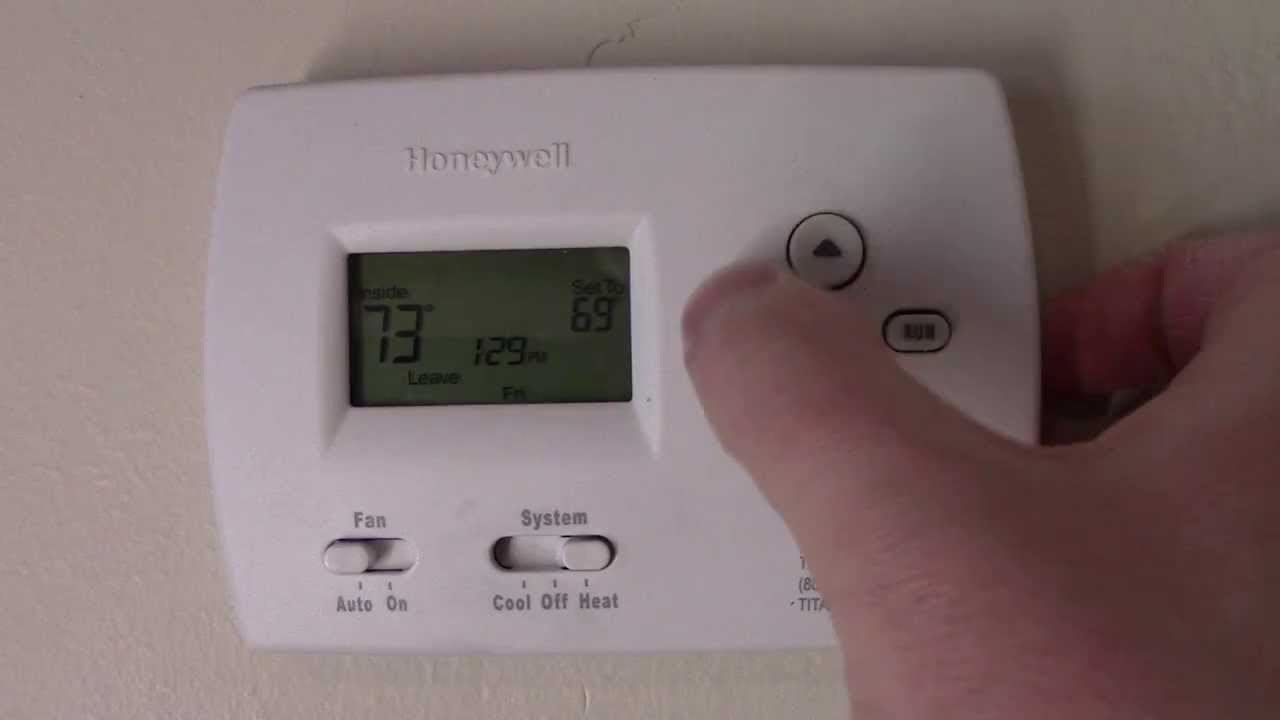
Credit: www.reddit.com
Maintenance Tips
Regular maintenance of your Honeywell thermostat ensures it operates efficiently. This can save you energy and money. Following simple maintenance tips can help extend the lifespan of your device. Let’s explore some essential maintenance practices.
Cleaning The Thermostat
Dust and dirt can accumulate on the thermostat. This can affect its performance. Regular cleaning is necessary. Use a soft cloth to wipe the exterior. Avoid using water or cleaning sprays directly. Gentle cleaning keeps the device responsive.
For deeper cleaning, remove the cover. Use a soft brush to clean inside. Be gentle to avoid damaging any components. Clean the thermostat monthly for best results.
Regular Software Updates
Check for software updates periodically. Updates can fix bugs and improve performance. Visit the Honeywell website for the latest updates. Follow the instructions to update the software.
Some models allow automatic updates. Ensure this feature is enabled. Regular updates keep your thermostat running smoothly. They also enhance security features.
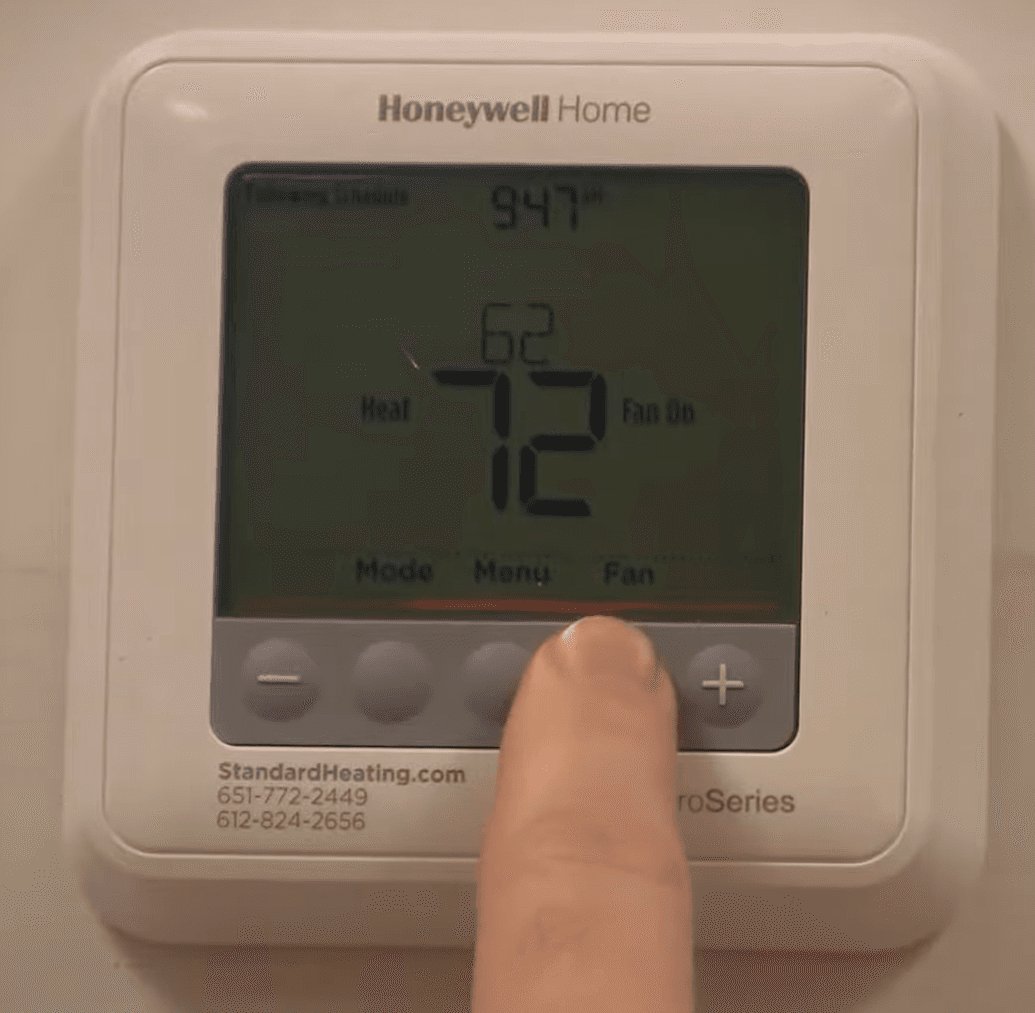
Credit: www.standardheating.com
Frequently Asked Questions
How Do I Manually Set My Honeywell Thermostat?
Press the “System” button to select heating or cooling. Use the arrow buttons to set the desired temperature.
How Do I Change The Temperature On My Honeywell Thermostat?
To change the temperature on your Honeywell thermostat, press the up or down arrow buttons. Adjust to your desired temperature.
How Do I Keep My Honeywell Thermostat At Constant Temperature?
Set your Honeywell thermostat to “Hold” mode. Choose your desired temperature and press “Hold” to maintain it consistently.
Should My Honeywell Thermostat Be On Auto Or On?
Set your Honeywell thermostat to “auto” for energy efficiency. The system will regulate heating and cooling automatically.
Conclusion
Setting your Honeywell thermostat is simple and efficient. Follow the instructions, and you’ll enjoy a comfortable home. Regularly check settings to ensure optimal performance. Adjust temperatures according to seasons for better energy savings. Explore advanced features for convenience. Always refer to the manual for troubleshooting tips.
With a properly set thermostat, your home stays cozy. Proper settings also help reduce energy costs. Remember, a well-regulated home environment enhances comfort. Enjoy the ease and benefits of your Honeywell thermostat. Happy adjusting!
Check Best Thermostat Pricing in Amazon
** As an Amazon Associate, I earn from qualifying purchases.