
Check Best Thermostat Pricing in Amazon
** As an Amazon Associate, I earn from qualifying purchases.
Setting an Emerson thermostat can seem tricky at first. With a few steps, it gets easier.
An Emerson thermostat helps control your home’s temperature efficiently. Whether it’s summer or winter, you want your home to stay comfortable. Knowing how to set your thermostat properly ensures optimal energy use and comfort. In this guide, you will learn the essential steps to set up your Emerson thermostat.
From basic programming to advanced settings, we cover all the details. By the end, you’ll feel confident in managing your home’s climate. Ready to get started? Let’s dive in and make your home cozy and efficient.
Gather Necessary Tools
Gather necessary tools like a small screwdriver and fresh batteries. This will make setting up your Emerson thermostat easier.
Setting an Emerson thermostat is a simple task that can greatly improve the comfort of your home. Before you start, it’s essential to gather all the necessary tools. This step will save you time and help ensure a smooth installation process.Required Tools
To set your Emerson thermostat, you’ll need a few basic tools. First, grab a screwdriver. Most thermostats are secured to the wall with screws, so a Phillips or flat-head screwdriver will be handy. You will also need a level. This ensures your thermostat is mounted straight, which is crucial for accurate temperature readings. Lastly, keep a small flashlight nearby. Working with wires in dimly lit areas can be tricky, and a flashlight will help you see clearly.Safety Precautions
Safety should be your top priority. Before you start, make sure to turn off the power to your HVAC system at the circuit breaker. This will prevent any risk of electric shock while you are working. Wear protective gloves. This will protect your hands from sharp edges or accidental contact with wires. Always double-check that you have turned off the power. Use a voltage tester to be absolutely sure there is no electricity running through the wires. Gathering the right tools and following safety precautions will make setting your Emerson thermostat a breeze. Have you ever started a project only to realize you were missing something crucial? Avoid that frustration by preparing ahead of time.Turn Off Power
Before you start setting your Emerson thermostat, it’s crucial to turn off the power. This step is not just about safety, but it ensures that you don’t accidentally cause damage to your thermostat or electrical system. Trust me, you don’t want to deal with fried circuits or a shocking experience. Let’s dive into the essential steps to turn off the power safely and effectively.
Locate Circuit Breaker
First, you need to find your circuit breaker panel. It’s usually located in a basement, garage, or utility room. If you’re not sure where yours is, ask someone in your household or check your home’s blueprint.
Once you locate the panel, open it and look for the switch that controls the power to your HVAC system. It might be labeled “Furnace,” “AC,” or “HVAC.” If labels are missing or unclear, you may need to turn off the main breaker temporarily. Better safe than sorry!
Confirm Power Is Off
Now that you’ve flipped the switch, you need to make sure the power is actually off. Go to your thermostat and try to turn it on. If the screen stays blank, you’ve successfully cut the power.
Another way to confirm is by using a voltage tester on your HVAC unit. It’s a small investment for peace of mind. No surprises here—just safety and smooth sailing.
Have you ever skipped this step and faced issues later? It’s a common mistake but one that’s easily avoidable. Taking a few extra minutes now can save you a lot of trouble down the line.
So, what’s your next move after confirming the power is off? It’s time to get down to setting that Emerson thermostat. Stay tuned for more practical tips!
Remove Old Thermostat
Setting up your new Emerson thermostat is a straightforward process, but first, you need to remove the old one. This part can seem daunting, but with the right steps, you can do it easily and safely. Let’s break it down into manageable tasks.
Label Wires
Before you remove any wires, label them. This step is crucial to avoid confusion when attaching the new thermostat. Use small pieces of masking tape and a pen to mark each wire according to its terminal.
For instance, you might have wires labeled ‘R’, ‘W’, ‘Y’, and ‘G’. Write the corresponding letter on the tape and attach it to the wire. This simple step will save you a lot of trouble later.
Have you ever mixed up wires and faced the frustration of figuring out where each one goes? Labeling wires eliminates this common headache. Take your time and do it right.
Detach Old Unit
Once the wires are labeled, it’s time to detach the old thermostat. Start by removing the cover. Most covers snap off easily, but some might require a screwdriver.
Next, unscrew the mounting plate from the wall. Keep the screws handy; you might need them for the new thermostat. Carefully pull the thermostat away from the wall, making sure the labeled wires come out with it.
Have you ever been halfway through a project and realized you lost a tiny but crucial screw? Keep a small dish or ziplock bag nearby to hold all the screws and parts. It’s a simple trick that can save you from a lot of frustration later.
Removing the old thermostat is the first major step in setting up your new Emerson unit. By labeling the wires and carefully detaching the old unit, you pave the way for a smooth installation process. Are you ready to move on to the next step?

Credit: thermostat.guide
Install Mounting Plate
Installing the mounting plate is a crucial step in setting up your Emerson thermostat. This ensures your thermostat remains stable and functions properly. Follow these steps to install it correctly.
Position Plate
Hold the mounting plate against the wall. Ensure it is level. Use a bubble level for accuracy. Mark the screw holes with a pencil.
Secure To Wall
Drill pilot holes at the marked spots. Use a drill bit that fits the screws. Insert wall anchors if needed. Align the plate with the pilot holes. Secure it to the wall with screws. Ensure it is tight and stable.
Connect Wiring
Connecting the wiring to your Emerson thermostat is a crucial step. This ensures your system operates efficiently and effectively. Follow these steps to connect the wiring properly.
Match Wire Terminals
First, match the wire terminals to your Emerson thermostat. Each wire has a specific terminal. Look at the labels on the thermostat. Match them with the corresponding wires from your wall.
For example, connect the red wire to the “R” terminal. The green wire goes to the “G” terminal. Follow the manufacturer’s guide for the other wires. This ensures each wire is in its correct place.
Tighten Connections
After matching the wires, tighten the connections. Use a screwdriver to secure each wire. Make sure the wires are snug in their terminals. Loose connections can cause problems. Your system might not work correctly.
Check Best Thermostat Pricing in Amazon
** As an Amazon Associate, I earn from qualifying purchases.
Check each wire one more time. Ensure they are all tight and secure. This step prevents future issues. It’s important for the long-term health of your thermostat.
Attach Emerson Thermostat
Attaching your Emerson thermostat might seem daunting, but with a few straightforward steps, you’ll have it up and running in no time. Imagine the satisfaction of controlling your home’s climate with ease. Let’s break down the process into manageable parts.
Align With Plate
First, make sure the wall plate is securely fastened to the wall. You’ll notice grooves on the back of the thermostat designed to fit onto the plate. Align these grooves carefully.
Precision is key here. A slight misalignment can prevent the thermostat from snapping into place properly. Check twice before you proceed.
Don’t rush this step. Ensuring the thermostat is level will not only look better but also function correctly.
Snap Into Place
Once aligned, gently push the thermostat towards the plate. You should hear a click indicating it’s properly attached. Isn’t that sound satisfying?
If it doesn’t snap, don’t force it. Double-check the alignment and try again. A smooth, effortless snap means everything is in place.
After it snaps, give it a gentle tug to make sure it’s secure. If it holds, you’re good to go!
Have you ever faced issues with thermostat installation? What tricks did you find helpful? Share your experiences in the comments below and let’s learn together!
Restore Power
Restoring power to your Emerson thermostat is a crucial step. Without power, the thermostat won’t function. Follow these simple steps to ensure your thermostat is up and running.
Switch On Circuit Breaker
First, locate your home’s circuit breaker panel. Open the panel and find the breaker for your HVAC system. Flip the breaker switch to the “On” position. This will restore power to your thermostat. Make sure the breaker stays in the “On” position. If it trips back, there may be an issue with your HVAC system.
Verify Thermostat Power
Next, check if your Emerson thermostat is receiving power. Look at the thermostat display. If the screen is lit, the power is restored. If the screen is still blank, ensure the thermostat is properly connected. Check the wiring and connections. Tighten any loose wires. Replace any damaged wires. Once verified, your thermostat should be operational.
Credit: webapps.copeland.com
Configure Settings
Set your Emerson thermostat by accessing the settings menu. Adjust the temperature, mode, and schedule to your preferences easily.
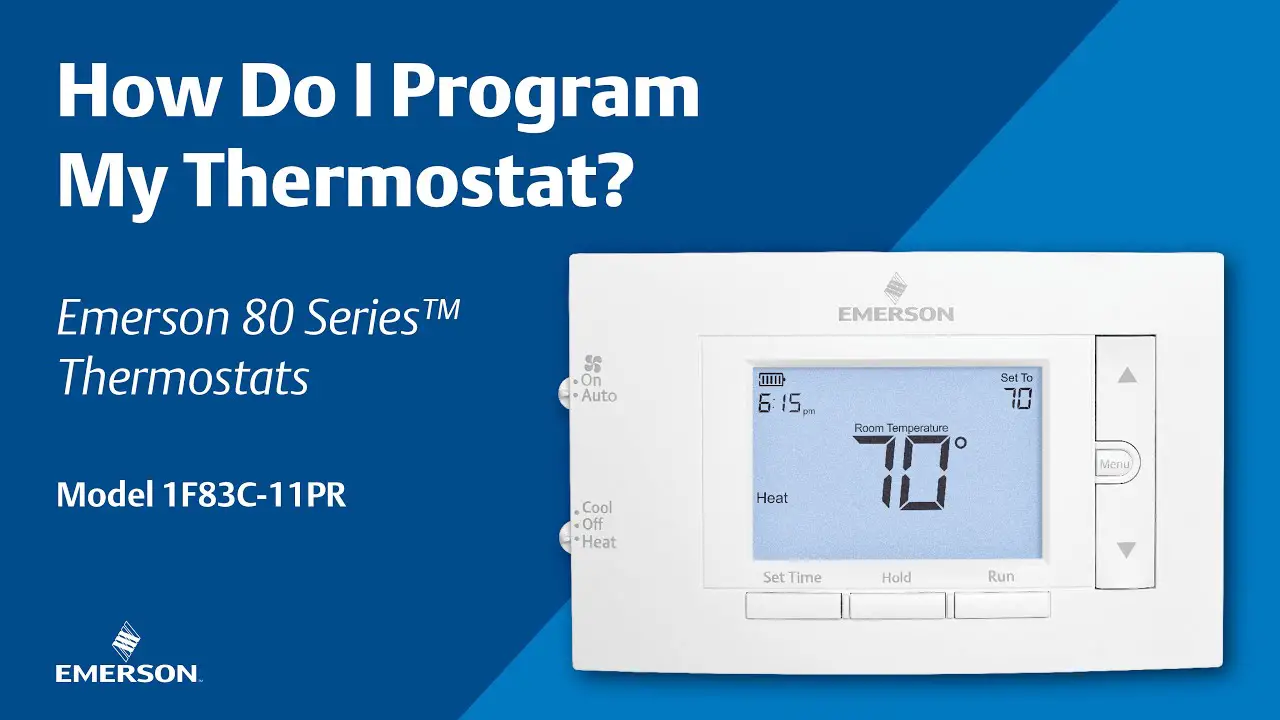
Configuring the settings on your Emerson thermostat is a key step in maximizing its efficiency and ensuring your home is comfortable. By correctly setting the date and time, and programming the temperature schedule, you can experience optimal performance from your thermostat. This process is straightforward and can be done in just a few simple steps.Set Date And Time
First, let’s get the date and time set up. Having the correct date and time is essential for the thermostat to follow your desired temperature schedule accurately. To set the date and time, start by pressing the ‘Menu’ button. Navigate through the options until you find ‘Set Date/Time.’ Use the arrow buttons to adjust the date and time settings. Make sure you confirm your selections to save them. Setting the date and time may seem trivial, but it’s crucial for the thermostat to function correctly. Imagine planning a party and your guests arrive at the wrong time because the clock was off! Similarly, your thermostat needs to be on point.Program Temperature Schedule
Now that the date and time are set, let’s move on to programming the temperature schedule. This will help you maintain a comfortable environment while optimizing energy use. Press the ‘Menu’ button again and navigate to ‘Program Schedule.’ Here, you can set different temperatures for various times of the day. For example, you might want it warmer when you wake up and cooler when you’re at work. Consider your daily routine. If you leave for work at 8 AM, set the thermostat to lower the temperature around that time. You can then set it to warm up just before you return. This way, you’re not heating an empty house. Programming the schedule might feel like a chore, but it’s worth it. Imagine coming home to a cozy house in winter or a cool retreat in summer. It’s like your home is anticipating your needs. By configuring these settings, you take control of your home’s climate, making it work around your schedule. Why leave it to chance when you can have precision at your fingertips?Test The System
Once you’ve set up your Emerson thermostat, the next step is to test the system. Testing ensures that the thermostat controls the heating and cooling systems properly. This step can help avoid issues later. Follow these simple steps to ensure your system functions correctly.
Check Heating
First, switch your thermostat to the heating mode. Set the temperature higher than the current room temperature. You should hear the heating system start. Feel the air coming from the vents. It should be warm. If not, check the furnace and thermostat connections. Ensure everything is secure and try again.
Check Cooling
Next, switch the thermostat to the cooling mode. Set the temperature lower than the room temperature. You should hear the air conditioning system start. Feel the air coming from the vents. It should be cool. If it isn’t, check the air conditioner and thermostat connections. Make sure they are secure and try again.

Credit: www.youtube.com
Troubleshooting Tips
Setting an Emerson thermostat involves checking the power source and ensuring proper wiring. Adjust settings using the easy-to-navigate touchscreen interface.
Setting up your Emerson thermostat can be a breeze, but sometimes things don’t go as planned. This section is all about troubleshooting tips to help you get back on track. Let’s dive into the common issues you might face and when it’s best to call in a professional.Common Issues
Even with the best instructions, your Emerson thermostat might act up. One common issue is the thermostat not turning on. Make sure it’s properly connected to the power source. Another frequent problem is incorrect temperature readings. Ensure the thermostat is installed away from direct sunlight and drafts. If the thermostat isn’t responding to changes, check if the settings are locked. You can usually unlock them with a simple reset. Is your HVAC system not turning on? Check if the thermostat is in the correct mode – heat for winter or cool for summer.When To Call A Professional
Sometimes, despite your best efforts, the problem persists. If the display remains blank, it could indicate a deeper electrical issue. In such cases, it’s wise to call a technician. If you hear strange noises from your HVAC system, it might be more than just a thermostat issue. A professional can diagnose and fix it. Experiencing frequent short cycling? This could be a sign of a faulty thermostat or a bigger system issue. Don’t hesitate to get expert help. Have you ever fixed your thermostat issue by yourself? Or do you think it’s always better to call a professional? Share your thoughts in the comments!Frequently Asked Questions
Should Emerson Thermostat Be On Auto Or On?
Set your Emerson thermostat to “auto” for optimal energy efficiency. This setting adjusts heating and cooling automatically.
How Do You Hold The Temperature On An Emerson Thermostat?
Press the “Hold” button on your Emerson thermostat to maintain the current temperature. This overrides programmed settings.
How Do I Lower The Temperature On My Emerson Thermostat?
Press the “Down” arrow button on your Emerson thermostat to lower the temperature. Adjust settings as needed.
How Do I Reset My Thermostat Settings?
To reset your thermostat settings, locate the reset button, press and hold for 5-10 seconds, then release. Consult the user manual for specific instructions.
Conclusion
Setting an Emerson thermostat is straightforward and user-friendly. Follow the steps carefully. Ensure your home’s temperature settings are comfortable. Regularly check and adjust settings as needed. Save on energy costs with efficient thermostat use. Enjoy the convenience and comfort that an Emerson thermostat brings.
Simple adjustments can make a big difference. Your home climate is now easier to control. Happy adjusting!
Check Best Thermostat Pricing in Amazon
** As an Amazon Associate, I earn from qualifying purchases.