
Check Best Thermostat Pricing in Amazon
** As an Amazon Associate, I earn from qualifying purchases.
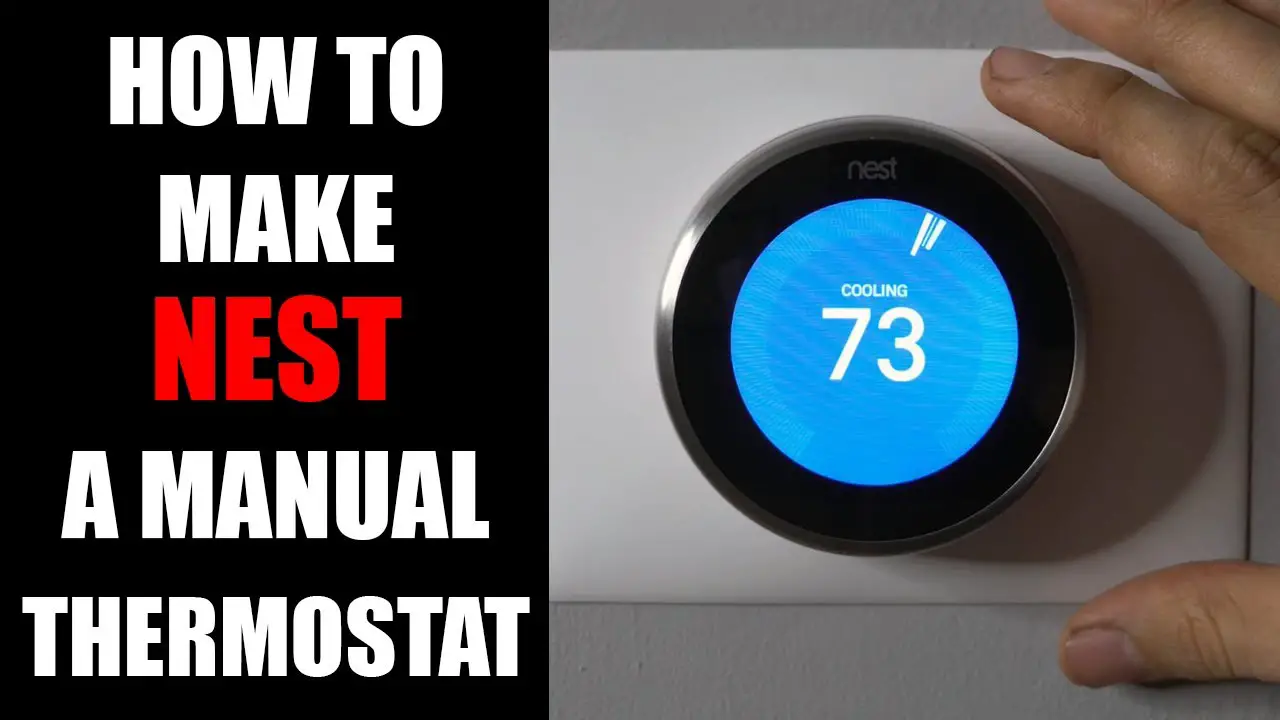
To set a Nest Thermostat to manual, open the Nest app and select the thermostat. Choose “Mode” and then “Off.”
A Nest Thermostat offers smart features for efficient home temperature control. Sometimes, manual control is necessary for specific needs or preferences. Switching to manual mode ensures you have complete control over heating and cooling settings. This feature is useful during maintenance or when you want consistent temperature without automatic adjustments.
The process is straightforward, allowing users to customize their home environment easily. Manual mode can be especially handy during extreme weather conditions, ensuring your home remains comfortable. With this guide, you can quickly take control of your Nest Thermostat, making it work precisely the way you want.
- Introduction To Nest Thermostat
- Unboxing Your Nest Thermostat
- Initial Setup And Installation
- Getting Started With The Nest Interface
- Switching To Manual Mode
- Adjusting Temperature Manually
- Tips For Manual Temperature Management
- Troubleshooting Common Issues
- Maintaining Your Nest Thermostat
- Exploring Advanced Features
- Final Thoughts
- Frequently Asked Questions
- Conclusion
Introduction To Nest Thermostat
The Nest Thermostat is a smart device designed to make home temperature control easy. It learns your schedule and adjusts the temperature to save energy. You can also set it manually for full control.
This device connects to your Wi-Fi network, allowing remote access through a smartphone app. It’s part of a growing trend in smart home technology.
The Rise Of Smart Home Devices
Smart home devices have become increasingly popular. They offer convenience and energy savings. These devices include smart lights, locks, cameras, and thermostats like the Nest.
People love smart devices for their ease of use. They can be controlled from anywhere using a smartphone or tablet. This level of control was not possible with traditional devices.
Benefits Of A Programmable Thermostat
A programmable thermostat like the Nest Thermostat offers many benefits:
- Energy Savings: The Nest learns your schedule and adjusts the temperature to save energy.
- Convenience: You can control it remotely through your smartphone app.
- Comfort: It maintains the perfect temperature for your home.
To sum up, a programmable thermostat makes your life easier and more comfortable.
Unboxing Your Nest Thermostat
Unboxing your new Nest Thermostat is an exciting experience. This section will guide you through what to expect and our first impressions.
Package Contents
Opening the Nest Thermostat box reveals several items. Here’s a list of what you’ll find:
- Nest Thermostat: The main device that will control your home’s temperature.
- Base Plate: This attaches to your wall and holds the thermostat.
- Screws and Tools: Necessary for installation.
- Installation Guide: A step-by-step booklet.
- Warranty Information: Details about your product’s warranty.
Each item is carefully packed to prevent damage during shipping.
Initial Impressions
The Nest Thermostat itself feels sleek and modern. It’s designed to blend with any home decor. The display is clear, and the buttons are easy to use.
The installation guide is easy to read. It uses simple language and clear illustrations. This makes it easy for anyone to install the thermostat without professional help.
Overall, the unboxing experience is pleasant and straightforward. You will have everything you need to set up your new thermostat.
Initial Setup And Installation
Setting up a Nest Thermostat manually can seem daunting. But with the right tools and steps, it’s simple. This guide will walk you through the initial setup and installation. Follow these steps to ensure your Nest Thermostat runs smoothly.
Tools Required
- Phillips screwdriver
- Flathead screwdriver
- Drill with bits
- Level
- Wire stripper
- Pencil
Step-by-step Installation Process
- Turn off the power to your HVAC system at the breaker box.
- Remove the old thermostat. Take note of the wires and their labels.
- Mount the Nest Thermostat base on the wall. Use the level to ensure it is straight.
- Connect the wires to the Nest base. Match the labels from the old thermostat.
- Secure the base to the wall using the screws provided. Use the drill if necessary.
- Attach the Nest display to the base. Press until it clicks into place.
- Turn the power back on at the breaker box.
- Follow the on-screen setup instructions on the Nest display.
By following these steps, your Nest Thermostat will be installed and ready to use. Ensure all wires are connected securely. Double-check your work before turning the power back on.
Getting Started With The Nest Interface
The Nest Thermostat is a smart device that learns your schedule. It can help you save energy. To set it to manual mode, you need to understand its interface. This section will guide you through the basics.
Navigating The Home Screen
The home screen is your starting point. It shows the current temperature and settings. To navigate, use the ring around the thermostat. Turn it left or right to move through options.
Here is a quick guide to the home screen:
- Current Temperature: Shows the room’s temperature.
- Target Temperature: Shows the temperature you want.
- Menu Icon: Access more settings.
Understanding The Menu Options
The menu options give you control over your thermostat. Press the ring to open the menu. Here are some key options:
| Menu Option | Description |
|---|---|
| Home/Away Assist | Adjusts settings based on your presence. |
| Schedule | Set a daily or weekly schedule. |
| Settings | Access advanced settings and preferences. |
To set the thermostat to manual, follow these steps:
- Press the ring to access the menu.
- Select Settings.
- Choose Manual mode.
Now, you can control the temperature manually. This gives you full control over your home’s climate.
Switching To Manual Mode
Setting your Nest Thermostat to manual mode can give you more control over your home’s temperature. This can be especially helpful if you want to override scheduled settings. Follow these simple steps to switch to manual mode and enjoy a comfortable home environment.
Deactivating Schedules
To switch to manual mode, you need to deactivate the schedules first. Here’s how you can do it:
- Open the Nest app on your smartphone or tablet.
- Select your thermostat from the home screen.
- Tap on the Schedule option.
- Find the Delete button and tap it to remove your existing schedules.
- Confirm your choice to delete all schedules.
By deactivating schedules, you allow your Nest Thermostat to operate in manual mode. This gives you full control over the temperature settings.
Setting Your Temperature Preferences
After deactivating schedules, you can set your temperature preferences manually. Follow these steps:
- Go back to the thermostat’s home screen in the app.
- Tap on the Temperature option.
- Adjust the temperature by sliding the scale to your desired level.
- Confirm your settings by tapping the Done button.
You can change the temperature anytime by following these steps. This allows you to maintain a comfortable environment in your home.
With manual mode, you have complete control over your Nest Thermostat. Enjoy a comfortable home with easy-to-adjust temperature settings.
Credit: support.google.com
Adjusting Temperature Manually
Adjusting the temperature manually on a Nest Thermostat is simple and intuitive. This feature allows you to take control of your home’s climate without relying on automatic settings. Whether you prefer to use the thermostat dial or the mobile app, the process is straightforward.
Using The Nest Dial
To adjust the temperature manually using the Nest dial, follow these steps:
- Stand near your Nest Thermostat.
- Turn the outer ring clockwise or counterclockwise.
- Observe the screen as the temperature changes.
- Stop turning the dial when you reach your desired temperature.
The thermostat will now maintain this temperature until you make another change. This method is perfect for quick adjustments.
Using The Nest App
Adjusting the temperature manually via the Nest app is convenient and can be done from anywhere. Follow these instructions:
Check Best Thermostat Pricing in Amazon
** As an Amazon Associate, I earn from qualifying purchases.
- Open the Nest app on your smartphone.
- Tap on your thermostat icon.
- Use the slider to set the desired temperature.
- Confirm the new setting by tapping the checkmark.
You can also create schedules or adjust settings while away from home. This flexibility ensures your home is always at the perfect temperature.
Both methods provide you with manual control over your Nest Thermostat, allowing you to create a comfortable environment effortlessly.
Tips For Manual Temperature Management
Setting your Nest Thermostat to manual mode can help you maintain control over your home’s temperature. This can lead to better comfort and energy savings. Below are some effective tips for managing your thermostat manually.
Optimal Temperature Settings
Finding the right temperature is key to comfort and savings. Here are some recommended settings:
- In the summer, set your thermostat to 78°F (26°C) when you are home.
- During winter, aim for 68°F (20°C) while you are awake.
- Lower the temperature by 10-15 degrees when you’re asleep or away.
These settings can help reduce energy costs and keep your home comfortable.
Energy-saving Strategies
Use these strategies to save energy with your Nest Thermostat:
- Schedule Adjustments: Create a daily schedule to automatically adjust temperatures.
- Eco Mode: Use Eco Mode to optimize energy use when you’re not home.
- Fan Settings: Run the fan during cooler parts of the day to circulate air.
- Insulation: Ensure your home is well-insulated to maintain temperature.
Energy-saving practices can lower your bills and reduce your carbon footprint.

Credit: www.wikihow.com
Troubleshooting Common Issues
Setting your Nest Thermostat to manual mode can be straightforward. Yet, sometimes, you might face common issues. Let’s troubleshoot some of these common problems to ensure your Nest Thermostat works perfectly.
Connectivity Problems
Connectivity issues can be frustrating. Here are some steps to resolve them:
- Check Wi-Fi Signal: Ensure your thermostat is within range of your Wi-Fi router. A weak signal can cause connectivity problems.
- Restart Devices: Restart both your thermostat and router. This can often fix connectivity issues.
- Update Firmware: Make sure your thermostat’s firmware is up to date. Outdated firmware can cause connectivity problems.
- Network Settings: Verify your network settings. Ensure your Wi-Fi credentials are entered correctly.
Incorrect Temperature Readings
If your Nest Thermostat shows incorrect temperature readings, try these solutions:
- Check Placement: Ensure your thermostat is placed in an optimal location. Avoid placing it near heat sources or in direct sunlight.
- Calibrate the Thermostat: You might need to recalibrate your thermostat. Follow the instructions in the user manual for accurate calibration.
- Check Sensors: Make sure the temperature sensors are clean and free from dust. Dirty sensors can affect readings.
- Software Update: Ensure your thermostat’s software is up to date. Software updates can fix bugs causing incorrect readings.
By following these steps, you can troubleshoot common issues and ensure your Nest Thermostat operates smoothly.
Maintaining Your Nest Thermostat
Ensuring the long-term efficiency of your Nest Thermostat requires regular maintenance. Proper upkeep not only extends its lifespan but also guarantees optimal performance. Below are key tips for maintaining your Nest Thermostat:
Regular Software Updates
Keeping your Nest Thermostat’s software up-to-date is crucial. Regular updates help to fix bugs, improve security, and add new features. To check for updates:
- Open the Nest app on your smartphone.
- Navigate to the settings menu.
- Select “Software Updates” and follow the prompts.
It’s advisable to enable automatic updates. This ensures you always have the latest enhancements and fixes.
Cleaning And Care
Regular cleaning is essential to maintain the thermostat’s accuracy. Dust and dirt can affect the sensor readings. Here are steps to clean your Nest Thermostat:
- Gently remove the thermostat from its base.
- Use a soft, dry cloth to wipe the surface.
- Avoid using water or cleaning solutions.
- Reattach the thermostat to its base securely.
Also, inspect the area around the thermostat. Ensure it is free from obstructions that could affect its readings.
Exploring Advanced Features
The Nest Thermostat offers more than just temperature control. By exploring its advanced features, you can maximize your home’s comfort and efficiency. This section covers how to use your Nest Thermostat with voice assistants and integrate it with other smart home devices.
Using The Nest With Voice Assistants
Your Nest Thermostat can work with popular voice assistants like Google Assistant and Amazon Alexa. This feature allows you to control the temperature using simple voice commands.
- Ensure your Nest Thermostat is connected to Wi-Fi.
- Open the Google Home app or Amazon Alexa app on your smartphone.
- Follow the in-app instructions to link your Nest account.
Once linked, you can say commands like, “Hey Google, set the thermostat to 70 degrees,” or “Alexa, lower the temperature by 2 degrees.”
Integrating With Other Smart Home Devices
The Nest Thermostat can be integrated with various smart home devices. This integration can create a seamless and efficient home environment.
Here are some common devices you can integrate with your Nest Thermostat:
| Device | Integration Benefit |
|---|---|
| Smart Lights | Automatically adjust lighting based on room temperature. |
| Smart Plugs | Control heating devices like space heaters. |
| Security Systems | Enhance security by linking temperature changes with security alerts. |
To integrate these devices, ensure they are compatible with the Nest Thermostat. Use the respective apps to link them for a cohesive smart home experience.
Final Thoughts
Setting your Nest Thermostat to manual mode can offer a range of benefits. It provides you with complete control over your home’s temperature settings. But it’s essential to weigh both the advantages and limitations. This section will help you understand the pros and cons, and when to consider professional assistance.
Pros And Cons Of Manual Mode
| Pros | Cons |
|---|---|
| Full control over temperature settings. | Requires regular adjustments. |
| Can save energy if used wisely. | May not be as energy-efficient as automated settings. |
| Simple to understand and use. | Can be less convenient. |
When To Consider Professional Assistance
- If you face difficulties setting the manual mode.
- If the thermostat doesn’t respond to your settings.
- If you notice any unusual behavior or errors.
Professional assistance can help resolve complex issues. It ensures your thermostat operates smoothly.
Whether you choose manual or automated settings, always prioritize comfort and energy efficiency.
Credit: m.youtube.com
Frequently Asked Questions
Can I Make My Nest Thermostat Manual?
Yes, you can set your Nest thermostat to manual mode. Go to the settings, select “Eco” and adjust temperatures manually.
How To Set Nest Thermostat Schedule Manually?
To manually set your Nest thermostat schedule, go to the Settings menu. Select “Schedule,” then adjust the time and temperature settings as needed. Save changes.
How Do I Manually Change The Temperature On My Nest Thermostat?
Turn the outer ring of your Nest Thermostat to adjust the temperature. Confirm by pressing the unit.
How Do I Bypass The Schedule On My Nest Thermostat?
To bypass the schedule on your Nest thermostat, set it to “Hold” mode. This keeps your desired temperature constant. Access “Hold” mode through the thermostat’s settings menu or the Nest app.
Conclusion
Mastering the manual settings on your Nest Thermostat is straightforward. Follow the steps, and enjoy better control of your home’s temperature. This method ensures comfort and energy efficiency. Don’t hesitate to adjust settings as needed. Your Nest Thermostat can significantly improve your home’s comfort and energy savings.
Check Best Thermostat Pricing in Amazon
** As an Amazon Associate, I earn from qualifying purchases.