
Check Best Thermostat Pricing in Amazon
** As an Amazon Associate, I earn from qualifying purchases.
Setting a Honeywell Home thermostat is simple. Follow these steps to ensure your home stays comfortable.
A Honeywell Home thermostat can help you manage your home’s temperature efficiently. Whether it’s summer or winter, getting the settings right is crucial for comfort and energy savings. Many people find themselves overwhelmed by the options available on these devices.
This guide will help you understand the basics and get your thermostat set up in no time. We will cover everything from initial setup to advanced features, ensuring you get the most out of your Honeywell Home thermostat. So, let’s dive in and make your home the perfect temperature all year round.
Unboxing Your Thermostat
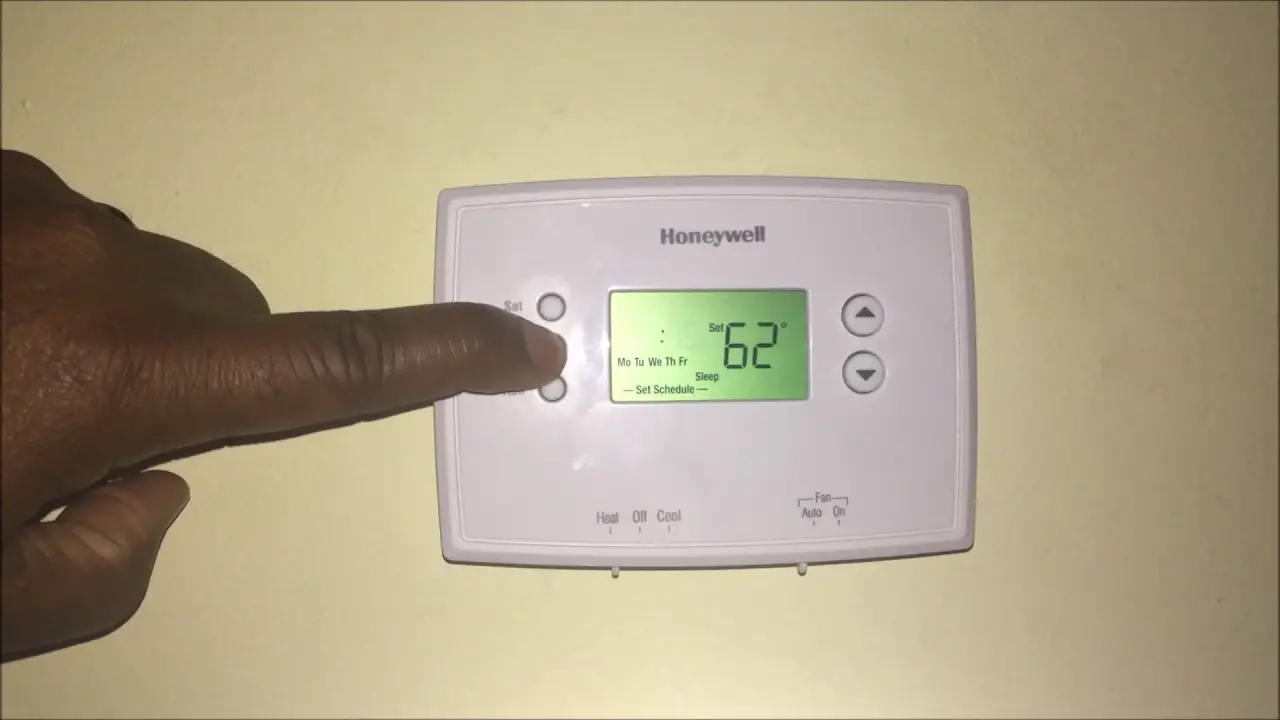
Discover how to set a Honeywell Home Thermostat easily. Follow simple steps to ensure your home stays comfortable. Adjust settings to match your daily routine.
Unboxing your Honeywell Home Thermostat is an exciting first step. You’ll find everything you need to get started. Let’s dive into what you can expect inside the box.What’s In The Box
The Honeywell Home Thermostat package includes several items. First, you’ll find the thermostat unit itself. This is the main component. Next, there is a wall plate. This helps to mount the thermostat on your wall. You’ll also find screws and anchors. These secure the wall plate. A user manual is included too. This guide provides step-by-step instructions. Lastly, there are wire labels. These help to identify the wires during installation.Tools You Will Need
Before you begin, gather some basic tools. A screwdriver is essential. This helps to secure the wall plate. A drill might also be needed. It depends on the wall material. You may need a level. This ensures the thermostat is straight. A pencil is useful for marking positions. Finally, have wire strippers handy. These help prepare the wires for connection. Now you’re ready to set up your Honeywell Home Thermostat. With the right tools and items from the box, installation is straightforward. “`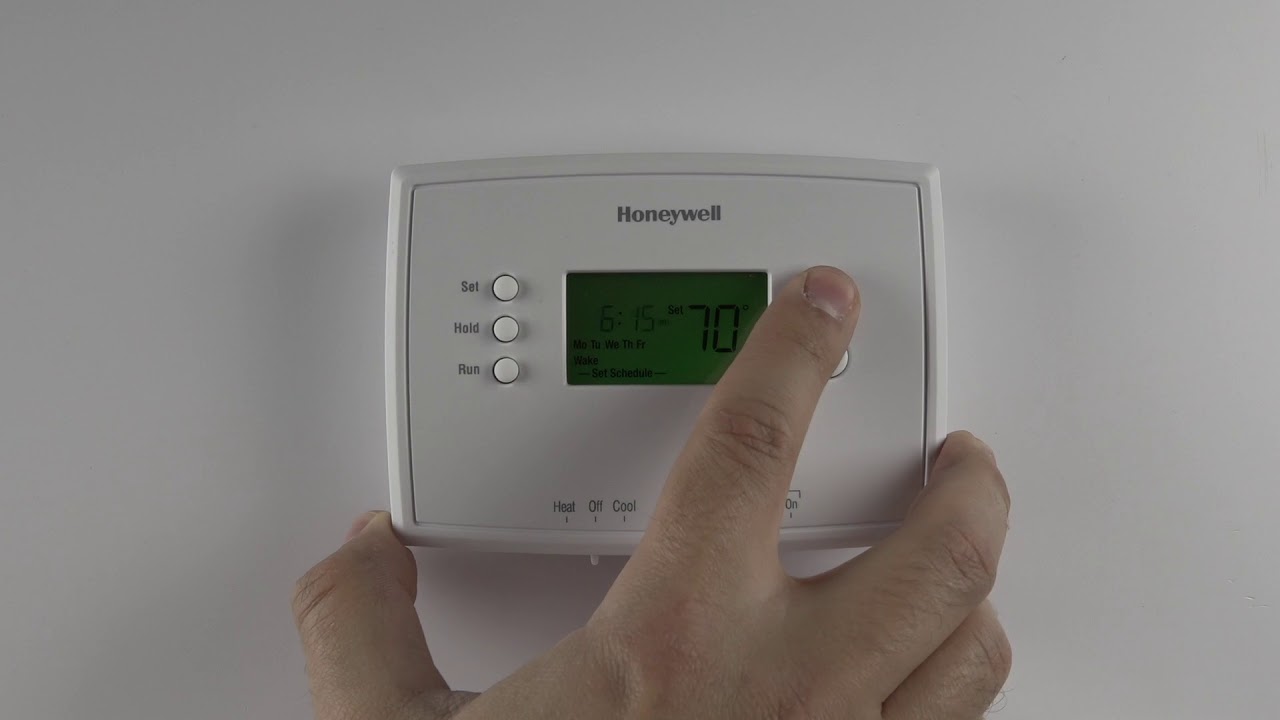
Credit: www.youtube.com
Installation Preparation
Ensure the power is off before starting. Gather necessary tools like a screwdriver and level. Carefully read the installation guide.
Setting up your Honeywell Home Thermostat can be a seamless process if you prepare properly. The installation preparation is crucial for ensuring your thermostat functions optimally. Follow these steps to get started on the right foot.Safety Precautions
Before you dive into the installation, prioritize safety. Always turn off the power to your heating and cooling system at the breaker box. This will prevent any electrical hazards. Use a voltage tester to double-check that the power is off. Trust me, this small step can save you from a nasty shock. If you’re unsure about handling electrical components, don’t hesitate to consult a professional.Choosing The Right Location
Location is key when installing your thermostat. Choose a central location in your home. This ensures an accurate temperature reading. Avoid placing the thermostat near windows, doors, or direct sunlight. These areas can cause false readings. It’s best to install it at eye level for easy access. Think about your daily routine. Place the thermostat in a spot where it’s convenient for you to adjust. This simple consideration can enhance your comfort and energy efficiency. — By following these practical tips, you can set up your Honeywell Home Thermostat smoothly. What challenges have you faced with thermostat installation? Share your thoughts below!Wiring Your Thermostat
Set a Honeywell Home Thermostat with ease. Connect the wires correctly to ensure proper heating and cooling. Follow the manual for detailed steps.
Wiring your Honeywell Home thermostat might seem like a daunting task, but it’s actually quite straightforward once you get the hang of it. In this section, we’ll break down the process to make it as simple as possible. You’ll be up and running in no time.Identifying Wires
First, you need to identify the wires coming out of your wall. Typically, these are color-coded, but it’s always a good idea to double-check. Look for labels such as R (power), W (heat), Y (cooling), and G (fan). Take a picture of the existing wiring setup. This can be a lifesaver if you need to refer back to it.Connecting The Wires
Once you’ve identified the wires, it’s time to connect them to your new thermostat. Match each wire to its corresponding terminal on the Honeywell Home thermostat. For instance, connect the R wire to the R terminal. Ensure each wire is securely connected. Loose connections can cause the thermostat to malfunction. — Have you ever found yourself staring at a bunch of wires, feeling lost? We’ve all been there. But with a clear plan, you’ll find that wiring your thermostat is something you can handle. Isn’t it empowering to know you can manage your home’s climate control?Mounting The Thermostat
Mounting the thermostat is simple. First, ensure the power is off. Attach the thermostat base to the wall. Secure it with screws. Connect the wires according to the instructions. Finally, snap the thermostat onto the base.
Setting up a Honeywell Home Thermostat can seem like a daunting task, but mounting the thermostat is one of the most crucial steps to get right. A well-mounted thermostat ensures that your heating and cooling systems work efficiently, keeping your home comfortable. Let’s dive into the process, starting with securing the base plate.Securing The Base Plate
Before attaching the base plate, find a suitable location for your thermostat. It should be away from direct sunlight, drafts, and other heat sources. Use a level to ensure the base plate is straight. This simple tool can save you a lot of frustration. Once you have the perfect spot, mark the holes on the wall using a pencil. This will guide your drilling. Drill the holes and insert wall anchors if necessary. This gives the screws something to grip, especially in drywall. Finally, use screws to secure the base plate firmly. You want it to be stable and not wobble when you attach the thermostat.Attaching The Thermostat
Now that your base plate is secure, it’s time to attach the thermostat. This step is easier than you might think. First, connect the wires to the appropriate terminals on the base plate. Each wire is color-coded to match the terminals, making this step straightforward. Make sure the wires are snug and secure. Loose connections can cause your thermostat to malfunction. Once the wires are connected, align the thermostat with the base plate and snap it into place. You should hear a click when it’s secure. Finally, turn on the power to your HVAC system and test the thermostat. Set it to your desired temperature and see if your heating or cooling system responds correctly. Mounting your Honeywell Home Thermostat is a simple but vital process. With these steps, you’re well on your way to a more comfortable home. Have you ever mounted a thermostat before? Share your experience in the comments!Initial Setup
Begin by powering up your Honeywell Home Thermostat. Follow the on-screen prompts to connect it to your Wi-Fi network. Configure your preferred temperature settings and schedules.
Setting up your Honeywell Home Thermostat might seem daunting at first, but it’s actually straightforward. The initial setup is crucial to ensure your thermostat runs efficiently and keeps your home comfortable. Let’s walk through the process together.Powering On
First things first, you need to power on your Honeywell Home Thermostat. Locate the power button, usually found on the front or side of the device. Press and hold the button for a few seconds until the screen lights up. If the thermostat doesn’t turn on, double-check the connections and ensure it’s properly installed. I remember my first time setting up; I had to reattach a loose wire. It’s a simple fix but can save you a lot of frustration.Setting The Date And Time
Once your thermostat is powered on, the next step is to set the date and time. This might seem trivial, but it ensures your thermostat operates correctly, especially for scheduling. Navigate to the settings menu. You’ll typically find an option labeled “Date/Time” or something similar. Use the arrow buttons to set the current date and time. Setting the date and time accurately is essential. Imagine programming your thermostat to heat your home at 6 AM, but the clock is off by an hour. You’d wake up to a chilly house! Taking a moment to set it right can make a big difference. Now, think about this: Have you ever wondered why your energy bills are so high? Properly scheduling your thermostat can help reduce those costs. By following these initial setup steps, you’re ensuring your Honeywell Home Thermostat is ready to keep your home cozy and efficient.
Credit: smudenergystore.com
Programming Your Thermostat
Setting a Honeywell Home Thermostat is simple. Adjust the temperature to your preference and set schedules to match your daily routine. Ensure energy efficiency by programming it to lower the heat or air conditioning when you’re away.
Check Best Thermostat Pricing in Amazon
** As an Amazon Associate, I earn from qualifying purchases.
Setting Temperature Schedules
First, set up daily temperature schedules to match your routine. On the Honeywell Home thermostat, you can create different schedules for weekdays and weekends. For instance, set a lower temperature while you’re at work and a comfortable one before you get home. This way, you’re not wasting energy heating or cooling an empty house. Breaking down your day into specific time slots can help optimize your energy use. Think about your morning routine, work hours, and bedtime.Using Advanced Settings
Explore the advanced settings for more personalized control. The Honeywell Home thermostat offers features like smart response learning, which adapts to your schedule over time. You can also enable energy-saving modes that automatically adjust settings when you’re away. This ensures that your system isn’t working harder than it needs to be, saving you money in the long run. Have you ever forgotten to adjust the thermostat before leaving for vacation? Use the away settings to maintain a minimal temperature, which prevents wasted energy while you’re away. Programming your thermostat is a simple yet effective way to make your home more comfortable and efficient. Have you tried setting up a schedule yet? If not, give it a shot and notice the difference it makes!Troubleshooting
Setting a Honeywell Home Thermostat involves navigating the user-friendly interface. Follow simple steps to adjust temperature and modes. Ensure proper settings for optimal home comfort and energy efficiency.
Are you having issues with your Honeywell Home Thermostat? Troubleshooting can help solve common problems. Here, we will address some usual issues and how to reset the thermostat.Common Issues
Many users face common problems with their thermostats. Sometimes, the thermostat does not turn on. Other times, it might not respond to changes. Incorrect temperature readings can also be a problem. These issues are often easy to fix. Check if the thermostat has power. Ensure the batteries are not dead. If it is a wired model, see if the circuit breaker has tripped. Also, check if the settings are correct. Sometimes, a simple adjustment can solve the problem. If the screen is blank, it might need new batteries. If the thermostat is not cooling or heating, check the settings. Ensure it is set to the correct mode.Resetting The Thermostat
Resetting the thermostat can solve many issues. To reset, find the reset button. It is often behind the cover or in the menu. Press and hold the reset button for a few seconds. Wait for the screen to turn off and on again. This indicates that the reset is complete. If there is no reset button, try turning off the power. Wait for a few minutes, then turn it back on. This can also reset the system. After resetting, reprogram the thermostat. Set the desired temperature and schedule. This should solve most issues and get your thermostat working smoothly again. “`Maintenance Tips
Set your Honeywell Home thermostat by pressing the “System” button. Adjust the temperature using the arrow keys. Confirm your settings by pressing “Done. “
Maintaining your Honeywell Home Thermostat ensures it works efficiently and lasts longer. Regular maintenance can prevent unexpected breakdowns and save you from costly repairs. Here are some practical tips to keep your thermostat in top shape:Cleaning The Thermostat
Dust and dirt can accumulate on your thermostat over time, affecting its performance. Gently clean the exterior with a soft, dry cloth. Avoid using water or cleaning solutions that might damage the device. Remember to remove the cover and clean the inside as well. Use a small brush or compressed air to clear out any dust. This simple step can help maintain accurate temperature readings and improve efficiency.Software Updates
Just like your smartphone, your Honeywell Home Thermostat needs regular software updates. These updates can enhance features, fix bugs, and improve overall performance. Check for updates at least once a month. Updating the software is usually straightforward. Follow the instructions in your thermostat’s manual or visit the Honeywell website. Keeping the software up-to-date ensures you get the most out of your device. Taking care of your thermostat doesn’t have to be time-consuming. Simple actions like cleaning and updating software can make a big difference. What other maintenance tips do you find useful for your home devices?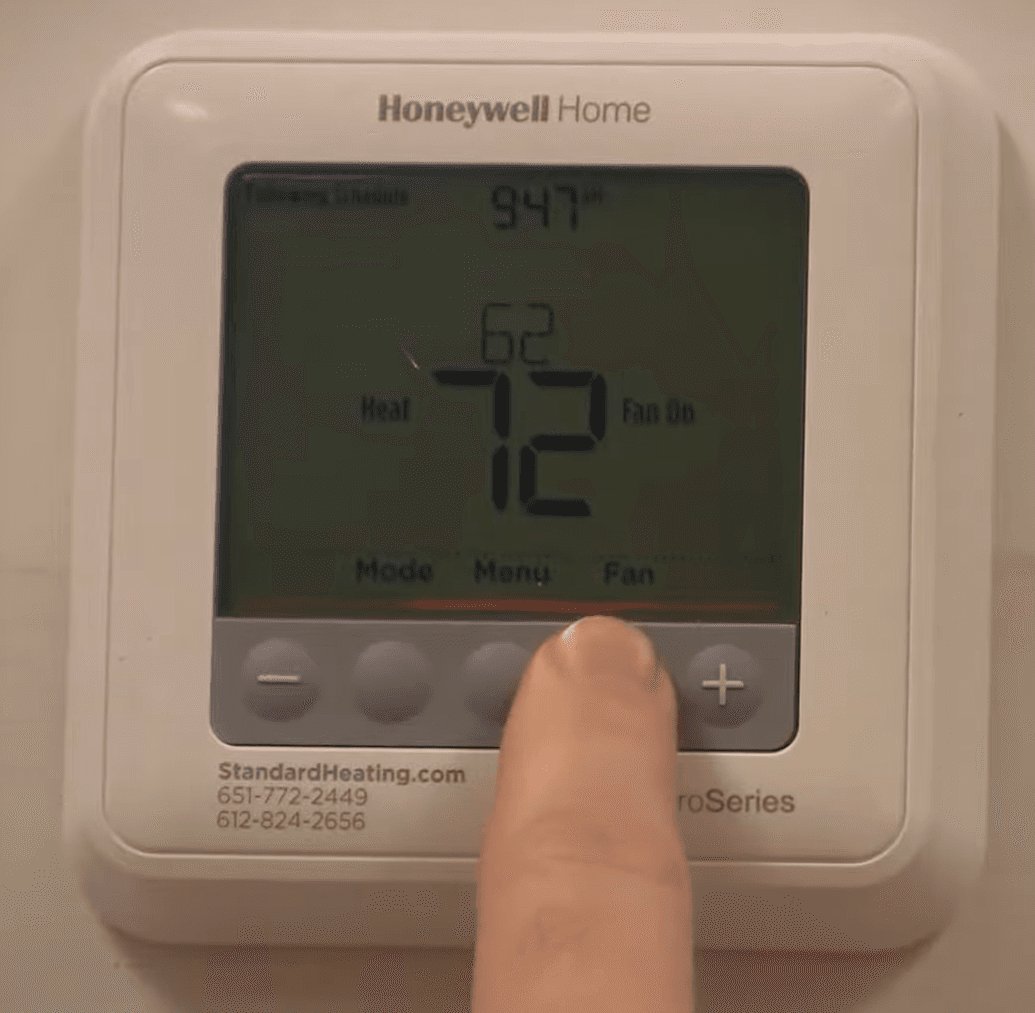
Credit: www.standardheating.com
Frequently Asked Questions
How Do I Set My Honeywell Home Thermostat?
To set your Honeywell home thermostat, press the “Menu” button. Select “System Mode” to choose heating, cooling, or auto. Adjust temperature using the arrow buttons.
How Do I Reprogram My Honeywell Thermostat?
To reprogram your Honeywell thermostat, press “System” and hold the blank box in the center. Then, follow the on-screen instructions to set your desired schedule.
How Do I Keep My Honeywell Thermostat At Constant Temperature?
Set your Honeywell thermostat to “Hold” mode. Adjust the temperature to your desired setting. This maintains a constant temperature.
Should Honeywell Thermostat Be On Auto Or On?
Set your Honeywell thermostat to ‘auto’ for optimal energy efficiency. It adjusts heating and cooling based on your settings.
Conclusion
Setting a Honeywell Home thermostat is easy and efficient. Follow the steps and enjoy a comfortable home. Adjusting temperatures is straightforward with user-friendly controls. Regular checks ensure optimal performance. Remember to save energy by using smart schedules. A properly set thermostat enhances comfort.
Happy heating and cooling!
Check Best Thermostat Pricing in Amazon
** As an Amazon Associate, I earn from qualifying purchases.