
Check Best Thermostat Pricing in Amazon
** As an Amazon Associate, I earn from qualifying purchases.
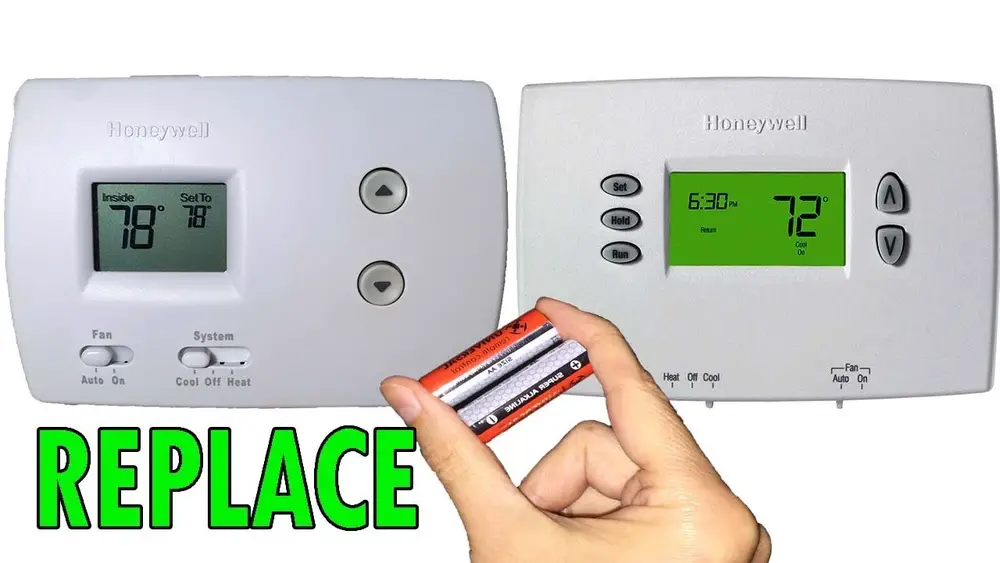
Is your Honeywell thermostat acting up or showing low battery warnings? Replacing the batteries might be the simple fix you need.
Knowing how to change the batteries yourself can save you time, money, and the hassle of calling a technician. In this guide, you’ll learn step-by-step how to quickly and safely replace the batteries in your Honeywell thermostat. By the end, you’ll feel confident keeping your thermostat running smoothly and your home comfortable all year round.
Let’s get started!
Credit: environmentmasters.com
Signs You Need New Batteries
Knowing when to replace the batteries in your Honeywell thermostat is important. Batteries lose power over time. This can cause your thermostat to work poorly or stop working. Watch for clear signs that the batteries need changing. Acting early keeps your heating and cooling system running smoothly.
Low Battery Alerts
Your Honeywell thermostat shows low battery alerts on the screen. A small battery icon or message may appear. This alert tells you the batteries are weak. Do not ignore it. Replace the batteries soon to avoid system interruptions.
Unresponsive Thermostat
The thermostat stops responding to your commands. Buttons may not work or the screen may freeze. This often happens when batteries are almost dead. Changing the batteries usually fixes this issue quickly. It helps your thermostat react properly again.
Display Issues
The display may flicker, dim, or show incomplete information. Sometimes, the screen goes blank. These problems often mean the batteries are low. Fresh batteries restore a clear and bright display. This makes it easier to read and use your thermostat.
Tools And Materials Needed
Replacing the batteries in your Honeywell thermostat requires a few simple tools and materials. Having the right items ready makes the job quick and easy. This section covers the essential supplies to keep your thermostat running smoothly.
Battery Types Compatible With Honeywell Thermostats
Most Honeywell thermostats use standard AA or AAA batteries. Some models need 2 AA batteries, while others may use AAA. Check your thermostat’s manual or battery compartment for the exact type. Use fresh alkaline batteries for the best performance. Avoid rechargeable batteries as they may cause issues.
Additional Tools
A small flathead screwdriver can help open the battery compartment if it is tight. A soft cloth is useful to clean the area around the batteries. Keep a flashlight handy if your thermostat is in a dim spot. These simple tools make the replacement process smoother and safer.
Preparing To Replace Batteries
Preparing to replace the batteries in your Honeywell thermostat helps ensure a smooth process. This step keeps your device safe and avoids damage. It also makes the battery change quick and easy.
Start by turning off the thermostat. This prevents any accidental settings changes. Next, find the battery compartment. Knowing its location saves time and frustration.
Turning Off The Thermostat
Switch off the thermostat before opening it. Look for the power or system button on the device. Press it to turn the thermostat off. This stops the thermostat from running during the battery change.
Turning off the device protects its internal parts. It also helps keep your settings safe. Wait a few seconds after switching off before moving to the next step.
Locating The Battery Compartment
The battery compartment on most Honeywell thermostats is at the back. Gently remove the thermostat from its wall mount. Hold it carefully to avoid dropping it.
Look for a small cover or panel. Slide or lift this cover to reveal the batteries. Some models use AA or AAA batteries. Others may use a 9-volt battery.
Knowing the battery type before you start helps you prepare better. Keep a replacement battery ready to avoid delays. Handle the batteries carefully to avoid damage.

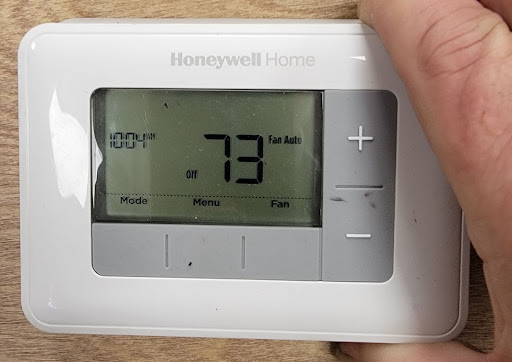
Credit: willplumb.com
Step-by-step Battery Replacement
Replacing the batteries in your Honeywell thermostat is simple. Follow these clear steps to keep your thermostat working well. This guide helps you change the batteries quickly and safely.
Removing The Thermostat Cover
First, find the thermostat on your wall. Hold the edges of the cover gently. Pull the cover straight out to remove it. Be careful not to break any clips. Set the cover aside on a safe surface.
Check Best Thermostat Pricing in Amazon
** As an Amazon Associate, I earn from qualifying purchases.
Taking Out Old Batteries
Look inside the battery compartment. Notice how the old batteries are placed. Use your fingers to slide them out carefully. Check the battery type before disposal. Dispose of old batteries properly to protect the environment.
Inserting New Batteries
Take the new batteries and check their positive and negative ends. Match the ends with the markings inside the compartment. Push the batteries in gently until they fit snugly. Replace the cover by snapping it back into place. Test the thermostat to ensure it powers on.
Testing The Thermostat After Replacement
Testing your Honeywell thermostat after battery replacement is crucial. It ensures the device works correctly and controls your home’s temperature well.
This step helps spot any issues early. You avoid discomfort and save energy by confirming the thermostat functions properly.
Powering On
Start by turning the thermostat on. Press the power button or set the device back to its original position. Watch for any lights or sounds that show it has powered up. If the screen stays blank, check the batteries again.
Checking Display And Functions
Look at the display carefully. It should show the current temperature and settings clearly. Test the buttons by adjusting the temperature up and down. The screen should respond without delay. Also, check for any error messages or unusual icons. These signs mean the thermostat might need further attention.
Tips To Extend Battery Life
Extending the battery life of your Honeywell thermostat saves money and effort. Proper care keeps your thermostat working well for longer. Follow simple tips to get the most from your batteries.
Regular Maintenance
Check your thermostat batteries every few months. Clean battery contacts with a dry cloth to remove dust. Dust and dirt can cause poor connection and drain batteries faster. Remove old batteries promptly and replace them with fresh ones. Keep the thermostat screen clean to prevent energy waste. Regular checks avoid sudden battery failures.
Using Quality Batteries
Choose high-quality alkaline batteries for longer life. Avoid cheap or old batteries as they drain quickly. Store spare batteries in a cool, dry place to keep them fresh. Using good batteries reduces the need for frequent changes. This improves thermostat performance and saves hassle.
Troubleshooting Common Issues
Replacing the batteries in a Honeywell thermostat is usually easy. Sometimes, small problems stop the thermostat from working properly. This section helps you fix common issues. It saves time and avoids extra costs. Follow the simple steps below to get your thermostat working again.
Thermostat Not Turning On
Check if the batteries are installed correctly. Wrong placement stops the thermostat from turning on. Remove and reinsert the batteries. Use fresh batteries with the right size and voltage. If the screen stays blank, try resetting the thermostat. Look for a small reset button or remove the batteries for a minute. Power it up again. Persistent problems may need professional help.
Battery Compartment Problems
Sometimes, the battery compartment gets dirty or corroded. This stops the power flow. Open the compartment and inspect it carefully. Clean any dirt with a dry cloth. Remove corrosion using a small brush and vinegar, then dry it well. Make sure the contacts are tight and not bent. A loose connection causes power issues. After cleaning, reinsert new batteries and check the thermostat.

Credit: www.youtube.com
Frequently Asked Questions
How Do I Know When To Replace Honeywell Thermostat Batteries?
You should replace the batteries when the thermostat display dims or shows a low battery alert. Regular checks every 6-12 months help maintain performance.
What Type Of Batteries Does A Honeywell Thermostat Use?
Most Honeywell thermostats use AA or AAA alkaline batteries. Check your model’s manual for the exact battery type needed before replacing.
How To Safely Remove Old Batteries From Honeywell Thermostat?
Turn off the thermostat, then gently open the battery compartment. Remove old batteries carefully to avoid damaging the contacts or the device.
Can I Replace Honeywell Thermostat Batteries Without Losing Settings?
Yes, most Honeywell thermostats retain settings during battery replacement. However, it’s best to record your settings before changing batteries as a precaution.
Conclusion
Replacing batteries in your Honeywell thermostat is quick and simple. Just follow the steps carefully, and your device will work smoothly again. Regular battery changes help keep your thermostat accurate and reliable. Don’t wait for the low battery warning to act.
Taking small steps now saves you time and trouble later. Keep your home comfortable without any interruptions. Trust yourself—you can do this easily.
Check Best Thermostat Pricing in Amazon
** As an Amazon Associate, I earn from qualifying purchases.