
Check Best Thermostat Pricing in Amazon
** As an Amazon Associate, I earn from qualifying purchases.
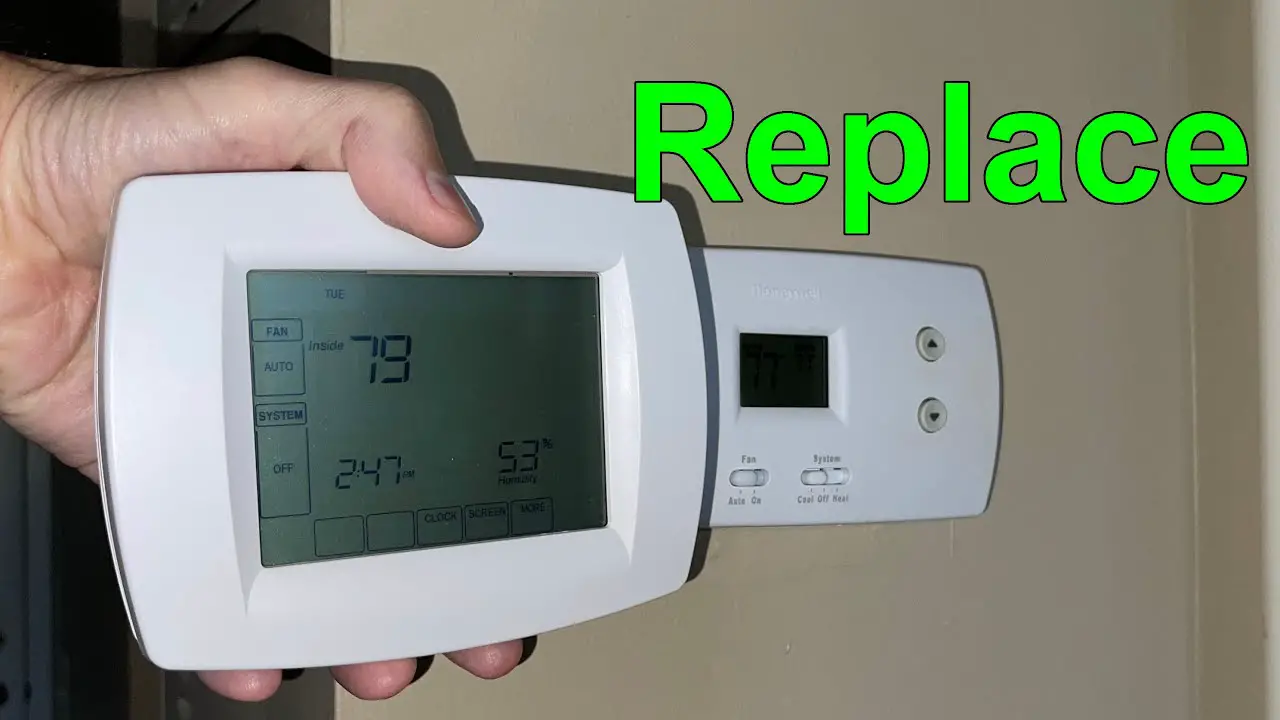
Replacing a Honeywell thermostat is a straightforward task. It involves a few steps that anyone can follow.
A malfunctioning thermostat can cause discomfort and high energy bills. Knowing how to replace it can save you time and money. Whether you’re upgrading to a newer model or replacing a faulty one, this guide will help you. We’ll cover everything from removing the old thermostat to installing the new one.
With the right tools and instructions, you can complete this task quickly. No need for professional help. Follow these steps to ensure your home stays comfortable and your energy costs remain low. Let’s get started on replacing your Honeywell thermostat.
Preparing For Replacement
Preparing for the replacement of your Honeywell thermostat is crucial. It ensures a smooth and safe process. This section will guide you through the initial steps. We’ll start by gathering the necessary tools. Then, we’ll move on to turning off the power to the thermostat.
Gathering Tools
First, gather all the tools you need. You will need a screwdriver. A small flashlight can help if the area is dark. Have a set of new batteries ready. These tools will make the process easier and quicker.
Turning Off Power
Next, turn off the power to the thermostat. This step is very important for your safety. Locate your home’s circuit breaker panel. Find the switch that controls the thermostat. Flip the switch to the ‘off’ position. This ensures no electricity flows to the thermostat. Double-check that the power is off before proceeding.

Credit: www.youtube.com
Removing The Old Thermostat
Begin by turning off the power to your thermostat. Remove the cover and note the wiring configuration for later reference.
Replacing your Honeywell thermostat might seem like a daunting task, but breaking it down into simple steps can make it much easier. The first crucial step in this process is removing the old thermostat. Let’s delve into the details of how to do this, focusing on the essential tasks: removing the cover and disconnecting the wires.Removing The Cover
Start by removing the cover of your old Honeywell thermostat. Most thermostat covers can be easily removed by gently pulling them off. If it’s not coming off, don’t force it. Check for screws that might be holding it in place. Once the cover is off, you’ll see the internal components of the thermostat.Disconnecting Wires
After removing the cover, you’ll see several wires connected to terminals. Before you start disconnecting them, it’s important to turn off the power to your HVAC system to avoid any electrical hazards. Take a picture of the wiring setup. This will be your reference when you connect the new thermostat. Carefully label each wire using masking tape, noting which terminal it connects to. Unscrew the terminals to release the wires. Make sure the wires don’t fall back into the wall. You can wrap them around a pencil to keep them in place. By following these steps, you can confidently remove your old thermostat and prepare for installing a new one. Have you ever found a simpler way to manage wiring? Share your tips in the comments!Installing The New Thermostat
Installing a new Honeywell thermostat can improve your home’s temperature control. Once you have removed the old thermostat, it’s time to install the new one. This process involves mounting the base and connecting the wires correctly.
Mounting The Base
First, attach the new thermostat base to the wall. Use the provided screws to secure it. Ensure it is level. Use a small level tool to check. A crooked base can affect the thermostat’s performance. Make sure all screw holes are aligned. Tighten the screws firmly but gently.
Connecting Wires
Next, connect the wires to the new thermostat. Match each wire to its corresponding terminal. Terminals are usually labeled with letters. Refer to the installation guide for specific instructions. Double-check each connection before proceeding. Loose connections can cause the thermostat to malfunction.
Once all wires are connected, attach the thermostat faceplate. Snap it into place securely. Finally, restore power to your HVAC system. Your new Honeywell thermostat should now be ready to use.
Configuring The Thermostat
After installing your Honeywell thermostat, configuring it is the next step. Proper configuration ensures your home stays comfortable. This section will guide you through setting preferences and programming the schedule.
Setting Preferences
First, access the menu on your thermostat. Use the arrows to navigate. Select ‘Preferences’ to start. Adjust the temperature settings to your liking. You can choose between Fahrenheit and Celsius. Set the time and date correctly. This helps the thermostat work accurately.
Next, choose your fan settings. You can set the fan to ‘Auto’ or ‘On’. ‘Auto’ runs the fan with the heating or cooling. ‘On’ keeps the fan running continuously. Select the option that suits your needs.
Programming Schedule
Programming the schedule is crucial. It helps save energy and money. Go to the ‘Schedule’ menu. Set your desired temperatures for different times of the day. You can create schedules for weekdays and weekends.
Start with ‘Wake Up’ time. Set the temperature for when you wake up. Then, set the ‘Leave’ time. Adjust the temperature for when you leave home. Next, set the ‘Return’ time. This is for when you come back. Finally, set the ‘Sleep’ time. Adjust the temperature for bedtime. Repeat these steps for each day.
Review your schedule to ensure accuracy. Make adjustments if necessary. This completes the programming. Your Honeywell thermostat is now configured and ready to use.
Testing The Installation
After successfully replacing your Honeywell thermostat, the next crucial step is testing the installation. This ensures everything is working correctly, and your home’s climate control is functioning as expected. Let’s dive into the steps you need to follow to test your new thermostat installation.
Turning On Power
First, you need to turn the power back on. Head to your circuit breaker and switch it on. This will restore power to your HVAC system and the newly installed thermostat.
Make sure to do this carefully. Avoid touching any exposed wires during this process. Safety should always be a priority.
Verifying Operation
Once the power is on, check if the thermostat display lights up. This is the first sign that it is receiving power correctly.
Next, set the thermostat to a temperature higher than the current room temperature if you are testing the heating. If you are testing the cooling, set it to a lower temperature. The system should kick in within a few minutes.
Listen for the sound of the HVAC system starting up. Feel the air from the vents to ensure it’s warming or cooling as per your settings.
If everything seems to work as expected, congratulations! You’ve successfully replaced and tested your Honeywell thermostat. If not, double-check the wiring connections and ensure they are secure. Ask yourself if there’s another logical step you might have missed. Sometimes, the smallest detail can make the biggest difference.
Testing the installation is a critical final step. It provides the peace of mind that your new thermostat is set up correctly and ready to maintain your home’s comfort.
Check Best Thermostat Pricing in Amazon
** As an Amazon Associate, I earn from qualifying purchases.

Credit: willplumb.com
Troubleshooting
When replacing a Honeywell thermostat, troubleshooting is key to ensuring a smooth transition. Even the most straightforward installations can encounter hiccups. Knowing how to handle common issues and fix errors will save you time and frustration.
Common Issues
One common issue is the thermostat not turning on after installation. This might happen if the wiring is incorrect or the power source is disconnected. Double-check the connections and ensure all wires are securely attached.
Another issue is incorrect temperature readings. This can be due to poor placement of the thermostat. Make sure it is not near heat sources or direct sunlight, which can skew the readings.
Compatibility problems also arise frequently. Verify that your new Honeywell thermostat is compatible with your HVAC system. Check the model specifications before purchasing and installing.
Fixing Errors
If your thermostat displays error codes, don’t panic. Refer to the user manual to identify what the error code means. Often, it can be a simple fix like resetting the system or reconfiguring the settings.
In case of wiring errors, consult the wiring diagram provided with the thermostat. Ensure each wire is connected to the correct terminal. If you are unsure, seek help from a professional electrician.
Software issues might require updating the thermostat firmware. Check the Honeywell website for any available updates. Keeping the software up-to-date can solve many glitches and enhance performance.
Have you ever faced issues while replacing a thermostat? How did you resolve it? Share your experiences in the comments below to help fellow readers.
Maintenance Tips
Maintaining your Honeywell thermostat ensures it runs smoothly and efficiently. Regular upkeep can prevent issues and extend its lifespan. In this section, we will cover essential maintenance tips for your Honeywell thermostat.
Regular Cleaning
Dust and debris can affect your thermostat’s performance. Regular cleaning helps keep it accurate. Use a soft cloth to wipe the outer casing. Avoid using harsh chemicals or water. For internal cleaning, remove the cover. Use a soft brush to clean the inside gently. Regular cleaning prevents dust buildup and ensures accurate readings.
Battery Replacement
Many Honeywell thermostats use batteries. Regular battery replacement is crucial. Check your thermostat’s manual for battery type. Replace batteries at least once a year. Low battery warning signals indicate it’s time for a change. Keep spare batteries handy to avoid interruptions. Regular battery replacement ensures uninterrupted thermostat operation.
Advanced Features
Honeywell thermostats are known for their advanced features that bring ease and efficiency to your home. Replacing your old Honeywell thermostat with a new model can enhance your comfort and reduce energy costs. Let’s explore some of these advanced features.
Smart Connectivity
New Honeywell thermostats come with smart connectivity. This feature allows you to control your thermostat from anywhere using your smartphone. You can adjust the temperature while you are away from home. This ensures your house is always at the perfect temperature when you return.
Smart connectivity also integrates with voice assistants. This means you can control your thermostat using voice commands. For example, you can ask your smart speaker to set the temperature to a specific degree. It is simple and convenient.
Energy Saving Modes
Energy-saving modes are another key feature of new Honeywell thermostats. These modes help you reduce energy consumption and save on your utility bills. The thermostat learns your schedule and adjusts the temperature accordingly.
For instance, when you are at work, the thermostat can lower the heating or cooling. When you are about to return home, it adjusts the temperature to your preferred setting. This ensures you are always comfortable without wasting energy.
Some models also provide energy reports. These reports show how much energy you have saved. They also offer tips on how to save even more. This helps you become more energy-conscious and reduce your carbon footprint.

Credit: willplumb.com
Frequently Asked Questions
Can I Replace My Old Honeywell Thermostat With A New One?
Yes, you can replace your old Honeywell thermostat with a new one. Ensure compatibility with your HVAC system.
Can I Replace My Thermostat Myself?
Yes, you can replace your thermostat yourself. Ensure you follow the manufacturer’s instructions and safety guidelines. If unsure, consult a professional.
Can I Replace My Honeywell Wireless Thermostat Myself?
Yes, you can replace your Honeywell wireless thermostat yourself. Follow the user manual instructions carefully. Ensure power is off before starting.
How Do I Know If My Honeywell Thermostat Needs To Be Replaced?
Check for inconsistent temperature readings, unresponsive buttons, or frequent system errors. These signs suggest your Honeywell thermostat needs replacement.
Conclusion
Replacing a Honeywell thermostat is simple and achievable. Follow the steps carefully. Turn off the power first. Remove the old thermostat. Connect the new one correctly. Secure it on the wall. Restore power and test. The process is straightforward, even for beginners.
Enjoy the comfort of your updated thermostat. Regular maintenance ensures longevity. Share this guide with friends. Happy DIY!
Check Best Thermostat Pricing in Amazon
** As an Amazon Associate, I earn from qualifying purchases.