
Check Best Thermostat Pricing in Amazon
** As an Amazon Associate, I earn from qualifying purchases.
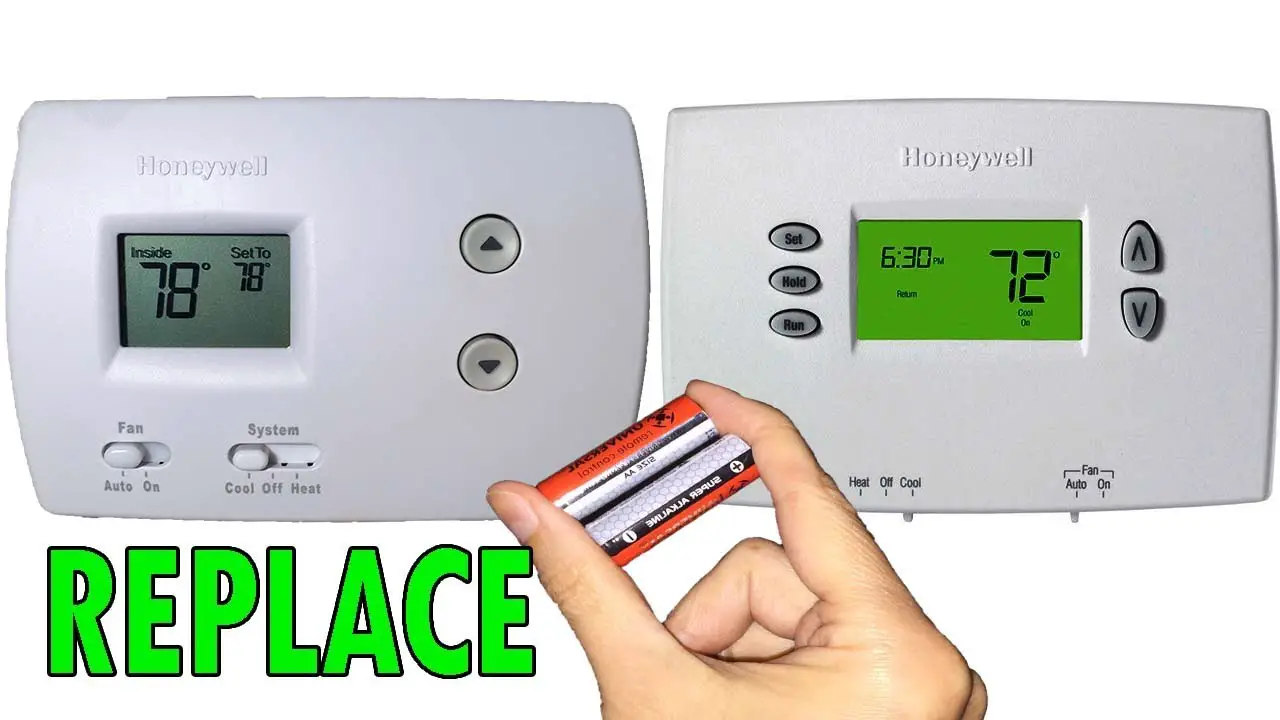
Replacing the battery on a Honeywell thermostat is simple and quick. You just need to follow a few steps.
A Honeywell thermostat helps you control your home’s temperature. But when the battery runs out, it can cause issues. Knowing how to replace the battery can save you time and keep your system running smoothly. This guide will walk you through the process.
You don’t need to be an expert to change the battery. With the right steps, anyone can do it. Let’s get started on how to replace the battery on your Honeywell thermostat.
Tools Needed
Gather a small screwdriver and fresh AA or AAA batteries. These basic tools will help you efficiently replace the thermostat battery.
Replacing the battery on your Honeywell thermostat is a straightforward task. However, having the right tools can make the process quicker and easier. Here’s a quick guide on the essential tools you need to have before you begin.Screwdrivers
The first tool you need is a set of screwdrivers. Most Honeywell thermostats have screws that secure the faceplate. A small Phillips head screwdriver will usually do the trick. Sometimes, you might need a flathead screwdriver. It’s always a good idea to have a small toolkit handy. This way, you won’t have to rush to the hardware store midway through the process.Replacement Battery
Next, you need a replacement battery. Honeywell thermostats typically use AA or AAA batteries. Check the user manual or the old batteries for the exact type. Using fresh batteries is crucial. Old or used batteries might not provide reliable power. Always keep spare batteries in your home; you never know when you might need them. By having these tools ready, you’ll make the battery replacement process smooth and hassle-free. Have you ever started a DIY project only to realize you were missing a critical tool? It can be frustrating. Prepare in advance to avoid these moments. Ready to get started? Let’s move on to the next steps!
Credit: willplumb.com
Safety Precautions
Ensure the thermostat is turned off before starting. Use a flathead screwdriver to gently open the battery compartment. Insert new batteries correctly, matching the positive and negative ends.
Replacing the battery on your Honeywell thermostat is a simple task, but it’s essential to follow safety precautions to avoid any mishaps. This not only ensures your safety but also prevents damage to your thermostat. Let’s dive into some critical safety steps you should follow.Power Off
Before you start, make sure to turn off the power. This is crucial. Locate the breaker panel in your home. Find the switch that controls power to your thermostat and flip it off. This step prevents electrical shocks. You can also remove the thermostat from the wall to ensure there’s no power running through it. This gives you an added layer of safety.Avoid Damage
Handle your thermostat gently to avoid damage. Thermostats are delicate. When removing the cover, use a soft touch. Pry it open carefully with your fingers. Ensure you have the right tools. Using incorrect tools can cause scratches or internal damage. A small screwdriver usually works best. Keep the thermostat in a safe place while you replace the battery. Avoid placing it near water or in direct sunlight. By following these safety precautions, you can replace the battery in your Honeywell thermostat without any issues. Have you ever faced any problems while doing a DIY project? Share your experiences in the comments!Accessing The Thermostat
Accessing the thermostat is the first step to replacing the battery in your Honeywell thermostat. It’s a simple process that ensures your thermostat continues to function smoothly. Follow these steps to access the battery compartment quickly and safely.
Remove Cover
First, you need to remove the thermostat cover. Most Honeywell thermostats have a snap-on cover. Gently pull the cover from the base. You may need to use a bit of force, but be careful not to break it.
If you face resistance, check the sides for any locking tabs. Push these tabs to release the cover. Once removed, set the cover aside in a safe place.
Locate Battery Compartment
With the cover off, look for the battery compartment. It’s usually a small tray or slot. The compartment is often labeled for easy identification.
If you have trouble finding it, refer to your thermostat’s manual. The manual provides diagrams and instructions specific to your model. Once located, you can proceed with removing and replacing the batteries.

Credit: www.homeserve.com
Removing The Old Battery
Carefully slide the thermostat off the wall mount. Once removed, locate and take out the old battery. Dispose of it properly.
Replacing the battery in your Honeywell thermostat might seem like a daunting task, but it’s simpler than you think. The first step is removing the old battery. This process is crucial because it sets the stage for a smooth replacement. Let’s dive into the details to ensure you’re ready to tackle this with confidence.Battery Type
Before you start, it’s essential to know what type of battery your Honeywell thermostat uses. Most Honeywell thermostats require AA or AAA batteries. Check your thermostat’s manual or look inside the battery compartment for this information. Using the wrong battery can lead to performance issues. So, be sure to have the correct type on hand before you begin.Proper Disposal
Once you remove the old batteries, proper disposal is crucial. Batteries contain harmful chemicals that can damage the environment if not disposed of correctly. Take your old batteries to a local recycling center. Many stores also have drop-off points for used batteries. By disposing of batteries responsibly, you’re not just following the rules; you’re protecting the planet. Removing the old battery is not just a step but an opportunity to make conscious choices. Ready to make the change? You’ll find it’s easier and more rewarding than you might have thought.Inserting The New Battery
Inserting the new battery in your Honeywell thermostat is a simple task. Doing it correctly ensures your device functions smoothly. Follow these steps to insert the new battery properly.
Correct Orientation
First, check the battery compartment. Look for the plus (+) and minus (-) signs. These indicate the correct orientation. Align the new battery with these signs. Ensure the positive end matches the plus sign. The negative end should align with the minus sign.
Ensure Connection
After placing the battery, ensure it fits snugly. Sometimes, the battery may not sit properly. Gently press it down to ensure a firm connection. Check if the battery compartment closes smoothly. A secure fit ensures the thermostat works without issues.
Reassembling The Thermostat
After replacing the battery, it’s time to reassemble your Honeywell thermostat. This step is crucial for ensuring your device works correctly. Follow these simple instructions to get your thermostat back in working order.
Replace Cover
Start by aligning the cover with the base of the thermostat. Ensure it fits snugly into place. Gently press down until you hear it click. This indicates the cover is secured properly.
Secure Screws
Next, locate the screws that were removed earlier. Use a screwdriver to tighten them back into place. Make sure they are secure but not over-tightened. Over-tightening can damage the thermostat.
Testing The Thermostat
After replacing the battery on your Honeywell thermostat, it’s crucial to test it to ensure everything is working correctly. Testing the thermostat confirms that the new battery is functioning properly and that the thermostat is accurately controlling your heating or cooling system. Here’s how you can test your Honeywell thermostat effectively.
Check Best Thermostat Pricing in Amazon
** As an Amazon Associate, I earn from qualifying purchases.
Power On
First, power on your thermostat. Check the display screen to see if it lights up. A blank screen usually indicates a power issue or incorrect battery installation.
If the screen is on, navigate through the settings. Ensure the date and time are correct. If they aren’t, set them properly—this ensures your thermostat runs on schedule.
Check Functionality
Next, you need to check the functionality of the thermostat. Set your thermostat to a temperature higher than the current room temperature. Listen for a click and check if your heating system turns on.
After that, set the thermostat to a lower temperature. Ensure your cooling system responds accordingly. This simple test helps you verify both heating and cooling operations.
If everything responds as expected, your thermostat is working perfectly. If not, recheck the battery installation and settings, or consult the user manual for troubleshooting steps.
Regularly testing your thermostat after battery replacement can save you from unexpected temperature issues. Have you ever faced trouble with your thermostat not working after a battery change? Share your experience and tips in the comments below!
Troubleshooting Tips
Replacing the battery on your Honeywell thermostat is a simple task. But sometimes, things might not go as planned. Here are some troubleshooting tips to help you out.
Common Issues
Sometimes, the thermostat won’t turn on after you replace the battery. Check if the battery is inserted correctly. Make sure the positive and negative ends match the markings inside the battery compartment.
Another common issue is the thermostat screen not displaying correctly. This might be due to low battery power. Ensure you use fresh batteries. Weak batteries can cause the screen to malfunction.
If the thermostat settings are lost after changing the battery, you might need to reprogram it. Refer to your thermostat manual for instructions on how to reset the settings.
Professional Help
If you have tried the common troubleshooting tips and your thermostat still does not work, consider seeking professional help. HVAC technicians can diagnose and fix complex issues. They have the tools and expertise to handle electronic components safely.
Professional help is especially useful if you suspect wiring issues. Incorrect wiring can damage the thermostat and other HVAC system parts. Always prioritize safety and consult a professional if in doubt.

Credit: www.youtube.com
Frequently Asked Questions
How Do I Change The Battery On My Honeywell Thermostat?
To change the battery on your Honeywell thermostat, first, remove the thermostat from the wall plate. Open the battery compartment, replace the old batteries with new AA or AAA batteries, and reattach the thermostat to the wall plate. Ensure it’s securely in place.
How Do You Take The Cover Off Of A Honeywell Thermostat?
To remove the Honeywell thermostat cover, gently pull it from the bottom. Lift it off carefully to avoid damaging the unit.
How Do You Remove A Thermostat Cover To Replace A Battery?
Remove the thermostat cover by gently pulling or unscrewing it. Replace the battery and reattach the cover securely.
What Happens When A Honeywell Thermostat Battery Dies?
The Honeywell thermostat screen goes blank if the battery dies. It won’t control your HVAC system. Replace batteries to restore functionality.
Conclusion
Replacing the battery on your Honeywell thermostat is simple. Follow the steps carefully to avoid issues. Ensure you use the correct battery type. Regularly check your thermostat for low battery alerts. A new battery helps your thermostat function efficiently. Save time and avoid discomfort by maintaining your device.
Proper battery replacement ensures a longer life for your thermostat. Remember, a well-functioning thermostat keeps your home comfortable. Happy maintaining!
Check Best Thermostat Pricing in Amazon
** As an Amazon Associate, I earn from qualifying purchases.