
Check Best Thermostat Pricing in Amazon
** As an Amazon Associate, I earn from qualifying purchases.
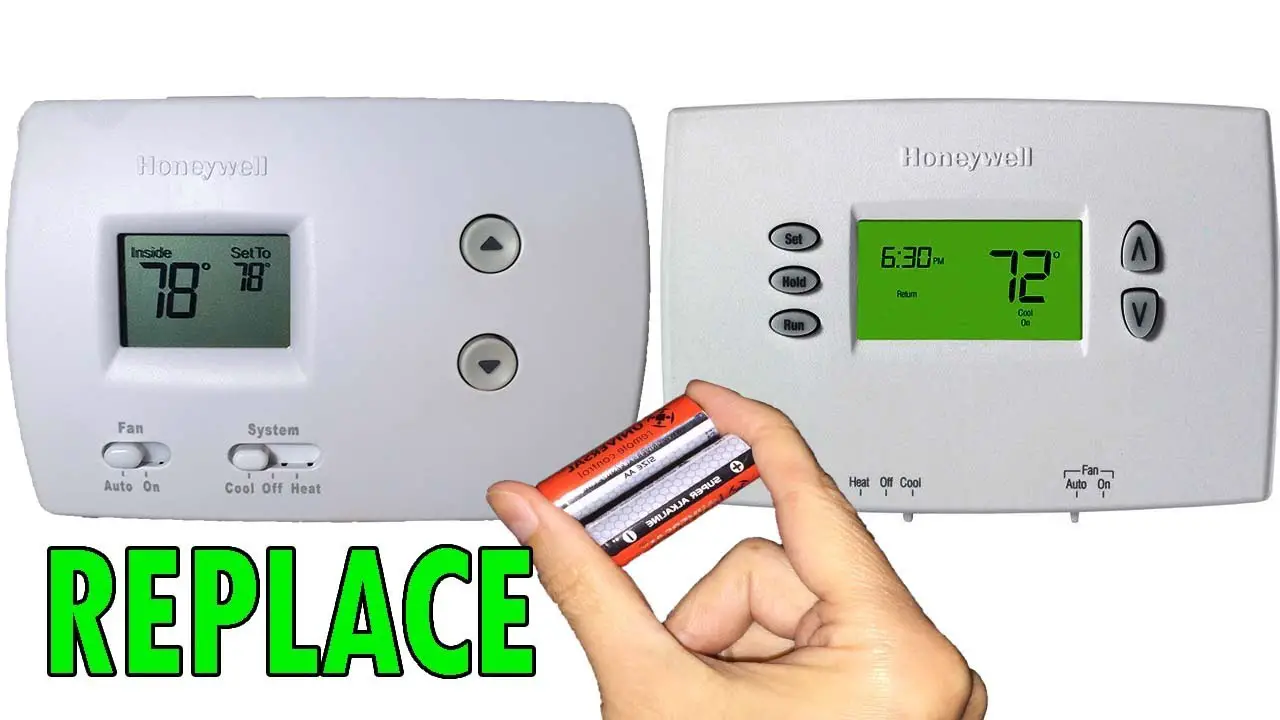
Replacing batteries in a Honeywell thermostat is simple. You can do it yourself in minutes.
A functional thermostat is essential for maintaining home comfort. When the batteries run low, the thermostat may act up or display errors. Replacing the batteries can solve these issues quickly. This guide will help you change the batteries easily. With clear steps, you’ll have your thermostat working perfectly again.
No need to call a technician. Just follow along and enjoy a comfortable home. Let’s get started on the process to ensure your Honeywell thermostat stays reliable.

Credit: www.homeserve.com
Tools Needed
A small Phillips head screwdriver and fresh AA or AAA batteries are essential for replacing batteries in a Honeywell thermostat. These tools ensure smooth and quick battery replacement.
When your Honeywell thermostat starts showing signs of low battery, it’s time for a quick and easy replacement. Knowing the tools needed can make the process smooth and hassle-free. Let’s dive into the essential tools you will need to replace the batteries in your Honeywell thermostat.List Of Tools
Before you begin, gather the necessary tools. Here’s a handy list:- Small Screwdriver: A Phillips or flathead screwdriver, depending on your thermostat model.
- Replacement Batteries: Check your thermostat’s manual to determine the correct battery type (usually AA or AAA).
Safety Precautions
When working with any electrical device, even a thermostat, safety is crucial.- Turn Off the Thermostat: Ensure your thermostat is turned off to avoid any electrical issues.
- Handle Batteries Carefully: Use new batteries and dispose of the old ones properly. Avoid mixing old and new batteries.
Identifying Battery Type
Replacing the batteries in your Honeywell thermostat is a straightforward task, but the first step is identifying the right battery type. Choosing the correct batteries ensures your thermostat functions efficiently and avoids potential damage. Let’s break down the process of identifying the battery type with ease.
Common Battery Types
Honeywell thermostats commonly use AA or AAA alkaline batteries. These are easily available at any store. Some models might also use lithium coin batteries, like CR2032. Always check your thermostat model to know the exact type.
Finding Battery Information
Locating the battery information on your Honeywell thermostat is simple. Check the user manual that came with your device. If you don’t have the manual, visit Honeywell’s official website and search for your model.
Another quick way is to open the battery compartment. The battery type is often printed inside the compartment or on the back of the thermostat. Ensure you have a small tool like a screwdriver if needed to open it carefully.
Have you ever struggled with finding the right batteries? What did you do to solve it? Share your experiences to help others!
Removing The Thermostat Cover
Gently pull off the thermostat cover to access the battery compartment. This step is crucial for replacing Honeywell thermostat batteries.
Replacing the batteries in your Honeywell thermostat is a straightforward task, but the first step involves removing the thermostat cover. This might seem a bit tricky if you haven’t done it before. However, with some guidance, you’ll find it quite simple.Locating The Cover
First, find the thermostat on your wall. Look for the main body of the unit. Honeywell thermostats usually have a plastic cover. It’s designed to protect the internal components. You might notice that the cover fits snugly. This is to keep it secure and dust-free.Steps To Remove The Cover
Start by gently pulling the cover. Use both hands to avoid damaging any parts. If it’s not budging, try wiggling it slightly. This can help loosen any clips or tabs holding it in place. Sometimes, there might be a small latch or button. Check the sides or bottom of the thermostat for any release mechanism. Once you find and release the mechanism, the cover should come off easily. Set the cover aside in a safe place. Have you ever struggled with a stuck cover? What worked for you? By breaking down these steps, you can confidently replace the batteries. With the cover off, you’re now ready to access the battery compartment.Removing Old Batteries
Replacing the batteries in your Honeywell thermostat is a simple task. First, you need to remove the old batteries. This step ensures your thermostat will function correctly with new batteries. Follow these steps to safely remove the old batteries.
Proper Battery Disposal
Disposing of old batteries correctly is crucial. Batteries contain harmful chemicals. Never throw them in regular trash. Take them to a recycling center. Many stores also accept used batteries for proper disposal.
Handling Old Batteries
Handle old batteries carefully. They may still have some charge. Avoid touching both ends at once. This can cause a small shock. Place them in a plastic bag to prevent leaks. Wash your hands after handling the batteries. This removes any residue that may be harmful.
Installing New Batteries
Replacing the batteries in your Honeywell thermostat is simple. Follow these steps to install new batteries and keep your thermostat running smoothly. First, ensure you have the correct type of batteries. Usually, AA or AAA batteries work, but check your thermostat manual to be sure.
Correct Battery Placement
Remove the old batteries from the compartment. Notice the positive and negative ends. Insert the new batteries in the same orientation. Align the plus and minus signs on the batteries with the signs in the compartment.
Ensuring Proper Contact
Ensure the batteries fit snugly in the compartment. This ensures the thermostat receives power. Check that the metal contacts touch the battery ends. This completes the circuit.
Check Best Thermostat Pricing in Amazon
** As an Amazon Associate, I earn from qualifying purchases.
If the thermostat does not turn on, recheck the battery placement. Sometimes, a loose connection can prevent the device from working.

Credit: www.youtube.com
Reattaching The Thermostat Cover
After replacing the batteries in your Honeywell thermostat, reattach the cover by aligning it with the base and pressing firmly until it clicks into place. Ensure it is securely fastened to maintain proper function.
Replacing the batteries in your Honeywell thermostat is only half the job. You need to reattach the cover properly. This ensures your thermostat functions well. It also keeps the device looking neat.Securing The Cover
Place the cover back on the thermostat base. Align the cover with the base slots. Press gently until you hear a click. This means the cover is secured. Make sure the cover sits flush against the wall. No gaps should be visible. If it is not secure, adjust and press again. A loose cover can affect the thermostat’s performance.Checking For Proper Fit
After securing the cover, check its fit. Run your fingers around the edges. Ensure it feels smooth and even. The cover should not wobble or move. Turn on the thermostat to test it. See if the display lights up correctly. If everything works, your job is done. If not, recheck the cover’s fit. Proper fit is crucial for accurate temperature readings. It also helps the thermostat look neat. Make sure you are satisfied with the fit before moving on. “`Testing The Thermostat
After replacing the batteries in your Honeywell thermostat, it’s crucial to test the device. This step ensures that the thermostat functions correctly with the new batteries. Testing involves a few key checks to confirm everything is working as expected.
Powering On
First, power on your Honeywell thermostat. Press the power button and wait for the display to light up. If the screen remains blank, ensure the batteries are inserted correctly. Check for proper alignment of the positive and negative ends.
Checking Functionality
Next, check the functionality of the thermostat. Set the desired temperature and observe the response. The thermostat should click, signaling the connection with the HVAC system. Feel for warm or cool air from your vents to confirm the system is responding.
Also, test the thermostat’s different modes. Switch between heating, cooling, and fan modes. Each mode should activate its respective system. Verify that the display shows the correct current temperature and set temperature.

Credit: willplumb.com
Maintenance Tips
Easily replace batteries in your Honeywell thermostat by opening the battery compartment and inserting new AA or AAA batteries. Ensure correct polarity for proper function.
When it comes to maintaining your Honeywell thermostat, paying attention to the batteries is crucial. Regular maintenance can prevent inconvenient disruptions and keep your home comfortable. Let’s dive into some essential maintenance tips to ensure your thermostat functions seamlessly.Regular Battery Checks
Checking the batteries in your Honeywell thermostat regularly is important. Set a reminder to check them every six months. This habit can save you from sudden power loss. Make it a part of your seasonal chores, like changing air filters or smoke detector batteries. It’s a small task with significant benefits. Fresh batteries can ensure your thermostat works efficiently.Signs Of Battery Issues
Sometimes, the thermostat itself will alert you to low battery levels. Look out for a blinking battery icon or a “low battery” message on the screen. These indicators are your thermostat’s way of saying it needs attention. If your thermostat starts behaving erratically—like incorrect temperature readings or intermittent power—it’s likely time for a battery change. Ignoring these signs can lead to bigger issues. Have you ever had your thermostat go blank unexpectedly? This can be frustrating, especially during extreme weather. Keeping an eye on battery health can help avoid such scenarios. Taking care of your Honeywell thermostat’s batteries is simple but essential. Regular checks and prompt action on battery issues will keep your home comfortable and your thermostat reliable. Have you checked your thermostat’s batteries lately?Frequently Asked Questions
How Do I Change The Battery On A Honeywell Home Thermostat?
Remove the thermostat from its wall mount. Open the battery compartment. Replace old batteries with new AA or AAA batteries. Reattach the thermostat.
How Do You Take The Cover Off Of A Honeywell Thermostat?
To remove the cover of a Honeywell thermostat, gently pull from the bottom or sides until it detaches.
How To Remove Thermostat Cover To Replace Battery?
To remove the thermostat cover, gently pull it off or unscrew it. Replace the battery and reattach the cover securely.
Why Would My Honeywell Thermostat Go Blank?
A Honeywell thermostat may go blank due to dead batteries, tripped circuit breaker, wiring issues, or a faulty thermostat. Check these components to resolve the issue.
Conclusion
Replacing the batteries in your Honeywell thermostat is simple. Follow these steps. Remove the cover, take out old batteries, and insert new ones. Ensure the correct polarity. Finally, reattach the cover. Regular battery checks can prevent issues. With this guide, you’ll maintain your thermostat easily.
Keep your home comfortable all year. Happy troubleshooting!
Check Best Thermostat Pricing in Amazon
** As an Amazon Associate, I earn from qualifying purchases.