
Check Best Thermostat Pricing in Amazon
** As an Amazon Associate, I earn from qualifying purchases.
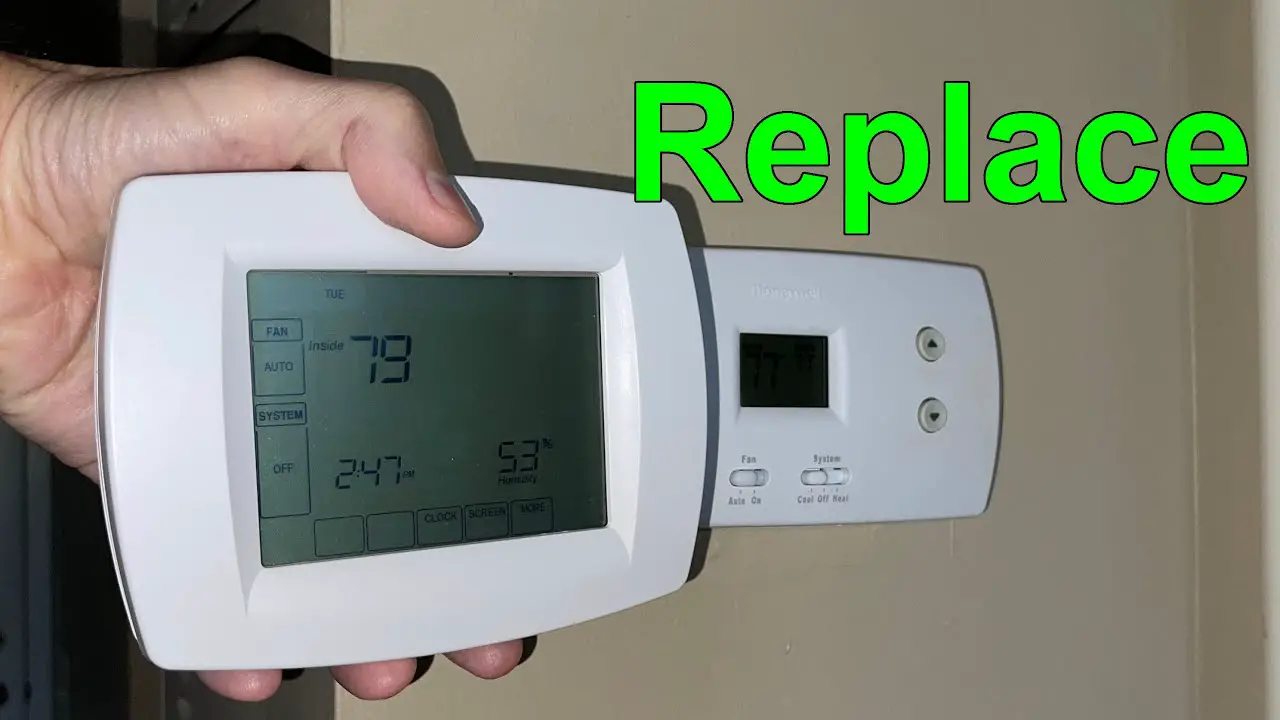
Replacing a Honeywell thermostat can seem tricky. But, it’s easier than you think.
With the right steps, anyone can do it. A Honeywell thermostat controls your home’s temperature. Sometimes, you need to replace it. Maybe it’s broken or outdated. Changing it yourself can save money. This guide will help you through the process.
From tools needed to step-by-step instructions, you’ll learn everything. Even if you’re not handy, you can follow these simple steps. Let’s dive into how to replace your Honeywell thermostat quickly and safely.
Tools And Materials Needed
Replacing a Honeywell thermostat can seem tricky. But with the right tools and materials, the job becomes straightforward. Below, we list the essential tools and necessary materials. These will help you complete the task efficiently and safely.
Essential Tools
Having the right tools is crucial. Here is a list of what you need:
- Screwdriver: A flat-head or Phillips screwdriver works best.
- Drill: You might need this for mounting the new thermostat.
- Wire stripper: This helps in stripping the wires correctly.
- Level: Ensures the thermostat is mounted straight.
- Needle-nose pliers: Useful for handling wires.
Necessary Materials
Besides tools, you’ll need a few materials. These are:
- New Honeywell thermostat: Ensure it suits your heating and cooling system.
- Batteries: Some models require batteries for operation.
- Mounting screws: These come with your new thermostat.
- Wall anchors: Useful if mounting on drywall.
- Wire labels: Label wires for easy connection.
With these tools and materials, you are ready to replace your Honeywell thermostat. Follow the instructions carefully to ensure a smooth process.
Safety Precautions
When replacing a Honeywell thermostat, safety must be your top priority. Careful steps can prevent accidents and ensure a smooth installation process. Pay close attention to electrical hazards, as they pose serious risks.
Turn Off Power
Begin by turning off the power to your HVAC system. Locate the circuit breaker that controls your thermostat. Flip the switch to the “off” position. This step is crucial to prevent electrical shocks or damage to your new thermostat.
Avoid Electrical Hazards
Always use a voltage tester to check for live wires before touching them. Even with the power off, double-checking can save you from potential harm. Wear insulated gloves to add an extra layer of safety.
Ensure your work area is dry. Water and electricity are a dangerous combination. Keep tools and hands dry to avoid electrical hazards.
Removing The Old Thermostat
Replacing a Honeywell thermostat starts with removing the old one. This task might seem daunting. But with some guidance, it becomes simple and straightforward. Follow these steps to ensure a smooth process.
Labeling Wires
Before removing the old thermostat, label the wires. This step is crucial. It helps you avoid confusion later. Use small pieces of masking tape. Write the corresponding terminal labels on the tape. Attach the tape to the wires. Common labels include “R,” “W,” “Y,” and “G”. These labels will guide you during the installation of the new thermostat.
Detaching The Unit
Next, detach the old thermostat unit. Start by removing the cover. Most covers snap off easily. Some may require a gentle pull. Once the cover is off, you will see the mounting screws. Use a screwdriver to remove these screws. Carefully pull the thermostat away from the wall. Ensure the labeled wires do not fall back into the wall.
Place the old unit aside. Keep it in a safe place. This way, you can refer to it if needed. With the old thermostat removed, you’re ready for the next step. Stay organized. Keep your tools and labels within reach. This will help make the installation of the new thermostat easier.

Credit: willplumb.com
Preparing For Installation
Gather necessary tools and turn off the power. Remove the old thermostat and label the wires for easy installation.
Replacing a Honeywell thermostat is a great way to upgrade your home’s comfort system. But before you dive into the installation process, it’s crucial to prepare properly. This preparation will ensure a smooth and efficient installation. Let’s look at some important steps you need to take.Inspecting Wires
First, switch off the power to your HVAC system. This is a safety measure to prevent any electrical shocks. Next, remove the cover of your existing thermostat. Inspect the wires carefully. Are they frayed or damaged? If so, you’ll need to replace them before continuing. Label each wire with masking tape. This will help you remember where each one goes when you connect your new thermostat.Cleaning The Area
Clean the area where you’ll install the new thermostat. Dust and debris can affect the thermostat’s performance. Use a vacuum cleaner or a soft brush to clean the wall. Wipe it down with a damp cloth for a thorough cleaning. Make sure the wall is completely dry before you start the installation. This prevents any moisture from interfering with the wiring. — Taking these preparatory steps will set you up for a successful thermostat installation. Have you ever faced challenges with DIY installations? Share your experiences in the comments below!Installing The New Thermostat
Replacing a Honeywell thermostat can seem like a daunting task, but it is quite simple. After removing the old thermostat, the next step is installing the new one. This involves mounting the base and connecting the wires. Follow these clear steps to ensure a smooth installation process.
Mounting The Base
First, align the new thermostat base with the wall plate. Use the provided screws to secure it in place. Make sure the base is level. This helps the thermostat function properly. Use a small level tool if needed. Tighten the screws firmly, but do not over-tighten.
Connecting Wires
Next, connect the wires to the new thermostat. Refer to the labels you created earlier. Insert each wire into the corresponding terminal. Make sure each wire is secure. Loose connections can cause issues. Double-check the wire placement. Ensure no wires are touching each other. This prevents short circuits.
After connecting the wires, gently push them into the wall. Attach the front cover of the thermostat. Listen for a click to confirm it is properly in place. Your new Honeywell thermostat is now installed and ready for use.

Credit: www.youtube.com
Configuring Settings
Configuring settings on your Honeywell thermostat is crucial for efficient use. Proper configuration ensures comfort and energy savings. In this section, we will cover setting the temperature and programming schedules.
Setting Temperature
To set the temperature, press the “Menu” button. Select “Temperature” from the options. Use the up and down arrows to adjust the temperature. Confirm your selection by pressing “OK.” This sets your preferred temperature for the current mode.
Programming Schedules
Programming schedules helps automate temperature changes. Begin by pressing the “Menu” button. Choose “Schedules” from the list. Select the day or days you want to program. Use the arrows to set different temperature points for various times of the day. For example, you can set a lower temperature for nighttime and a higher one for daytime.
Check Best Thermostat Pricing in Amazon
** As an Amazon Associate, I earn from qualifying purchases.
After setting the times and temperatures, press “Save.” Repeat the process for other days if needed. This ensures your home is comfortable when you need it and saves energy when you don’t.
Testing The Installation
Testing the installation of your new Honeywell thermostat is a crucial step to ensure that everything is functioning correctly. After you’ve wired everything up and mounted the thermostat, you need to verify that it’s working as expected. This involves powering it on and checking its functionality to ensure a smooth operation. Let’s dive into the specifics.
Powering On
Before powering on your thermostat, double-check all the wiring connections. Make sure they are secure and in the correct terminals. This helps prevent any potential issues or malfunctions.
Once you’re confident with the wiring, turn the power back on at the circuit breaker. Watch the thermostat screen to see if it lights up. If it does, you’re on the right track. If not, double-check your wiring connections and ensure the power source is active.
Checking Functionality
With the thermostat powered on, it’s time to check its functionality. Start by setting the thermostat to a specific temperature. Listen for a click sound, which indicates the thermostat is sending a signal to your heating or cooling system.
Next, check if your HVAC system responds accordingly. If you set the thermostat to heat, the furnace should kick in. If set to cool, the air conditioner should start. This confirms the thermostat is communicating properly with your system.
Test various modes like “Heat,” “Cool,” and “Fan” to ensure all functions are working. If something doesn’t seem right, consult the thermostat’s manual for troubleshooting tips.
Remember, testing isn’t just about making sure the display works. It’s about ensuring your home maintains the comfort levels you desire. Have you experienced any issues during testing? What troubleshooting steps did you take?
By carefully testing the installation, you can avoid potential headaches down the road and enjoy a comfortable, well-regulated home environment.

Credit: willplumb.com
Troubleshooting Tips
Replacing a Honeywell thermostat can be a straightforward task. But you might face some issues during the process. This section will guide you through common problems and how to fix them. Read on for helpful troubleshooting tips to ensure your new thermostat works perfectly.
Common Issues
Sometimes, the thermostat might not power on. Check if the wiring is correct. Loose wires can cause this issue. Ensure all connections are secure. If the display is blank, the batteries might be dead. Replace them with fresh ones.
Another common issue is incorrect temperature readings. This can happen if the thermostat is in a drafty area. Move it to a location away from windows and doors. Make sure it is at a central spot in your home.
If your heating or cooling system does not turn on, check the settings. Ensure the thermostat is set to the correct mode. Sometimes, the issue could be with the HVAC system itself. Inspect the circuit breaker and reset it if needed.
Technical Support
If troubleshooting does not solve the problem, seek technical support. Honeywell provides excellent customer service. You can contact them via phone or their website. Have your thermostat model number ready. This helps in getting accurate assistance.
Consult the user manual as well. It contains valuable information and troubleshooting steps. You can download it from the Honeywell website if you don’t have a physical copy.
Consider reaching out to a professional technician. They have the expertise to handle complex issues. This ensures your thermostat is installed and functioning correctly.
Frequently Asked Questions
Can I Replace My Old Honeywell Thermostat With A New One?
Yes, you can replace your old Honeywell thermostat with a new one. Ensure compatibility and follow the installation instructions.
Can I Replace My Thermostat Myself?
Yes, you can replace your thermostat yourself. Ensure you follow the manufacturer’s instructions and safety guidelines. If unsure, consult a professional.
How Do I Know If My Honeywell Thermostat Needs To Be Replaced?
Your Honeywell thermostat may need replacement if it shows incorrect readings, frequent errors, or doesn’t respond to settings changes. Check for physical damage or outdated models. If your energy bills are unusually high, this could also indicate a malfunction. Consult a professional for a thorough assessment.
Can I Replace My Honeywell Wireless Thermostat Myself?
Yes, you can replace your Honeywell wireless thermostat yourself. Follow the manufacturer’s instructions carefully. Ensure power is off before starting. If unsure, consult a professional.
Conclusion
Replacing a Honeywell thermostat is simpler than it seems. Follow the steps carefully. Gather your tools, switch off the power, and note the wiring. Remove the old thermostat and install the new one. Always double-check connections. Turn the power back on and test your new thermostat.
Enjoy better control of your home’s temperature. If you face issues, consult the manual or seek professional help. Regular maintenance ensures your system runs smoothly. Now, you can confidently manage your home’s climate.
Check Best Thermostat Pricing in Amazon
** As an Amazon Associate, I earn from qualifying purchases.