
Check Best Thermostat Pricing in Amazon
** As an Amazon Associate, I earn from qualifying purchases.
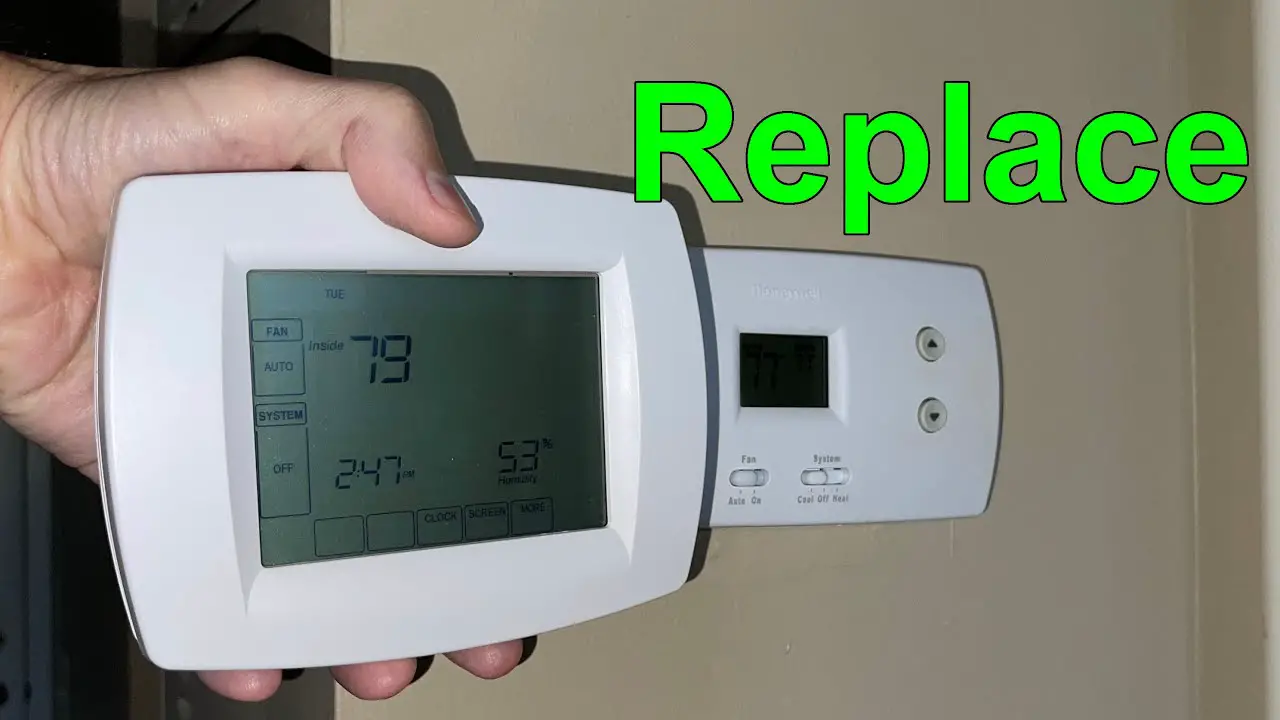
To remove a Honeywell thermostat, follow these steps. Make sure you turn off the power first.
Then, gently detach the thermostat from its base. Removing a Honeywell thermostat might seem daunting, but it is quite simple. Whether you are upgrading to a new model or troubleshooting an issue, understanding the removal process is essential. Honeywell thermostats are designed for easy installation and removal, making the task straightforward for homeowners.
In this guide, we will walk you through the steps to safely and efficiently remove your Honeywell thermostat. Ensuring you follow these steps correctly will prevent damage to your system and help in smooth installation of a new unit if needed. Let’s dive into the details and make this task hassle-free for you.
Preparation
Preparing to remove your Honeywell thermostat is an essential step. Proper preparation ensures a smooth and safe process. Follow these steps to get ready for the task.
Gather Tools
First, gather the necessary tools. You will need a flathead screwdriver and a Phillips screwdriver. A small container will help keep screws organized. Have a flashlight handy for better visibility. Ensure you have all these items before you start. This will save time and prevent frustration.
Turn Off Power
Next, turn off the power to your thermostat. Find your home’s circuit breaker panel. Locate the breaker for your heating and cooling system. Turn it off to cut power to the thermostat. This step is crucial for your safety. It prevents electric shock and damage to the system.
Credit: www.reddit.com
Locate Thermostat
Locating your thermostat is the first step in the removal process. This might seem straightforward, but it’s important to do it correctly to avoid any complications later. Let’s break it down step by step.
Identify Model
First, identify the model of your Honeywell thermostat. This information is often found on the front of the device or inside the battery compartment. Knowing your model helps you understand the specific steps needed for removal.
If you have the manual, it’s a great resource to check. If not, a quick search online with the model number can provide useful guidance. This step is crucial, as different models may have unique features or mounting methods.
Find Mounting Location
Next, find the mounting location of your thermostat. Thermostats are typically mounted on walls in central locations within your home. They are usually placed about 5 feet above the floor to get an accurate reading of the room temperature.
Take a moment to observe how your thermostat is attached. Is it screwed into the wall, or is it attached with clips? This will help you determine the tools you need for removal.
Remember when I tried removing my thermostat without checking its mounting method? I ended up with a broken bracket and a lot of frustration. Don’t make that mistake!
Have you ever wondered why the thermostat is positioned where it is? It’s usually placed away from direct sunlight, drafts, doorways, and windows to avoid inaccurate readings.
By now, you should have a good understanding of how to locate your thermostat and the important details that come with it. Ready to move on to the next step? Let’s proceed to the removal process with confidence!
Remove Cover
Removing the cover of your Honeywell thermostat is a simple process. It allows you to access the internal components for maintenance or replacement. Follow these steps to remove the cover safely and easily.
Unscrew Cover
First, locate the screws on the thermostat cover. Most Honeywell thermostats have these screws on the top or bottom of the cover. Use a screwdriver to remove the screws. Turn them counterclockwise until they come out completely. Keep the screws in a safe place.
Detach Faceplate
After removing the screws, gently pull the faceplate away from the wall. You might need to wiggle it a bit to loosen it. Be careful not to pull too hard. The faceplate should come off easily.
Now you have successfully removed the cover. You can access the inner parts for any required work. Always handle the thermostat components with care to avoid damage.
Disconnect Wires
Disconnecting wires from your Honeywell thermostat is a critical step. This ensures you safely remove the device without causing electrical issues. Follow these simple steps to make the process easy and hassle-free.
Label Wires
Labeling the wires is the first and most important step. Use small pieces of masking tape and a pen. Write down the letter or number next to each wire. This will help you remember where each wire goes.
Proper labeling prevents confusion later. It ensures you can reconnect everything correctly. This step is simple but very crucial.
Remove Wire Connections
After labeling, the next step is to remove the wire connections. Use a small screwdriver to loosen the terminal screws. Carefully pull the wires out from their terminals.
Be gentle to avoid damaging the wires. If wires are stuck, gently wiggle them free. Make sure all wires are completely disconnected before moving to the next step.
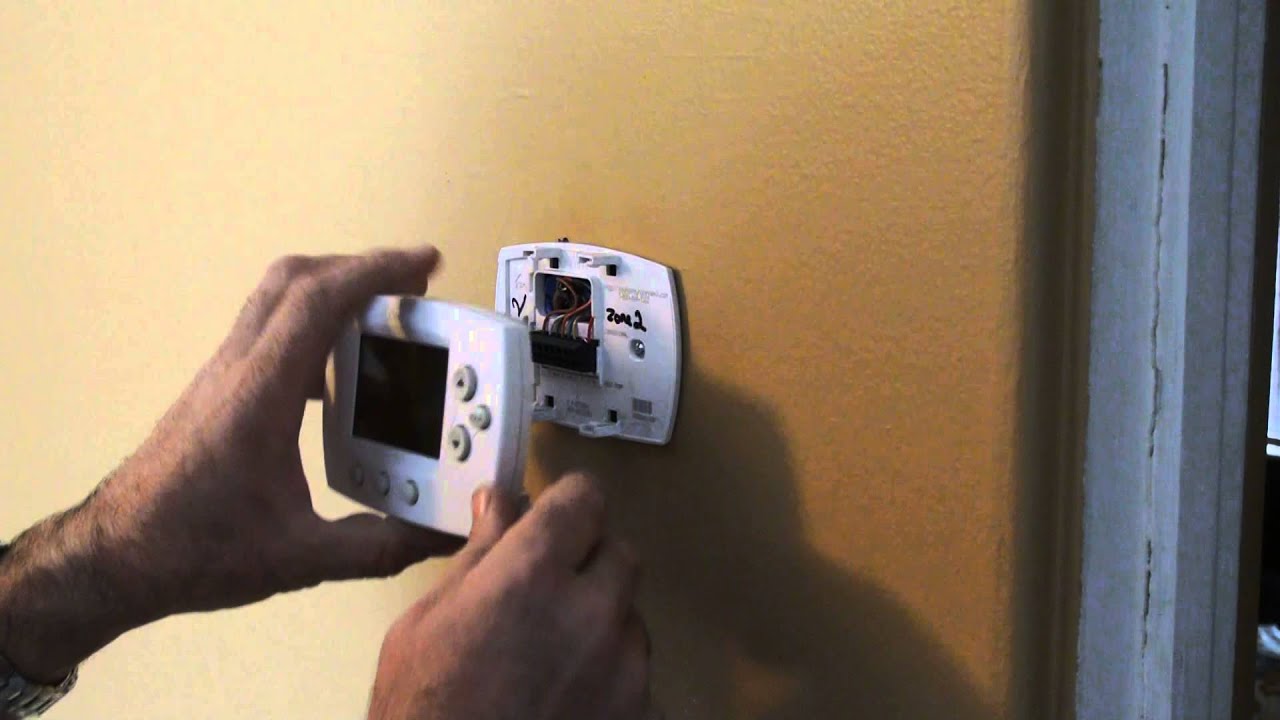
Detach Base Plate
Removing a thermostat, especially a Honeywell model, might seem daunting at first. But once you get the hang of the steps involved, it’s a straightforward process. One crucial part is to detach the base plate from the wall. This is where you’ll access the wiring and ensure everything is safe and ready for a new installation.
Unscrew Base Plate
First, gather a Phillips head screwdriver. This is the tool you’ll need to unscrew the base plate from the wall. Locate the screws on the base plate. They are usually at the top and bottom.
Check Best Thermostat Pricing in Amazon
** As an Amazon Associate, I earn from qualifying purchases.
Carefully insert your screwdriver into each screw and turn counterclockwise. It’s important to keep a gentle grip to avoid stripping the screws. Once all screws are loosened, set them aside in a small container to avoid losing them.
Remove From Wall
With the screws removed, gently pull the base plate away from the wall. You may feel a bit of resistance due to the wiring. Don’t yank it; instead, pull steadily and carefully.
As you do this, observe how the wires are connected. Take a picture or label them to make reinstallation easier. This small step can save a lot of time and confusion later.
Have you ever removed a thermostat before? What tips did you find most helpful? Share your thoughts and experiences in the comments below. Your insights might help others tackling the same task!
Prepare Wall
Before installing a new thermostat, you must prepare the wall. This step ensures a smooth and clean surface for the new device. Proper preparation also helps the new thermostat adhere better and function correctly. Follow these steps to prepare your wall effectively.
Clean Wall
First, clean the wall where the old thermostat was mounted. Use a damp cloth to wipe away dust and dirt. Make sure the surface is dry before moving to the next step. Cleaning the wall ensures better adhesion for the new thermostat.
Patch Holes
Check the wall for any holes left by the old thermostat. Use spackle to fill these holes. Apply a small amount of spackle with a putty knife. Smooth it out and let it dry. Once dry, sand the area for a smooth finish. This step creates a seamless surface for the new thermostat.
Install New Thermostat
Installing a new thermostat can improve your home’s energy efficiency. Follow these steps to ensure a smooth installation process.
Align Base Plate
First, align the base plate of your new thermostat on the wall. This step is crucial for proper installation. Use a level to ensure it is straight. Mark the screw holes using a pencil.
Next, drill pilot holes at the marked points. Insert wall anchors if needed. This will provide a secure fit. Screw the base plate onto the wall. Make sure it is firmly attached.
Connect Wires
Before connecting wires, ensure the power is off. This step is vital for safety. Refer to the labels from the old thermostat. Match each wire to the corresponding terminal on the new thermostat.
Insert each wire into its terminal. Tighten the screws to secure the wires. Double-check connections to ensure they are tight. This will prevent any loose connections.
Once all wires are connected, attach the thermostat cover. Turn the power back on. Test the new thermostat to ensure it works properly.

Credit: willplumb.com
Test New Thermostat
After installing your new Honeywell thermostat, you need to test it. Testing ensures that the thermostat works correctly. Here’s how to do it.
Turn On Power
First, restore power to the thermostat. Go to your circuit breaker. Flip the switch back to the “on” position. The thermostat should light up. This indicates that it has power.
Check Functionality
Next, check the functionality of the thermostat. Set it to the desired temperature. Listen for a clicking sound. This sound means the thermostat is sending a signal to your HVAC system.
Feel the air coming from your vents. Is it cool when you set the thermostat to a lower temperature? Is it warm when you set it higher? If yes, then your thermostat works properly. If not, you may need to troubleshoot further.
Credit: www.youtube.com
Frequently Asked Questions
How Do I Take My Honeywell Thermostat Off The Wall?
To remove your Honeywell thermostat, turn off power, detach the faceplate, and unscrew the wall plate.
How To Remove A Thermostat From The Wall?
Turn off the power. Remove the thermostat cover. Unscrew the mounting screws. Disconnect the wires. Pull the thermostat off the wall.
How To Take Honeywell Thermostat Off Wall To Change Battery?
Gently pull the Honeywell thermostat away from the wall. Locate and remove the battery compartment cover. Replace the old batteries with new ones, ensuring correct polarity. Reattach the cover and snap the thermostat back onto the wall.
Can I Replace My Old Honeywell Thermostat With A New One?
Yes, you can replace your old Honeywell thermostat with a new one. Ensure compatibility with your HVAC system. Follow the installation instructions carefully.
Conclusion
Removing a Honeywell thermostat is straightforward. Follow the steps carefully for safety. Double-check all connections. Use the right tools for the job. Remember to turn off the power. If unsure, seek professional help. Your new thermostat will work better. Enjoy improved heating and cooling control.
Now, you can handle thermostat changes with ease. Stay safe and happy DIY-ing!
Check Best Thermostat Pricing in Amazon
** As an Amazon Associate, I earn from qualifying purchases.