
Check Best Thermostat Pricing in Amazon
** As an Amazon Associate, I earn from qualifying purchases.
To remove the cover of a Honeywell thermostat, gently pull it from the base. Ensure you turn off the power first.
Honeywell thermostats are popular for their reliability and ease of use. Sometimes, you may need to remove the cover for maintenance or battery replacement. Knowing the correct way to do this prevents damage and ensures your thermostat continues to function properly.
Always ensure the power is off to avoid electrical hazards. Gently pull the cover from the base, starting from the bottom edge. This process is straightforward but requires caution. Proper maintenance of your Honeywell thermostat can lead to better efficiency and a longer lifespan for your heating and cooling system.
- Introduction To Honeywell Thermostat Maintenance
- Identifying Your Honeywell Thermostat Model
- Tools And Materials Needed
- Initial Preparation Steps
- Removing The Cover Of The Thermostat
- Cleaning The Thermostat Interior
- Reattaching The Thermostat Cover
- Final Steps And Testing
- Frequently Asked Questions
- Conclusion
Introduction To Honeywell Thermostat Maintenance
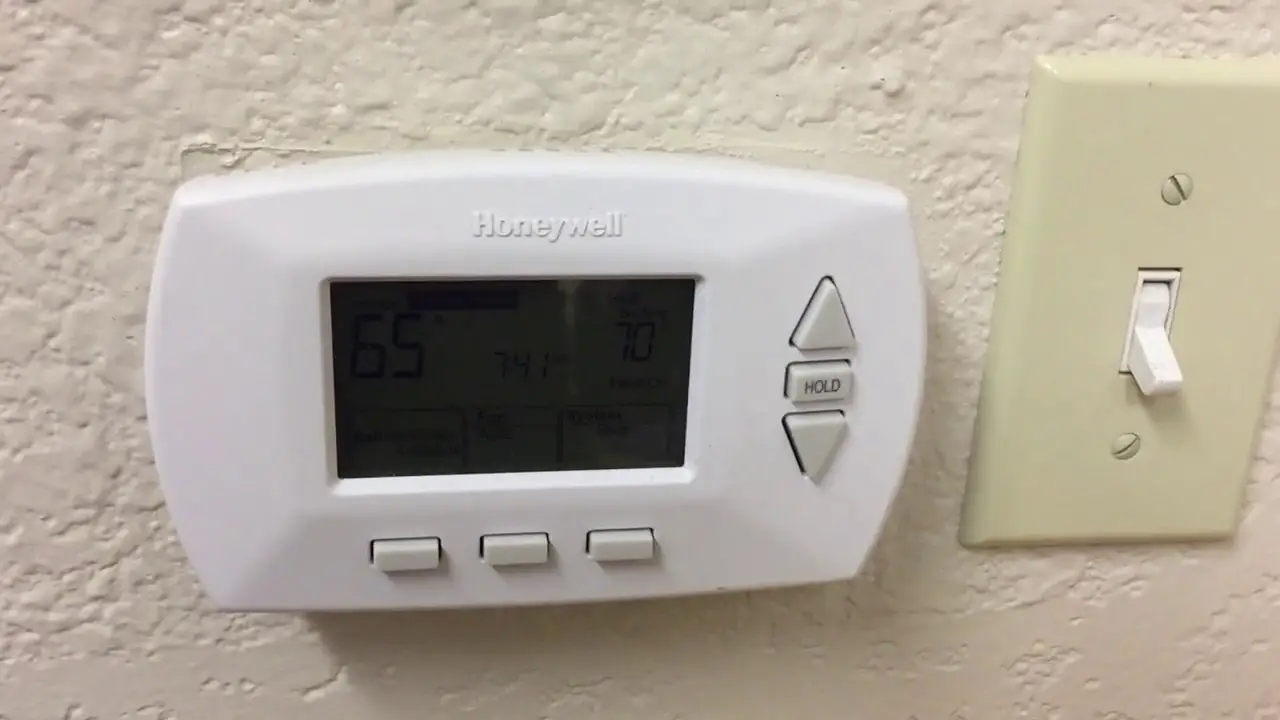
Honeywell thermostats are popular for their reliability and efficiency. Regular maintenance ensures they function well. Cleaning and inspecting your thermostat is crucial. Over time, dust and grime can affect its performance. Removing the cover is the first step in maintenance.
Importance Of Regular Cleaning
Regular cleaning keeps your thermostat in top shape. It helps maintain accurate temperature readings. Dust and debris can interfere with sensors and buttons. Clean thermostats use less energy, saving you money.
- Improves efficiency
- Extends lifespan
- Prevents malfunctions
Safety Precautions Before Starting
Safety first is always the best approach. Before removing the cover, turn off the power. This prevents electrical shocks. Use insulated tools for extra protection. Make sure to check for any loose wires.
- Turn off power supply
- Use insulated tools
- Check for loose wires
Wear gloves to protect your hands. Some components might be sharp or hot. Always work in a well-lit area. Good visibility helps you avoid mistakes.
Credit: m.youtube.com
Identifying Your Honeywell Thermostat Model
Knowing your Honeywell thermostat model is crucial before removing its cover. Different models have different designs and mechanisms. Identifying your model helps avoid any damage and ensures proper handling.
Different Types Of Honeywell Thermostats
Honeywell thermostats come in various types. Here are the common ones:
- Programmable Thermostats – These allow you to set schedules for heating and cooling.
- Non-Programmable Thermostats – These provide basic temperature control without scheduling features.
- Wi-Fi Thermostats – These can be controlled remotely via a smartphone app.
- Smart Thermostats – These offer advanced features like learning your preferences and integrating with smart home systems.
Locating The Model Number
Finding the model number is essential for identifying your Honeywell thermostat. The model number is usually a combination of letters and numbers. Here’s how to locate it:
- Check the User Manual: The manual usually lists the model number on the cover or first page.
- Inspect the Thermostat: Look at the front, back, or inside the battery compartment for a label with the model number.
- Check the Packaging: If you still have the original box, the model number is often printed on it.
Below is a table summarizing where to find the model number:
| Location | Description |
|---|---|
| User Manual | Usually on the cover or first page |
| Thermostat Body | Front, back, or inside battery compartment |
| Original Packaging | Printed on the box |
Tools And Materials Needed
Understanding the necessary tools and materials is crucial for removing the cover of a Honeywell thermostat. This section guides you through the essential tools and protective gear required for the task.
Essential Tools For The Task
Having the right tools makes the job easier and safer. Below are the essential tools you’ll need:
- Flathead Screwdriver: This helps in prying open the thermostat cover.
- Phillips Screwdriver: Some Honeywell models have screws that require this type of screwdriver.
- Soft Cloth: Use this to clean any dust or debris after removing the cover.
Protective Gear Recommendations
Wearing protective gear ensures your safety while working on electrical devices. Here are some recommendations:
- Safety Gloves: These protect your hands from sharp edges and electrical shocks.
- Safety Glasses: These protect your eyes from dust and debris.
- Face Mask: This helps you avoid inhaling dust or small particles.
By gathering the right tools and wearing the proper protective gear, you’ll be prepared to safely and efficiently remove the cover of your Honeywell thermostat.
Initial Preparation Steps
Before you start removing the cover of your Honeywell thermostat, ensure you are well-prepared. These initial steps will help you to avoid any mishaps. Follow the guidelines to ensure a smooth and safe process.
Turning Off The Power
Safety is the first priority. Make sure to turn off the power to your HVAC system.
- Go to your main electrical panel.
- Locate the breaker that controls the HVAC system.
- Switch the breaker to the “Off” position.
This step is essential to prevent any electrical hazards. Always double-check that the power is off before proceeding.
Clearing The Area Around The Thermostat
Before removing the cover, make sure the area around the thermostat is clear. A clutter-free space ensures you can work comfortably.
- Remove any furniture or objects near the thermostat.
- Ensure you have enough light to see clearly.
- Keep all necessary tools within reach.
Having a clean workspace helps in avoiding unnecessary interruptions. Keep the area tidy for a hassle-free experience.
| Step | Description |
|---|---|
| 1 | Turn off the power to the HVAC system. |
| 2 | Clear the area around the thermostat. |
Following these initial preparation steps will set the stage for successfully removing the cover of your Honeywell thermostat. Stay safe and organized.
Removing The Cover Of The Thermostat
Removing the cover of a Honeywell thermostat can be a simple task. You might need to do this for cleaning, battery replacement, or troubleshooting. Follow these steps to easily remove the cover without damaging your device.
Step-by-step Cover Removal
- Turn off the power: Ensure the power to the thermostat is off. This prevents any electrical issues.
- Locate the cover: Find the edges of the thermostat cover. Look for any visible screws or clips.
- Remove any screws: If there are screws, use a screwdriver to remove them. Keep them safe.
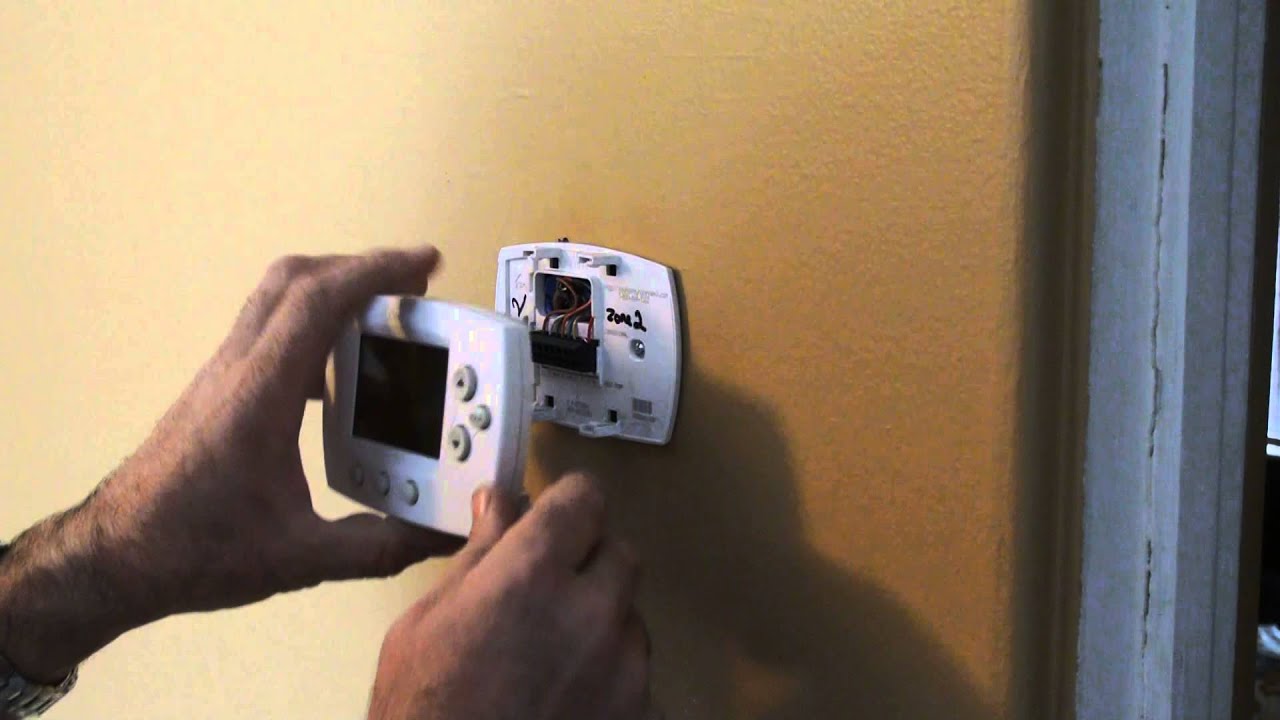
- Use gentle force: If there are no screws, gently pull the cover away from the base. Use your fingers to pry it open.
- Check the manual: Refer to the Honeywell thermostat manual. It may have specific instructions for your model.
Troubleshooting Common Issues
Stuck Cover: If the cover is stuck, do not use excessive force. This can damage the thermostat.
- Double-check for screws: Ensure you have removed all screws.
- Use a tool: A flathead screwdriver can help pry open a stubborn cover.
Cover Won’t Snap Back: Sometimes, the cover may not fit back properly.
Check Best Thermostat Pricing in Amazon
** As an Amazon Associate, I earn from qualifying purchases.
- Align the cover: Ensure the cover aligns with the base. Check all edges.
- Check for obstructions: Make sure nothing is blocking the cover from fitting.
By following these steps, you can easily and safely remove the cover of your Honeywell thermostat. Always refer to your manual for specific guidance related to your model.

Credit: willplumb.com
Cleaning The Thermostat Interior
Over time, dust and dirt can build up inside your Honeywell thermostat. This can affect its performance. Cleaning the interior of your thermostat is crucial to keep it running smoothly. Follow these steps to ensure your thermostat stays in top condition.
Best Practices For Cleaning
Before you start, make sure to turn off the power to your thermostat. This is important for your safety. Use a soft, dry cloth or a can of compressed air to remove dust. Avoid using liquids or sprays, as they can damage the components.
- Turn off the power to the thermostat at the circuit breaker.
- Use a soft, dry cloth to gently wipe away dust.
- For hard-to-reach areas, use a can of compressed air.
- Avoid using liquids or sprays inside the thermostat.
Avoiding Damage To Sensitive Components
The interior of your thermostat contains delicate parts. Be careful not to touch any wires or circuit boards. Here are some tips to avoid damaging sensitive components:
- Handle with care: Gently clean without applying too much pressure.
- Avoid touching wires: Keep your hands away from any exposed wiring.
- Use the right tools: A soft cloth and compressed air are best.
Cleaning your Honeywell thermostat regularly ensures it functions properly. Following these steps will help you avoid any damage.
Reattaching The Thermostat Cover
Once you have cleaned or replaced any components of your Honeywell thermostat, it’s time to reattach the cover. This step is crucial to ensure the thermostat functions correctly. Follow these simple steps to get it done right.
Ensuring Proper Alignment
Proper alignment is key when reattaching the thermostat cover. Misalignment can cause the thermostat to malfunction.
- Hold the cover directly in front of the thermostat base.
- Align the tabs or notches on the cover with the slots on the base.
- Press gently to fit the cover into place.
If you feel any resistance, stop and check the alignment again. The cover should fit snugly without using force.
Confirming Secure Fit
After aligning the cover, the next step is to confirm a secure fit. A loose cover can impact the thermostat’s performance.
- Press around the edges of the cover to ensure it is securely attached.
- Check for gaps between the cover and the base.
- Test the thermostat by turning it on and adjusting the settings.
If the cover is not secure, remove it and repeat the alignment steps. A secure fit ensures the thermostat functions properly and is protected from dust and debris.
Final Steps And Testing
After removing the cover of your Honeywell thermostat, you need to complete the process. This involves restoring power and testing the thermostat’s functionality. Follow these steps to ensure everything works correctly.
Restoring Power To The Thermostat
First, locate your circuit breaker panel. Find the switch that controls power to the thermostat. Flip the switch to the “on” position. This will restore power to the thermostat.
Make sure all other electrical devices in the area are functioning. This confirms that power is restored properly.
Testing Thermostat Functionality
Now, test if the thermostat is working. Set the thermostat to a specific temperature. Wait a few minutes to see if the HVAC system responds.
Check if the heating or cooling system turns on as expected. If not, ensure all wires are connected firmly. Double-check the thermostat settings.
- Set the thermostat to a high temperature to test the heating.
- Set the thermostat to a low temperature to test the cooling.
- Observe any unusual sounds or behaviors.
If everything seems fine, your thermostat is now ready to use.

Credit: www.reddit.com
Frequently Asked Questions
How Do I Take The Cover Off Of A Honeywell Home Thermostat?
To remove the cover of a Honeywell home thermostat, gently pull it from the base. Use your fingers to avoid damaging any components.
How Do I Open My Honeywell Thermostat?
To open your Honeywell thermostat, gently pull the cover straight off. Some models may require unscrewing. Always consult your manual.
How Do I Take The Front Off A Honeywell Thermostat?
To remove the front of a Honeywell thermostat, gently pull the cover straight off. Avoid using excessive force.
How To Remove Honeywell Thermostat Cover To Replace Batteries?
Gently pull the thermostat cover off from the base. Replace the old batteries with new ones. Reattach the cover securely.
Conclusion
Removing the cover of a Honeywell thermostat is straightforward with proper guidance. Follow the steps carefully to avoid damage. Regular maintenance ensures optimal performance. Share this guide with friends who may need assistance. For more tips, explore our other home improvement articles.
Your thermostat will thank you!
Check Best Thermostat Pricing in Amazon
** As an Amazon Associate, I earn from qualifying purchases.