
Check Best Thermostat Pricing in Amazon
** As an Amazon Associate, I earn from qualifying purchases.
Are you looking to change how your Honeywell thermostat controls your home’s temperature? Sometimes, the preset schedule might not fit your daily routine anymore.
Knowing how to remove the schedule on your Honeywell thermostat can give you full control over when and how your heating or cooling works. In this guide, you’ll learn simple steps to clear the schedule quickly and easily. Keep reading to take charge of your comfort and save energy without any hassle.
Accessing The Thermostat Menu
Accessing the thermostat menu is the first step to remove the schedule on your Honeywell thermostat. The menu lets you control settings and adjust your schedule. Knowing how to find and use this menu saves time and effort. Follow simple steps to reach the schedule settings quickly.
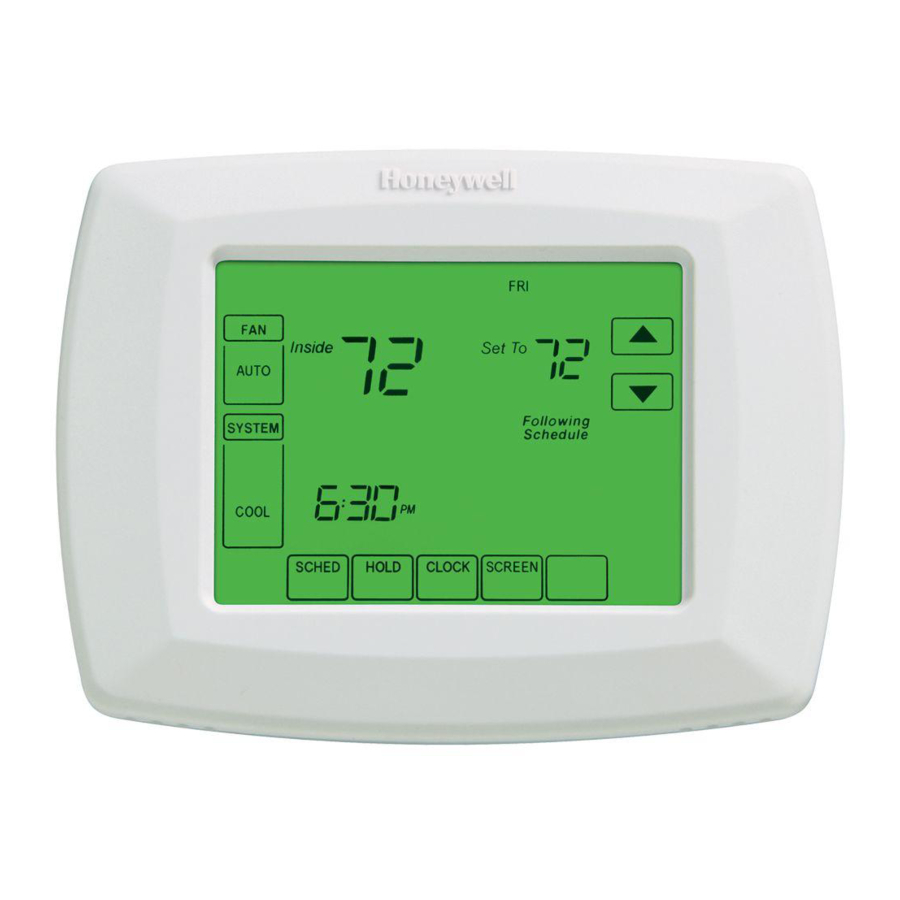
Navigating The Home Screen
The home screen shows the current temperature and system status. Use the touchscreen or buttons to move through options. Look for the menu icon or button, usually on the main screen. Press it to open the main menu. Take note of the icons and labels to avoid confusion.
Locating The Schedule Settings
Once inside the menu, find the schedule or programming option. It may be named “Schedule,” “Program,” or “Set Schedule.” Select it to view your heating and cooling times. This section allows you to edit or remove set schedules. Follow prompts carefully to avoid changes to other settings.
Deleting The Existing Schedule
Deleting the existing schedule on your Honeywell thermostat helps you clear old settings. This lets you create new schedules that fit your needs better. The process is simple and takes only a few steps. Follow along to remove any unwanted schedules quickly.
Selecting The Schedule To Remove
First, access the main menu on your thermostat screen. Look for the “Schedule” or “Program” option and tap it. A list of saved schedules will appear. Scroll through and find the one you want to delete. Highlight or select that schedule carefully. Make sure it is the correct one to avoid deleting the wrong plan.
Confirming The Deletion
After selecting the schedule, choose the “Delete” option. The thermostat will ask for confirmation to prevent mistakes. Read the prompt and confirm you want to delete the schedule. Press “Yes” or “OK” to finalize. The schedule will then be removed from your device. This step ensures no accidental deletions happen.
Disabling Schedule Mode
Disabling the schedule mode on your Honeywell thermostat allows you to control the temperature manually. This gives you the freedom to set the temperature anytime without following a preset plan. It is useful when your daily routine changes or you want to save energy differently.
Switching To Manual Mode
Start by pressing the “Menu” button on your thermostat. Look for the “Schedule” option in the menu. Select “Off” or “Disable” to turn off the schedule mode. Your thermostat will now stop following the programmed times. It will wait for you to set the temperature manually.
Adjusting Temperature Manually
Use the up or down arrows on the thermostat display. Choose the temperature you want for your comfort. Confirm the setting by pressing the “OK” or “Set” button. The thermostat will keep this temperature until you change it again. This method gives you full control of your home’s heating and cooling.
Credit: www.manualslib.com
Using The Honeywell App
Using the Honeywell App makes managing your thermostat simple and fast. The app lets you control your device from anywhere. Removing a schedule is quick and done in just a few taps. This helps save time and adjust your heating or cooling easily.
Connecting To Your Thermostat
First, download the Honeywell App from the App Store or Google Play. Open the app and sign in with your account. Make sure your phone is near the thermostat and connected to Wi-Fi. Select your thermostat from the list of devices shown. The app will connect automatically. If it does not, follow the on-screen steps to link the device.
Removing Schedule Via Mobile
Open the app and tap on your thermostat. Go to the “Schedule” section. Find the schedule you want to remove. Tap on the schedule to open it. Look for the delete or remove option. Confirm your choice to delete the schedule. The app will update your thermostat instantly. Your schedule is now removed and no longer active.
Troubleshooting Common Issues
Troubleshooting common issues helps solve problems with your Honeywell thermostat. It saves time and avoids frustration. Many users face simple errors when removing schedules. Identifying these issues makes the process easier. The following tips cover frequent problems and quick fixes.
Schedule Not Deleting
Sometimes, the schedule does not delete from the thermostat. This happens if the device is locked or the settings are protected. Check if the thermostat has a lock or password enabled. Disable any lock to allow changes.
Another cause is a software glitch. Restart the thermostat by turning it off and on. This refreshes the system and often clears errors. Try deleting the schedule again after the restart.
Check Best Thermostat Pricing in Amazon
** As an Amazon Associate, I earn from qualifying purchases.
Make sure you follow the correct steps to remove the schedule. Using the wrong menu or button may prevent deletion. Refer to the user manual for precise instructions. Confirm the schedule is deleted by checking the settings.
Thermostat Unresponsive
The thermostat may not respond when you try to remove a schedule. This can be due to low battery power. Replace the batteries with fresh ones to restore function. Check the battery compartment for corrosion or dirt.
Another reason is a frozen screen or software freeze. Press and hold the reset button if available. This forces the thermostat to reboot. Wait a few minutes before trying again.
In rare cases, the thermostat needs a factory reset. This clears all settings and data. Use this option only if other fixes do not work. Backup important settings before resetting to avoid losing them.

Credit: www.reddit.com
Tips To Manage Your Thermostat Schedule
Managing your Honeywell thermostat schedule helps save energy and keep your home comfortable. You can change settings quickly or create new schedules to fit your daily routine. Here are simple tips to manage your thermostat schedule easily.
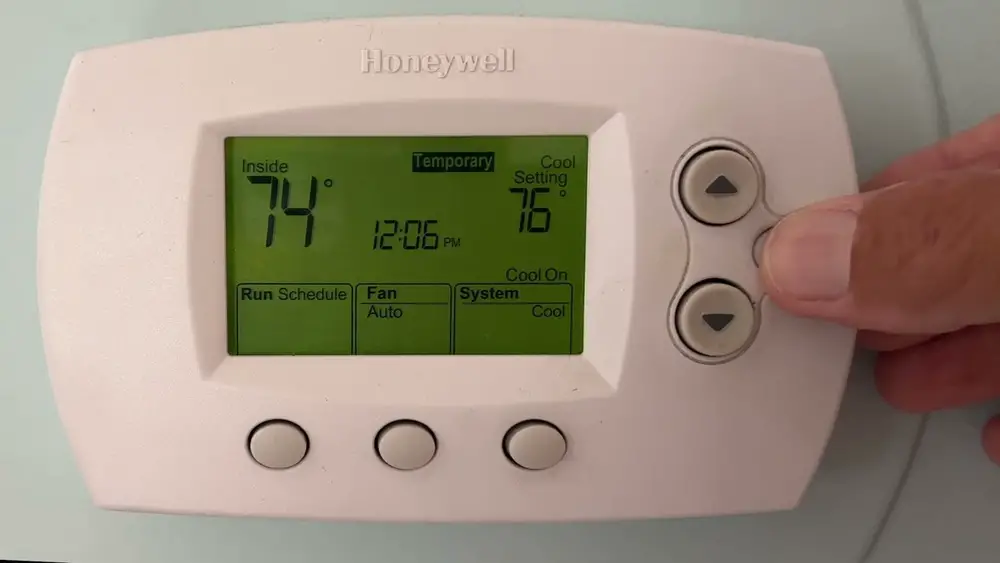
Setting Temporary Holds
Temporary holds let you pause your schedule without deleting it. Use this feature to keep your home warm or cool for a short time. After the hold ends, the thermostat returns to the original schedule automatically. It is useful for unexpected changes like guests or weather shifts.
To set a temporary hold, press the hold button on your thermostat. Choose the desired temperature and duration. This way, you control comfort without changing your main schedule.
Creating New Schedules
Creating new schedules helps match your home’s heating or cooling to your habits. You can set different temperatures for morning, day, evening, and night. This saves energy by not heating or cooling when you do not need it.
Use the thermostat menu to add a new schedule. Choose days and times, then set the temperature for each period. You can edit or delete schedules anytime to suit your needs better.

Credit: www.youtube.com
Frequently Asked Questions
How Do I Remove A Schedule On Honeywell Thermostat?
To remove a schedule, press the “Menu” button, select “Schedule,” then choose the day. Use the erase option to delete the set times. Confirm to save changes. This clears the programmed schedule from your Honeywell thermostat.
Can I Reset The Honeywell Thermostat Schedule Entirely?
Yes, you can reset the entire schedule. Go to “Menu,” select “Reset,” then choose “Schedule. ” This deletes all saved schedules and restores default settings. It’s useful for starting fresh with new programming.
Will Removing The Schedule Affect Temperature Settings?
Removing the schedule stops automatic temperature changes. Your thermostat will stay at the manual set temperature. You can still adjust the temperature anytime using the thermostat controls.
Is It Possible To Remove Only One Day’s Schedule?
Yes, you can delete a single day’s schedule. Access “Schedule” in the menu, select the specific day, and erase the programmed times. This leaves other days’ schedules intact.
Conclusion
Removing a schedule on your Honeywell thermostat is simple and quick. Follow the steps carefully to avoid mistakes. This helps you control your home temperature better. You can change settings anytime to fit your needs. Keeping your thermostat updated saves energy and money.
Try these tips to make your home more comfortable. Now, managing your thermostat feels easy and stress-free.
Check Best Thermostat Pricing in Amazon
** As an Amazon Associate, I earn from qualifying purchases.