
Check Best Thermostat Pricing in Amazon
** As an Amazon Associate, I earn from qualifying purchases.
Removing a Nest Thermostat from its base is straightforward. You need a few simple steps to do it safely.
Nest Thermostats are popular for their smart features and energy efficiency. But sometimes, you may need to remove it. Maybe you are moving, upgrading, or troubleshooting. Whatever the reason, it’s important to know how to do it correctly. This guide will help you remove your Nest Thermostat without damaging it or the wall.
We’ll walk you through the process step-by-step. It’s easy and quick. So, let’s get started and make sure your thermostat is safely removed.
Safety Precautions
Ensure the power is off before removing the Nest Thermostat. Gently pull the thermostat straight out from the base. Handle with care to avoid damage.
Removing your Nest Thermostat from its base may seem like a straightforward task, but it’s crucial to follow some safety precautions to avoid any accidents. You don’t want a simple home improvement project to turn into an emergency room visit. Trust me, I learned this the hard way when I accidentally skipped a step and got a mild shock. To help you avoid such mishaps, let’s walk through some essential safety measures. ###Turn Off Power
The first and most crucial step is to turn off the power to your thermostat. This is non-negotiable. Go to your circuit breaker and switch off the power supply to your HVAC system. If you’re unsure which breaker controls the thermostat, it’s better to turn off the main power temporarily. Better safe than sorry, right? A friend of mine once thought he had turned off the right breaker and ended up damaging his thermostat. ###Check For Live Wires
After turning off the power, it’s still important to check for live wires. Use a voltage tester to ensure no electricity is flowing to the wires connected to your thermostat. Just place the tester near the wires. If it lights up or makes a sound, the wires are live, and you need to double-check your circuit breaker. This step may seem redundant, but it’s a crucial double-check to keep you safe. In the end, taking these extra precautions only adds a few minutes to your task. But those few minutes can save you from potential harm. So, are you ready to tackle this project with safety in mind?
Credit: www.wikihow.com
Preparing The Thermostat
Preparing your Nest Thermostat for removal is a crucial step. Before you start, make sure you know exactly what to do. This will prevent any damage to your device or your wall. Let’s dive into the preparatory steps to ensure a smooth process.
Access The Thermostat
First, locate your Nest Thermostat. It’s usually mounted on a wall in a central location of your home. Make sure you can easily reach it.
Next, turn off the power. Safety is paramount, so locate your circuit breaker and switch off the power to your thermostat. This prevents any electrical mishaps.
Once the power is off, carefully approach the device. Be gentle as you handle it to avoid any damage.
Inspect The Device
Take a close look at your thermostat. Check for any screws or latches holding it in place. These are usually located around the edge of the device.
Notice how the device is mounted. Is it clipped in or screwed to the base? Understanding this will help you remove it correctly.
Also, make sure you have the right tools. A small screwdriver or a similar tool might be needed to detach the thermostat. Having everything ready will save you time and frustration.
Have you ever removed a Nest Thermostat before? What challenges did you face? Share your experience in the comments below. Your insights could help others!
Removing The Thermostat
Removing the thermostat from its base may seem like a daunting task, but it’s actually quite simple. Whether you’re upgrading your system or just need to clean the device, following these steps will make the process smooth and easy. Let’s dive into the specifics of how to properly detach and disconnect your Nest Thermostat.
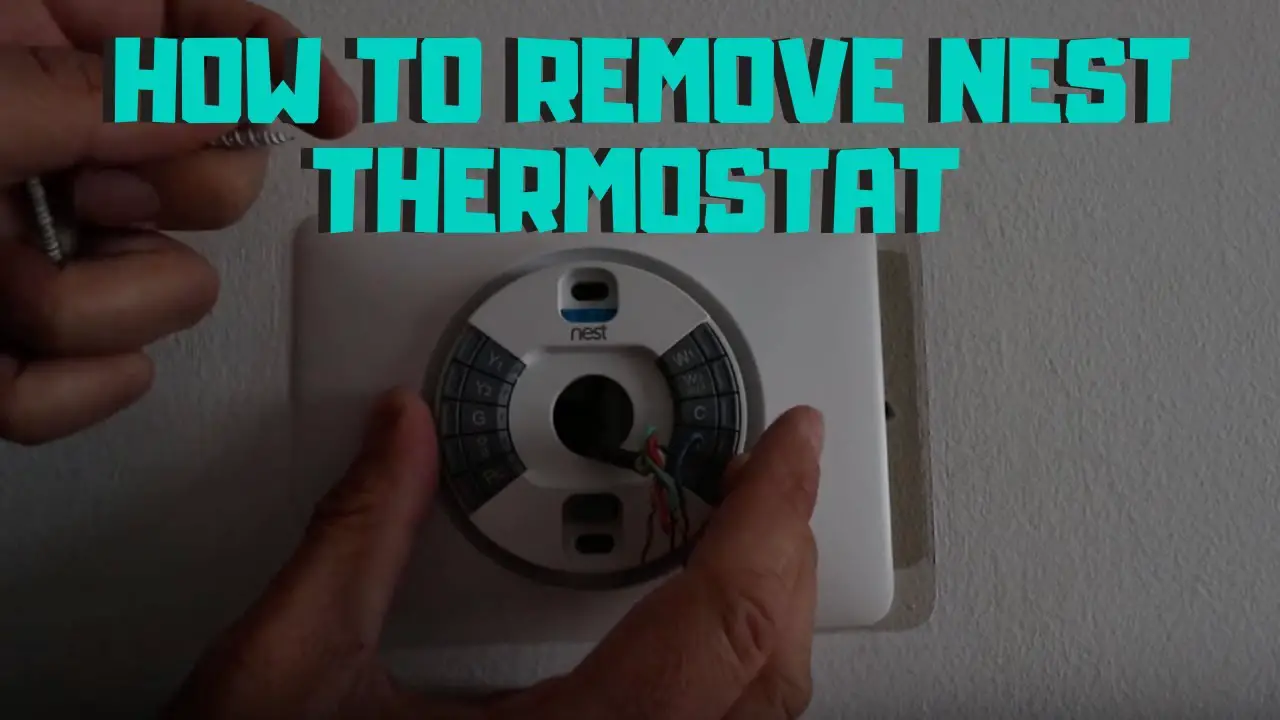
Detach The Display
First, you need to detach the display from the base. This might sound complicated, but it’s just a matter of applying gentle pressure. Place your fingers on the sides of the thermostat and pull it towards you.
Be careful not to use too much force. The display should pop off easily if you’re pulling it straight out. If you encounter resistance, try wiggling it slightly to loosen it.
Once the display is off, you’ll see the base and the connected wires. This is where you’ll need to be extra cautious.
Disconnect The Wires
After removing the display, it’s time to disconnect the wires. The wires are color-coded and connected to specific terminals. Make sure to take a picture of the wiring setup before you begin.
This will help you remember where each wire goes when you reinstall the thermostat. Use a small screwdriver to loosen the screws holding the wires in place.
Once the screws are loose, gently pull the wires out. Avoid yanking on the wires as this could damage them. It’s a good idea to label the wires with tape for easy reinstallation.
Have you ever had to troubleshoot your Nest Thermostat before? How did it go? Share your experiences in the comments below.
Handling The Base
When you need to remove the Nest thermostat from its base, it’s crucial to handle the base with care. The base is the foundation of your thermostat’s connection to the wiring and the wall. Handling it properly ensures you won’t damage any components or wiring, which can save you time and frustration down the line.
Unscrew The Base
Start by locating the screws that secure the base to the wall. These are usually found at the top and bottom of the base.
Use a Phillips screwdriver to remove these screws. Turn the screwdriver counterclockwise to loosen each screw. Keep a small container handy to store the screws so you don’t lose them.
Check Best Thermostat Pricing in Amazon
** As an Amazon Associate, I earn from qualifying purchases.
Once the screws are out, gently pull the base forward. Be mindful of the wiring behind the base. You might need to wiggle it a bit, but don’t force it.
Remove The Base Plate
With the screws removed, carefully detach the base plate from the wall. Hold the base plate with one hand and guide the wires through the opening with the other hand.
Check for any remaining clips or attachments that might still hold the base plate. Some models have small clips that need to be pushed in to release the plate fully.
After removing the base plate, inspect the wiring. Ensure that none of the wires are damaged or frayed. Keeping the wires intact will make reinstallation much easier.
Have you ever had trouble removing a device from its base without causing damage? Share your tips in the comments to help others!
Post-removal Steps
Carefully turn off power before removing the Nest Thermostat from its base. Gently pull the device away from the wall. Ensure all wires are safely detached.
Removing your Nest Thermostat from its base is the first step in the process, but what happens next? Just as important as the removal are the steps you take afterward. You want to make sure everything is in order for when you re-install or store your thermostat. Let’s dive into the post-removal steps that you should follow.Check Wiring
Once you’ve removed the Nest Thermostat, the next thing to do is check the wiring. Make sure the wires are not frayed or damaged. If you see any issues, it’s better to address them now rather than when you’re in the middle of re-installing. A quick inspection can save you a headache later.Store Components Safely
After checking the wiring, it’s crucial to store all components safely. Keep the thermostat, base, screws, and any other small parts in a labeled container. I learned this the hard way when I lost the tiny screws and had to make an extra trip to the hardware store. So, make sure everything is together and stored in a safe place. What’s your go-to method for storing small components? Keeping them organized will save you time and frustration in the future.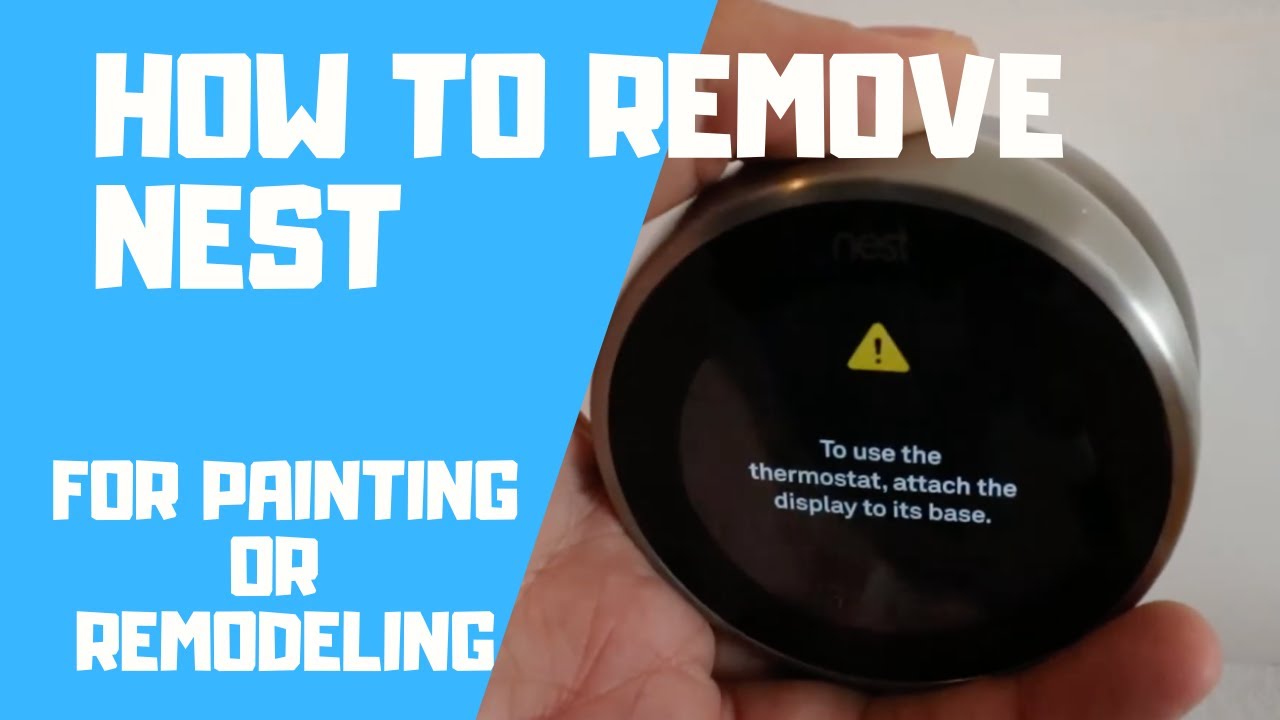
Credit: www.youtube.com
Troubleshooting
Removing a Nest Thermostat from its base can sometimes be trickier than expected. Whether you’re upgrading, relocating, or troubleshooting, understanding common issues and knowing when to seek help can save you time and frustration. Let’s dive into troubleshooting to ensure a smooth process.
Common Issues
While removing the Nest Thermostat, you might face a few common issues. One frequent problem is the thermostat sticking to the base. This can happen due to dirt or debris.
Another issue is the fear of breaking the device. The Nest Thermostat is a sophisticated piece of technology, and handling it with care is essential. Are you worried about damaging the wires? This is a common concern, but it can be managed with the right approach.
Lastly, connection problems might arise. Sometimes, the thermostat won’t detach easily because of a tight connection. Ensuring all screws and clips are properly loosened can help.
When To Seek Help
Sometimes, despite your best efforts, things just don’t go as planned. If you’ve tried the above steps and still can’t remove the thermostat, it might be time to seek help. Are you experiencing unusual resistance or hearing strange sounds?
Calling a professional can be a smart move. They have the tools and expertise to handle the situation without causing damage. If the device is under warranty, contacting Nest support might be beneficial.
Consider seeking help if you’re unsure about handling electrical components. Safety should always come first. Have you thought about the potential risks of doing it yourself? Consulting an expert can ensure everything is done correctly and safely.
Removing a Nest Thermostat from its base doesn’t have to be a daunting task. By understanding common issues and knowing when to seek help, you can make the process smoother and stress-free. Have you removed your Nest Thermostat before? Share your experiences and tips in the comments below!

Credit: www.ifixit.com
Frequently Asked Questions
How Do You Remove The Nest Thermostat From The Base?
To remove the Nest Thermostat from the base, gently pull the display straight off. Use both hands for a secure grip.
How To Remove Thermostat From Base?
To remove the thermostat from the base, turn off the power. Gently pull the thermostat away from the wall. Ensure all wires are disconnected.
How Do I Take My Nest Thermostat Off?
To remove your Nest Thermostat, first turn off the power. Then, gently pull the thermostat straight off the base.
How To Remove Nest From Holder?
To remove the Nest from its holder, grip the thermostat and pull it straight off the base. Make sure to do this gently to avoid any damage.
Conclusion
Removing your Nest Thermostat from its base is straightforward. Follow the steps carefully, and you’ll finish quickly. Keep your tools handy and ensure power is off. This prevents electrical hazards. Remember to label wires before detaching them. This helps during reinstallation.
Handle the thermostat gently to avoid damage. Store it safely in a secure place. Reinstalling later will be easier with labeled wires. Regular maintenance keeps your system running smoothly. Your HVAC system will thank you. Enjoy a comfortable and efficient home.
Check Best Thermostat Pricing in Amazon
** As an Amazon Associate, I earn from qualifying purchases.