
Check Best Thermostat Pricing in Amazon
** As an Amazon Associate, I earn from qualifying purchases.
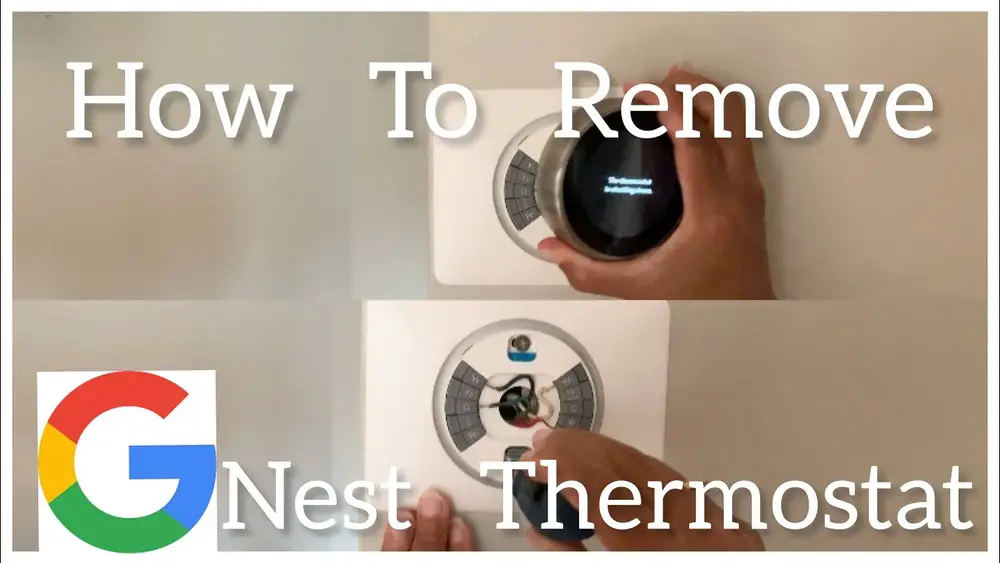
Are you looking to remove your Google Nest Thermostat but don’t know where to start? Whether you’re upgrading to a new model or moving to a different home, taking out your Nest Thermostat can feel tricky.
But don’t worry—removing it is easier than you think. In this guide, you’ll find clear, step-by-step instructions that make the process simple and safe. Keep reading to learn how to take down your thermostat without any hassle or damage. Your comfort and peace of mind are just a few steps away.

Credit: www.youtube.com
Prepare For Removal
Preparing to remove your Google Nest Thermostat is an important step. It helps keep you safe and makes the process easier. Taking time to prepare avoids damage to your device and your home wiring.
Start with simple actions to get ready. Follow each step carefully before you begin the removal process.
Turn Off Power
First, turn off the power to your thermostat. Locate your home’s circuit breaker panel. Find the breaker labeled for heating and cooling systems. Switch it off to cut power to the Nest Thermostat.
Turning off power prevents electric shock. It also protects the thermostat from damage during removal.
Gather Necessary Tools
Collect all tools before starting. You will need a small screwdriver, usually a Phillips head. Have a flathead screwdriver on hand for prying if needed. A small container to hold screws is helpful too.
Having tools ready keeps the process smooth. It stops you from searching for items mid-removal.
Credit: www.digitaltrends.com
Detach The Thermostat
Detaching your Google Nest Thermostat is simple. It needs careful steps to avoid damage. First, remove the display screen. Then, disconnect the wiring safely. Follow these steps to remove it properly.
Remove Display Screen
Gently pull the thermostat display straight out from the base. Do not twist or bend it. The screen is attached with clips that release with a steady pull. Hold the edges firmly and pull evenly. Set the screen aside in a safe place.
Disconnect Wiring
Locate the base plate with the wires attached. Each wire fits into a small connector. Press the tab or button on the connector to release the wire. Pull the wire out gently. Label wires if needed to remember their position. Do not force the wires out to avoid damage.
Handle The Mounting Plate
Handling the mounting plate is a key step in removing your Google Nest Thermostat safely. This plate holds the thermostat on the wall and needs careful attention. Removing it properly helps protect your wall and makes future installations easier.
Unscrew The Plate
Start by locating the screws on the mounting plate. Use a screwdriver to turn each screw counterclockwise. Keep the screws in a safe place for later use. Gently pull the plate away from the wall after all screws are removed. Avoid forcing the plate to prevent wall damage.
Patch Wall Damage
Check the wall for holes left by the screws. Fill these holes with wall putty or spackle. Use a small putty knife to smooth the surface. Let the patch dry completely before sanding it lightly. Paint over the area to match the wall color if needed.
Reset The Thermostat
Resetting your Google Nest Thermostat is an important step before removing it. This process clears your settings and prepares the device for a new user or storage. Resetting also helps protect your privacy by removing your personal information.
Follow the reset steps carefully to avoid any issues with the thermostat later. After resetting, unlink your Google account from the device. This ensures the thermostat no longer connects to your online profile.
Factory Reset Steps
Start by pressing the thermostat ring to open the Quick View menu.
Turn the ring to select Settings and press the ring again.
Scroll to Reset and select it.
Choose Factory Reset from the options.
Confirm the reset by selecting Yes.
Check Best Thermostat Pricing in Amazon
** As an Amazon Associate, I earn from qualifying purchases.
The thermostat will restart and erase all data.
Clear Account Link
Open the Google Home app on your phone or tablet.
Select the thermostat device from the list.
Tap the Settings icon in the top right corner.
Scroll down and choose Remove device.
Confirm the removal to unlink your account.
The thermostat is now disconnected from your Google account.
Troubleshooting Tips
Removing a Google Nest Thermostat can sometimes cause problems. These troubleshooting tips help fix common issues. Follow the steps to avoid damage and keep your system safe.
Common Removal Issues
The thermostat may stick to the wall plate. Gently twist it side to side while pulling. Avoid using too much force to stop damage.
Sometimes, wires get stuck or tangled. Make sure to note wire positions before removal. Use a small tool to carefully free any stuck wires.
Power might still be on. Turn off the breaker before starting. This prevents electric shock and protects the thermostat.
When To Seek Professional Help
Complex wiring can be hard to manage alone. Call a professional if wires look confusing or damaged. Incorrect handling can cause system failure or safety risks.
If the thermostat doesn’t detach with gentle force, a technician can help. They have tools and knowledge for safe removal.
Use professional help to avoid costly repairs or voiding warranties. Safety first—always choose expert support when unsure.

Credit: www.wikihow.com
Frequently Asked Questions
How Do I Safely Remove My Google Nest Thermostat?
Turn off your HVAC system first. Press the thermostat ring to release it. Gently pull the thermostat off the wall. Disconnect the wires carefully, noting their placement. Remove the mounting plate if needed. Always handle with care to avoid damage.
Can I Remove Google Nest Thermostat Without Power Loss?
Yes, you can remove it without shutting off power. However, turning off power at the breaker is safer. This prevents electrical shock and protects your HVAC system. Always prioritize safety when working with electrical devices.
What Tools Do I Need To Remove Nest Thermostat?
You typically need no special tools. A screwdriver may help removing the mounting plate. A small container is useful for screws and wire labels. Basic tools and careful hands are usually sufficient for removal.
Will Removing Nest Thermostat Affect My Heating System?
Removing the thermostat stops temperature control temporarily. Your heating or cooling system may run uncontrollably or shut off. To avoid damage, power off your HVAC system before removal. Reinstall or replace the thermostat promptly to restore normal operation.
Conclusion
Removing your Google Nest Thermostat is simple with the right steps. Turn off power first to stay safe. Carefully detach the device from the wall plate. Keep track of all screws and wires. Follow instructions to avoid damage or mistakes.
Take your time and work patiently. This ensures a smooth removal process. Now, you can install a new thermostat or clean the area. Easy to do, even for beginners. Stay safe and confident while handling your thermostat.
Check Best Thermostat Pricing in Amazon
** As an Amazon Associate, I earn from qualifying purchases.