
Check Best Thermostat Pricing in Amazon
** As an Amazon Associate, I earn from qualifying purchases.
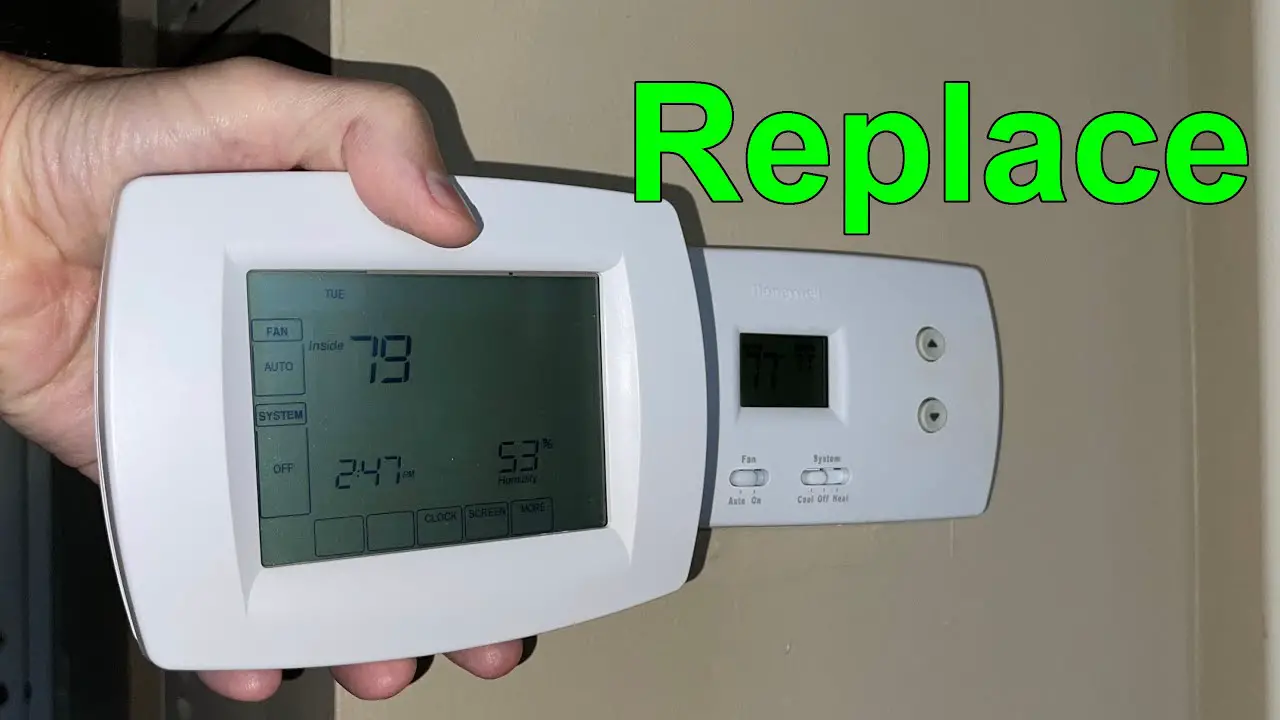
Removing a Honeywell thermostat is straightforward. First, turn off the power.
Then, safely detach it from the wall. Are you planning to replace or upgrade your Honeywell thermostat? Whether you’re dealing with an outdated model or simply want a change, knowing how to safely remove the device is crucial. This process might seem complex, but with the right steps, it can be simple and stress-free.
In this guide, we’ll break down the removal process into easy-to-follow steps. You’ll learn how to disconnect and remove your Honeywell thermostat without causing damage or making errors. Let’s dive into the details and ensure a smooth removal process for your thermostat.
Credit: www.youtube.com
Preparation
Before you start removing your Honeywell thermostat, it’s important to prepare properly. This means gathering the right tools and ensuring your safety. Proper preparation makes the process smoother and helps avoid unnecessary issues.
Gathering Tools
First, gather all the necessary tools. You’ll need a screwdriver, preferably a Phillips head, as most thermostats use these types of screws. It’s also helpful to have a flathead screwdriver for prying and a small container to hold the screws so you don’t lose them.
A digital camera or your smartphone is useful for taking pictures of the wiring setup. This helps you remember where each wire goes when you install the new thermostat. Lastly, have a pair of pliers on hand in case any wires are difficult to remove.
Safety Precautions
Safety should always be your top priority. Start by turning off the power to your HVAC system at the breaker box. This prevents any chance of electrical shock while you’re working.
Double-check that the power is off by attempting to turn on the heating or cooling system. If it doesn’t respond, you’ve successfully cut off the power. Also, wear gloves to protect your hands from sharp edges and any potential electrical hazards.
Is there another tool or safety tip you think would be useful? Share your thoughts in the comments below!

Credit: willplumb.com
Turning Off Power
Turning off the power is the first step in removing a Honeywell thermostat. This ensures safety and prevents electric shock. Follow these steps to turn off the power correctly.
Locating Circuit Breaker
First, find the circuit breaker box in your home. It’s usually in the basement, garage, or utility room. Open the box and look for the switch labeled “Thermostat” or “HVAC”. This is the circuit you need to turn off.
Ensuring Power Is Off
After flipping the switch, you need to confirm the power is off. Go back to the thermostat and try to turn it on. If the display is blank, the power is off. If it still has power, check the circuit breaker again. Make sure you flipped the right switch.
Removing Thermostat Cover
Removing the cover of your Honeywell thermostat is a crucial step. It allows you to access internal components. Start by ensuring the thermostat is off. This prevents any electrical issues.
Unscrewing Cover
Locate the screws holding the cover. Use a small screwdriver. Turn the screws counterclockwise. Carefully store the screws in a safe place. This prevents losing them.
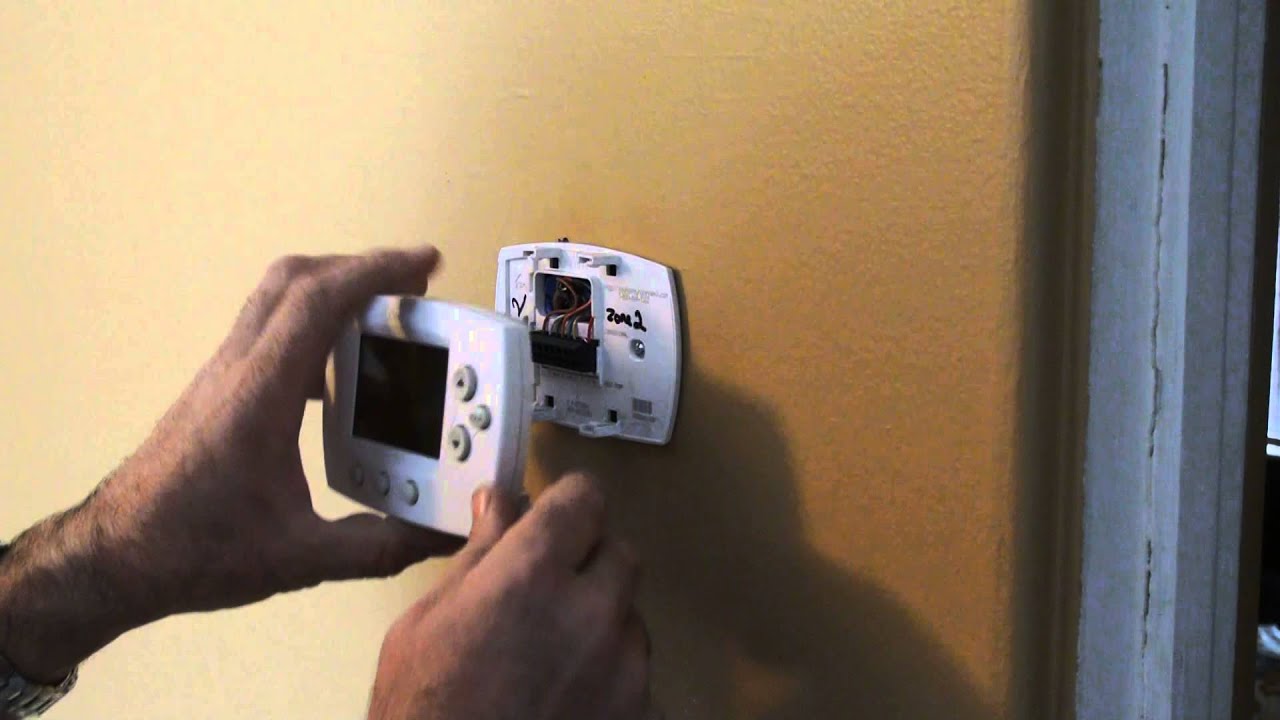
Detaching Faceplate
Gently pull the cover away from the wall. The faceplate might be a bit tight. Wiggle it slightly to loosen it. Avoid using too much force. This can damage the thermostat.
Once the cover is off, set it aside. You now have access to the internal parts. Proceed with your next steps carefully.
Disconnecting Wires
Removing a Honeywell thermostat involves disconnecting the wires safely. Proper handling of wires ensures your new thermostat works perfectly. Follow these steps to disconnect the wires efficiently.
Check Best Thermostat Pricing in Amazon
** As an Amazon Associate, I earn from qualifying purchases.
Labeling Wires
Before removing wires, label them first. Use tape and a marker. Write the letter from the terminal on the tape. Place the tape on the corresponding wire. This step avoids confusion during reinstallation. Each wire connects to a specific terminal. Labeling helps you remember their positions.
Using Wire Nuts
After labeling, use wire nuts for safety. Wire nuts cover exposed wire ends. This prevents any electrical short circuits. Twist the wire nut onto the wire end. Ensure it’s tight and secure. Check each wire to confirm they are all covered. This step keeps your wires safe while you work.
Removing Mounting Plate
Remove the Honeywell thermostat by unscrewing the mounting plate. Carefully detach the wires to avoid damage.
Removing the mounting plate of a Honeywell thermostat might seem like a daunting task, but it’s quite straightforward with the right approach. This part of the process is essential for ensuring a smooth transition to your new thermostat. Whether you’re upgrading to a smart system or simply replacing an old unit, removing the mounting plate is a crucial step.Unscrewing Plate
Start by turning off the power to your thermostat from the circuit breaker. This is important to avoid any electrical mishaps. Next, use a screwdriver to remove the screws that secure the mounting plate to the wall. There are usually two or four screws, depending on your thermostat model. Carefully pull the mounting plate away from the wall, making sure to thread the wires through the opening so they don’t get stuck or damaged.Cleaning Wall Area
With the mounting plate removed, you’ll likely notice some dust or residue on the wall. Use a damp cloth to gently clean the area. If there are any screw holes or marks, you might want to fill them in with some spackle. This will give you a smooth surface for attaching your new thermostat. Once the wall is clean and dry, you’re ready to proceed with installing the new mounting plate or your new thermostat. Have you ever struggled with removing a thermostat before? Share your tips or any challenges you faced in the comments below!
Credit: willplumb.com
Handling Old Thermostat
Removing a Honeywell thermostat involves a few simple steps. Turn off the power, then detach the faceplate and disconnect the wires. Finally, unscrew and remove the base from the wall.
Removing a Honeywell thermostat can be simple. But you need to handle the old thermostat properly. It’s important to dispose of it correctly to protect the environment. Here’s how you can manage the old device.Proper Disposal
Do not throw the thermostat in the regular trash. It may contain materials harmful to the environment. Check local regulations for disposal guidelines. Some areas have specific rules for electronics.Recycling Options
Many places have recycling programs for electronics. Look for local e-waste recycling centers. Some retail stores also accept old electronics for recycling. By recycling, you help reduce environmental waste. Ensure the thermostat goes to the right place. “`Installing New Thermostat
Upgrading to a new thermostat can enhance your home’s comfort and energy efficiency. The process involves a few steps that anyone can follow. This guide will help you install your new thermostat with ease.
Mounting New Plate
First, remove the old thermostat’s wall plate. Use a screwdriver to detach it. Once done, align the new mounting plate with the existing screw holes. Ensure it is level. Use a pencil to mark the new screw positions if needed. Secure the new plate to the wall using screws. Tighten them until the plate is firmly in place.
Connecting Wires
Next, connect the wires to the new thermostat. Refer to the labels on the wires from the old thermostat. Match them with the corresponding terminals on the new device. Use the provided screws to secure each wire. Double-check each connection to ensure they are tight. Incorrect wiring can cause the thermostat to malfunction. After all wires are connected, attach the thermostat to the mounting plate. Snap it into place or use screws if required.
Testing New Thermostat
Testing your new thermostat is an important step to ensure it works correctly. After installation, you need to make sure that everything functions as expected. This process involves turning the power back on and checking the functionality of the thermostat. It will help you identify any issues early and ensure your home’s temperature is well-regulated.
Turning On Power
First, locate your home’s breaker panel. Find the switch that controls your HVAC system. Flip it to the “on” position. This action restores power to your new thermostat. Wait for a few moments. The thermostat should light up or display some activity.
Checking Functionality
With the power on, check if the thermostat responds to your inputs. Set the desired temperature. Observe if the heating or cooling system activates. Listen for any unusual sounds. Ensure the system reaches the set temperature.
If the thermostat has a fan option, switch it on. Verify that the fan starts running. Check if the display shows the correct temperature. If everything works well, your new thermostat is ready for use.
Frequently Asked Questions
How Do You Take Off A Honeywell Thermostat?
To remove a Honeywell thermostat, turn off the power. Unscrew the faceplate, then gently pull it off the wall.
How Do You Remove An Old Thermostat From The Wall?
Turn off the power to the thermostat. Remove the cover. Label and disconnect the wires. Unscrew the mounting plate. Carefully remove the thermostat.
How Do I Remove A Honeywell Total Connect Thermostat?
To remove a Honeywell Total Connect thermostat, first turn off the power. Detach the thermostat from the wall plate by gently pulling it. Disconnect the wires and label them for future reference. Remove the wall plate screws and take off the wall plate.
How To Take Honeywell Thermostat Off Wall To Replace Battery?
To replace the battery, gently pull the Honeywell thermostat off the wall. Open the battery compartment, replace the batteries, and reattach it.
Conclusion
Removing a Honeywell thermostat is simpler than it seems. Follow the steps carefully. Ensure safety by turning off the power first. Label the wires to avoid confusion later. Gently detach the thermostat from the wall. Always keep the user manual handy for reference.
If you face any issues, don’t hesitate to seek professional help. Proper removal ensures a smooth installation of the new thermostat. Now, you can confidently handle this task. Happy DIY!
Check Best Thermostat Pricing in Amazon
** As an Amazon Associate, I earn from qualifying purchases.