
Check Best Thermostat Pricing in Amazon
** As an Amazon Associate, I earn from qualifying purchases.
Opening a Honeywell thermostat can seem tricky. But it’s simpler than you think.
This guide will show you how. Honeywell thermostats are common in many homes. They help control your heating and cooling systems. But sometimes, you need to open the thermostat. Maybe you want to change the batteries. Or perhaps you need to adjust the settings.
Knowing how to open it safely is important. This can prevent damage to the device. In this post, we’ll walk you through the steps. You’ll learn how to open your Honeywell thermostat with ease. Let’s get started!

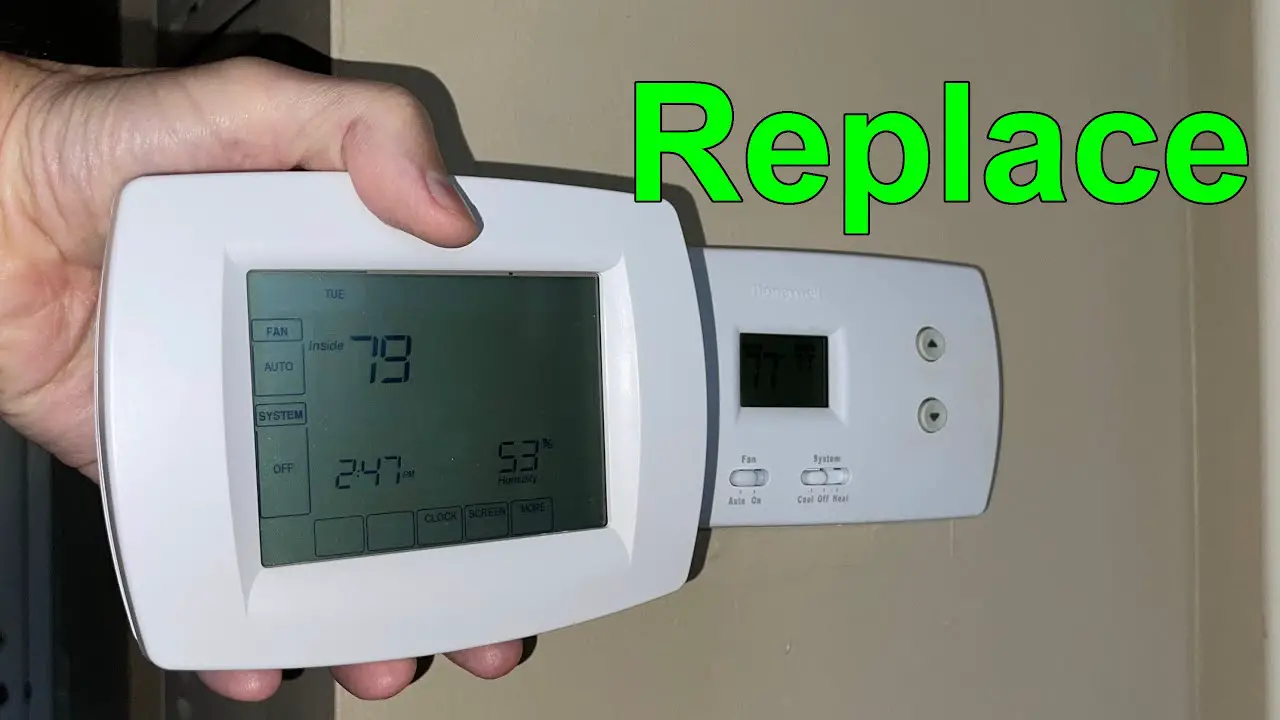
Credit: www.tiktok.com
Gathering Tools
Opening your Honeywell thermostat requires some basic tools. This ensures you don’t damage the unit. Preparing the right tools makes the job easier and faster. Below, we list the essential and optional tools you’ll need.
Essential Tools
First, you need a flat-head screwdriver. This helps in removing the thermostat cover. You also need a Phillips-head screwdriver. This is for the screws inside the unit. A small flashlight is useful too. It helps you see inside the thermostat clearly. Lastly, keep a pair of needle-nose pliers handy. They are perfect for handling small wires.
Optional Tools
Some additional tools can make the job smoother. A digital camera or smartphone. Take a photo of the wiring before you start. This helps you remember where each wire goes. A multimeter can be useful. It checks the voltage and ensures safety. Tape and a marker are helpful too. Label the wires to avoid confusion later. If you have a tool belt, it can keep everything organized and within reach.
Preparation
Preparation is key before opening your Honeywell thermostat. Ensuring everything is set up correctly can prevent any mishaps. Follow these steps to prepare effectively.
Turn Off Power
First, switch off the power to your thermostat. This is crucial for safety. Locate the circuit breaker panel in your home. Find the switch labeled for your heating and cooling system. Flip the switch to the off position. Double-check that the power is off by trying to adjust your thermostat. It should not respond.
Locate Your Thermostat
Next, identify where your Honeywell thermostat is mounted. Typically, it is on a central wall in your living space. Make sure you have easy access to the thermostat. Clear the area around it to allow for easy movement. Gather the necessary tools you may need, such as a screwdriver. You are now ready to proceed with opening your Honeywell thermostat.
Removing The Cover
Gently press the tabs on the sides of the Honeywell thermostat. Lift the cover to expose the inner components. Ensure to handle it with care.
Opening your Honeywell thermostat can seem like a daunting task, especially if you’re not familiar with the device. However, removing the cover is often necessary for basic maintenance, battery replacement, or troubleshooting. This guide will walk you through the process, making it straightforward and stress-free.Types Of Covers
Honeywell thermostats come in various models, each with a different type of cover. Some have a snap-on cover, which you can easily remove by pulling it off gently. Others have a slide-off cover that requires a bit more care to avoid damaging the device. Lastly, certain models have screws securing the cover, demanding a screwdriver for access.Steps To Remove The Cover
Regardless of the model, you can remove the cover with a few simple steps. 1. Turn Off the Power: Safety first! Always turn off the power to your thermostat before you start. This prevents any electrical mishaps. 2. Identify the Cover Type: Determine if your thermostat has a snap-on, slide-off, or screw-secured cover. This will guide your next steps. 3. Remove the Cover: – Snap-On Cover: Firmly grasp the sides of the thermostat and gently pull the cover towards you. It should pop off with minimal effort. – Slide-Off Cover: Hold the sides and slide the cover upwards or downwards, depending on the model. – Screw-Secured Cover: Use a small screwdriver to remove the screws. Keep the screws safe for reassembly. 4. Inspect the Inside: Once the cover is off, take a moment to check the inside for any dust or debris. A quick clean can improve the device’s performance. Removing the cover of your Honeywell thermostat is a simple process that can be accomplished quickly. Have you ever struggled with a thermostat before? Share your experiences in the comments!
Credit: www.reddit.com
Accessing Internal Components
To open the Honeywell thermostat, gently remove the front cover by pulling it towards you. Use a screwdriver to loosen the screws holding the base plate. This will give you access to the internal components for maintenance or repair.
Accessing the internal components of your Honeywell thermostat can feel like a daunting task if you’ve never done it before. But don’t worry, it’s simpler than you think. By following a few straightforward steps, you can safely and efficiently open your thermostat and access its internal parts for maintenance or troubleshooting.Identifying Components
Before you start, it’s important to know what you’re looking for. Inside the Honeywell thermostat, you’ll find several key components such as the circuit board, wiring terminals, and batteries. Understanding these parts helps you avoid damaging them. For example, the circuit board is the heart of the thermostat, so handle it with care. Take a moment to get familiar with these components using the thermostat manual or online resources. This will make the process smoother.Handling Components
Once you’ve identified the components, the next step is handling them properly. Always ensure the thermostat is powered off before you begin. This prevents any electrical mishaps. Use a small screwdriver to remove the cover gently. Avoid using excessive force to prevent breaking the plastic casing. When you touch the internal components, be gentle and use both hands to maintain stability. This approach reduces the risk of dislodging any parts. Have you ever opened a gadget and ended up with leftover screws? To avoid this, keep a small container handy for any screws or tiny parts you remove. This ensures nothing gets lost, and reassembly is hassle-free. By taking these steps, you’ll protect your thermostat and keep it working efficiently. Have you ever tried opening your thermostat? What challenges did you face? Share your experiences in the comments!Troubleshooting
Discover how to open your Honeywell thermostat for troubleshooting. Gently pull the thermostat from its base to access internal components. Ensure the power is off before starting.
Opening a Honeywell thermostat can be a bit tricky, especially if you’re new to handling electronics. Sometimes, users face issues that require you to open the thermostat to troubleshoot. This section will help you understand common issues and their solutions, making the process less daunting.Common Issues
One common problem is the thermostat not responding to temperature changes. You set it to a certain temperature, but the room feels just as cold or hot as before. Another issue could be the screen going blank. This often causes panic, but it’s usually a simple fix. Sometimes, the unit doesn’t seem to turn on at all. No lights, no display, nothing. This can be frustrating, especially during extreme weather.Solutions
For the unresponsive temperature changes, check the wiring first. Loose or disconnected wires can prevent the thermostat from working properly. Ensure all connections are secure. If the screen is blank, it might be as simple as replacing the batteries. Honeywell thermostats usually have a battery compartment that’s easy to access. Pop it open and insert fresh batteries. When the unit doesn’t turn on, you might need to reset it. Locate the reset button, usually found inside the unit. Press and hold it for about 5 seconds. This can often solve the problem. Have you ever faced any of these issues? Share your experience in the comments below. Knowing you’re not alone can be reassuring and helpful for others facing the same problems. Remember, always turn off the power before opening your thermostat. Safety first!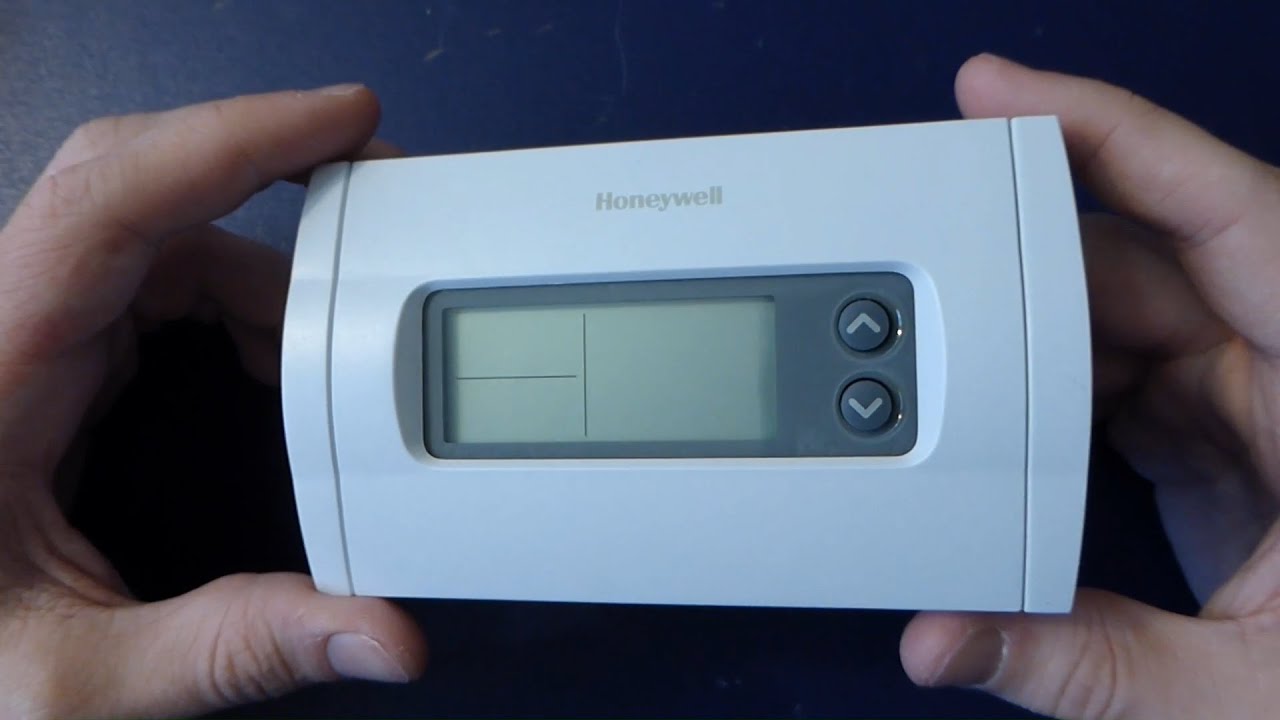
Credit: www.youtube.com
Reassembly
Reassembling your Honeywell thermostat is the next crucial step after disassembly. This process involves placing all the components back in their original positions and ensuring everything is secured properly. Follow these steps to ensure your thermostat is reassembled correctly and functions as it should.
Placing Components Back
First, identify the main components you removed. These usually include the thermostat faceplate, mounting screws, and any internal parts. Carefully place the internal parts back into their respective slots. Ensure each component is aligned correctly. Misalignment can cause malfunctions.
Check Best Thermostat Pricing in Amazon
** As an Amazon Associate, I earn from qualifying purchases.
Next, reattach the mounting screws. Use a screwdriver to tighten them securely. Avoid over-tightening as this can damage the plastic casing. Check that all parts are firm and stable.
Securing The Cover
Once all internal components are in place, it is time to secure the cover. Position the faceplate over the thermostat base. Align it with the slots or clips. Gently push until you hear a click. This indicates the cover is locked in place.
Finally, give the cover a slight tug to ensure it is firmly attached. A loose cover can lead to exposure of internal parts. This may cause issues with the thermostat’s performance. Now, your Honeywell thermostat should be fully reassembled and ready to use.
Testing
Testing your Honeywell thermostat is essential after any adjustments. This ensures it functions correctly. Follow these steps to check if everything is working as it should.
Restoring Power
Start by restoring power to the thermostat. Locate your circuit breaker box. Flip the switch that controls the thermostat. This turns the power back on. Wait a few moments. Check if the display lights up.
Ensuring Functionality
Next, ensure the thermostat is functioning. Set the thermostat to a specific temperature. Choose a setting that is different from the current room temperature. Listen for a click. This sound indicates the thermostat is communicating with the HVAC system.
Observe the HVAC system. If it turns on or off accordingly, the thermostat works. Adjust the temperature again. Repeat the process to double-check. Confirm that your heating or cooling system responds correctly.
Maintenance Tips
Regular maintenance keeps your Honeywell thermostat in top condition. By performing simple checks, cleaning, and other tasks, you ensure it works efficiently. Here’s how to maintain your Honeywell thermostat.
Regular Checks
Regularly inspect your thermostat to ensure it functions correctly. Check the display for any error messages. Confirm the current temperature matches the room’s actual temperature. Verify the thermostat settings are correct. Make sure the device responds when you adjust the temperature.
Cleaning
Dust and dirt can affect your thermostat’s performance. Gently clean the exterior with a soft cloth. Avoid using water or cleaning chemicals. Remove the cover to clean the interior parts. Use a soft brush to remove dust from the circuit board and sensors. Regular cleaning keeps your thermostat accurate and efficient.
Frequently Asked Questions
How To Open Up A Honeywell Thermostat?
To open a Honeywell thermostat, gently pull the front cover or faceplate off the wall. Use a flathead screwdriver if needed.
How Do You Open A Honeywell Thermostat Cover?
To open a Honeywell thermostat cover, gently pull the cover from the bottom or sides. It should snap off easily.
How Do You Open A Thermostat To Change The Battery?
Gently pull the thermostat cover off the wall. Locate the battery compartment. Open the compartment and replace the batteries.
How To Unlock The Honeywell Thermostat?
Press the “Menu” button on the thermostat. Select “Security Settings” and enter your PIN to unlock it. If you forgot the PIN, reset the thermostat to factory settings.
Conclusion
Opening your Honeywell thermostat is simple with these steps. Follow the instructions carefully to avoid damage. Regular maintenance keeps your thermostat functioning well. Remember to turn off power before starting. Keep tools handy for easy access. Troubleshooting common issues can save time and money.
Always refer to your thermostat’s manual for specific guidance. Proper handling ensures longevity and efficient performance. Happy adjusting and enjoy a comfortable home.
Check Best Thermostat Pricing in Amazon
** As an Amazon Associate, I earn from qualifying purchases.