
Check Best Thermostat Pricing in Amazon
** As an Amazon Associate, I earn from qualifying purchases.
Opening a Honeywell thermostat is straightforward. You usually need to remove the cover gently.
This guide will show you how to do it safely. Honeywell thermostats are popular in many homes. They control heating and cooling systems efficiently. Sometimes, you need to open them for maintenance or troubleshooting. Knowing the right steps to open your Honeywell thermostat can prevent damage.
This guide will help you understand the process. You’ll learn how to remove the cover without harm. It’s simple and will save you time and frustration. Let’s get started.
Tools Needed
Opening a Honeywell thermostat might seem challenging, but with the right tools, it becomes easy. Having the necessary tools on hand ensures a smooth process. This section will guide you through the essential and optional tools needed to open a Honeywell thermostat.
Essential Tools
To open a Honeywell thermostat, you need a few basic tools. A small Phillips screwdriver is crucial. Most Honeywell thermostats have screws that require this type of screwdriver. A flathead screwdriver is also useful. It helps to pry open the thermostat cover gently.
Another essential tool is a pair of needle-nose pliers. These pliers are useful for gripping and pulling wires. You may also need a small flashlight. Thermostats can be in dimly lit areas, and a flashlight helps you see clearly.
Optional Tools
Some optional tools can make the process easier. A pair of wire cutters can be handy. If you need to cut any wires, wire cutters make it simple. A voltage tester is another helpful tool. It ensures there is no live current before you start working.
You might also want a small container for screws. Keeping screws in one place prevents losing them. Lastly, having a user manual can be helpful. It provides specific instructions for your thermostat model.

Credit: www.ebay.com
Safety Precautions
Ensure the thermostat is off before opening it. Disconnect power to avoid electric shock. Handle gently to prevent damage.
Opening a Honeywell thermostat might seem simple, but taking safety precautions is vital. Ensuring your safety prevents accidents and protects your thermostat from damage. Before diving into the steps, let’s focus on some key safety measures you should take. ###Power Off
The first step is to turn off the power. Locate the circuit breaker panel in your home. Switch off the breaker that controls the HVAC system. This step is crucial to prevent electrical shocks. It might seem like an extra step, but it’s better to be safe than sorry. Have you ever had a small electrical shock while fixing something? It’s not pleasant. ###Wear Safety Gear
Next, put on some basic safety gear. Wear gloves to protect your hands from sharp edges. Safety goggles can protect your eyes from dust and small debris. These items might feel unnecessary, but they make a big difference. Imagine getting a scratch or dust in your eyes while working. It can quickly turn a simple task into a frustrating experience. Taking these safety steps ensures you can open your Honeywell thermostat without mishaps. Plus, it gives you peace of mind as you work. Are you ready to get started?Identify Thermostat Model
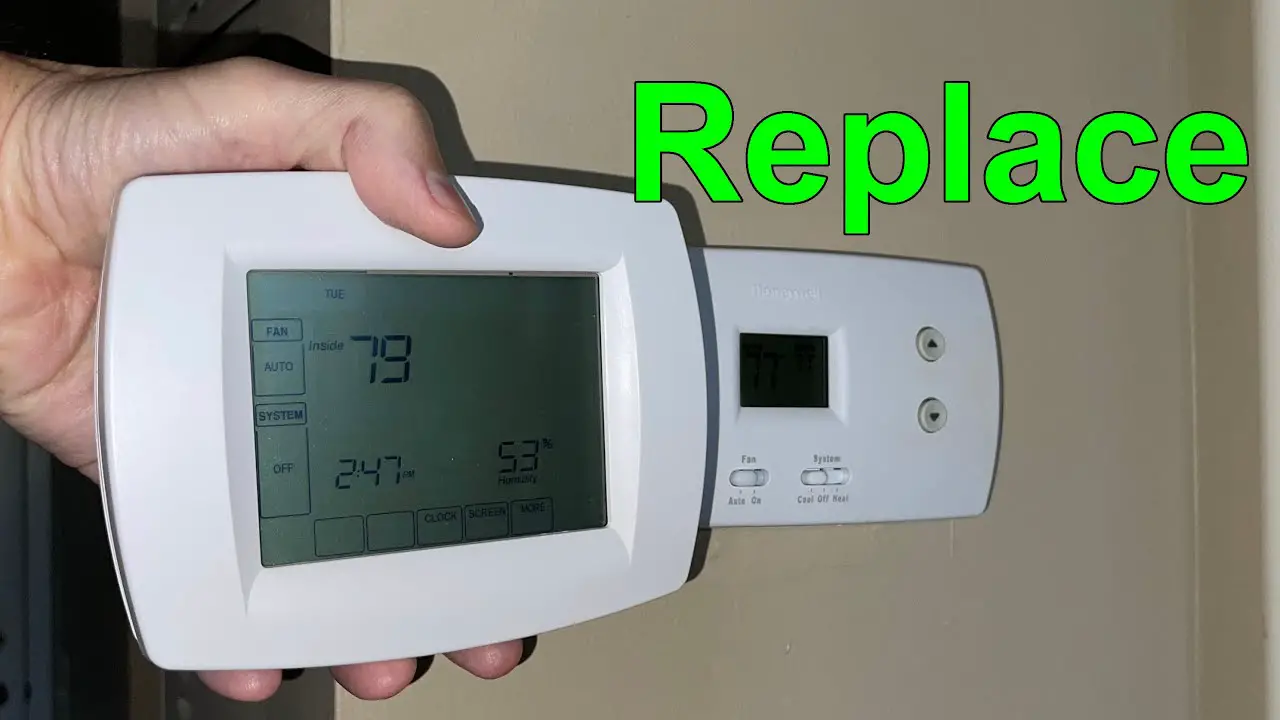
Identifying the model of your Honeywell thermostat is a crucial step when you need to troubleshoot, upgrade, or replace it. Knowing your exact model helps you find the right manuals, parts, and support. Let’s dive into how you can easily locate the model number of your Honeywell thermostat.
Locate Model Number
First, you need to locate the model number on your thermostat. Usually, this number is found on the back of the thermostat or inside the cover. Carefully remove the thermostat from its wall mount to check for any labels or stickers.
Be gentle while removing it to avoid damaging any wires. Sometimes, the model number might be on the side or hidden under a battery compartment. Keep an eye out for a combination of letters and numbers.
For instance, my own Honeywell thermostat had the model number inside the battery compartment. This small detail saved me hours of frustration. Have you checked all possible spots?
Check Manual
If you can’t find the model number on the thermostat itself, don’t worry. Check the manual that came with your thermostat. The manual often contains detailed information about your thermostat, including the model number.
Don’t have the manual handy? No problem. You can easily find a digital copy online by searching for “Honeywell thermostat manual” followed by your thermostat type. This can be a lifesaver when you’re stuck.
Remember, knowing your model number is key to solving many issues. It’s worth spending a few minutes to identify it correctly. Have you found your manual yet?
Credit: www.youtube.com
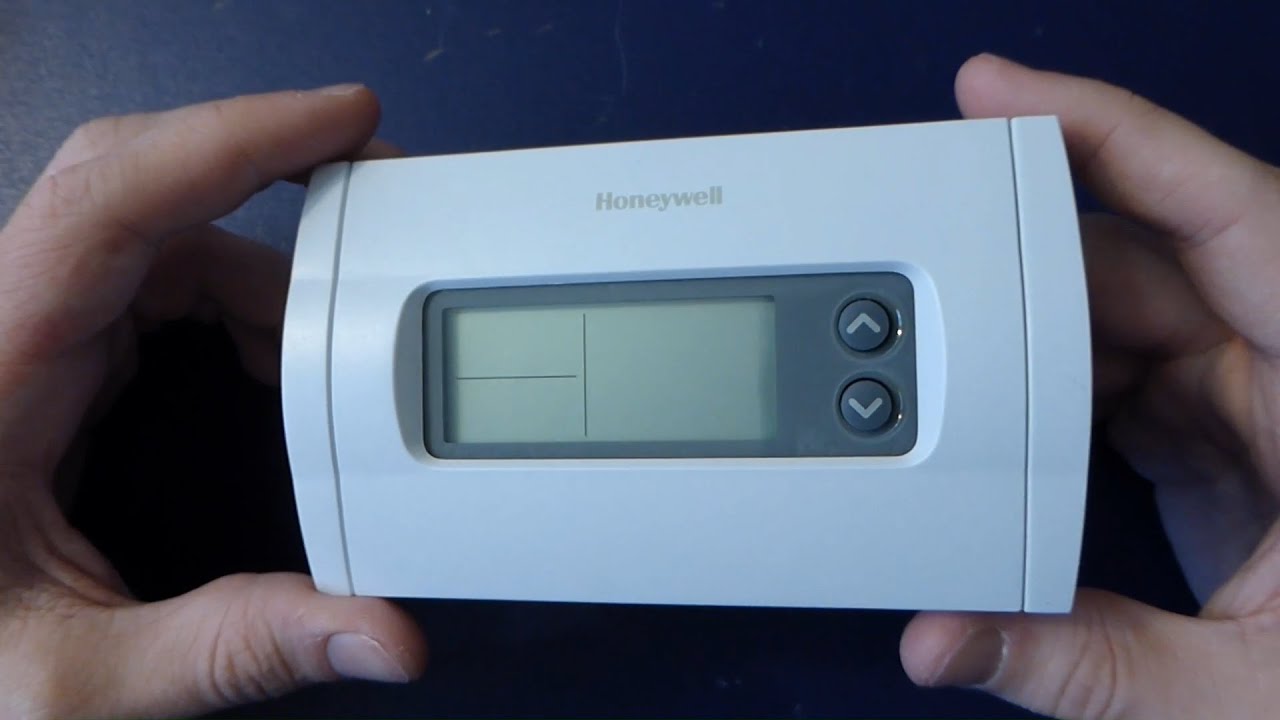
Remove Thermostat Cover
Opening your Honeywell thermostat may seem difficult. But with the right steps, you can do it easily. The first step is to remove the thermostat cover. This step is crucial to access the internal components. Let’s break down the process into manageable steps.
Locate Screws
First, find the screws holding the cover. Most Honeywell thermostats have small screws at the top or bottom. These screws are usually hidden. Check the edges and corners carefully. This will help you locate all screws before attempting to remove the cover.
Use Proper Tools
Using the right tools is important. A small screwdriver is usually needed. Avoid using larger tools. They can damage the thermostat. Insert the screwdriver into the screw head. Turn it counterclockwise to loosen the screws. Once all screws are loose, gently pull the cover away.
Disconnect Wires
Opening a Honeywell thermostat might seem like a daunting task, but it’s crucial for troubleshooting or replacing your device. One key step in this process is to disconnect the wires correctly. This step ensures that you can safely remove the thermostat without damaging any connections.
Label Wires
Before you disconnect any wires, take a moment to label each one. This is a crucial step that can save you a lot of headaches later. Use small pieces of masking tape and a pen to label where each wire goes.
For example, write ‘R’ for the red wire, ‘Y’ for the yellow wire, and so on. This makes it easy to reconnect them properly when you’re done. Trust me, you don’t want to skip this step and end up with a non-functioning thermostat.
Check Best Thermostat Pricing in Amazon
** As an Amazon Associate, I earn from qualifying purchases.
Use Wire Stripper
After labeling the wires, the next step is to use a wire stripper to carefully disconnect them. A wire stripper is a handy tool that makes this task much easier. If you don’t have one, you can find it at any hardware store.
Place the wire inside the stripper and gently squeeze the handles. This will cut the insulation without damaging the wire itself. Once the insulation is cut, you can easily pull it off and disconnect the wire.
Have you ever tried disconnecting wires without a wire stripper? It’s a nightmare! Using the right tool makes the process quick and painless.
Remember, taking these small steps ensures that your thermostat will work perfectly when you put it back together. What other tips do you find helpful when working with electrical components?
Open Thermostat Housing
Opening the thermostat housing is the first step in accessing your Honeywell thermostat’s internal components. This process is crucial for maintenance, troubleshooting, or upgrading. Follow these steps to open the housing safely and efficiently.
Release Clips
Locate the release clips on the sides of the thermostat. Use a flathead screwdriver to gently press the clips. This will release the front panel from the base. Be cautious and apply even pressure to avoid damaging the clips.
Careful Handling
Once the clips are released, carefully lift the front panel. Avoid using excessive force to prevent breaking the plastic housing. Hold the panel with both hands to ensure a firm grip.
Place the removed front panel on a flat surface. Ensure it is safe from dust and debris. This keeps the internal components clean and functional.
Remember to handle all parts with care. Electronic components are delicate and require gentle handling. Now, you can proceed with your intended maintenance or upgrade tasks.
Inspect Internal Components
Opening your Honeywell thermostat to inspect its internal components is crucial. This helps ensure it functions efficiently. Regular checks can prevent minor issues from becoming major problems. Let’s dive into the steps involved in this process.
Check For Damage
Carefully examine the internal components for any signs of damage. Look for broken parts or burnt sections. These can indicate electrical issues. Make sure all wires are intact. Loose or frayed wires can cause malfunctions.
Clean Components
Dirt and dust can accumulate inside the thermostat. Use a soft, dry cloth to clean the components. Avoid using water or cleaning solutions. They can damage the electronic parts. Ensure the internal area is free from debris. Clean components help maintain optimal performance.
Reassemble Thermostat
Once you have completed the necessary adjustments or repairs on your Honeywell thermostat, the next important step is to reassemble it. Proper reassembly ensures your thermostat functions correctly and safely. Follow these steps to securely put your Honeywell thermostat back together.
Reconnect Wires
Begin by reconnecting the wires to their respective terminals. Ensure each wire is connected to the right terminal. This is crucial for the thermostat to work properly. Double-check the wiring diagram if needed. Make sure the wires are firmly attached and not loose.
Secure Cover
After reconnecting the wires, align the cover with the base of the thermostat. Press the cover gently until it snaps into place. Ensure all sides are securely attached. This will protect the internal components and maintain the thermostat’s aesthetics. Once the cover is secure, you can turn the power back on and test the thermostat.

Credit: willplumb.com
Frequently Asked Questions
How Do You Open A Honeywell Thermostat Cover?
To open a Honeywell thermostat cover, gently pull the cover from the base. Use your fingers to lift it off.
How Do I Open Up A Honeywell Thermostat?
To open a Honeywell thermostat, gently pull the front cover or faceplate off the wall-mounted base. Use a screwdriver if necessary.
How Do I Change The Battery In My Honeywell Thermostat?
To change the battery in your Honeywell thermostat, first remove the thermostat from the wall. Open the battery compartment, replace the old batteries with new ones, ensuring correct polarity. Close the compartment and reattach the thermostat to the wall.
How To Remove A Thermostat Cover?
Turn off the power. Locate the screws on the thermostat cover. Remove the screws using a screwdriver. Gently lift and pull the cover off.
Conclusion
Opening a Honeywell thermostat is straightforward. Follow the steps mentioned carefully. You’ll access the components easily. Be gentle to avoid damage. Regular maintenance helps your thermostat work efficiently. If unsure, refer to the manual or seek expert help. Proper handling extends the device’s life.
You can now adjust settings and ensure optimal performance. Remember, a well-maintained thermostat saves energy and reduces costs. Keep your device in good condition for best results. We hope this guide assists you. Thank you for reading.
Check Best Thermostat Pricing in Amazon
** As an Amazon Associate, I earn from qualifying purchases.