
Check Best Thermostat Pricing in Amazon
** As an Amazon Associate, I earn from qualifying purchases.
Opening a Honeywell thermostat is a straightforward process. With the right steps, you can do it quickly and safely.
Understanding how to open your Honeywell thermostat can help with troubleshooting or maintenance. Whether you need to replace batteries or perform a reset, accessing the internal components is essential. This guide will walk you through the steps to open your thermostat without causing damage.
By following these simple instructions, you can ensure your thermostat continues to function efficiently. Stay with us, and we will make this task easy for you. Whether you are a homeowner or a renter, this guide is designed to help you manage your Honeywell thermostat with confidence.

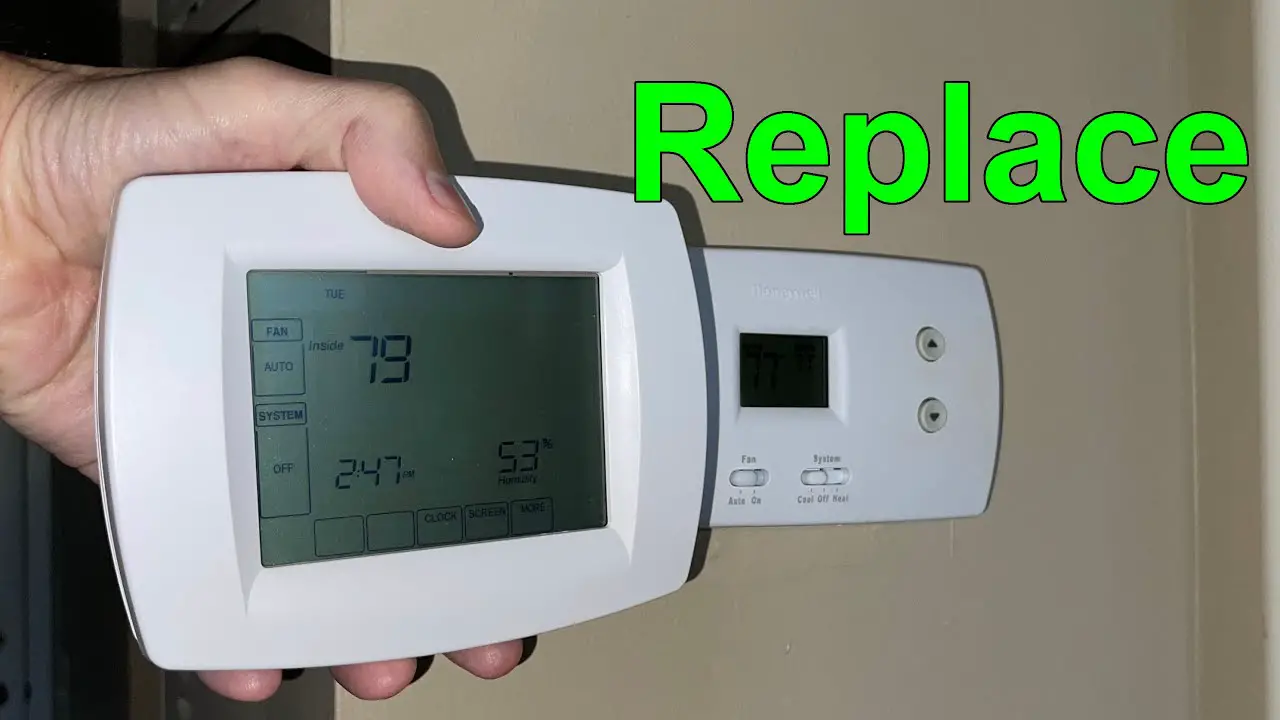
Credit: willplumb.com
Gather Necessary Tools
Opening a Honeywell thermostat requires some preparation. Gathering the necessary tools is the first step. This ensures a smooth and efficient process. Let’s explore the tools needed and some important safety precautions.
Required Tools
Before you start, it’s crucial to have the right tools. This saves time and avoids frustration. Here are the tools you’ll need:
- Screwdriver (Phillips and flathead)
- Small container (to hold screws)
- Soft cloth (to protect surfaces)
Safety Precautions
Safety is vital when working with any electrical device. Follow these precautions to ensure your safety:
- Turn off the power to the thermostat.
- Use insulated tools to prevent shocks.
- Handle the thermostat carefully to avoid damage.
Gathering the right tools and following safety precautions will make the process easier. These steps ensure both efficiency and safety.
Turn Off Power
Before attempting to open your Honeywell thermostat, it’s crucial to turn off the power to avoid any electrical hazards. Working with electrical devices can be dangerous if not handled properly. To ensure your safety, follow these simple steps to turn off the power.
Locate Circuit Breaker
First, find your home’s circuit breaker panel. This panel is usually located in the basement, garage, or a utility room. Take a moment to familiarize yourself with the labels on the panel.
If your panel isn’t labeled, you might need to spend a few minutes identifying which breaker controls the thermostat. A digital multimeter can help you with this task if you’re unsure.
Switch Off Power
Once you’ve located the right breaker, switch it off. It’s typically a simple flip of a switch.
Double-check that the thermostat display is off to ensure you’ve cut the power. If the display is still on, you may have turned off the wrong breaker, so check again.
Have you ever noticed how a small step like this can prevent big problems? Turning off the power not only protects you but also ensures your thermostat remains in good condition.
Do you remember a time when you skipped this step and regretted it? Share your story in the comments below!
Access Thermostat
Understanding how to open a Honeywell thermostat can be vital. You may need to access the thermostat for various reasons. These include changing the batteries, cleaning, or troubleshooting. Follow these steps to access your Honeywell thermostat effortlessly.
Identify Thermostat Type
First, identify your Honeywell thermostat model. Honeywell offers various types of thermostats. Each model may have a different method for accessing the internal parts. Check your user manual for specific details.
If you no longer have the manual, visit the Honeywell website. You can find detailed instructions for most models there. Knowing your thermostat type helps you avoid damaging the unit.
Remove Cover
Next, remove the thermostat cover. This is usually a simple process. Most Honeywell thermostats have snap-on covers. Gently pull the cover from the bottom or sides. Be careful not to use too much force.
If the cover is stuck, try to find any hidden screws. Use a screwdriver to remove these screws. Once removed, the cover should come off easily.
After removing the cover, you can see the internal components. You are now ready to perform any necessary maintenance or adjustments.
Detach Wires
Detaching the wires from your Honeywell thermostat can seem daunting, but it’s a straightforward process if you follow the right steps. This part of the task requires precision and attention to detail. Removing the wires safely ensures that your thermostat will function correctly when reconnected.
Label Wires
Before you start detaching wires, label each one. Use small stickers or pieces of tape to mark them. This simple step will save you a lot of time and confusion later.
When I first opened my Honeywell thermostat, I didn’t label the wires. Reconnecting them was a nightmare. Trust me, this small action makes a big difference.
Ask yourself: How much time do you want to spend figuring out which wire goes where? Spend a few minutes labeling now to save hours later.
Disconnect Wires
After labeling, it’s time to disconnect the wires. Use a small screwdriver to loosen the terminal screws. Gently pull each wire out, making sure not to tug too hard.
Be cautious. The wires are delicate and can easily break if mishandled. If a wire breaks, you might need to strip the insulation to expose fresh wire, which adds extra steps.
Have you ever broken a wire while trying to fix something? It’s frustrating. Avoid this by taking your time and handling each wire with care.
Detaching the wires properly ensures a smooth reinstallation process. Keep your workspace organized to prevent any mix-ups. Your thermostat will thank you for it.
Check Best Thermostat Pricing in Amazon
** As an Amazon Associate, I earn from qualifying purchases.
Remove Base Plate
Removing the base plate of a Honeywell thermostat might seem daunting at first, but it’s actually quite straightforward. Whether you’re upgrading your system or troubleshooting, knowing how to safely remove the base plate is essential. Let’s dive into the steps involved, starting with unscrewing the plate.
Unscrew Plate
First, locate the screws securing the base plate to the wall. Typically, these are found at the top and bottom of the plate. Use a Phillips-head screwdriver to gently turn each screw counterclockwise. Be patient and avoid applying too much force. You don’t want to strip the screws or damage the plate.
Once the screws are loosened, you can easily lift the base plate from the wall. If you encounter resistance, double-check that all screws are fully unscrewed. This step is crucial for preventing any damage to your wall or thermostat.
Store Screws Safely
After removing the screws, place them in a small container or plastic bag. This will keep them safe and prevent them from getting lost. If you’re anything like me, losing screws can be a frustrating experience. Keeping them organized ensures a smooth reinstallation process.
Labeling the container or bag can also be helpful, especially if you have multiple projects ongoing. This small step can save you time and effort in the long run. Plus, it keeps your workspace tidy and organized.
Have you ever struggled with losing screws during a home project? How did you solve it? Share your tips in the comments below!
Inspect Internal Components
Inspecting the internal components of your Honeywell thermostat is essential for ensuring its proper function. This process includes checking for dust and looking for damage. Let’s dive into these steps.
Check For Dust
Dust can accumulate inside your thermostat and affect its performance. Open the thermostat cover carefully. Use a soft brush or a can of compressed air. Gently remove dust from the internal parts. Avoid using water or wet cloths as they may cause damage.
Look For Damage
Inspect the internal components for any signs of damage. Look for loose wires or burnt parts. Check for corrosion on the circuit board. If you notice any damage, consider contacting a professional. Fixing these issues can prevent further problems and extend the thermostat’s life.
Reattach Wires
Reattaching the wires on a Honeywell thermostat is an important step. It ensures your thermostat functions correctly. You need to be careful. This task involves handling electrical components. Follow these steps to make sure everything is done properly.
Match Labels
Each wire has a label. These labels match the terminals on the thermostat. Check the labels on the wires. Compare them with the labels on the thermostat. This is essential. Incorrect connections can cause malfunctions. Double-check each label. This prevents errors.
Secure Connections
Once the wires are matched, it’s time to secure them. Insert each wire into its matching terminal. Make sure they fit snugly. Loose connections can cause problems. Tighten the screws on the terminals. This ensures a solid connection. Check each wire again. Ensure they are all secure.
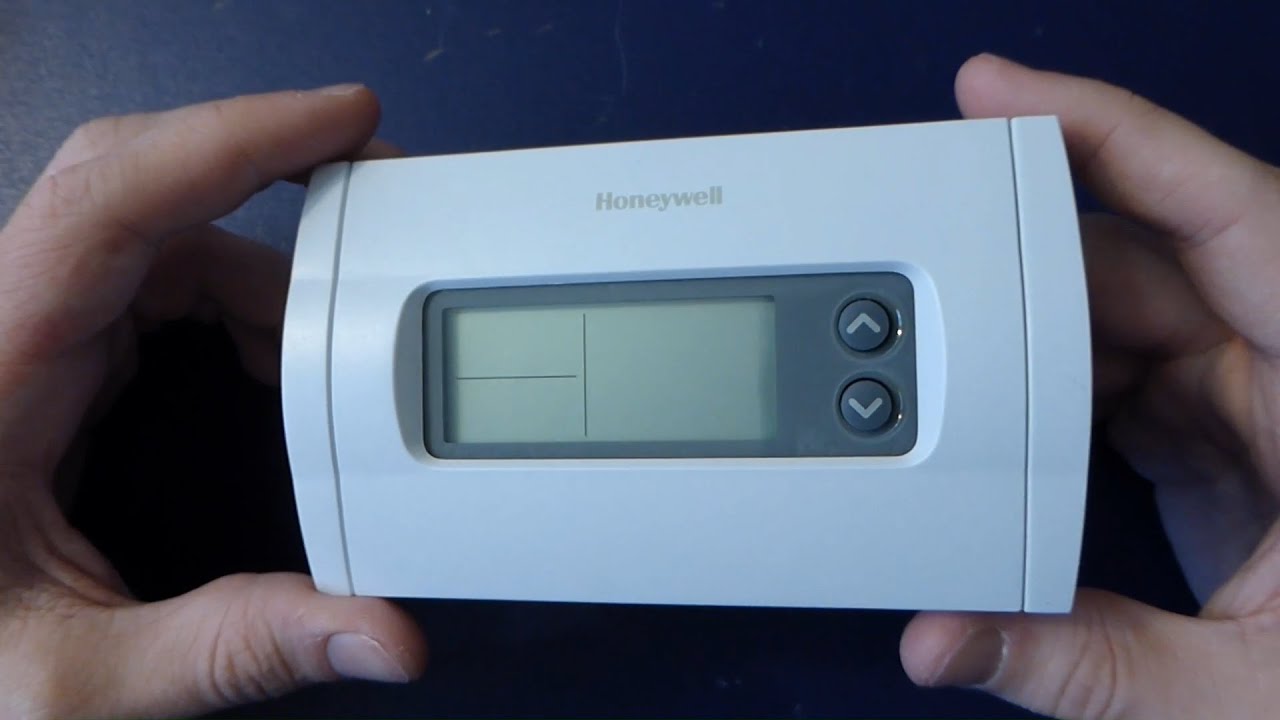
Credit: www.reddit.com
Reassemble Thermostat
Once you have completed the necessary adjustments, it’s time to reassemble your Honeywell thermostat. This process involves replacing the base plate and snapping the cover back into place. Follow these simple steps to ensure your thermostat is securely reassembled.
Replace Base Plate
First, align the base plate with the wall mount. Ensure the wiring is neatly tucked behind it. Carefully place the base plate onto the mount. Use a screwdriver to secure it with the screws provided. Tighten the screws until the base plate is firm.
Snap Cover Back
Next, take the thermostat cover. Position it over the base plate. Ensure the cover aligns with the clips on the base plate. Gently push the cover until you hear a snap. The cover should fit snugly without any gaps.
Turn On Power
Turning on the power to your Honeywell thermostat is essential. Without power, it cannot control your home’s temperature. Follow these steps to ensure your thermostat is ready for use.
Restore Circuit
First, locate your home’s circuit breaker. It’s usually in the basement or a utility room. Find the switch for your HVAC system. Flip it to the “on” position. This will restore power to your thermostat.
Wait a few seconds. You should hear a click. This sound indicates the thermostat is receiving power. If you do not hear anything, check if the circuit breaker is faulty.
Test Thermostat
Once power is restored, test your thermostat. Look at the display screen. It should light up. If it does not, you might need to replace the batteries. Some models use batteries as a backup power source.
Set the thermostat to a specific temperature. Wait to see if the heating or cooling system responds. If everything works, your thermostat is ready to use. If not, you might need to troubleshoot further.
Credit: www.youtube.com
Frequently Asked Questions
How Do You Open A Honeywell Thermostat Cover?
To open a Honeywell thermostat cover, gently pull the cover from the bottom or sides. It should snap off easily.
How Do You Open Up A Honeywell Thermostat?
To open a Honeywell thermostat, gently pull the thermostat cover straight off. Use a screwdriver if needed to remove screws.
How To Open A Honeywell Thermostat To Change The Batteries?
To change the batteries, remove the thermostat from the wall plate. Open the battery compartment on the back. Replace with new batteries. Reattach the thermostat to the wall plate.
How Do You Remove A Thermostat Cover To Replace A Battery?
To remove a thermostat cover, gently pull or unscrew it. Check for clips or tabs, then replace the battery.
Conclusion
Opening a Honeywell thermostat is easy with the right steps. Follow the guide to ensure you handle it safely. Remember to switch off power first. Carefully remove the cover and access the internal components. Reassemble everything properly after your task.
Regular maintenance keeps your thermostat efficient. This guide helps you maintain and troubleshoot your device. Keep these tips in mind for future reference. Happy adjusting!
Check Best Thermostat Pricing in Amazon
** As an Amazon Associate, I earn from qualifying purchases.