
Check Best Thermostat Pricing in Amazon
** As an Amazon Associate, I earn from qualifying purchases.
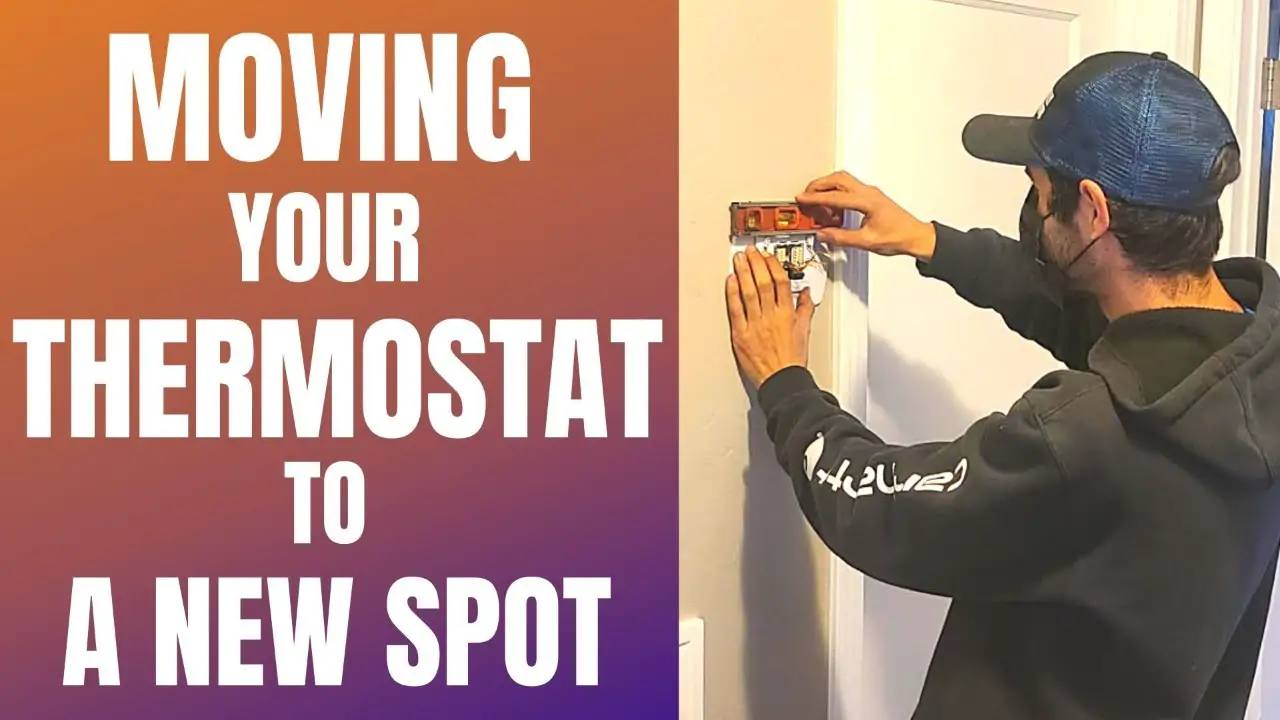
Moving a thermostat is easier than you might think. It involves a few steps but can be done by anyone with basic DIY skills.
So, why move a thermostat? Sometimes, the current location isn’t ideal for accurate temperature readings. Maybe it’s near a window or a heat source. Relocating your thermostat can help your HVAC system work more efficiently. This can save you money and keep your home comfortable.
In this guide, we’ll walk you through the process. You’ll learn the tools needed, steps to follow, and tips for success. By the end, you’ll feel confident in your ability to move your thermostat to a better spot. Let’s get started!
Gathering Necessary Tools
Moving a thermostat can seem daunting, but with the right tools, it’s manageable. Before starting, ensure you gather all necessary tools. This will help the process go smoothly and safely.
Basic Tools Required
You will need a screwdriver set. Different thermostats use different screws. A wire stripper is essential. It helps handle the wires safely. Needle-nose pliers can assist in gripping and bending wires. A level is crucial to ensure the thermostat is straight. Use a drill for making new holes if necessary. Finally, have a pencil for marking positions.
Safety Equipment
Safety first. Wear safety glasses to protect your eyes from dust and debris. Use gloves to avoid electrical shocks and to protect your hands. Have a voltage tester to ensure no electricity flows through the wires. This is crucial for your safety. Keep a flashlight handy. It helps see in dark areas, like behind walls.

Credit: www.reddit.com
Choosing The New Location
Selecting the ideal spot is crucial when relocating a thermostat. Ensure it avoids direct sunlight and drafts for accurate readings. Central locations in the home typically provide the best temperature balance.
Moving a thermostat is a task that requires careful planning and precision. One of the most critical steps in this process is choosing the new location. The right spot can significantly enhance the efficiency of your heating and cooling system. Let’s dive into the specifics of where to place your thermostat for optimal performance.Ideal Placement Tips
Selecting the best location for your thermostat can make a world of difference. Ideally, place it on an interior wall in a central part of your home. This allows the thermostat to get an accurate reading of the overall temperature. Keep it away from direct sunlight, windows, and doors. These areas can cause fluctuations in temperature readings, making your HVAC system work harder than necessary. Position the thermostat about 5 feet above the floor. This height helps it measure the average temperature of the room more accurately.Avoiding Problematic Spots
There are certain areas in your home that you should avoid when choosing a new location for your thermostat. Avoid placing it near kitchens or bathrooms. The heat from cooking or the steam from showers can skew the temperature readings. Steer clear of placing it near vents or other heat sources. These can cause the thermostat to turn off the heating system prematurely, thinking the room is warmer than it actually is. Lastly, avoid drafty areas such as hallways or near exterior doors. These spots can cause the thermostat to misread the temperature, leading to inefficient heating and cooling. Choosing the right spot for your thermostat is all about balance. You want it in a place that represents the average temperature of your home. Take a moment to walk around your home and consider these tips. Where do you think would be the best spot for your thermostat?Turning Off The Power
Before moving a thermostat, turning off the power is essential. This step ensures safety and prevents electrical hazards. Follow these guidelines to turn off the power correctly.
Locating The Circuit Breaker
Locate your home’s circuit breaker box. It’s often in the basement, garage, or utility room. The box contains switches that control electricity flow to different areas.
Identify the switch that controls power to the thermostat. The label may say “HVAC,” “Heating,” or “Cooling.” Once identified, flip the switch to the “Off” position.
Ensuring Safety
Double-check that the power is off. Try to turn on the thermostat. If it doesn’t respond, the power is off. Use a voltage tester to confirm no electricity flows through the wires.
Wear insulated gloves for added protection. This minimizes the risk of electric shocks. Always follow safety protocols while handling electrical systems.

Credit: www.youtube.com
Removing The Old Thermostat
Removing your old thermostat is a crucial step before installing a new one. It might sound daunting, but it’s quite manageable with the right guidance. Let’s break it down into simple steps to help you through the process.
Detaching The Cover
First things first, you need to detach the cover of your old thermostat. This is usually straightforward. Most thermostat covers simply snap off, though some might require a bit of effort.
Gently pull the cover towards you. If it’s stubborn, use a flat-head screwdriver to pry it loose. Be careful not to apply too much force and damage the unit.
Once the cover is off, you’ll see the internal wiring and mounting screws. This is where the magic happens.
Disconnecting The Wires
Now, onto the wires. This part is critical, so take your time. Before disconnecting any wires, take a photo or label them. This will be your roadmap when you connect the new thermostat.
Using a screwdriver, loosen the terminal screws holding the wires. Gently pull each wire from its terminal. Keep the wires straight and organized to avoid confusion later.
If your thermostat has multiple wires, it might seem overwhelming. But remember, each wire has a specific terminal. Refer to your photo or labels to keep track of which wire goes where.
Feeling confident about moving forward? What’s the next step in your thermostat upgrade? Share your thoughts or questions in the comments below!
Preparing The New Location
Before moving a thermostat, ensure the new location is suitable. Check for proper airflow, away from direct sunlight, windows, and doors.
Moving a thermostat can be a daunting task, but with the right preparation, it becomes much simpler. In this section, we’ll focus on preparing the new location for your thermostat. Properly preparing the wall and creating the mounting holes are critical steps to ensure your thermostat functions correctly.Marking The Wall
Begin by selecting the ideal spot for your thermostat. Choose a location away from direct sunlight, drafts, or heat sources. This helps the thermostat get an accurate reading of the room temperature. Once you’ve found the perfect spot, use a pencil to mark the wall. This will be your guide as you move forward. Make sure the mark is level by using a spirit level. Having a level mark ensures your thermostat will not look crooked once installed.Creating The Mounting Holes
Now that you’ve marked the wall, it’s time to create the mounting holes. Grab a drill and select a bit that matches the size of your mounting screws. Drilling small pilot holes first can make this step easier. Drill into the marks you made earlier. Be careful not to drill too deep. You only need holes deep enough to hold the screws securely. Over-drilling can cause unnecessary damage to the wall. Insert wall anchors if needed. This is especially important if you’re mounting the thermostat on drywall. Wall anchors provide added support, ensuring the thermostat stays in place. Have you ever drilled into a wall, only to realize you missed the mark? Take your time with these steps to avoid any mishaps. Proper preparation ensures a smoother installation process and optimal thermostat performance. By marking the wall and creating the mounting holes correctly, you set the stage for a successful thermostat move. Your future self will thank you for the careful preparation.Installing The Thermostat
Installing the thermostat in your home can improve comfort and efficiency. This part of the process is crucial. It ensures that your new thermostat works correctly. Follow these steps to get it right.
Check Best Thermostat Pricing in Amazon
** As an Amazon Associate, I earn from qualifying purchases.
Mounting The Base
First, select the perfect spot on your wall. Choose a location away from heat sources and direct sunlight. This helps the thermostat read the room temperature accurately.
Use a level to ensure the base is straight. Mark the screw holes with a pencil. Drill small holes for the screws. Insert the wall anchors if needed. Align the base with the holes and secure it with screws. Tighten the screws until the base is firm.
Connecting The Wires
Turn off the power to your HVAC system. This is important for safety. Remove the old thermostat carefully. Note the wire colors and labels. Attach the corresponding wires to the new thermostat’s terminals. Use the labels or the manual as a guide.
Ensure each wire is firmly connected. Double-check the connections for accuracy. Once all wires are connected, attach the faceplate to the base. Turn the power back on. Test the thermostat to make sure it works.
Testing The New Setup
Testing the new setup involves moving a thermostat with precision. Carefully disconnect the wires before relocating to a new spot. Ensure proper installation for optimal performance.
After moving your thermostat to a new location, it’s crucial to test the new setup. Proper testing ensures your thermostat functions correctly and maintains a comfortable temperature in your home. Follow these steps to check your new thermostat setup.Restoring Power
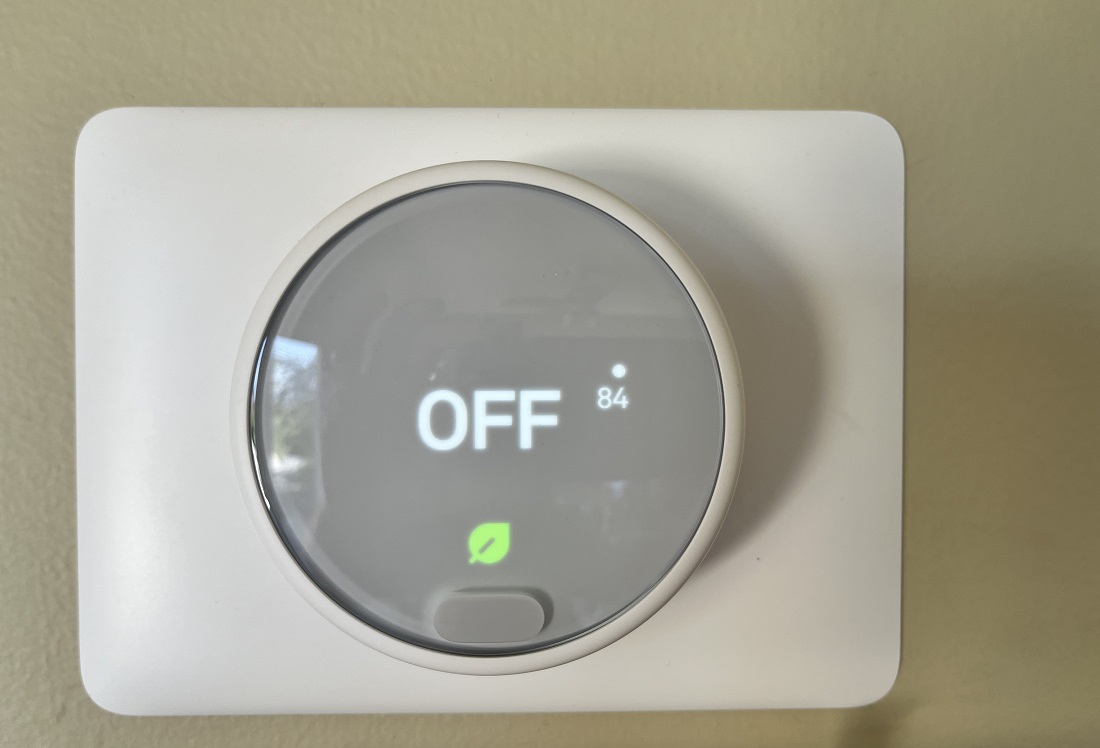
First, restore power to your HVAC system. Ensure the circuit breaker is switched on. Check the thermostat display to confirm it has power. If the display is blank, double-check the wiring connections.Checking Functionality
Now, test the thermostat’s functionality. Set the thermostat to a desired temperature. Wait a few minutes and see if the HVAC system responds. If the system doesn’t respond, recheck the wiring and settings. Ensure the thermostat is in the correct mode (heat or cool). Make sure the thermostat maintains the set temperature. Allow the system to run for a while. If it cycles on and off correctly, your setup is successful. If you notice any issues, refer to the thermostat’s manual or consult a professional. By following these steps, you can confidently test your new thermostat setup. “`Troubleshooting Common Issues
Moving a thermostat can sometimes lead to unexpected issues. It’s essential to address these problems promptly to ensure your home remains comfortable. Here’s how to troubleshoot some common issues you might encounter.
Thermostat Not Responding
One common problem is a thermostat that doesn’t respond to changes. This can be frustrating, especially when you’re trying to adjust the temperature.
First, check the power supply. Ensure the thermostat is properly connected to the power source. Sometimes the simplest issues are the easiest to overlook.
If the power supply is fine, inspect the wiring. Loose or damaged wires can cause the thermostat to malfunction. Secure any loose connections and replace damaged wires if necessary.
If the problem persists, consider the possibility of a faulty thermostat. Replacing it might be the best solution. Have you ever had to replace a thermostat? It’s simpler than it sounds and can be a quick fix to your problem.
Incorrect Temperature Readings
Another issue you might face is incorrect temperature readings. This can lead to your home being too hot or too cold.
First, ensure the thermostat is installed in the right location. It should be away from direct sunlight, drafts, and heat sources. These factors can skew the temperature readings.
Check the calibration of the thermostat. Sometimes, recalibrating can solve the issue. Follow the manufacturer’s instructions to recalibrate your model.
Lastly, inspect the thermostat’s sensor. Dust or dirt on the sensor can affect its accuracy. Gently clean the sensor with a soft cloth to improve the readings. Have you ever cleaned the inside of your thermostat? It’s a simple step that can make a big difference.
By addressing these common issues, you can ensure your thermostat works efficiently. Keeping your home comfortable is all about attention to detail. What tips have you found helpful when troubleshooting your thermostat?
Credit: aroundclock.com
Frequently Asked Questions
How Much Would It Cost To Move A Thermostat?
Moving a thermostat typically costs between $100 and $300. Prices vary based on complexity and location.
Where Is The Best Place To Put A Thermostat In A House?
Place the thermostat on an interior wall, away from direct sunlight, drafts, and heat sources. Ensure it’s centrally located for accurate readings.
Should I Move My Thermostat Upstairs?
Moving your thermostat upstairs can improve temperature control if you spend more time there. Upstairs tends to be warmer.
How Far Should A Thermostat Be From The Heater?
Place the thermostat at least 5 feet away from the heater. Ensure it’s not in direct sunlight or near drafts.
Conclusion
Moving a thermostat can be a simple task. With the right tools, it becomes easier. Ensure you turn off the power first. Follow the steps carefully and check connections. Test your new location for proper functioning. This avoids any future issues.
Regular maintenance keeps your system efficient. Now, you can enjoy a comfortable home environment. Happy moving!
Check Best Thermostat Pricing in Amazon
** As an Amazon Associate, I earn from qualifying purchases.