
Check Best Thermostat Pricing in Amazon
** As an Amazon Associate, I earn from qualifying purchases.
Want to upgrade your home’s heating and cooling? Install a Honeywell Smart Thermostat.
It’s a smart move to control your home’s temperature remotely and save on energy bills. Installing a Honeywell Smart Thermostat may seem daunting, but it’s simpler than you think. Whether you’re a tech-savvy homeowner or a DIY novice, this guide will walk you through the process step-by-step.
You’ll enjoy the benefits of a smart thermostat in no time. We’ll cover everything from the tools you need to the final setup, ensuring you have a seamless installation experience. So, let’s dive in and make your home smarter and more efficient with a new Honeywell Smart Thermostat.
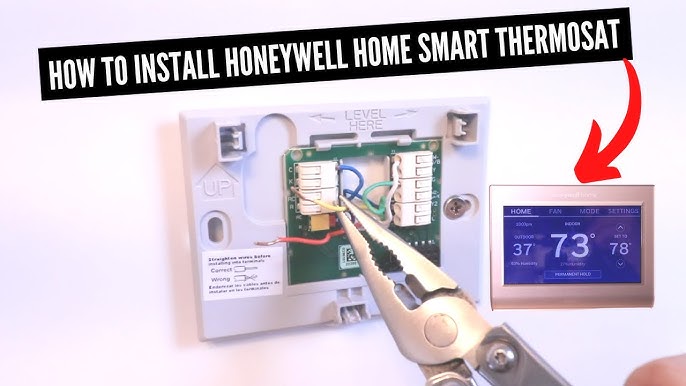
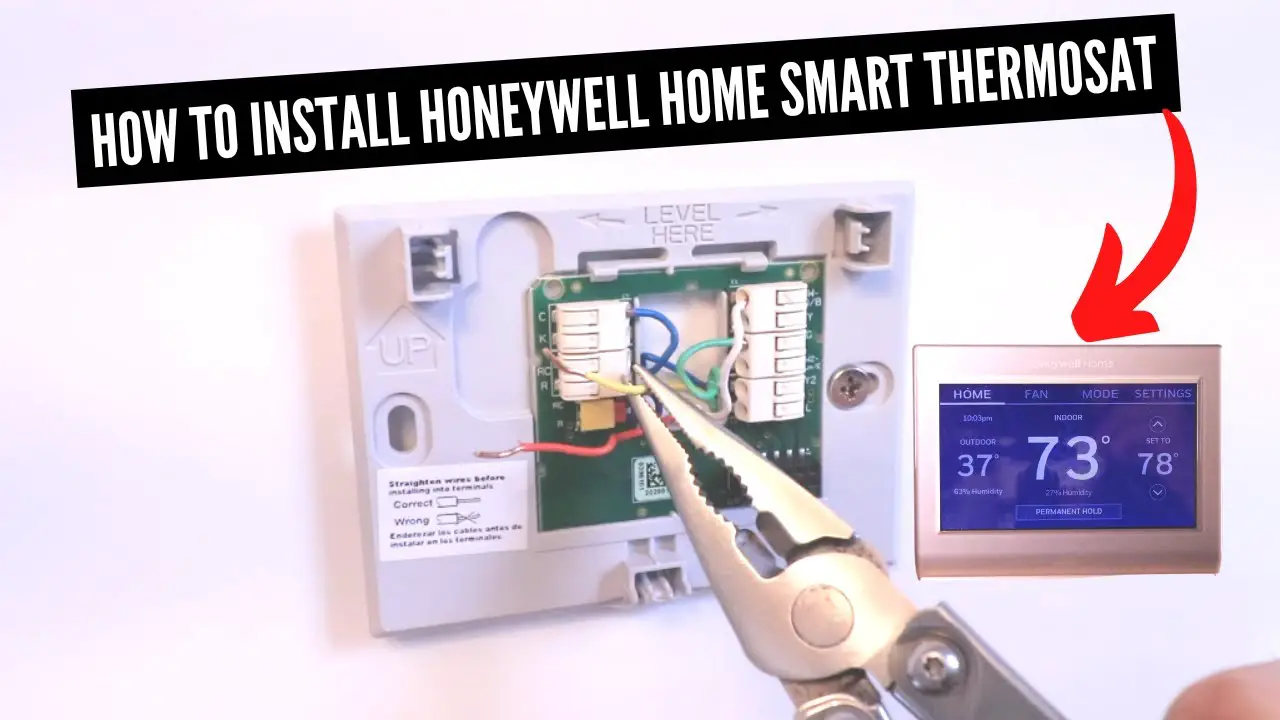
Credit: www.youtube.com
Preparation
Before installing your Honeywell Smart Thermostat, proper preparation is key. This ensures a smooth and efficient installation process. Gather all the necessary tools and materials. Prioritize safety by following crucial precautions. Let’s dive into the preparation steps.
Tools And Materials Needed
First, gather all the tools and materials required. You will need a screwdriver, a drill with bits, wire labels, a level, and the thermostat package. Make sure you have your Wi-Fi network name and password handy. This helps in connecting the thermostat later.
Safety Precautions
Next, focus on safety. Turn off the power to your HVAC system at the circuit breaker. This prevents electric shocks. Use a voltage tester to ensure the power is off. Label the wires before disconnecting them. This step avoids confusion during reinstallation. Follow these safety steps to install your thermostat safely and correctly.
Credit: www.reddit.com
Removing The Old Thermostat
Removing the old thermostat is a crucial step before installing your new Honeywell smart thermostat. This process ensures a smooth transition and avoids any potential issues. Follow these steps carefully to remove your old thermostat without any hassles.
Turn Off Power
Begin by turning off the power to your heating and cooling system. This prevents any electrical accidents. Go to your circuit breaker and switch off the corresponding breaker. Double-check by attempting to turn on the old thermostat. It should not respond.
Disconnect Wires
Next, remove the thermostat cover to expose the wires. Each wire should be labeled or color-coded. Take a picture of the wiring setup. This will help during the installation of the new thermostat. Carefully disconnect each wire using a screwdriver. Make sure the wires do not fall back into the wall.
Installing The New Thermostat
Getting ready to install your Honeywell Smart Thermostat? It’s simpler than you think! Follow these steps to ensure a smooth installation process.
Mount The Base Plate
First, turn off the power to your HVAC system to ensure safety.
Remove your old thermostat, making sure to take note of the wire connections.
Next, hold the base plate of your new Honeywell thermostat against the wall.
Use a level to ensure the plate is straight. Mark the screw holes with a pencil.
Drill holes at the marked spots if needed. Use the provided screws to secure the base plate to the wall.
Connect The Wires
Refer to the wire labels you noted from your old thermostat.
Match each wire to the corresponding terminal on the new thermostat.
Insert each wire into the appropriate terminal and tighten the screws.
Make sure all connections are secure and there are no loose wires.
Attach the thermostat faceplate to the base plate. Turn the power back on to your HVAC system.
With these steps, you’re well on your way to enjoying the convenience and energy savings of your Honeywell Smart Thermostat. Have you ever tackled a home project like this before? How did it go? Share your experiences in the comments below!
Setting Up The Thermostat
Setting up your Honeywell Smart Thermostat is a straightforward process. Follow these steps to ensure your device works correctly. Let’s start by powering on the device and configuring the initial settings.
Power On The Device
First, locate the power button on your Honeywell Smart Thermostat. Press it to turn on the device. You should see the screen light up. If it does not, check the power connection. Ensure your thermostat is properly connected to your home’s electrical system.
Configure Initial Settings
Once the device is powered on, you will need to configure the initial settings. Start by selecting your preferred language. The thermostat will prompt you to choose your language from a list. Select the language you understand best.
Next, set the date and time. Accurate date and time settings ensure the thermostat operates efficiently. Use the on-screen instructions to set these parameters correctly.
Check Best Thermostat Pricing in Amazon
** As an Amazon Associate, I earn from qualifying purchases.
After setting the date and time, connect your thermostat to your Wi-Fi network. This step is crucial for remote control capabilities. Select your network from the list and enter your Wi-Fi password.
Finally, create a user account if prompted. This account allows you to access and control your thermostat remotely. Follow the on-screen instructions to complete the setup. Now, your Honeywell Smart Thermostat is ready to use!
Connecting To Wi-fi
Connecting your Honeywell Smart Thermostat to Wi-Fi is simple. Navigate to the thermostat’s menu, select ‘Wi-Fi Setup’, and follow the on-screen instructions.
Connecting your Honeywell Smart Thermostat to Wi-Fi is a crucial step in maximizing its benefits. This connectivity allows you to control your thermostat remotely, receive important updates, and enhance your home’s energy efficiency. Let’s break down the process into simple steps so you can get your device up and running smoothly.Access Wi-fi Settings
To begin, navigate to the thermostat’s main menu. Look for the “Wi-Fi Setup” option. Tap on it to start the Wi-Fi connection process. Your thermostat will scan for available networks.Enter Network Information
Once the scan is complete, a list of networks will appear. Select your home Wi-Fi network from the list. Enter your Wi-Fi password carefully. Double-check for any typos. After entering the password, confirm your selection. The thermostat will attempt to connect. If successful, you’ll see a confirmation message. Connecting to Wi-Fi is often straightforward, but if you encounter issues, consider rebooting your router or double-checking your password. What’s the first thing you’ll control remotely once your thermostat is connected?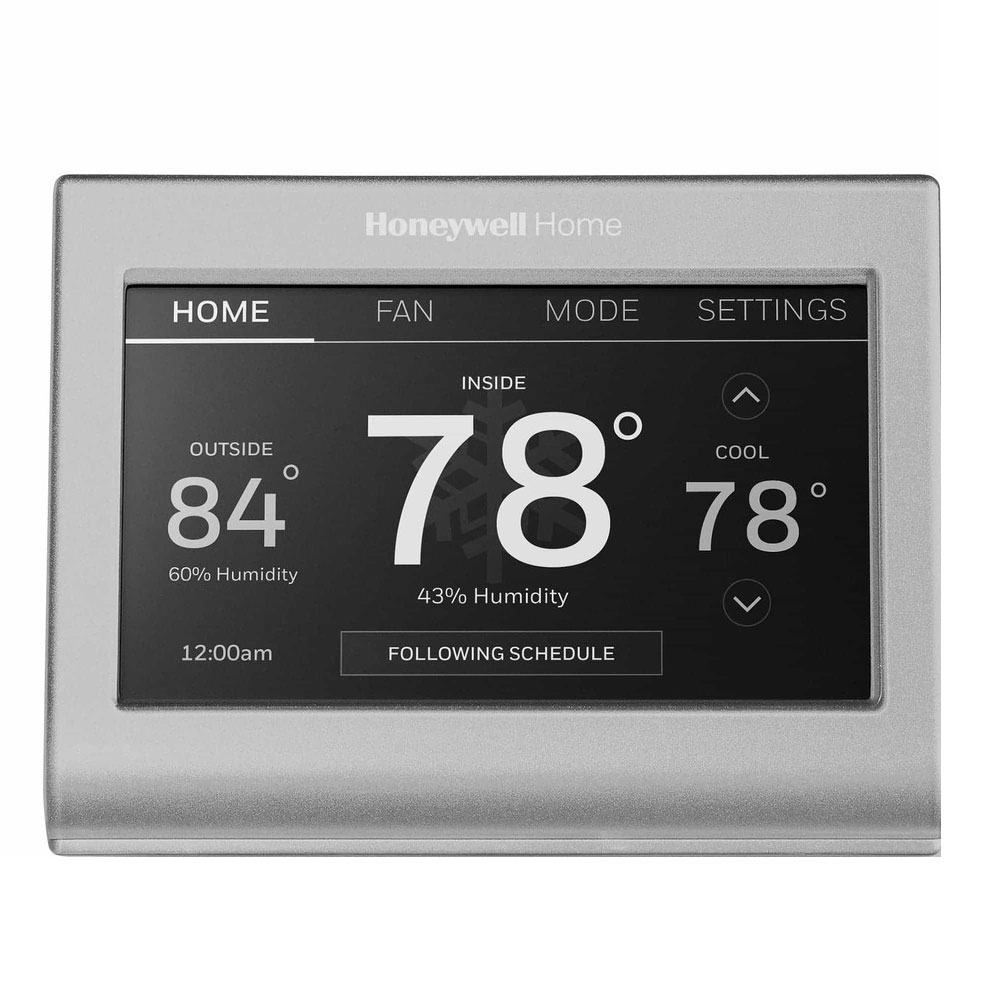
Credit: www.honeywellstore.com
Using The Honeywell App
Getting the most out of your Honeywell Smart Thermostat involves using the Honeywell App. This app makes it easy to control your thermostat from anywhere, providing convenience and energy savings. Let’s dive into the steps of setting up the app and pairing it with your thermostat.
Download The App
First, you need to download the Honeywell Home App. Go to your smartphone’s app store – whether it’s the Apple App Store or Google Play Store. Search for “Honeywell Home” and click the download button.
Once the app is installed, open it and create an account if you don’t already have one. Use a strong password to keep your account secure. This will be your gateway to smart home control.
Pairing The Thermostat
After you’ve set up your account, it’s time to pair the thermostat. Make sure your thermostat is installed and powered on. Follow the instructions on the app to locate your device.
You’ll need to connect the thermostat to your home Wi-Fi network. The app will guide you through this process step-by-step, including selecting your network and entering the password. Ensure your phone is also connected to the same Wi-Fi network.
Once connected, the app will confirm the pairing. You can now control your thermostat remotely, set schedules, and monitor energy usage. Isn’t it amazing to adjust your home temperature while you’re away? This is just one of the many benefits of having a smart thermostat.
Have you ever tried controlling your home temperature remotely? Give it a go and see how it can simplify your life!
Troubleshooting
Installing a Honeywell Smart Thermostat can significantly enhance your home’s comfort and energy efficiency. However, sometimes you might run into issues during or after installation. This troubleshooting guide aims to help you quickly resolve common problems and know when to seek additional support.
Common Issues
While Honeywell Smart Thermostats are generally easy to install, you might encounter some common issues. One frequent problem is the thermostat not turning on. This could be due to loose wiring or insufficient power from the HVAC system.
Another issue is the Wi-Fi connection failing. Ensure your router is working and the thermostat is within range. Sometimes, simply rebooting your router and thermostat can resolve connectivity issues.
If your thermostat displays incorrect temperature readings, check its location. Make sure it’s not placed near heat sources like ovens or direct sunlight. Relocating it can often fix this problem.
Customer Support
If you’ve tried troubleshooting and still face issues, don’t hesitate to reach out to Honeywell’s customer support. They offer various channels, including phone support, live chat, and email.
Before contacting them, keep your model number and details of the issue handy. This helps in faster resolution. Honeywell’s support team is well-trained to assist you with both common and complex problems.
Have you ever had a frustrating experience with a tech gadget? How did you resolve it? Engaging with customer support can sometimes be the quickest way to get back on track.
Remember, installing a smart thermostat is a step towards a smarter home. Don’t let minor hiccups discourage you. Take each challenge as a learning opportunity to better understand your device.
Frequently Asked Questions
How Do I Connect My Honeywell Smart Thermostat?
Download the Honeywell Home app. Follow the setup instructions. Connect the thermostat to Wi-Fi. Pair it with the app. Adjust settings as needed.
Can I Install A Smart Thermostat Myself?
Yes, you can install a smart thermostat yourself. Follow the manufacturer’s instructions carefully. Ensure your HVAC system is compatible.
What Color Wires Go Where On A Honeywell Thermostat?
Red wire goes to the R terminal. White wire connects to the W terminal. Yellow wire attaches to the Y terminal. Green wire connects to the G terminal. Blue wire goes to the C terminal. Always check the thermostat manual for specific configurations.
Does Honeywell Smart Thermostat Require C-wire?
Yes, the Honeywell Smart Thermostat typically requires a C-wire for power. Some models can use an adapter if you don’t have a C-wire.
Conclusion
Installing a Honeywell Smart Thermostat is straightforward and beneficial. Follow the steps carefully. You’ll enjoy better comfort and energy savings. Make sure to download the app and connect to Wi-Fi. This helps you control your thermostat remotely. Remember to consult the manual for any specific questions.
Now, you’re ready to enjoy a smarter home. Happy installing!
Check Best Thermostat Pricing in Amazon
** As an Amazon Associate, I earn from qualifying purchases.