
Check Best Thermostat Pricing in Amazon
** As an Amazon Associate, I earn from qualifying purchases.
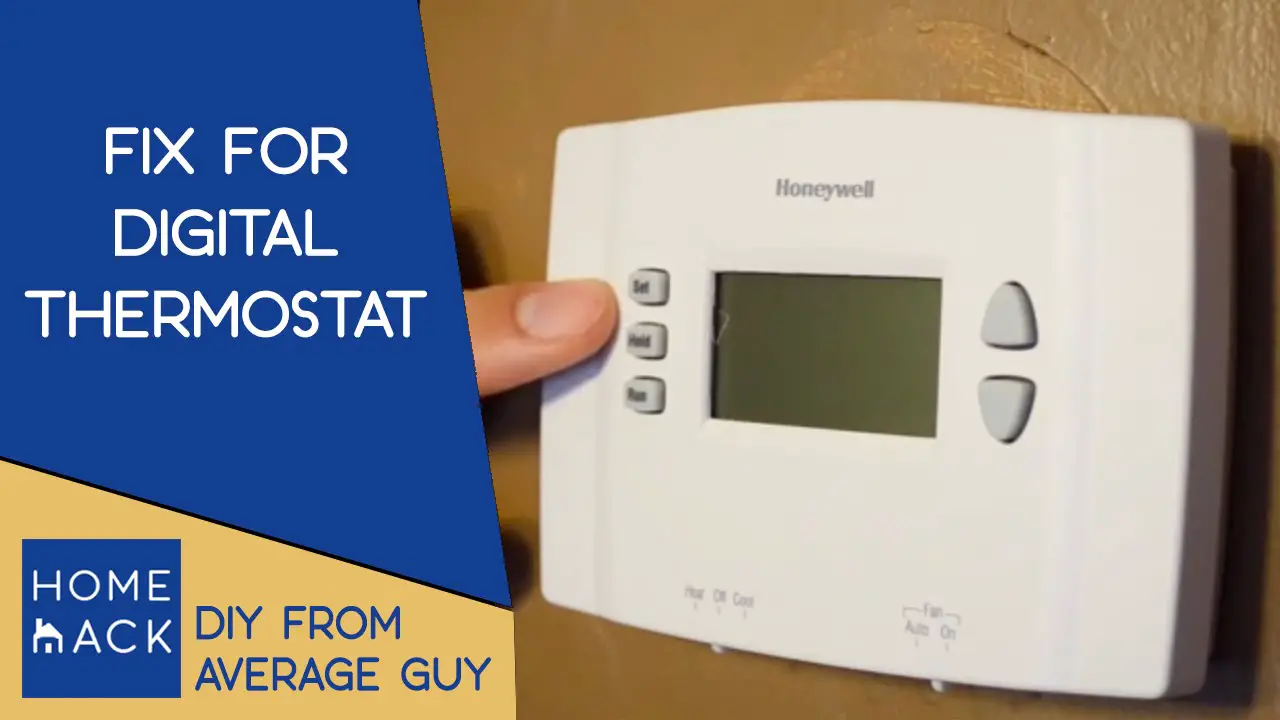
Is your Honeywell thermostat not working? Don’t worry, fixing it is easier than you think.
In this guide, we’ll show you how to fix your Honeywell thermostat step by step. Honeywell thermostats are popular for their reliability and ease of use. But like any electronic device, they can sometimes have problems. Whether it’s not turning on, not responding, or having display issues, we’ve got you covered.
This post will help you understand common problems and how to solve them. You don’t need to be an expert to fix these issues. With a few simple tools and a little patience, you can get your thermostat working again. Let’s dive into the solutions and get your home comfortable once more.
Common Issues
Experiencing issues with your Honeywell thermostat? Common problems include incorrect temperature readings and unresponsive displays. Learn how to fix these easily.
When your Honeywell thermostat isn’t working correctly, it can be incredibly frustrating. The good news is that most issues are common and can be fixed with a bit of troubleshooting. Let’s dive into some of the most frequent problems you might encounter and how to resolve them.Display Problems
One of the most common issues is a blank or unresponsive display. This can be particularly annoying, especially when you need to adjust the temperature. First, check if the thermostat is receiving power. Ensure that the circuit breaker hasn’t tripped. If the breaker is fine, the problem might be with the batteries. Replace the batteries and see if the display comes back to life. If not, there could be a wiring issue. Ensure all wires are connected properly and not frayed.Heating/cooling Errors
Another common issue is when your thermostat doesn’t seem to be heating or cooling as expected. This can make your home uncomfortable, defeating the purpose of having a thermostat. Start by checking the settings. Ensure it’s set to the correct mode (heating or cooling) and the desired temperature is accurate. If the settings are correct, inspect the HVAC system. Sometimes, the issue isn’t with the thermostat but with the heating or cooling unit itself. Make sure the furnace or air conditioner is working properly. Have you ever had a day where you just couldn’t get the temperature right? It could be a simple calibration issue. Many Honeywell models allow you to recalibrate the thermostat. Check the user manual for specific instructions. Dealing with these common issues doesn’t require you to be a tech expert. Most of the time, a little patience and some basic troubleshooting can get your thermostat back on track. What’s the most frustrating thermostat issue you’ve encountered? How did you fix it? Share your experience in the comments!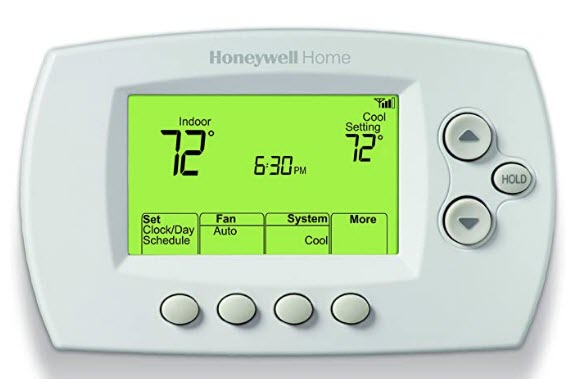
Credit: coolwithbowman.com
Initial Checks
When your Honeywell thermostat isn’t working properly, it can be frustrating. Before jumping to conclusions, conducting a few initial checks can save you time and effort. Let’s dive into the first steps you should take to troubleshoot your Honeywell thermostat.
Power Supply
First things first, check the power supply. Ensure that your thermostat is receiving power. If it’s battery-operated, replace the batteries. Fresh batteries can often solve the problem. If it’s hardwired, make sure the connections are secure.
Sometimes, a loose wire can cause the thermostat to malfunction. Tighten any loose connections and see if that fixes the issue. If your thermostat has a display, it should light up if it’s getting power.
Have you ever noticed how often we overlook simple fixes? A quick battery change might be all your thermostat needs. Don’t underestimate the power of basic troubleshooting!
Circuit Breakers
Next, take a look at your circuit breakers. Head to your electrical panel and find the breaker that controls your thermostat. It might be labeled, making it easier to locate.
Check if the breaker has tripped. If it has, switch it off and then back on. This simple action can reset the circuit and restore power to your thermostat.
Have you ever experienced a breaker tripping without any apparent reason? It’s more common than you think. Flipping the switch can often resolve the issue in no time.
If the breaker trips again, there might be a deeper electrical issue. In that case, it’s best to consult a professional to avoid any safety hazards.
Have you ever found yourself frustrated by seemingly complicated problems that had simple solutions? Sometimes, the answers are right in front of us, waiting to be discovered. By performing these initial checks, you can often fix your Honeywell thermostat without needing professional help.
Resetting Thermostat
Sometimes, resetting your Honeywell thermostat can solve many issues. It helps to clear any system errors and restores factory settings. There are two types of resets: soft reset and hard reset. Each has its own steps and benefits. Follow these instructions to reset your Honeywell thermostat easily.
Soft Reset
A soft reset is a quick way to restart your thermostat without losing your settings. First, remove the thermostat from its base. Then, wait for 10 seconds. Reconnect it back to the base. This simple step often resolves minor issues.
Hard Reset
A hard reset returns your thermostat to factory settings. All saved schedules and settings will be erased. To perform a hard reset, access the menu on your thermostat. Navigate to the “Settings” option. Select “Factory Reset” and confirm your choice. Your thermostat will restart and revert to its original settings.
Calibration
Learn how to fix Honeywell thermostat calibration issues. Adjust the settings for accurate temperature readings and improved comfort.
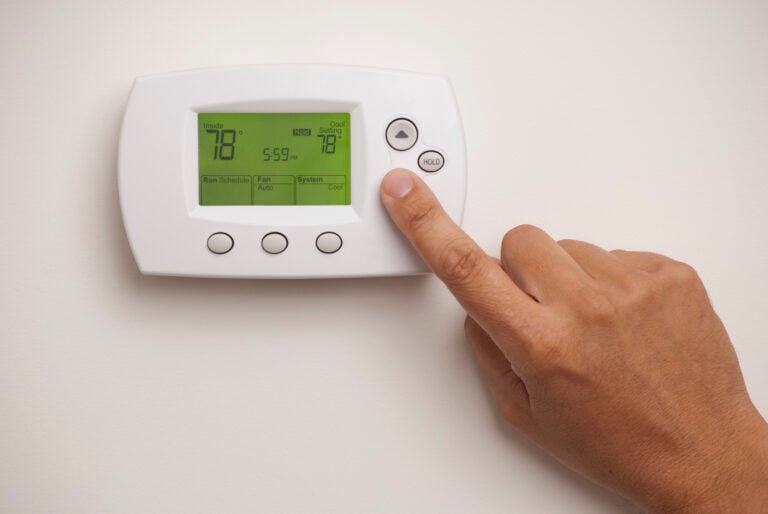
Calibration is a crucial step in ensuring your Honeywell thermostat is providing accurate temperature readings and maintaining a comfortable environment in your home. An improperly calibrated thermostat can lead to incorrect temperature settings, causing discomfort and higher energy bills. Let’s dive into the specifics of how to calibrate your Honeywell thermostat effectively.Temperature Settings
Begin by checking the current temperature settings on your thermostat. If you notice that the temperature in your home feels different from what the thermostat displays, it may be time for calibration. Use a reliable thermometer to measure the room temperature. Compare this reading with your thermostat’s display. If there’s a discrepancy, you’ll need to adjust the thermostat settings. Consult your Honeywell thermostat manual for specific instructions. Most models have a calibration option in the settings menu. Follow these steps to fine-tune the temperature readings.Sensor Alignment
Sensor alignment is another critical factor in thermostat calibration. The sensor detects the ambient temperature and can affect the thermostat’s performance if misaligned. Ensure that the sensor is not exposed to direct sunlight, drafts, or other heat sources. These can cause false readings and affect the thermostat’s accuracy. If the sensor is built into the thermostat, make sure it is level on the wall. Use a spirit level to check. If it’s not, adjust it accordingly to avoid skewed temperature readings. Calibration might seem like a small detail, but it can significantly impact your home’s comfort and energy efficiency. Have you checked your thermostat’s calibration lately? It might be worth a look.Battery Replacement
If your Honeywell thermostat stops working, the battery might be the culprit. Replacing the battery is simple and can save you from discomfort. Let’s dive into the steps for an easy fix.
Identify Battery Type
First, you need to identify the type of battery your Honeywell thermostat uses. Most models use AA or AAA batteries. Check the user manual for your specific model.
Look for the battery compartment, usually located on the back or bottom of the thermostat. This compartment will tell you what type of battery you need. Make sure you have the right batteries before you start the replacement process.
Step-by-step Replacement
Now that you have the right batteries, let’s replace them. Follow these steps:
- Turn off your thermostat to avoid any electrical issues. Safety first!
- Remove the thermostat from its wall plate. Gently pull it away from the wall.
- Open the battery compartment. You might need a small screwdriver for this.
- Take out the old batteries. Dispose of them properly.
- Insert the new batteries. Ensure the positive and negative ends match the markings in the compartment.
- Close the battery compartment. Make sure it’s secure.
- Place the thermostat back on its wall plate. It should click into place.
- Turn on your thermostat. Check if it’s working properly.
With these steps, your thermostat should be up and running again. Battery replacement is a quick fix that can solve many issues. If your thermostat still doesn’t work, it might be time to consult a professional.
Have you ever faced issues with your thermostat that a simple battery change couldn’t fix? Share your experience in the comments below. Your tips could help others!
Credit: www.4abc.com
Software Updates
Keeping your Honeywell thermostat running efficiently requires regular software updates. Updates ensure your device operates smoothly and stays compatible with other smart devices. They also fix bugs and improve overall performance. Follow these steps to check and install updates for your Honeywell thermostat.
Check Best Thermostat Pricing in Amazon
** As an Amazon Associate, I earn from qualifying purchases.
Check For Updates
First, ensure your thermostat is connected to Wi-Fi. Go to the main menu on your thermostat screen. Look for the “Settings” option and select it. Find the “Software” or “Firmware” section. Check if there are any available updates. Your thermostat will show the latest version if it’s already updated.
Install Updates
If an update is available, select the “Update” option. Follow the on-screen instructions. Make sure your thermostat stays connected to Wi-Fi during the update. The screen will show the progress of the update. This might take a few minutes. Once completed, your thermostat will restart automatically. Ensure it reconnects to Wi-Fi after restarting.
Regularly checking and installing updates keeps your Honeywell thermostat in top shape. It’s a simple process that ensures your home stays comfortable and your device functions efficiently.
Wiring Issues
Wiring issues are common with Honeywell thermostats. They can cause the device to malfunction. Understanding how to fix these issues can save you time and money. Here, we’ll discuss how to inspect connections and rewire your thermostat.
Inspect Connections
First, turn off the power to your thermostat. This prevents electric shocks. Next, remove the thermostat cover. Look at the wires connected to the terminals.
Check if any wires are loose. Tighten any loose connections using a screwdriver. Ensure all wires are securely attached. Look for any signs of wear or damage on the wires.
If you see frayed or damaged wires, they may need replacing. Note which color wire goes to which terminal. This will help when you rewire the thermostat.
Rewire Thermostat
Start by removing the damaged wires. Cut a fresh piece of wire to the same length. Strip the ends of the new wire using a wire stripper.
Attach the new wire to the corresponding terminals. Make sure each wire is tight and secure. Double-check your connections before turning the power back on.
Once everything is connected, replace the thermostat cover. Turn the power back on and test the thermostat. If the issue persists, you may need professional help.

Credit: www.youtube.com
Professional Help
Sometimes, fixing your Honeywell thermostat requires professional help. While DIY solutions are great, there are moments when an expert touch is necessary. Let’s dive into when you should call a technician and how to choose the right service.
When To Call A Technician
If your Honeywell thermostat displays a blank screen or shows error codes, it’s time to call a professional. These issues can indicate deeper electrical problems that need expert attention.
Have you tried all the troubleshooting steps and nothing works? This is a clear sign you need a technician. They have the tools and knowledge to diagnose and fix complex issues.
Unusual behavior, like inconsistent temperatures or short cycling, also warrants a professional visit. These symptoms can be tricky to resolve on your own.
Choosing The Right Service
Not all technicians are created equal, so you need to choose wisely. Look for certified professionals with experience in Honeywell thermostats. This ensures they know what they’re doing.
Read reviews and ask for recommendations. Personal experiences can guide you to trustworthy technicians who do quality work.
Ask about their service guarantees. A good technician stands by their work and offers warranties. This gives you peace of mind knowing the problem will be fixed correctly.
Have you ever needed professional help for your thermostat? Share your experiences in the comments. It might help someone make a better choice!
Frequently Asked Questions
Why Is My Honeywell Thermostat Not Working?
Your Honeywell thermostat might not work due to dead batteries, incorrect settings, tripped circuit breakers, or wiring issues. Check and resolve these.
How Do I Reset My Honeywell Thermostat?
To reset your Honeywell thermostat, turn off the device. Remove the batteries, wait 10 seconds, then reinsert them. This will reset the thermostat to factory settings.
How Do I Fix An Unresponsive Thermostat?
Check the thermostat’s power source and replace batteries if needed. Ensure proper wiring connections. Clean the unit and reset settings.
Why Is My Honeywell Thermostat Not Putting The Heating On?
Your Honeywell thermostat might not be heating due to incorrect settings, low batteries, or a tripped circuit breaker.
Conclusion
Fixing your Honeywell thermostat can be straightforward with the right steps. Ensure you follow the manual instructions. Check the wiring and power source. Resetting might solve minor issues. Regular maintenance helps avoid problems. If issues persist, consider professional help. A functional thermostat ensures comfort and efficiency.
Keep these tips handy for future reference. Your home’s temperature control will be reliable and smooth. Enjoy a hassle-free experience with your Honeywell thermostat.
Check Best Thermostat Pricing in Amazon
** As an Amazon Associate, I earn from qualifying purchases.