
Check Best Thermostat Pricing in Amazon
** As an Amazon Associate, I earn from qualifying purchases.
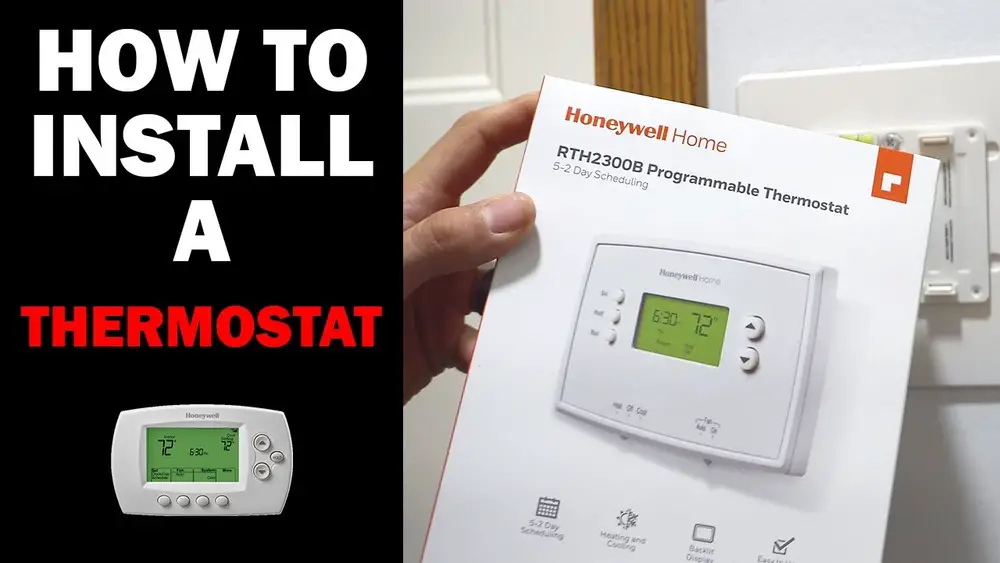
Are you ready to take control of your home’s temperature and save on energy bills? Fitting a Honeywell thermostat is easier than you might think, and you don’t need to be a tech expert to do it.
In this guide, you’ll discover simple, step-by-step instructions that will have your new thermostat up and running in no time. Imagine the comfort of adjusting your heating or cooling with just a touch—no more guessing or wasting energy. Keep reading, and you’ll see how quick and rewarding this small home upgrade can be for you.
Choosing The Right Thermostat
Choosing the right Honeywell thermostat is key to better home comfort and energy savings. The right model fits your needs and works well with your heating and cooling system. It helps you control temperature easily and keeps energy bills low. Knowing what types are available and checking system compatibility makes the choice simple.
This guide helps you pick the best thermostat for your home. It covers the main types of Honeywell thermostats and explains how to match them with your HVAC system. Follow these steps for a smooth installation and great results.
Types Of Honeywell Thermostats
Honeywell offers several thermostat types to suit different needs. Basic models include manual thermostats that you adjust by hand. Programmable thermostats allow setting schedules for different times and days. Smart thermostats connect to Wi-Fi and let you control temperature from your phone.
Each type has features for comfort and savings. Manual models are simple and budget-friendly. Programmable ones save energy by reducing heat or cooling when you are away. Smart thermostats provide remote access and learning functions for better efficiency.
Compatibility With Hvac Systems
Not all thermostats work with every HVAC system. Check if your Honeywell thermostat matches your heating and cooling setup. Common systems include gas, electric, heat pump, and radiant heating. Each system needs specific thermostat wiring and controls.
Look at your current thermostat and heating system model. Compare it with the Honeywell thermostat specifications. This step prevents installation issues and ensures the thermostat controls your system correctly. If unsure, consult a professional technician for advice.
Tools And Materials Needed
Installing a Honeywell thermostat requires some basic tools and materials. Having the right items ready helps the process go smoothly. It also saves time and prevents mistakes.
This section lists the tools you need to fit your thermostat. It also covers safety gear that keeps you safe during installation.
Essential Tools List
- Screwdriver (Phillips and flathead)
- Drill with drill bits
- Wire strippers
- Voltage tester
- Level
- Measuring tape
- Pencil
- Small flashlight
- Electrical tape
- Honeywell thermostat kit (includes screws and mounting plate)
Safety Gear Recommendations
- Insulated gloves to protect from electric shocks
- Safety goggles to shield your eyes
- Dust mask if drilling into walls
- Comfortable clothing that covers your arms
- Non-slip shoes for steady footing
Preparing The Installation Site
Preparing the installation site is a key step before fitting your Honeywell thermostat. It ensures safety and smooth installation. Take your time to prepare well. This helps avoid mistakes and protects your home’s electrical system.
Turning Off Power
Start by switching off the power to your heating system. Use the circuit breaker or fuse box to cut electricity. This step is important to prevent electric shock and damage. Double-check that the power is off before touching any wires.
Removing Old Thermostat
Next, carefully remove the old thermostat from the wall. Unscrew the faceplate and detach it from the wiring. Keep the wires in place for easy connection later. Avoid pulling or damaging the wires during removal.
Checking Wiring
Inspect the wiring for any damage or loose connections. Make sure all wires are labeled or take a photo for reference. Correct wiring is crucial for your new thermostat to work properly. Fix any problems before you begin installation.

Credit: willplumb.com
Mounting The Thermostat Base
Mounting the thermostat base is the first step in installing your Honeywell thermostat. This process sets the foundation for a secure and functional setup. A properly mounted base ensures accurate temperature readings and smooth operation.
Take your time to mount the base correctly. This will help avoid issues later. Use the right tools and follow the instructions carefully. Let’s break down the key steps to mount the thermostat base.
Marking Drill Points
Hold the thermostat base against the wall where you want to install it. Make sure it is level. Use a pencil to mark the spots for drilling holes. These marks guide you during drilling. Check that the marks align with the base’s screw holes. Accurate marking avoids mistakes and keeps the base steady.
Securing The Base To The Wall
Drill holes at the marked points using a suitable drill bit. Insert wall anchors if needed for extra support. Place the base over the holes and align it with the anchors. Use screws to fasten the base securely to the wall. Tighten screws just enough to hold the base firmly. Avoid over-tightening to prevent damage.
Wiring The Thermostat
Wiring the thermostat is a key step in fitting your Honeywell thermostat. It connects the device to your heating and cooling system. Proper wiring ensures the thermostat works correctly and safely. Take your time and follow each step carefully.
Identifying Wire Functions
First, identify each wire in your current setup. Wires usually have different colors. Each color has a specific function. For example, red often connects to power. White usually links to heating. Yellow is for cooling. Green controls the fan. Check your system’s manual to be sure. Label each wire to avoid confusion later.
Connecting Wires Correctly
Match each wire to the correct terminal on your Honeywell thermostat. Use the labels or color codes you noted earlier. Insert wires firmly into the terminals. Tighten screws to secure them. Avoid crossing wires or leaving any loose. Double-check connections before powering the system. Correct connections prevent errors and ensure smooth operation.
Attaching The Thermostat Unit
Attaching the Honeywell thermostat unit is a simple but important step. This part connects the device to the base and starts its work. Taking time to fit it correctly helps the thermostat function well and last longer.
Aligning And Snapping In Place
Hold the thermostat close to the base on the wall. Look for the connectors on both parts. Match these connectors carefully. Push the unit gently but firmly onto the base. You will feel a small click or snap sound. This means the unit is in place.
Check Best Thermostat Pricing in Amazon
** As an Amazon Associate, I earn from qualifying purchases.
Ensuring Secure Fit
Check if the thermostat feels tight and stable. Try to move it slightly with your hand. It should not wiggle or come off easily. If loose, press again until it fits well. A secure fit keeps the thermostat working without interruptions.
Configuring Settings
Configuring your Honeywell thermostat is a key step to ensure it works well. Correct settings help save energy and keep your home comfortable. This section guides you through simple steps to set the date, time, and temperature preferences.
Setting Date And Time
Start by turning on your thermostat. Locate the menu button on the device. Use the arrow keys to find the “Date and Time” option. Select it by pressing the “OK” button.
Set the current date first. Use arrows to change the day, month, and year. Press “OK” to confirm each choice. Next, set the correct time. Choose between 12-hour or 24-hour format. Adjust hours and minutes carefully. Confirm your input to save settings.
Accurate date and time help your thermostat run its schedule properly. This step is important for automatic temperature changes.
Programming Temperature Preferences
Programming temperature preferences lets you control heating and cooling easily. Access the program menu on your thermostat. You will see options for weekdays and weekends.
Set temperatures for different times of day, such as morning, afternoon, and night. Use the arrow buttons to select a time block. Adjust the temperature to a comfortable level. Save each setting before moving to the next.
This way, your home stays warm or cool according to your routine. You can also reduce energy waste by lowering heat or cooling when away.
Testing The Thermostat
Testing the Honeywell thermostat is an important step after installation. This ensures the device works correctly and controls your home’s temperature as expected. A proper test helps avoid issues and keeps your heating and cooling systems running smoothly.
Powering On
Start by turning on the thermostat. Check if the display lights up and shows the current temperature. If nothing appears, verify the power source or batteries. The screen should be clear and easy to read.
Verifying Heating And Cooling
Set the thermostat to heating mode and raise the temperature above the room’s current level. Listen for the heating system to activate. Next, switch to cooling mode and lower the temperature. The air conditioner should start blowing cool air.
Troubleshooting Common Issues
If the thermostat does not power on, check the circuit breaker or replace batteries. For heating or cooling problems, confirm all wires are connected firmly. Resetting the device can also solve minor glitches. Consult the manual for specific error codes.
Maintaining Your Thermostat
Maintaining your Honeywell thermostat ensures it works properly and lasts longer. Simple care keeps your heating and cooling system efficient. Clean parts and fresh batteries help avoid issues. Follow easy steps to keep your thermostat in good shape.
Regular Cleaning Tips
Turn off the thermostat before cleaning. Use a soft, dry cloth to wipe dust gently. Avoid using water or cleaners on the device. Dust can block sensors and buttons, causing errors. Clean the area around the thermostat too. Remove cobwebs or dirt that may affect airflow. Do this cleaning once a month for best results.
Battery Replacement Guidelines
Check your thermostat’s battery level regularly. Low batteries cause the thermostat to lose settings. Replace batteries at least once a year or when low. Use the correct battery type recommended by Honeywell. Open the battery compartment carefully. Insert new batteries following the right polarity. Close the compartment securely to avoid damage.

Credit: willplumb.com

Credit: www.youtube.com
Frequently Asked Questions
How Do I Install A Honeywell Thermostat Step-by-step?
Turn off power to your HVAC system first. Remove the old thermostat, connect the wires to the Honeywell base, mount it, and attach the display. Finally, restore power and follow on-screen setup instructions.
What Tools Are Needed To Fit A Honeywell Thermostat?
You will need a screwdriver, drill, wall anchors, wire stripper, and a level. These tools help secure the thermostat and ensure proper wiring and alignment.
Can I Install A Honeywell Thermostat Myself?
Yes, most models are DIY-friendly with clear instructions. However, if you’re uncomfortable with electrical wiring, hiring a professional is safer.
How Do I Wire A Honeywell Thermostat Correctly?
Match each wire to the corresponding terminal on the Honeywell base. Refer to the wiring diagram in the manual to avoid mistakes.
Conclusion
Fitting a Honeywell thermostat is simple with clear steps. Take your time to follow each part carefully. Double-check all connections before turning power back on. Your home will feel comfortable and save energy. Enjoy easy control of your heating and cooling.
Small effort leads to big benefits in comfort. Now, your thermostat works just the way you want.
Check Best Thermostat Pricing in Amazon
** As an Amazon Associate, I earn from qualifying purchases.