
Check Best Thermostat Pricing in Amazon
** As an Amazon Associate, I earn from qualifying purchases.
Disconnecting your Nest Thermostat from your account is simple. It requires just a few steps.
If you need to remove your Nest Thermostat from your account, you’re in the right place. Whether you’re upgrading, selling, or troubleshooting your device, knowing how to disconnect it is essential. This guide will help you through the process, making it easy and stress-free.
By the end, you’ll have your Nest Thermostat successfully removed from your account. This will ensure your personal data stays secure. Ready to get started? Let’s dive in!

Credit: www.youtube.com
Preparation
Before disconnecting your Nest Thermostat from your account, proper preparation is crucial. This ensures a smooth process and avoids unwanted issues. Follow these steps to get ready.
Tools Needed
Gather the necessary tools. You will need a smartphone or tablet. Ensure it has the Nest app installed. Also, have a stable internet connection.
Backup Settings
Save your current settings. This helps if you need to restore them later. Open the Nest app. Go to the settings menu. Write down your thermostat settings. Keep this information handy.

Credit: www.reddit.com
Accessing Account
Accessing your Nest Thermostat account is a straightforward process, but it’s crucial to follow each step to ensure a smooth disconnection. Whether you’re upgrading to a new system or moving to a new home, disconnecting your thermostat helps maintain your privacy and keeps your account secure. Let’s dive into the details.
Login To Account
Start by opening the Nest app on your smartphone or tablet. If you prefer, you can also access your account through the Nest website on your computer.
Enter your email address and password associated with your Nest account. If you have trouble remembering your password, use the ‘Forgot Password’ option to reset it. Once you’re logged in, you’ll be ready to move on to the next step.
Navigate To Settings
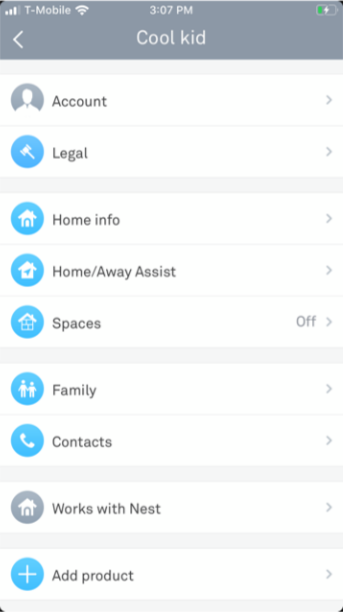
After logging in, you’ll see the main dashboard with your connected devices. Look for the gear icon, usually located in the top right corner of the screen. This icon represents the Settings menu.
Click on the gear icon to open the Settings menu. Here, you’ll find various options to manage your Nest devices and account settings. Take a moment to familiarize yourself with the options available.
Scroll through the menu until you find the option labeled ‘Thermostat’. Selecting this will bring up a list of all thermostats linked to your account.
Select the thermostat you wish to disconnect. This action will prompt a new set of options specific to that device, including the ability to remove it from your account.
Disconnecting your Nest Thermostat is a simple process, but it’s essential to follow each step carefully. Are there other connected devices you need to disconnect? Share your experiences or questions in the comments below!
Locating Thermostat
Locating your Nest Thermostat might seem like a daunting task, especially if you have multiple smart devices connected to your account. But don’t worry, we’ll walk you through it step-by-step. Understanding where to find your thermostat is the first move in disconnecting it from your account.
Device List
First, open the Nest app on your smartphone or tablet. Once you’re in, head straight to the home screen. Here, you’ll see a list of all the devices connected to your account. This list can include everything from cameras to smoke detectors and, of course, your thermostat.
Scroll through the device list. If you have a lot of devices, it might take a moment to locate your thermostat. But keep an eye out for the thermostat icon. It’s usually represented by a small circular image, similar to the shape of your physical Nest Thermostat.
Select Thermostat
After locating your thermostat in the device list, tap on it to select. This will take you to the thermostat’s settings page. Here, you can control various aspects of the device, but for now, focus on the option to disconnect.
Look for the settings gear icon, usually in the top right corner of the screen. Clicking on it will open a menu with several options. One of these should be ‘Remove device’ or something similar.
Before you proceed, ask yourself: Are you ready to disconnect? Once you remove the thermostat, you’ll lose remote control until you reconnect it. If you’re sure, go ahead and tap the ‘Remove device’ option. This should disconnect your Nest Thermostat from your account.
Remember, if you run into any issues, Nest’s customer support is always available to help. Disconnecting your Nest Thermostat doesn’t have to be stressful. Just follow these steps, and you’ll be done in no time!
Credit: support.vivint.com
Remove Thermostat
Removing your Nest Thermostat from your account may seem complicated. It’s not. This guide will show you how to do it step by step. Follow these instructions to make the process easy and quick. Keep reading to learn how to disconnect your device.
Disconnect Option
First, open the Nest app on your smartphone. Look for the settings icon. Tap on it to open the settings menu. Scroll down until you find your thermostat listed. Select your thermostat. Next, look for the option that says “Remove” or “Disconnect.” Tap on this option.
Check Best Thermostat Pricing in Amazon
** As an Amazon Associate, I earn from qualifying purchases.
Confirm Removal
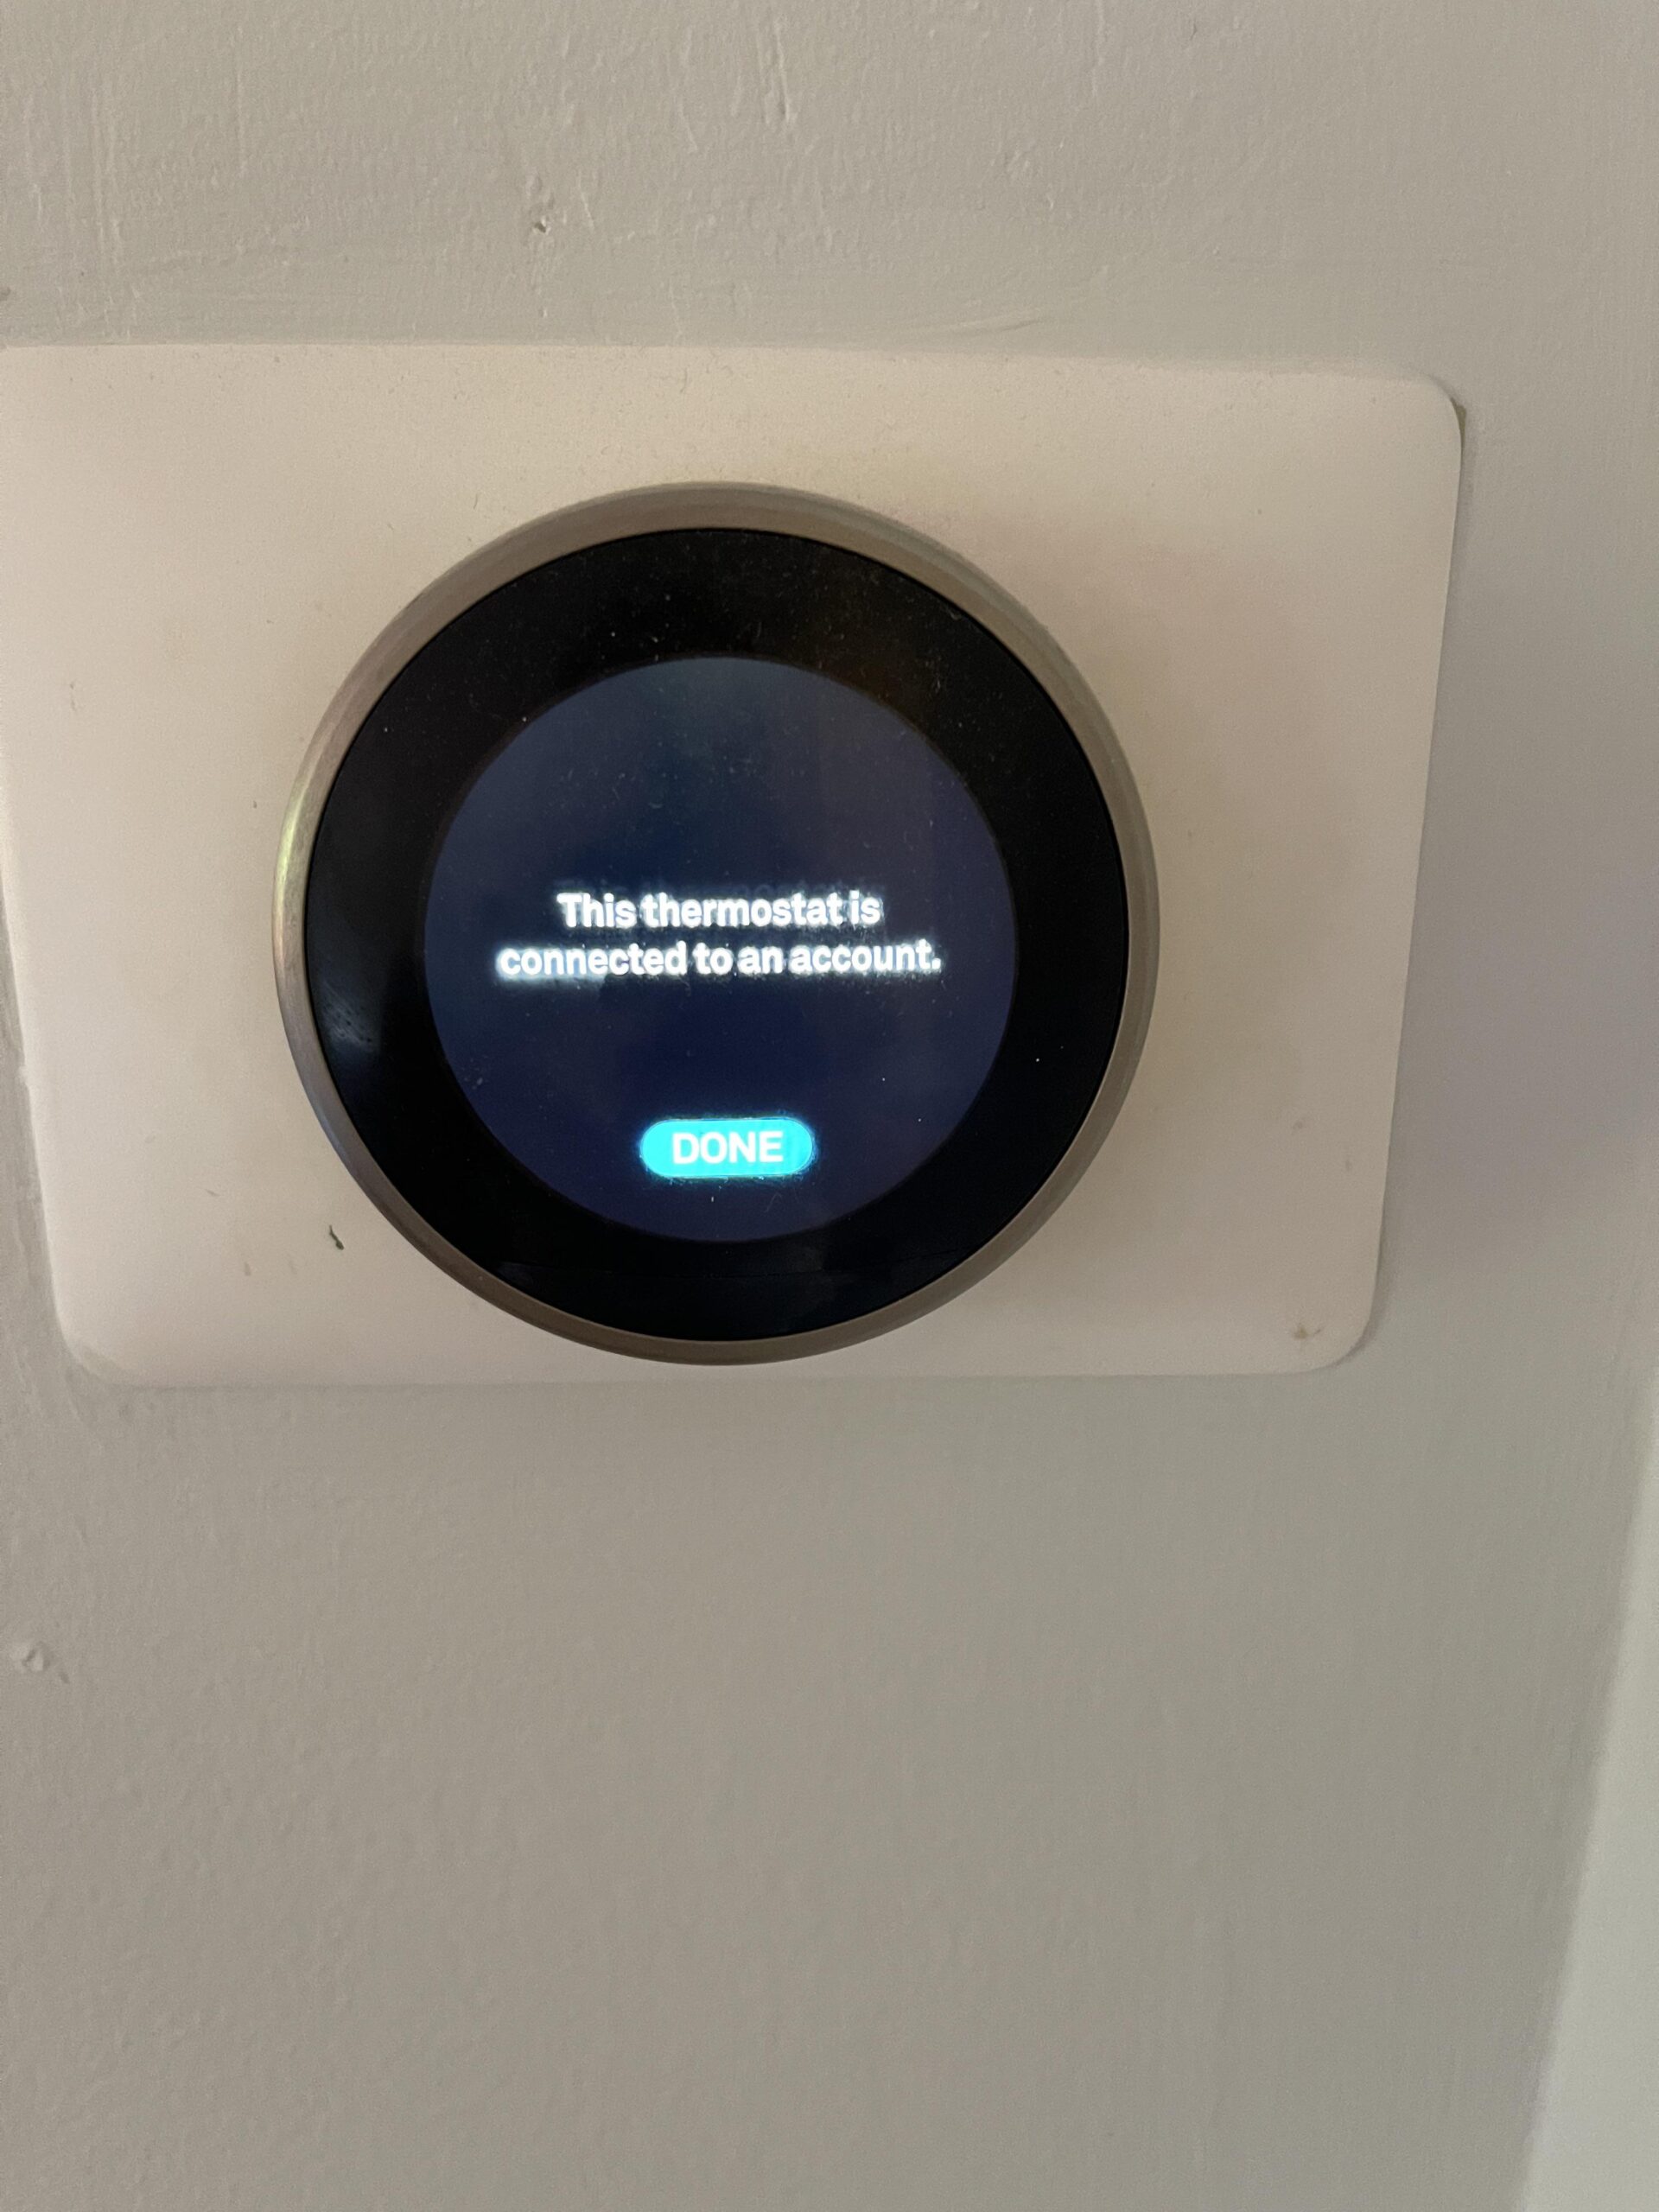
After selecting “Remove,” you will see a confirmation message. This message will ask if you are sure you want to remove the device. Confirm your choice by tapping “Yes” or “Remove.” Your thermostat will now be disconnected from your account. You will no longer control it through the app.
Reset Thermostat
Resetting your Nest Thermostat can be an essential step for troubleshooting or preparing to sell your device. Whether your thermostat is acting up, or you’re simply passing it on to someone else, knowing how to properly reset it is key. Let’s break down the steps you need to take for a successful reset.
Factory Reset
A factory reset will erase all your personal settings and return your Nest Thermostat to its original state. This can be particularly useful if you’re selling the device or giving it to a friend. It’s like starting with a clean slate.
To perform a factory reset, go to the Settings menu on your thermostat. Select ‘Reset’ and then choose ‘All Settings.’ Confirm the action, and your thermostat will begin the reset process. After a few minutes, it will restart, and you’ll need to set it up again as if it were brand new.
Factory resetting my Nest Thermostat made it easier when I sold my old house. It ensured that the new owners wouldn’t have access to my Wi-Fi settings or personal preferences. Have you considered this step before passing on your device?
Reboot Device
If you’re experiencing minor issues, a simple reboot might do the trick. Rebooting can solve common glitches without erasing any of your settings. It’s a quick fix that can save you time and hassle.
To reboot your Nest Thermostat, press the thermostat ring and hold it down until the screen turns off. Release the ring and wait for the device to power back on. This process usually takes less than a minute.
I remember one time my thermostat was acting up in the middle of winter. A quick reboot saved me from freezing and troubleshooting for hours. Have you ever tried rebooting your device to solve minor issues?
Resetting your Nest Thermostat doesn’t have to be a daunting task. Whether you need a factory reset or just a simple reboot, these steps will guide you through the process. What’s your experience with resetting smart devices? Share your thoughts in the comments below!
Reconnect Thermostat
Reconnecting your Nest Thermostat to your account is a simple process. This ensures your thermostat works perfectly with your smart home system. Follow the steps below to reconnect and verify your device.
Pairing Process
First, open the Nest app on your smartphone. Ensure you are logged into your account. On the home screen, tap the settings icon. Select the option to add a product. Choose ‘Nest Thermostat’ from the list. The app will guide you through the pairing process. This usually involves scanning a QR code on the thermostat. Follow the on-screen instructions carefully. Your thermostat will now be paired with your account.
Verify Connection
After pairing, it’s important to verify the connection. Go to the main screen of the Nest app. Check if your thermostat appears in the device list. Tap on the thermostat icon. You should see current temperature and settings. Try adjusting the temperature from the app. Ensure the thermostat responds correctly. This confirms that your thermostat is successfully reconnected.
Troubleshooting
Disconnecting your Nest Thermostat from your account can sometimes be tricky. You might face a few bumps along the way. Don’t worry, we are here to help. Let’s dive into some common issues you might encounter.
Common Issues
One common problem is the thermostat not appearing on the app. Ensure your device is connected to Wi-Fi. Another issue could be a frozen screen. Restart your thermostat to fix this. If the thermostat is still linked to another account, you will need to remove it from that account first.
Contact Support
If you still face issues, it might be time to contact support. Reach out to Nest support for assistance. They can guide you through the process. Ensure you have your device’s serial number handy. This will speed up the troubleshooting process.
Final Steps
Once you have removed the Nest Thermostat from your account, a few final steps remain. These ensure the device is fully disconnected and your preferences are updated. Let’s walk through each step to complete the process.
Check Settings
First, revisit the Nest app. Make sure the thermostat no longer appears in your device list. If it does, try removing it again. Sometimes, a simple app refresh is all you need. Confirm that all settings related to the thermostat are cleared. This includes temperature schedules and connectivity options.
Update Preferences
Next, update your account preferences. Go to the settings menu in the Nest app. Check for any lingering data or preferences tied to the thermostat. Clear them to ensure no residual settings affect future devices. Finally, review your account’s privacy settings. Ensure no unauthorized access is possible without your approval.
Frequently Asked Questions
How Do I Reset My Nest Thermostat For A New User?
To reset your Nest Thermostat for a new user, go to Settings, select Reset, then choose All Settings. This will restore the thermostat to its factory settings.
How Do I Unlink My Account From My Nest Thermostat?
Go to the Nest app, select your thermostat, tap the settings icon, and choose “Remove” to unlink.
How Do I Remove Myself From Nest Account?
To remove yourself from a Nest account, open the Nest app, go to settings, select your account, and choose “Remove yourself. “
How To Disconnect Nest Thermostat From Network?
To disconnect your Nest Thermostat from the network, go to Settings, select “Network,” and choose “Disconnect. ” Confirm your choice.
Conclusion
Disconnecting your Nest Thermostat from your account is simple. Follow the steps carefully. Ensure your thermostat is in the desired mode. Verify the disconnection in your account settings. This process helps protect your privacy. It also prepares your device for a new user.
Always double-check to avoid errors. Troubleshooting tips can solve common issues. Enjoy the benefits of a secure, disconnected thermostat.
Check Best Thermostat Pricing in Amazon
** As an Amazon Associate, I earn from qualifying purchases.