
Check Best Thermostat Pricing in Amazon
** As an Amazon Associate, I earn from qualifying purchases.
To change the ownership of a Nest Thermostat, perform a factory reset on the device. Then, the new owner can set it up.
Changing the ownership of a Nest Thermostat is a straightforward process, essential when selling or giving away the device. A factory reset clears all personal data, ensuring the new owner can configure it from scratch. This step is crucial for both security and functionality, as it removes all previous settings and connections to the old owner’s account.
By following these steps, the transition can be smooth and hassle-free. Always ensure the device is fully reset before handing it over, providing the new owner with a fresh start and full control over their new smart thermostat.
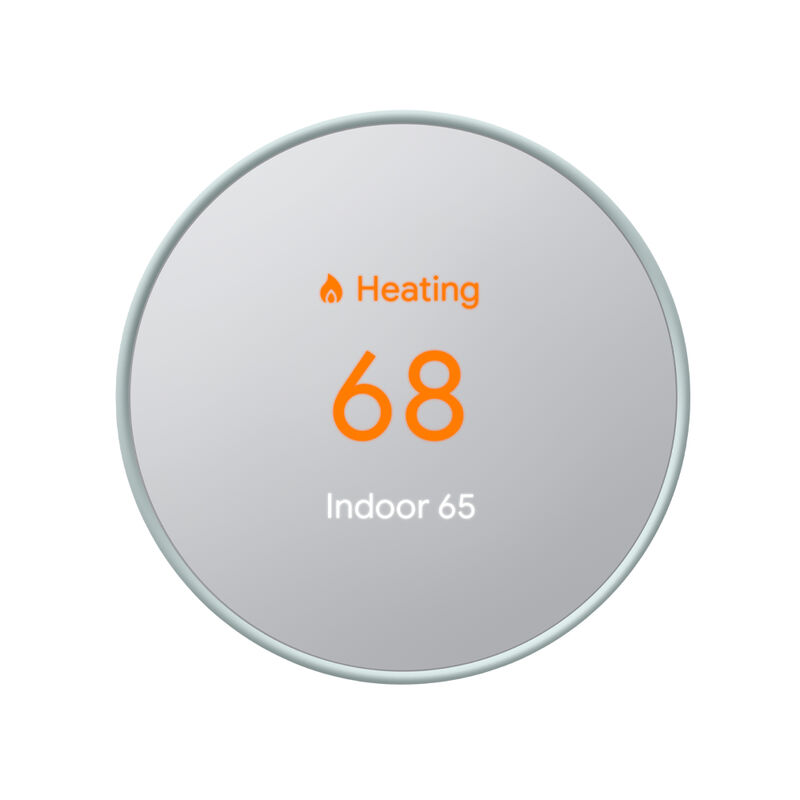
Credit: rgesmartsolutions.com
- Introduction To Nest Thermostat Ownership
- Preparation For Ownership Transfer
- Step-by-step Ownership Transfer Process
- Troubleshooting Common Transfer Issues
- Security Concerns With Ownership Change
- Post-transfer Setup For New Owners
- Additional Considerations For Landlords And Property Managers
- Faqs And Resources For Nest Thermostat Ownership Transfer
- Frequently Asked Questions
- Conclusion
Introduction To Nest Thermostat Ownership
Owning a Nest Thermostat comes with several benefits. It offers energy-saving features and provides comfort. But, changing ownership can be tricky. This guide helps you understand how to change ownership easily.
The Importance Of Proper Ownership
Proper ownership of a Nest Thermostat ensures you have full control over its settings and features. The thermostat connects to your home’s Wi-Fi and syncs with the Nest app. This allows you to monitor and adjust settings remotely.
Without proper ownership, you might miss out on important updates. You may also lose access to energy reports and other smart features. Ensuring correct ownership is crucial for seamless operation.
Common Reasons For Ownership Transfer
There are various reasons why you might need to transfer ownership of your Nest Thermostat. Here are some common scenarios:
- Moving to a new home: When you move, you might leave the thermostat behind for the new homeowners.
- Upgrading your device: If you upgrade to a newer model, you’ll need to transfer ownership.
- Selling the thermostat: When selling, the new owner needs to take control of the device.
- Gift to someone: If you gift the thermostat, ownership must be transferred to the recipient.
Transferring ownership ensures the new user has full access to the thermostat’s features.
Preparation For Ownership Transfer
Transferring ownership of a Nest Thermostat is an important step. It ensures the new owner has full access and control. Proper preparation will make the process smooth and hassle-free.
Gathering Necessary Information
Before you start, you need to collect some information. Here’s what you need:
- Device Serial Number: Find this in the Nest app or on the device itself.
- Current Account Details: Make sure you have the email and password of the current Nest account.
- New Owner’s Email: You will need the email of the person taking ownership.
Having this information ready will save time and prevent any delays.
Understanding Nest Account Roles
It’s crucial to understand the roles within a Nest account. This will help ensure a smooth transfer:
| Role | Description |
|---|---|
| Owner | The main controller of the device. They can add or remove users. |
| Family Member | A secondary user. They can control the device but cannot transfer ownership. |
Only the current owner can transfer ownership of the Nest Thermostat. Make sure you are logged in as the owner.
Step-by-step Ownership Transfer Process
Changing the ownership of your Nest Thermostat involves a few simple steps. This guide will help you through the ownership transfer process. Follow these steps to ensure the new owner can set up and use the device without any issues.
Removing The Device From The Original Account
To start, you need to remove the Nest Thermostat from the original account. This ensures the new owner can add it to their account.
- Open the Nest App on your smartphone.
- Tap on the Settings icon in the top right corner.
- Select the Thermostat you want to remove.
- Scroll down and tap Remove Thermostat.
- Confirm your choice by selecting Remove again.
The thermostat will now be removed from your account. The new owner can now add it to their account.
Inviting The New Owner To The Home In The Nest App
Next, you need to invite the new owner to your home in the Nest app. This allows them to take control of the Nest Thermostat.
- Open the Nest App and go to the Settings.
- Tap on the Family & Guests section.
- Tap on Add a Person.
- Enter the new owner’s email address.
- Tap Send Invitation.
The new owner will receive an invitation email. They need to accept the invitation to gain access to the Nest Thermostat.
Once these steps are completed, the ownership of the Nest Thermostat will be successfully transferred. The new owner can now set up and manage the thermostat through their account.
Troubleshooting Common Transfer Issues
Changing the ownership of your Nest Thermostat can sometimes lead to issues. These issues might prevent a smooth transfer. Below, we will address common problems and how to solve them.
Connectivity Problems
One of the most common issues during the transfer is connectivity problems. Make sure your Nest Thermostat is connected to Wi-Fi. Without a stable connection, the transfer process can fail.
Steps to ensure proper connectivity:
- Check if your Wi-Fi is working properly.
- Ensure the thermostat is within range of the router.
- Restart your router to refresh the connection.
- Update the Nest app to the latest version.
If the thermostat still fails to connect, try using a different Wi-Fi network. Sometimes, networks with strong security settings can block the connection. Disabling these settings temporarily can also help.
Resetting The Nest Thermostat
If connectivity issues persist, resetting the Nest Thermostat may resolve the problem. Follow these steps to reset:
- Press the thermostat ring to open the Quick View menu.
- Go to Settings and select Reset.
- Choose All Settings to reset the thermostat to factory settings.
- Confirm your selection and wait for the device to reset.
After resetting, reconnect the thermostat to your Wi-Fi network. Then, proceed with the ownership transfer process. A factory reset removes all previous settings. This ensures a clean slate for the new owner.
Security Concerns With Ownership Change
Changing the ownership of your Nest Thermostat can bring security concerns. It is crucial to address these to protect your data and privacy. Let’s explore some key areas to focus on.
Protecting Personal Information
Personal information stored on your Nest Thermostat includes your schedule, temperature preferences, and Wi-Fi details. Ensure you wipe all personal data before handing over the device.
Follow these steps to protect your data:
Check Best Thermostat Pricing in Amazon
** As an Amazon Associate, I earn from qualifying purchases.
- Reset the thermostat to factory settings.
- Remove your account from the device.
- Check for any saved passwords and delete them.
Ensuring A Secure Handoff
A secure handoff is essential when changing ownership. This prevents unauthorized access to your home network and personal information.
Consider these points during the handoff process:
- Verify the identity of the new owner.
- Update the Wi-Fi password after the change.
- Inform the new owner about the reset process.
Here is a table summarizing the steps:
| Step | Description |
|---|---|
| Reset | Factory reset the thermostat to erase all data. |
| Remove Account | Disconnect your account from the device. |
| Verify New Owner | Ensure you know and trust the new owner. |
| Update Wi-Fi Password | Change the Wi-Fi password after transferring ownership. |
| Inform New Owner | Guide the new owner on setting up the device. |
Always prioritize security when changing the ownership of your Nest Thermostat. It keeps your home and data safe.
Post-transfer Setup For New Owners
After transferring the ownership of your Nest Thermostat, the new owner needs to complete the post-transfer setup. This ensures the device works smoothly and integrates with their home environment. Below are steps to help new owners customize settings and integrate the thermostat with other smart home devices.
Customizing Settings
Start by accessing the Nest app on your smartphone. Open the app and go to the settings menu. Here, you can adjust the temperature preferences. Set a schedule for heating and cooling. Enable the auto-schedule feature to let the thermostat learn your routine.
Next, check the Home/Away Assist settings. This feature adjusts the temperature based on whether anyone is home. Ensure the location services are enabled on your phone. This helps the thermostat determine if you are home or away.
You can also customize the display preferences. Choose between different clock faces, weather updates, and other information. Adjust the brightness of the display to match the room’s lighting. Finally, set up notifications for maintenance reminders and energy reports.
Integrating With Other Smart Home Devices
Integrate your Nest Thermostat with other smart devices in your home. Use the Google Home app to connect the thermostat to your Google Home speaker. This allows you to control the temperature using voice commands.
If you have smart lights, link them to the Nest Thermostat. This can help create a more automated home environment. For example, the lights can turn off when you leave the house. Check if your thermostat is compatible with other smart home hubs.
Refer to the user manual for a list of compatible devices. Use the IFTTT (If This Then That) app to create custom automations. This can include setting the thermostat to a specific temperature at a certain time. The possibilities are endless when integrating your Nest Thermostat with other smart devices.
Additional Considerations For Landlords And Property Managers
Changing the ownership of a Nest Thermostat can be a straightforward process for homeowners. But for landlords and property managers, there are additional considerations to keep in mind. Managing multiple units and ensuring smooth tenant transitions can complicate the process. This section covers some important tips for landlords and property managers.
Managing Multiple Units
Managing multiple units requires a different approach to changing Nest Thermostat ownership. Here are some tips:
- Create a master account: Use a single account to manage all the thermostats in your properties.
- Label each thermostat: Clearly label each device with its respective unit number.
- Regularly update access: Remove former tenants and add new ones promptly to avoid unauthorized access.
Best Practices For Tenant Transitions
Best practices for tenant transitions ensure a smooth process. Follow these steps:
- Reset the thermostat: Before a new tenant moves in, perform a factory reset on the Nest Thermostat.
- Provide instructions: Give new tenants clear instructions on how to set up the thermostat.
- Update access: Remove the old tenant’s access and add the new tenant to the account.
These steps help maintain security and efficiency in your properties. Proper management of Nest Thermostat ownership is crucial for both landlords and tenants.
| Action | Details |
|---|---|
| Create a master account | Use one account for all thermostats |
| Label each thermostat | Label devices with unit numbers |
| Reset the thermostat | Perform a factory reset before new tenants move in |
| Provide instructions | Give clear setup instructions to new tenants |
Following these tips will help you manage your properties effectively. Ensure tenant satisfaction and security by handling thermostat ownership properly.
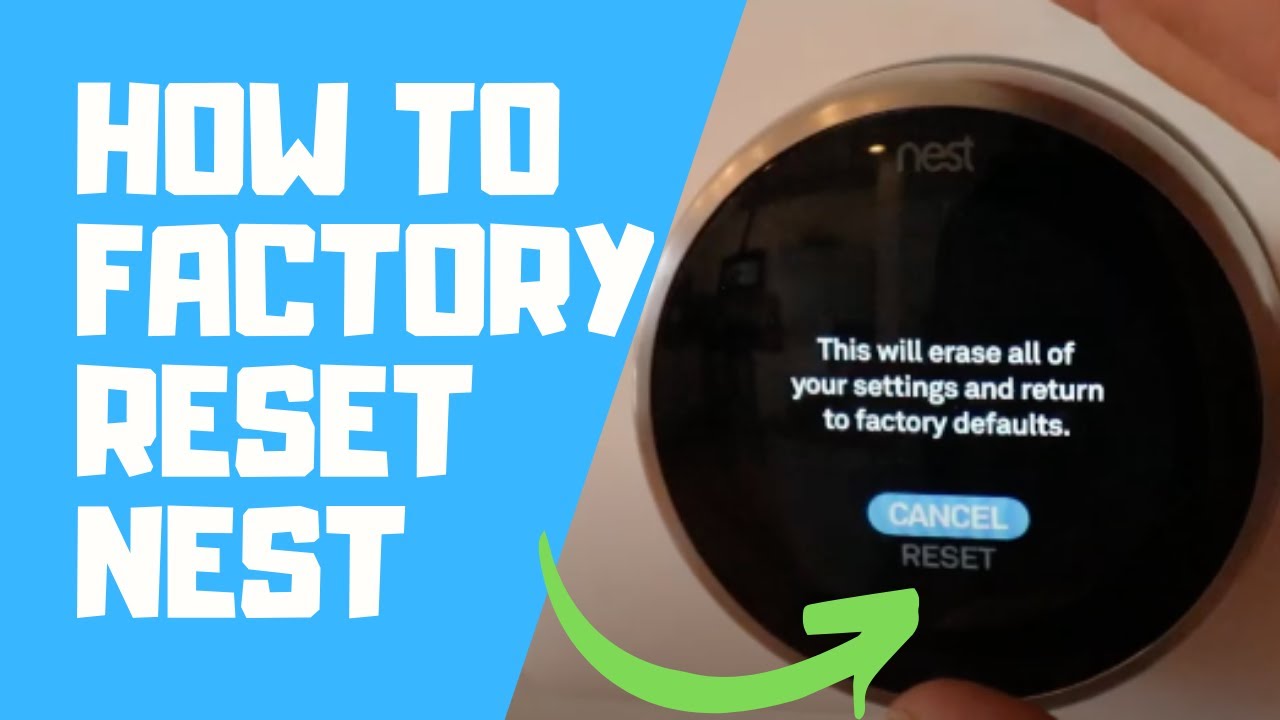
Credit: www.youtube.com
Faqs And Resources For Nest Thermostat Ownership Transfer
Transferring ownership of your Nest Thermostat can seem daunting. This guide will help you navigate the process with ease. We’ve compiled frequently asked questions, resources, and support options to ensure a smooth transition.
Finding Further Assistance
If you encounter any issues during the ownership transfer, Google offers a range of support options. You can access detailed guides and troubleshooting tips directly on the Google Nest Support page.
| Resource | Description |
|---|---|
| Support Articles | Step-by-step guides on transferring ownership. |
| Contact Support | Direct help from Google Nest experts. |
| Video Tutorials | Visual guides to assist with the process. |
Community Support And Forums
The Nest community is a valuable resource. Engaging with other users can provide insights and solutions that you may not find elsewhere.
- Google Nest Community Forum: A place to ask questions and share experiences.
- Reddit: Subreddits dedicated to Nest devices often have active discussions and tips.
- Facebook Groups: Join groups focused on smart home devices and Nest products.
These communities are filled with experienced users who can offer advice and support. Browsing through past discussions can also help you find answers to common questions.
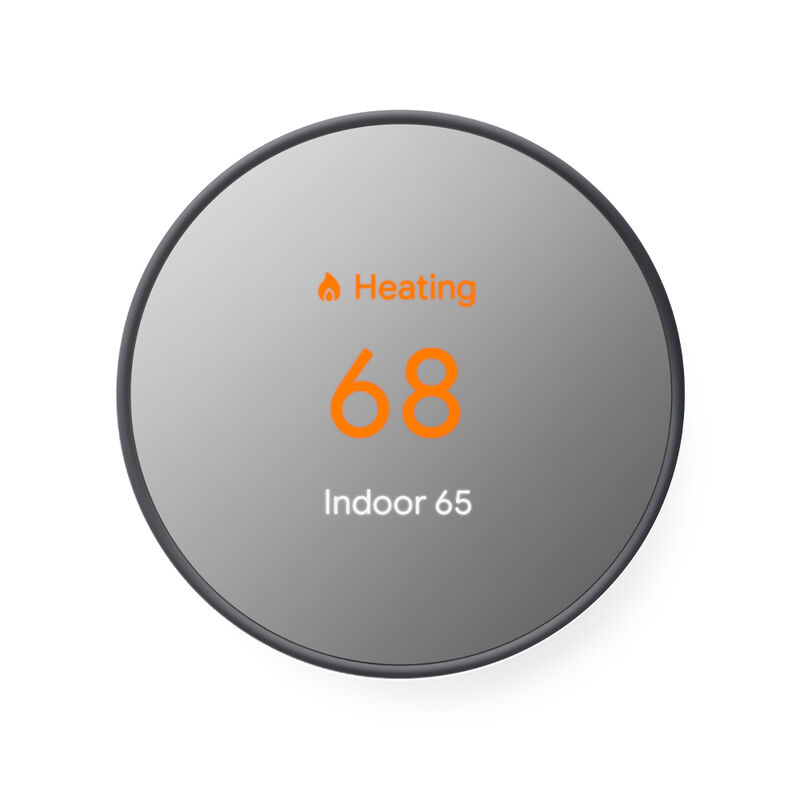
Credit: ny.home.myorustore.com
Frequently Asked Questions
How To Remove Nest Thermostat From Previous Owner?
Go to the Nest app. Select the thermostat. Choose “Remove” to disconnect it from the account. Reset the thermostat by going to “Settings” and selecting “Reset. ” This clears the previous owner’s data.
How Do I Transfer Nest To A New Owner?
Reset the Nest device to factory settings. Remove it from your account in the Nest app. The new owner can then add the device to their account.
How To Reset Nest Thermostat For New Owners?
To reset a Nest thermostat for new owners, go to Settings, select Reset, and choose “All Settings. ” Confirm the reset.
How Do I Give Someone Else Access To My Nest Thermostat?
To give someone access to your Nest thermostat, use the Nest app. Go to Settings, select Family & Guests, and add their email.
Conclusion
Transferring ownership of your Nest Thermostat is simple with the right steps. Follow the guide to ensure a smooth transition. Properly managing device ownership enhances security and functionality. Whether buying or selling, these steps will help you. Keep your smart home running seamlessly with these tips.
Check Best Thermostat Pricing in Amazon
** As an Amazon Associate, I earn from qualifying purchases.