
Check Best Thermostat Pricing in Amazon
** As an Amazon Associate, I earn from qualifying purchases.
Changing the battery in a Nest Thermostat is simple. Follow these steps to keep it working well.
Your Nest Thermostat is an essential home device. It helps regulate your home’s temperature, making life comfortable. But, like any device, it needs maintenance. One key task is changing the battery. A dead battery can cause disruptions. This guide will show you how to change the battery in your Nest Thermostat.
It’s easier than you think. No special tools required. Just a few minutes of your time. Keep your thermostat running smoothly. Let’s get started!
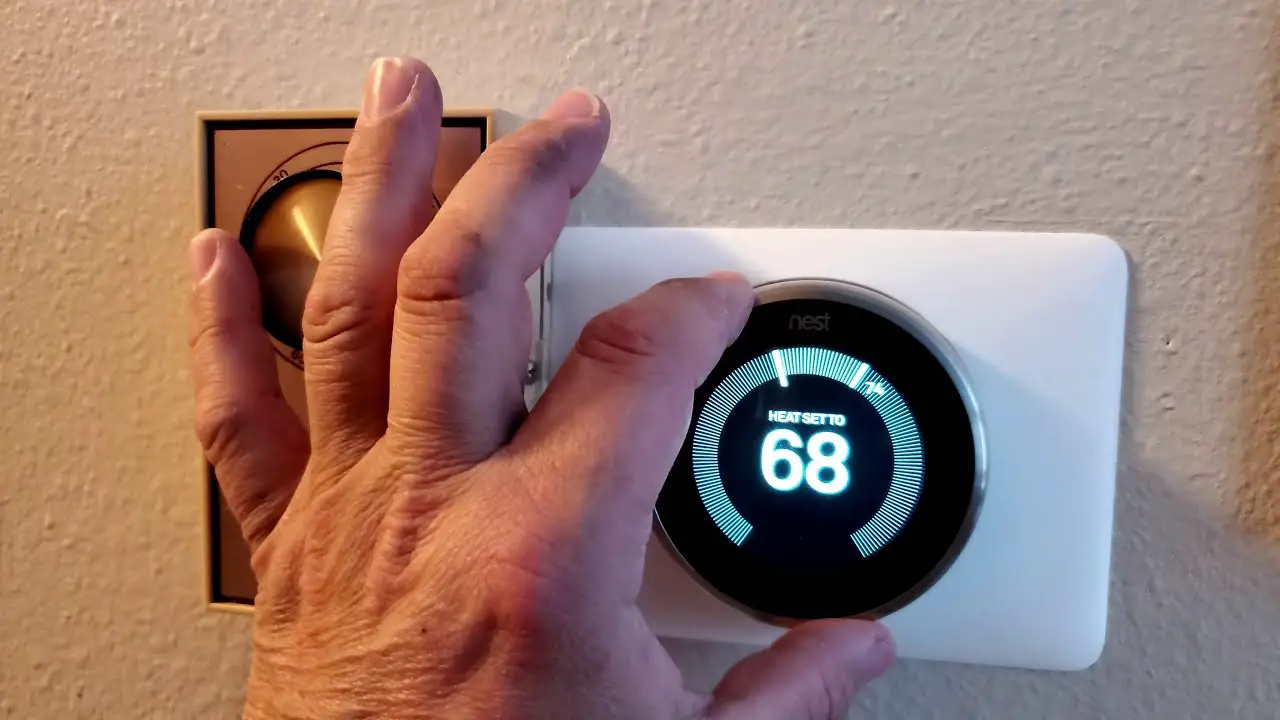
Credit: www.youtube.com
Gather Necessary Tools
Changing the battery in your Nest Thermostat can seem daunting. But with the right tools, it’s a simple task. Before you start, gather all necessary tools. This ensures a smooth and hassle-free process.
Screwdriver
A screwdriver is essential for this task. The Nest Thermostat has small screws. A Phillips head screwdriver works best. Make sure it fits the screws perfectly. This prevents any damage. You can find these screwdrivers in most toolkits. It’s a common household item.
Replacement Battery
Get a compatible replacement battery. The Nest Thermostat uses a specific type. Check your thermostat’s manual for details. The correct battery ensures proper functioning. Always use high-quality batteries. This extends the life of your thermostat. You can purchase these batteries online or at local stores.
Turn Off Thermostat
Changing the battery in your Nest Thermostat is a simple task. The first step is to turn off the thermostat. This ensures your safety and protects the device. Follow these guidelines to safely power down your Nest Thermostat.
Safety Precautions
Before turning off the thermostat, take some safety precautions. Ensure your hands are dry. Avoid touching any exposed wires. If you are unsure, consult the manual or contact support.
Power Down Procedure
To power down the thermostat, press the ring to wake it up. Navigate to the settings menu. Select the option to turn off the thermostat. Wait until the screen goes completely dark. This confirms the device is off.
Remove Thermostat From Wall
Changing the battery in your Nest Thermostat is easier than you think. Before you start, you need to remove the thermostat from the wall. This process involves two main steps: detaching the faceplate and unhooking the base. Follow these easy steps to get started.
Detach Faceplate
The first step is to detach the faceplate. Gently pull the faceplate off the base. It should come off with little effort. Hold the thermostat securely with one hand. Use the other hand to pull the faceplate straight out. Avoid twisting or bending it. This can damage the unit.
Unhook Base
Next, unhook the base from the wall. Check for screws holding the base. Use a screwdriver to remove these screws. Keep the screws in a safe place. Pull the base away from the wall. Be careful with the wires connected to the base. You don’t want to damage them.
With the base removed, you can now access the battery compartment. Follow the next steps to change the battery.
Access Battery Compartment
Changing the battery in your Nest Thermostat might seem like a daunting task, but it’s actually quite simple. One of the first steps is to access the battery compartment. This process requires a few basic steps, which we will break down for you. It’s a good idea to understand where to find the battery slot and how to open the battery cover.
Locate Battery Slot
First, you need to locate the battery slot. This can be found at the back of your Nest Thermostat. Carefully pull the thermostat display off the base. You don’t need any special tools for this, just a bit of gentle pressure. Once removed, you’ll see the battery compartment clearly.
Make sure you do this step slowly to avoid damaging the device. Have you ever broken something because you were too impatient? It’s a lesson learned the hard way. Take your time.
Open Battery Cover
Once you’ve found the battery slot, opening the battery cover is straightforward. Look for a small latch or a cover that you can lift or slide. The design is intuitive, so you should be able to do this without much force.
Use your fingernail or a small flat tool to open the cover. Be cautious not to scratch the surface. Remember the time you scratched your phone screen with a key? Let’s avoid that here.
After opening the cover, you’ll see the battery inside. Now, you’re ready for the next step, which involves removing the old battery and inserting a new one. But first, take a moment to reflect—why not share your experience or any tips you’ve discovered along the way? Your insights could help others.
Changing the battery in your Nest Thermostat is a great way to ensure it continues to function efficiently. Have you ever had your thermostat die in the middle of a cold night? Avoid that by making sure your battery is always fresh.
Check Best Thermostat Pricing in Amazon
** As an Amazon Associate, I earn from qualifying purchases.
Remove Old Battery
Remove the old battery by gently pulling it out of the Nest Thermostat. Ensure the device is off before removing the battery.
Changing the battery in your Nest Thermostat can feel daunting, but breaking it down into simple steps makes it quite manageable. The first crucial step is to remove the old battery. This ensures your device will operate smoothly and save you from any unexpected power outages. Let’s dive into the process with clear, concise steps.Identify Battery Type
Before you begin, it’s essential to know what type of battery your Nest Thermostat uses. This information can usually be found in the user manual or on the manufacturer’s website. Most Nest Thermostats use either AAA alkaline batteries or a lithium-ion battery. Knowing the exact type will save you time and ensure you purchase the correct replacement.Extract Old Battery
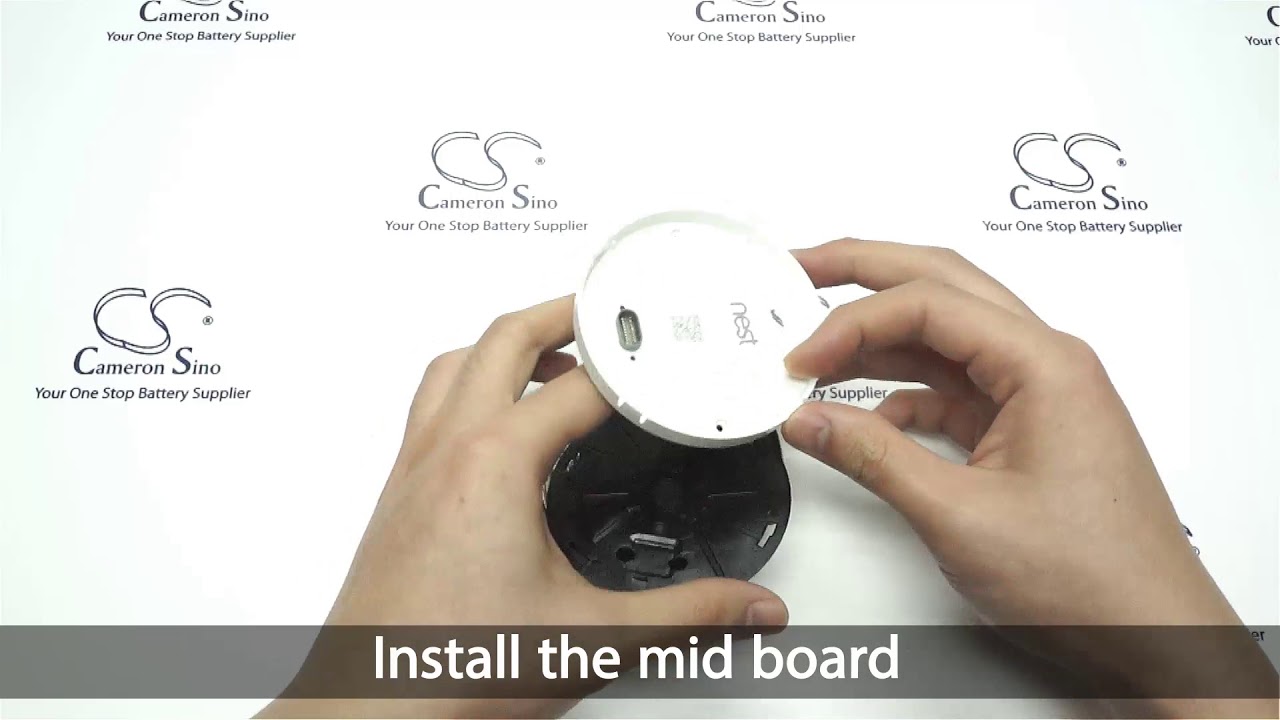
Now that you’ve identified the battery type, it’s time to remove the old one. Start by gently pulling the thermostat display off the base. You might need to use a little force, but it should come off without much trouble. Once the display is off, you will see the battery compartment. If you have AAA batteries, simply slide them out. For a lithium-ion battery, you might need to unclip it carefully. Be cautious not to damage any wires or connectors inside the device. A small misstep can lead to bigger issues. Have you ever had trouble removing stubborn batteries from a device? Using a small, flat tool like a screwdriver can make it easier to pry them out without damaging the thermostat. Now that the old battery is out, you can proceed to insert the new one, ensuring it fits snugly and securely. Remember, taking these steps carefully will help you maintain your Nest Thermostat in top condition. Do you feel ready to tackle this task yourself?
Credit: support.google.com
Insert New Battery
Replacing the battery in your Nest Thermostat is a simple task. Proper battery installation ensures your device functions smoothly. Follow these steps to insert a new battery correctly.
Check Battery Orientation
Before inserting the new battery, check its orientation. Look for the plus and minus signs on the battery. These signs must match the symbols inside the battery compartment. Incorrect orientation can damage your device.
Secure Battery In Place
Gently place the new battery into the compartment. Ensure it fits snugly. Press down lightly to secure it. The battery should not move or shift. If it does, recheck the orientation.
Once the battery is secure, close the battery compartment. Your Nest Thermostat is now ready to use. Enjoy a more efficient and reliable performance.
Reassemble Thermostat
After replacing the battery in your Nest Thermostat, reassembling it is the final step. This ensures your thermostat functions correctly. Follow these steps to complete the process.
Close Battery Compartment
First, ensure the new battery is secure in its slot. Carefully close the battery compartment cover. It should click into place easily. This confirms it is closed properly.
Reattach Thermostat To Wall
Next, align the thermostat with the wall plate. Gently press it back onto the wall. It should fit snugly and click into place.
Finally, check that the display is on and functioning. If everything looks good, you have successfully changed the battery and reassembled your Nest Thermostat.
Power On Thermostat
After replacing the battery in your Nest Thermostat, the next step is to power it on. This is crucial to ensure everything works correctly. Reconnecting power is a straightforward process. It involves a few simple steps. Let’s get started.
Reconnect Power
First, make sure the thermostat is securely attached to the base. Check that all wires are connected properly. Then, turn the power back on at the circuit breaker. This will restore electricity to the thermostat. Wait a few moments for it to power up.
Verify Functionality
Once the thermostat is powered on, it’s time to verify its functionality. Check the display to ensure it lights up. Navigate through the settings to make sure everything is responsive. Adjust the temperature to see if the heating or cooling system responds. If everything works, your Nest Thermostat is good to go.

Credit: www.ifixit.com
Frequently Asked Questions
How Do I Change The Battery In My Nest Thermostat?
To change the battery in your Nest thermostat, remove the display, replace the old batteries with new AAA ones, and reattach the display.
How Do I Charge The Battery On My Nest Thermostat?
To charge the battery on your Nest thermostat, connect it to a USB port using the provided cable.
What Happens If The Nest Thermostat Battery Dies?
The Nest thermostat stops functioning if the battery dies. It won’t control your HVAC system. Charge or replace the battery.
Is Nest Thermostat Battery Replaceable?
Yes, the Nest thermostat battery is replaceable. You can replace it by removing the thermostat display and inserting a new battery.
Conclusion
Changing the battery in your Nest thermostat is straightforward. Following these steps ensures proper function. Start by removing the thermostat from its base. Then, replace the old battery with a new one. Finally, reattach the thermostat to its base. This process takes only a few minutes.
Regularly check your thermostat’s battery to maintain efficiency. A functional thermostat keeps your home comfortable. Don’t forget to follow the manufacturer’s instructions. Keep your Nest thermostat running smoothly with simple maintenance. Enjoy a cozy home environment with these easy steps.
Check Best Thermostat Pricing in Amazon
** As an Amazon Associate, I earn from qualifying purchases.