

Check Best Thermostat Pricing in Amazon
** As an Amazon Associate, I earn from qualifying purchases.
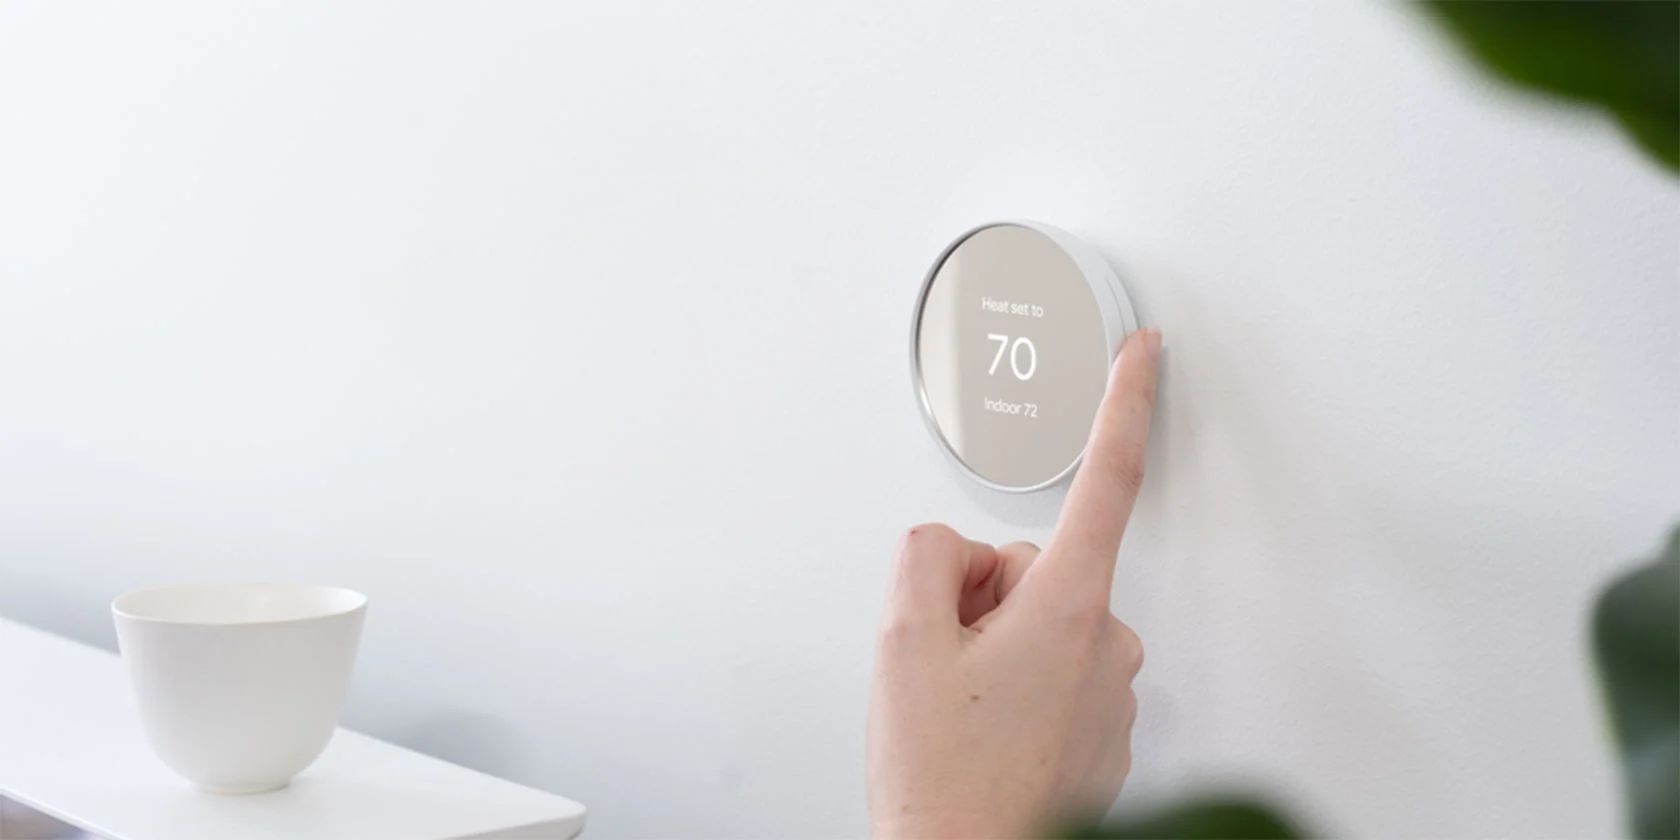
Adjusting your Nest Thermostat is simple. It can save you money and energy.
Nest Thermostats are smart devices that learn your habits. They make your home more comfortable while using less energy. In this guide, we’ll show you how to adjust your Nest Thermostat. Whether you want to change the temperature, set a schedule, or optimize energy use, we’ve got you covered.
Understanding how to use your thermostat can lead to a more efficient home. Let’s dive into the steps to make the most of this smart device.
Introduction To Nest Thermostat
Welcome to the world of smart home technology! The Nest Thermostat stands out as a user-friendly and efficient option. It helps you control your home’s temperature with ease. Whether you are tech-savvy or a beginner, adjusting the Nest Thermostat can be simple and rewarding.
Benefits Of Smart Thermostats
Smart thermostats offer many advantages. They save energy and reduce utility bills. They learn your schedule and adjust temperatures automatically. You can control them remotely using your smartphone. This means comfort at your fingertips.
Smart thermostats provide detailed energy reports. These reports help you understand and manage energy use. With this information, you can make informed decisions to save money. Over time, these savings can add up significantly.
Why Choose Nest
The Nest Thermostat offers a sleek design and easy installation. It integrates well with other smart home devices. This makes it a popular choice among homeowners. Nest’s intuitive interface ensures that anyone can use it without hassle.
It learns your preferences quickly. Within a week, it starts to adjust temperatures based on your routine. This learning feature sets Nest apart from other thermostats. Additionally, Nest provides excellent customer support. You can get help whenever you need it.
In summary, the Nest Thermostat is a smart choice. It offers convenience, savings, and ease of use. Start your journey towards a more comfortable and energy-efficient home today.

Credit: www.aquatec.com
Setting Up Nest Thermostat
Setting up your Nest Thermostat can seem tricky at first. With the right guidance, it becomes a simple task. Follow these steps to get your thermostat up and running.
Unboxing And Installation
First, unbox your Nest Thermostat. Inside, you’ll find the thermostat unit, a base plate, and screws. Gather these items and keep them handy.
Next, turn off the power to your HVAC system. This is important for safety. Locate your old thermostat and remove it from the wall. Keep the wires organized and label them.
Attach the base plate of the Nest Thermostat to the wall. Use the provided screws for this step. Connect the labeled wires to the corresponding terminals on the base plate. Follow the color-coded guide.
Once the wires are secure, snap the thermostat unit onto the base plate. Turn the power back on. Your Nest Thermostat should light up and display a welcome message.
Connecting To Wi-fi
After installation, it’s time to connect your Nest Thermostat to Wi-Fi. This allows you to control it from your phone. Use the thermostat’s screen to navigate to the settings menu.
Select “Network” and choose your home Wi-Fi network from the list. Enter your Wi-Fi password using the on-screen keyboard. Wait for the thermostat to connect.
Once connected, your thermostat will update its software. This ensures you have the latest features. With Wi-Fi enabled, you can now use the Nest app to control your thermostat remotely.
Basic Configuration
Adjusting your Nest Thermostat is simple with the right guidance. The basic configuration covers essential steps to ensure your thermostat functions efficiently. This section will help you understand how to set temperature preferences and create schedules.
Setting Temperature Preferences
Temperature preferences are crucial for comfort and energy savings. Start by accessing the Nest Thermostat menu. Select the “Settings” option. Then, choose “Temperature Preferences”. Here, you can set your desired temperature range. Adjust the temperature for both heating and cooling modes. Ensure the settings match your comfort levels and energy goals. Remember to save your changes.
Creating Schedules
Creating schedules helps automate temperature adjustments. Go to the Nest Thermostat menu and select “Schedule”. You can set different temperatures for different times of the day. For example, set a lower temperature when you are away. This saves energy. Choose higher temperatures when you are home for comfort. Customize the schedule to fit your daily routine. Save your schedule once you are done.
Advanced Settings
Adjusting the Nest Thermostat’s advanced settings helps optimize energy use. Customize temperature schedules, enable eco-mode, and tweak fan settings. Save energy and stay comfortable.
Adjusting your Nest Thermostat is more than just setting a temperature—it’s about optimizing comfort and efficiency. The advanced settings offer a range of options to fine-tune your home’s climate control. Understanding these settings can help you save energy and integrate your thermostat with other smart devices seamlessly.Energy Saving Modes
One of the most useful advanced settings is the Energy Saving Modes. These modes are designed to reduce energy consumption without sacrificing comfort. For instance, the Eco Temperature mode adjusts the thermostat to a temperature range that saves energy when you’re not home. This feature is perfect if you’re away at work or on vacation. You can also set up schedules for different times of the day or week, ensuring optimal energy usage. Have you noticed a spike in your energy bills recently? This setting might be the solution you’re looking for.Integrating With Other Smart Devices
Another exciting feature in the advanced settings is the ability to integrate with other smart devices. This allows for a more cohesive and intelligent home automation system. You can connect your Nest Thermostat with smart speakers like Google Home or Amazon Echo. This integration enables voice control, making it easy to adjust the temperature without lifting a finger. Imagine walking into your home and simply saying, “Hey Google, set the thermostat to 72 degrees.” It’s that simple. Additionally, integrating with smart lights and security systems can enhance your home’s overall efficiency. When you leave the house, your thermostat can automatically switch to Eco Mode, and your lights can turn off, saving even more energy. Have you tried integrating your thermostat with other devices yet? If not, it’s time to explore this feature and enjoy a smarter home.Troubleshooting Common Issues
Facing issues with your Nest Thermostat can be frustrating. Troubleshooting common issues can help you keep your home comfortable. This guide will cover two main problems: connectivity and temperature inconsistencies.
Connectivity Problems
Connectivity issues can prevent your Nest Thermostat from functioning properly. Ensure your Wi-Fi is working. Check your router and modem. Restart them if needed. Place the router closer to the thermostat. Walls and furniture can block signals.
Verify your thermostat is updated. Outdated software can cause connection issues. Go to settings. Check for updates and install them. If problems persist, reset the thermostat. This can often resolve issues.
Temperature Inconsistencies
Temperature inconsistencies can make your home uncomfortable. First, check the placement of your thermostat. It should be away from heat sources. Direct sunlight or appliances can affect readings.
Check Best Thermostat Pricing in Amazon
** As an Amazon Associate, I earn from qualifying purchases.
Ensure your thermostat is calibrated. Go to settings and select “Calibrate.” Follow the instructions. This can help correct temperature readings. Clean your thermostat. Dust and debris can affect its sensors. Use a soft cloth to wipe it down.
Check your HVAC system. Ensure it is working well. Regular maintenance can prevent issues. If the problem continues, contact a professional. They can inspect and repair your system.

Credit: www.youtube.com
Maintaining Your Nest Thermostat
Maintaining your Nest Thermostat ensures it runs efficiently and lasts longer. Proper care helps avoid unexpected issues and keeps your home comfortable. Let’s dive into some simple maintenance tips.
Regular Updates
It’s essential to keep your Nest Thermostat updated. Regular software updates fix bugs and improve performance. Check for updates in the settings menu and install them as they become available.
Updates also add new features, making your thermostat smarter over time. Don’t miss out on these enhancements. Set a reminder to check for updates monthly.
Cleaning And Care
Dust and dirt can affect your thermostat’s performance. Gently clean the display and outer casing with a soft, dry cloth. Avoid using water or cleaning solutions.
Make sure the sensors are free from obstructions. This ensures accurate temperature readings. A clean thermostat is not only functional but also looks good on your wall.
Have you ever noticed a drop in your thermostat’s efficiency? Regular maintenance might just be the solution. How often do you clean your Nest Thermostat?
Tips For Optimal Comfort
Adjusting your Nest Thermostat can greatly enhance your home’s comfort. With a few tweaks, you can enjoy a cozy environment year-round. Here are some tips to help you get the most out of your Nest Thermostat.
Adjusting For Seasonal Changes
Seasons change, and so should your thermostat settings. In the winter, set your thermostat to a warmer temperature during the day. At night, lower it to save energy while you sleep. During summer, keep your home cool by setting a lower temperature in the daytime. Raise it at night to save energy when it’s cooler outside.
Personalized Temperature Settings
Your comfort is unique. The Nest Thermostat allows you to create personalized settings. Adjust the temperature based on your daily routine. Set it to be warmer when you’re home and cooler when you’re away. You can also schedule temperatures for different times of the day. This way, you always come back to a comfortable home.
Using the Nest App, you can make changes even when you’re not home. This ensures your home is always at the perfect temperature. The app also provides energy-saving tips based on your usage patterns.
User Experiences
Adjusting the Nest Thermostat can be a smooth experience for many users. Feedback from users reveals a mix of success stories and challenges. These experiences help new users understand what to expect.
Success Stories
Many users find adjusting the Nest Thermostat simple and effective. One user shared how they set their desired temperature in minutes. The intuitive interface helped them navigate easily. Another user noticed significant energy savings within the first month. They appreciated how the thermostat adapted to their schedule. Users also mentioned the convenience of controlling the thermostat remotely. This feature allowed them to adjust settings even when away from home.
Common Challenges
Some users faced issues while adjusting the Nest Thermostat. One common challenge was connecting to Wi-Fi. Users had to ensure a strong signal for a smooth connection. Another challenge involved understanding the learning mode. Some users found it tricky to teach the thermostat their preferences. A few users also reported difficulties with initial setup. They had to follow detailed instructions to get the thermostat working properly.
Despite these challenges, many users found solutions through online forums and customer support. With a bit of patience, they were able to enjoy the benefits of their Nest Thermostat.
Credit: www.makeuseof.com
Frequently Asked Questions
How Do I Manually Adjust My Nest Thermostat?
Turn the outer ring of your Nest thermostat to adjust the temperature. Press the ring to confirm settings.
How To Set The Temperature On A Nest Thermostat?
Set the temperature on a Nest thermostat by turning the dial or using the Nest app. Adjust the dial clockwise to increase and counterclockwise to decrease the temperature. Use the app for remote control.
Why Does My Nest Always Say 2+ Hours?
Your Nest thermostat says 2+ hours due to significant temperature differences, system efficiency, or scheduled temperature changes.
How Do I Get My Nest Thermostat To Stay At One Temperature?
Set your Nest thermostat to “Hold Temperature” mode. Select the desired temperature and choose how long to maintain it.
Conclusion
Adjusting your Nest Thermostat is simple and user-friendly. Follow the steps carefully. Use the Nest app for easy control. Save energy and money by optimizing settings. Regular adjustments ensure comfort in every season. Understand your preferences and adjust accordingly. Keep experimenting for the best results.
Enjoy a comfortable and efficient home with your Nest Thermostat.
Check Best Thermostat Pricing in Amazon
** As an Amazon Associate, I earn from qualifying purchases.