
Check Best Thermostat Pricing in Amazon
** As an Amazon Associate, I earn from qualifying purchases.
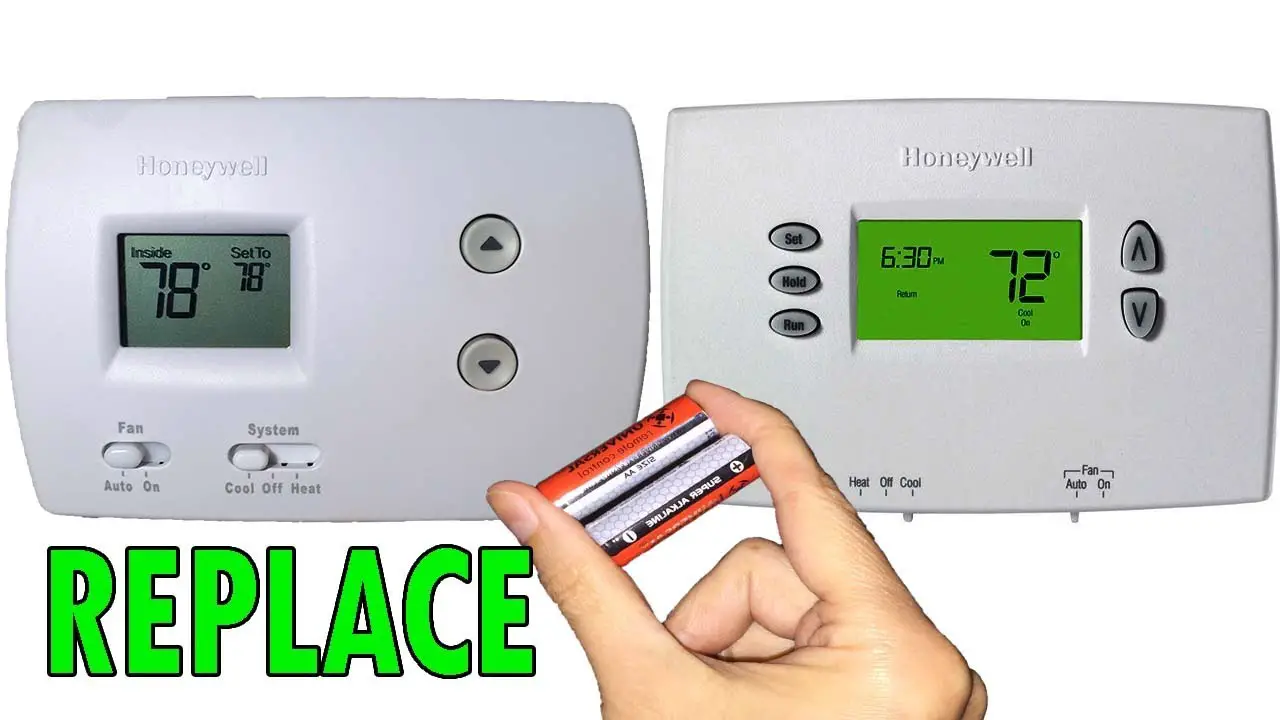
Replacing batteries in a Honeywell thermostat is simple. First, remove the thermostat cover.
Then, insert new batteries. A thermostat is essential for maintaining comfortable temperatures in your home. When your Honeywell thermostat’s display fades or stops working, it might be time to replace the batteries. This task is quick and straightforward, ensuring your thermostat functions properly.
Having a reliable thermostat means better control over your home’s heating and cooling. In this guide, we’ll walk you through the steps to replace the batteries in your Honeywell thermostat. This will help you keep your device running smoothly and efficiently. Let’s get started and ensure your home stays comfortable all year round.

Credit: www.homeserve.com
Preparation Steps
Replacing the batteries in a Honeywell thermostat is a simple task. Proper preparation makes the process smooth and safe. Here, we’ll go through the essential steps to get ready for this task.
Safety Precautions
Before you begin, ensure your safety. Turn off the power to the thermostat. This prevents electrical shock. Also, handle the thermostat gently to avoid damage. Wear rubber gloves if you have sensitive skin.
Gather Necessary Tools
Collect the tools you need. You will need a small screwdriver. You will also need replacement batteries. Check your thermostat model for the correct battery type. Having these tools ready saves time and effort.
Locating The Battery Compartment
Replacing batteries in a Honeywell thermostat is easy. First, you need to locate the battery compartment. This might seem tricky at first, but with clear steps, it becomes simple. Let’s break it down into two main tasks: accessing the thermostat and identifying the battery slot.
Accessing The Thermostat
To start, check your thermostat’s front cover. Most Honeywell models have a cover that you can easily remove. Gently pull or push the cover, depending on your model. If it doesn’t come off easily, don’t force it. You might need to slide it out or press a small latch.
Once the cover is off, you’ll see the internal components. Be careful not to touch any wires. Some models have a hinge, so the cover will swing open. This makes it easier to access the inside without completely removing the cover.
Identifying The Battery Slot
Inside the thermostat, look for the battery slot. It’s usually a small compartment. You might see a symbol or label indicating the battery location. In many models, the battery slot is near the top or bottom of the unit.
If you don’t see it right away, check the user manual. The manual will have diagrams showing the exact location. Once you find it, you can proceed to remove the old batteries and insert new ones.
By following these steps, you’ll locate the battery compartment easily. This ensures your thermostat runs efficiently.
Removing Old Batteries
Replacing the batteries in your Honeywell thermostat is a simple task. First, you need to remove the old batteries. This ensures your thermostat continues to function properly. Let’s go through the steps to safely remove the old batteries.
Opening The Compartment
Locate the battery compartment on your Honeywell thermostat. It is usually at the top or side. Look for a small tab or slot. Gently press or slide it to open. Be careful not to use too much force. The compartment should open easily.
Safely Removing Batteries
Once the compartment is open, you will see the batteries. Take note of their orientation. This helps you insert the new batteries correctly. Use your fingers to gently lift the batteries out. Avoid using metal tools. This can prevent accidental damage or short circuits.

Credit: www.youtube.com
Choosing Replacement Batteries
When it’s time to replace the batteries in your Honeywell thermostat, choosing the right replacement batteries is crucial. Using the correct batteries ensures your thermostat functions optimally and maintains your desired home temperature. Let’s break down the best battery types and recommended brands to make this task easier.
Battery Types
Honeywell thermostats typically use AA or AAA batteries. It’s essential to check your thermostat’s manual to confirm which type is required. Using the wrong type can damage the unit or cause it to malfunction.
Alkaline batteries are commonly recommended for thermostats. They provide consistent power and are readily available. However, if you’re looking for longer-lasting power, consider lithium batteries. They might cost a bit more but often last much longer.
Recommended Brands
Not all batteries are created equal. Some brands offer better performance and reliability than others. For your Honeywell thermostat, brands like Energizer and Duracell are top choices. They are known for their long-lasting power and durability.
Another excellent option is Panasonic. Their batteries provide consistent power and have a good shelf life. Personally, I have found Energizer batteries to last the longest in my Honeywell thermostat, ensuring I don’t have to replace them frequently.
Using high-quality batteries can prevent unexpected power issues. Have you ever experienced your thermostat going blank in the middle of winter? It’s a hassle you can avoid with the right batteries. So, choose wisely and keep your home comfortable without interruptions.
Installing New Batteries
Replacing the batteries in your Honeywell thermostat might seem daunting at first, but it is a straightforward process. Installing new batteries ensures that your thermostat continues to operate smoothly and efficiently. In this section, we will guide you through the steps to correctly place and connect new batteries in your Honeywell thermostat.
Correct Battery Placement
First, you need to identify the type of batteries your thermostat uses. Typically, Honeywell thermostats use AA or AAA batteries. You can find this information in the user manual or by checking the existing batteries.
Check Best Thermostat Pricing in Amazon
** As an Amazon Associate, I earn from qualifying purchases.
Once you have the correct batteries, open the battery compartment. Depending on your thermostat model, this might involve sliding off the front panel or opening a small compartment door. Be gentle to avoid damaging any parts.
Next, remove the old batteries. Pay attention to the orientation of the batteries before you take them out. The positive (+) and negative (-) ends of the batteries must match the markings inside the compartment when you insert the new ones.
Ensuring Proper Connection
After placing the new batteries in the correct orientation, ensure they are properly seated in the compartment. A loose battery might cause the thermostat to malfunction.
Close the battery compartment securely. Some models have a click mechanism to indicate it is properly closed. If you are unsure, refer to the user manual for specific instructions.
Test the thermostat to ensure it powers up correctly. If the display is not working, double-check the battery placement and ensure they are making proper contact with the terminals.
Have you ever had an issue with your thermostat after replacing the batteries? Share your experience in the comments below. Your insights could help others!
Testing The Thermostat
Replacing batteries in a Honeywell thermostat is simple. First, remove the thermostat from the wall plate. Then, replace the old batteries with new ones, ensuring the correct polarity.
Testing the Thermostat After replacing the batteries in your Honeywell thermostat, it’s crucial to test the device. This ensures it functions correctly and that you installed the batteries properly. Proper testing can save you from future headaches and ensure your home stays comfortable. ###Powering On
First, power on your thermostat. This step might seem obvious, but it’s essential. Reconnect the thermostat to its base if you removed it for battery replacement. Check the display screen. It should light up and show the current temperature. If it doesn’t, recheck the battery installation. Ensure the batteries are inserted correctly and are fresh. ###Checking Functionality
Once the thermostat is powered on, the next step is to check its functionality. Set the thermostat to a different temperature than the current room temperature. This should trigger your heating or cooling system to kick in. Listen for the click sound that indicates the system is turning on or off. If you don’t hear it, there might be an issue with the thermostat or your HVAC system. Check if the temperature changes according to your settings. This ensures that the thermostat is communicating correctly with your HVAC system. Testing your thermostat might seem tedious, but it’s an essential step. You want to avoid any surprises when you need your heating or cooling the most. Have you ever found yourself in the middle of winter with a malfunctioning thermostat? It’s not a pleasant experience. Ensuring everything works correctly now can save you from that scenario. Remember, a well-functioning thermostat means a more comfortable home. And who doesn’t want that?Troubleshooting Common Issues
Replacing batteries in a Honeywell thermostat can sometimes lead to unexpected issues. Knowing how to troubleshoot these common problems can save you time and frustration. This section will guide you through some frequent issues and their solutions.
Battery Not Working
After replacing the batteries, the thermostat may not power on. First, check if the batteries are inserted correctly. Ensure the positive and negative ends match the markings inside the battery compartment. If the batteries are new but still don’t work, try another set of batteries. Sometimes, even new batteries can be faulty.
Thermostat Display Problems
If the display is blank or shows incorrect information, the issue might be with the battery connection. Make sure the batteries are securely in place. If the display still does not work, reset the thermostat. Look for a small reset button or check the manual for reset instructions. A reset often fixes display issues.

Credit: willplumb.com
Maintenance Tips
Maintaining your Honeywell thermostat can significantly extend its lifespan and ensure it works efficiently. One of the most crucial aspects of maintenance is regularly replacing the batteries. Here are some handy tips to keep your thermostat in top shape.
Regular Battery Checks
Set a reminder to check your thermostat batteries every six months. This simple habit can prevent unexpected shutdowns. A convenient time to do this might be during the transition from winter to spring and fall to winter, when you’re likely adjusting the thermostat settings anyway.
Keep an eye out for the low battery indicator on your thermostat. This warning typically appears a few weeks before the batteries completely die, giving you ample time to replace them. Ignoring this can lead to your thermostat losing its settings, which can be a hassle to reprogram.
Avoiding Common Mistakes
One common mistake is mixing old and new batteries. Always replace all the batteries at the same time to ensure they have the same charge level. This prevents uneven power distribution, which can cause your thermostat to malfunction.
Another mistake is using the wrong type of batteries. Honeywell thermostats usually require AA or AAA alkaline batteries. Using rechargeable or mismatched batteries can affect performance and might even damage the thermostat.
Have you ever installed batteries backwards? It’s an easy mistake but can be frustrating. Pay close attention to the positive and negative ends when inserting new batteries. Most thermostats have clear markings to guide you.
By following these simple maintenance tips, you can keep your Honeywell thermostat running smoothly. What’s your experience with thermostat maintenance? Have you encountered any issues that these tips could help solve?
Frequently Asked Questions
How Do I Change The Batteries In My Honeywell Thermostat?
To change the batteries in your Honeywell thermostat, remove the thermostat from the wall plate. Open the battery compartment, replace the old batteries with new AA or AAA batteries, then reattach the thermostat to the wall plate.
How Do You Take The Cover Off Of A Honeywell Thermostat?
To remove the cover of a Honeywell thermostat, gently pull the front cover from the bottom. It should snap off easily.
How Do You Remove A Thermostat Cover To Replace A Battery?
Gently pull or slide the thermostat cover off. Locate the battery compartment. Remove old batteries and insert new ones.
Why Would My Honeywell Thermostat Go Blank?
A Honeywell thermostat may go blank due to a power outage, dead batteries, tripped circuit breaker, or wiring issues.
Conclusion
Replacing batteries in a Honeywell thermostat is simple. Follow the steps mentioned. Ensure you have the correct batteries. Turn off the thermostat first. Remove the cover gently. Replace the old batteries. Reattach the cover securely. Turn the thermostat back on.
Check its functionality. If it works fine, you’re done. Regular battery checks can prevent issues. This process helps maintain comfort in your home.
Check Best Thermostat Pricing in Amazon
** As an Amazon Associate, I earn from qualifying purchases.