
Check Best Thermostat Pricing in Amazon
** As an Amazon Associate, I earn from qualifying purchases.
Opening a Honeywell thermostat can seem tricky at first. But with a few simple steps, it’s manageable.
Honeywell thermostats are popular for their reliability and ease of use. Sometimes, you may need to open the unit to change batteries, clean it, or troubleshoot. Understanding how to do this safely and correctly is important. In this guide, we’ll walk you through the process step-by-step.
You’ll learn how to access the inside of your Honeywell thermostat without causing damage. This way, you can maintain your thermostat and ensure it continues to function well. Let’s get started on making this task simple and stress-free.

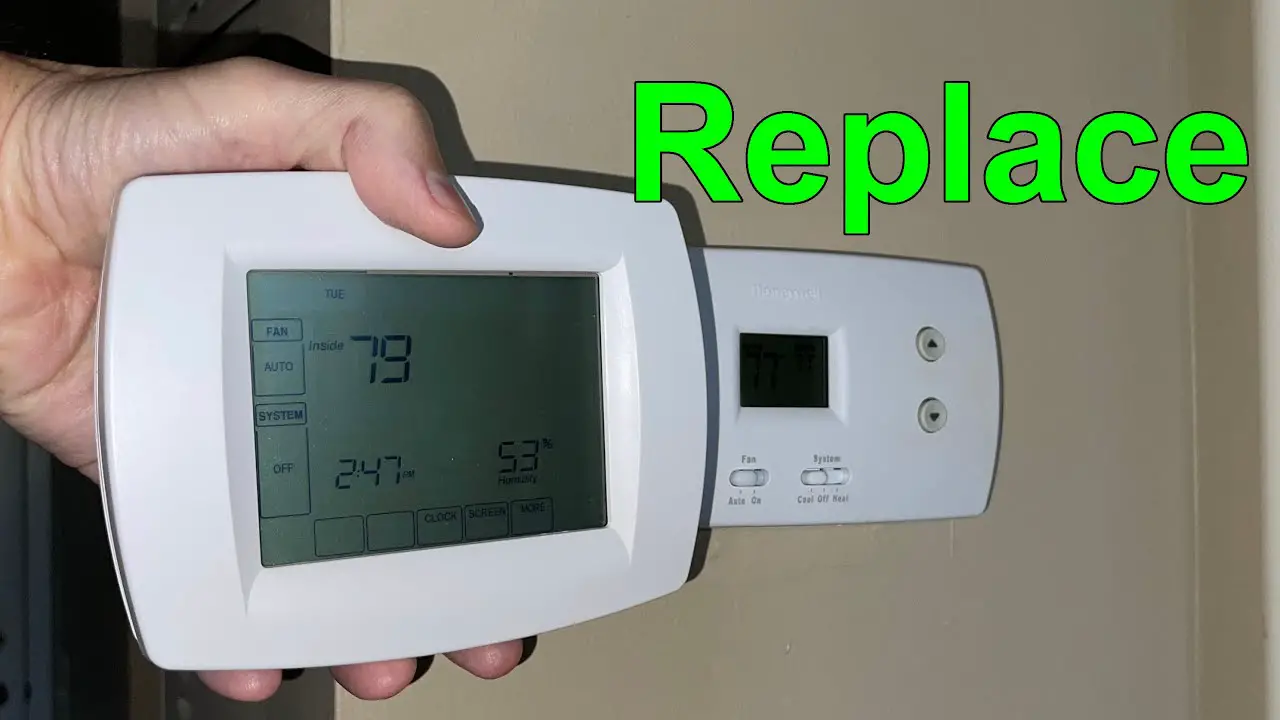
Credit: www.youtube.com
Tools Needed
Opening a Honeywell thermostat might seem like a tricky task. But with the right tools, it becomes much easier. You don’t need to be a technician. Just gather a few common household tools and some specialized ones. Let’s dive into what you need.
Common Household Tools
First, let’s look at common household tools. These are items you probably already have. A Phillips screwdriver is essential. It helps you remove screws without damaging them. A flat-head screwdriver can also be useful. It can help pry open the thermostat cover. Sometimes, you may need a small flashlight. It helps you see tiny parts inside the device. Tweezers can assist in handling small wires or components. A leveler ensures the thermostat is mounted straight.
Specialized Tools
Next, consider specialized tools. These tools are not as common but very helpful. A multimeter is one such tool. It checks the electrical connections. This ensures everything is safe. An insulated screwdriver provides extra safety. It prevents electric shocks. Wire strippers are handy for dealing with wires. They help you strip the insulation without cutting the wire. A small brush or compressed air can clean out dust from inside the thermostat. This keeps it functioning well.

Credit: www.wikihow.com
Preparing To Open The Thermostat
Opening a Honeywell thermostat might seem daunting, but with some preparation, you can do it smoothly. Whether you need to replace the batteries or troubleshoot an issue, knowing how to open your thermostat is essential. Let’s walk through the steps to ensure you are ready for the task.
Turning Off Power
Before you begin, the first and most crucial step is to turn off the power. This is not just a safety precaution; it’s a necessity. You don’t want to risk getting an electric shock or damaging the thermostat.
Go to your circuit breaker and find the switch that controls your HVAC system. Flip it to the “Off” position. If you’re unsure which switch it is, you might want to turn off the main breaker to be safe. Always double-check that the power is off by trying to turn on the thermostat.
Gathering Required Tools
Next, gather all the tools you’ll need. Having everything at hand will make the process smoother. You typically need a small screwdriver, preferably a Phillips head.
A flashlight can be helpful if your thermostat is in a dimly lit area. Also, have a small container nearby to keep screws so you don’t lose them. If you’re dealing with wiring, having a digital camera or your phone to take pictures before disconnecting anything can be a lifesaver.
Are you ready to open your Honeywell thermostat? Preparing well ensures a hassle-free experience. What’s your biggest concern when dealing with electrical gadgets at home? Share in the comments below!
Locating The Thermostat Cover
Opening a Honeywell thermostat can seem tricky if you’re not familiar with the device. However, finding the thermostat cover is usually the first step to accessing the internal components. Let’s break it down into simple, manageable steps.
Identifying The Model
First, you need to identify the model of your Honeywell thermostat. The model number is often located on the front or back of the unit.
If you’re unsure, consult your user manual or look up your thermostat’s model on the Honeywell website. Knowing your model will help you understand how the cover comes off.
Finding The Cover Release
Once you’ve identified the model, look for the cover release mechanism. This is usually a small tab or button on the side or bottom of the thermostat.
For instance, on older models, you might need to gently pry the cover off with a flathead screwdriver. On newer models, you might just need to press a button or pull the cover gently.
Be cautious and take your time. If you rush, you might break a delicate part or damage the thermostat.
Have you ever struggled with finding the cover release? You’re not alone. Many users find this step tricky, but with a little patience, it becomes straightforward.
Remember, once you locate the cover, opening your Honeywell thermostat will be much easier. Follow these steps and you’ll be on your way to accessing the internal components in no time.
Removing The Cover
Gently pull the Honeywell thermostat cover from the base. Use your fingers or a flat tool to assist. Carefully lift to avoid damage.
Removing the cover of a Honeywell thermostat might seem tricky. Understanding the steps can make it easier. You need to handle each part carefully.Prying Open The Cover
First, locate the groove where the cover meets the base. Gently insert a small flat tool, like a flathead screwdriver, into the groove. Twist the tool slightly to create a gap. The cover should start to separate from the base. If the cover is stuck, try applying a bit more pressure. Be patient. Forcing it open can damage the thermostat. Once the cover starts to lift, use your fingers to pull it off gently. This step is crucial for accessing the inner parts.Handling With Care
Handle the thermostat cover with care. The plastic can break if you apply too much force. Hold the cover with both hands. This ensures even pressure and reduces the risk of breakage. Keep the cover and any screws in a safe place. Losing these parts can complicate reassembly. Clean the cover if needed. Dust and dirt can accumulate over time. Following these steps ensures you open the thermostat without damage. This helps maintain the device’s longevity and functionality. “`Accessing Internal Components
Opening your Honeywell thermostat to access internal components might seem daunting at first. However, with a bit of guidance, you’ll find it straightforward and manageable. Let’s dive into the steps, making sure you handle the thermostat safely and efficiently.
Locating Screws And Clips
First, you need to identify where the screws and clips are located on your Honeywell thermostat. Most models have them discreetly placed, but they are not hard to find.
Look for small screws on the sides or bottom. A small flashlight can help spot them if they are hidden in shadows. Some models also feature clips instead of screws; these can usually be found around the edges.
It’s a good idea to consult your thermostat’s manual if you have it handy. Manuals often provide diagrams that pinpoint screw and clip locations. This can save you time and avoid unnecessary frustration.
Safely Detaching Parts
Once you’ve located the screws and clips, it’s time to detach them safely. Make sure you have the right tools on hand, such as a small screwdriver or a flat tool for prying clips.
Check Best Thermostat Pricing in Amazon
** As an Amazon Associate, I earn from qualifying purchases.
Unscrew each screw carefully, and place them in a small container so you don’t lose them. For clips, gently pry them open. Avoid using excessive force to prevent damaging the plastic casing.
Remember, patience is key. Take your time detaching each part, ensuring you don’t break any components. If you encounter resistance, double-check to make sure all screws and clips are fully released.
Have you ever opened up a device and found a hidden screw you missed? It happens to the best of us. Double-checking can save you from that “oops” moment.
Now that you have the internal components exposed, you’re ready to proceed with whatever maintenance or repair is needed. Doesn’t it feel satisfying to know you can handle this on your own?
Credit: www.reddit.com
Reassembling The Thermostat
Reassembling your Honeywell thermostat can seem tricky, but it’s simple. Follow these steps. Your thermostat will be back in working order soon.
Placing The Cover Back
First, align the cover with the base. Ensure all parts match up. Gently press the cover onto the base. You should hear a click. This means the cover is securely in place.
Securing Screws And Clips
Next, locate the screws or clips that hold the cover. Insert each screw into its hole. Tighten the screws using a screwdriver. If your thermostat has clips, snap them into place. Double-check to ensure everything is secure. This will keep the thermostat safe and functional.
Final Checks
Final checks are important after opening a Honeywell thermostat. These steps ensure your thermostat works correctly. They help avoid future problems. Here’s how to perform the final checks effectively.
Restoring Power
First, restore power to your thermostat. Switch on the circuit breaker. Make sure the power is back. Your thermostat should light up. Check the screen for any error messages. If the screen is blank, double-check the power source. Ensure all wires are connected properly.
Testing The Thermostat
Next, test the thermostat. Set a temperature. Listen for a click. This signals the heating or cooling system is working. Feel the air coming from the vents. Is it the right temperature? Wait a few minutes to confirm. If everything seems correct, your thermostat is ready to use.
If there are issues, recheck the wiring. Make sure each wire is in the right terminal. Consult the manual if needed. Proper testing ensures your Honeywell thermostat functions well.
Troubleshooting Common Issues
Troubleshooting common issues with your Honeywell thermostat can save you time and frustration. Whether it’s a cover that won’t close properly or a thermostat that isn’t powering on, these problems can be resolved with a few simple steps. Let’s dive into how you can address these issues and get your thermostat back in working order.
Cover Not Closing Properly
If the cover of your Honeywell thermostat isn’t closing properly, it can be annoying and might even affect the device’s performance. A common cause is misalignment. Ensure the cover is aligned with the base. Double-check the clips or hinges—sometimes they may need a gentle push to click into place.
Sometimes, dirt or debris can obstruct the cover. Wipe the edges clean with a soft cloth. I once struggled with a stubborn cover only to find a tiny piece of lint causing the issue. A quick clean, and it snapped shut perfectly.
Also, make sure no wires are sticking out. Tuck them neatly back inside. If the problem persists, the cover might be warped. Consider ordering a replacement if this is the case.
Thermostat Not Powering On
A thermostat that won’t power on can be concerning, but there are straightforward steps to troubleshoot. First, check the batteries if your model uses them. Replace old batteries with fresh ones. You’d be surprised how often this simple fix works.
If it’s hardwired, ensure the circuit breaker hasn’t tripped. Reset it if necessary. Once, I assumed my thermostat was broken, only to find the breaker had tripped during a storm.
Inspect the wiring connections. Loose or disconnected wires can prevent the thermostat from powering on. Secure any loose wires and make sure all connections are firm. If you’re unsure, consult the user manual or seek professional help.
Could there be another underlying issue? Sometimes, the problem might be with the HVAC system itself. Check if other devices connected to the same system are working. This step can help you pinpoint if the problem is with the thermostat or something larger.
Tackling these common issues doesn’t have to be daunting. With a little patience and some basic troubleshooting, you’ll have your Honeywell thermostat back to its optimal performance in no time. Have you faced any other tricky thermostat issues? Share your experience and solutions in the comments!
Frequently Asked Questions
How Do You Get The Cover Off A Honeywell Thermostat?
To remove the cover of a Honeywell thermostat, gently pull the cover from the base. Use your fingers to avoid damage.
How To Open Honeywell Thermostat To Change Battery?
To open a Honeywell thermostat, gently pull the thermostat cover off. Replace the batteries with fresh ones. Reattach the cover securely.
How To Unlock The Honeywell Thermostat?
Press and hold the “Menu” button for 5 seconds. Select “Lock” and enter your PIN to unlock.
How Do I Open A Thermostat To Change The Battery?
To open a thermostat, gently remove the cover by pulling or unscrewing it. Locate the battery compartment and replace the batteries.
Conclusion
Opening a Honeywell thermostat is quite simple. Follow the steps outlined above. You can safely access its components. Regular maintenance ensures your thermostat works efficiently. Keep your home comfortable with a well-functioning thermostat. Enjoy consistent temperatures without hassle. Proper handling extends the device’s life.
Always refer to the user manual for guidance. Remember, a little care goes a long way. Happy troubleshooting!
Check Best Thermostat Pricing in Amazon
** As an Amazon Associate, I earn from qualifying purchases.