
Check Best Thermostat Pricing in Amazon
** As an Amazon Associate, I earn from qualifying purchases.
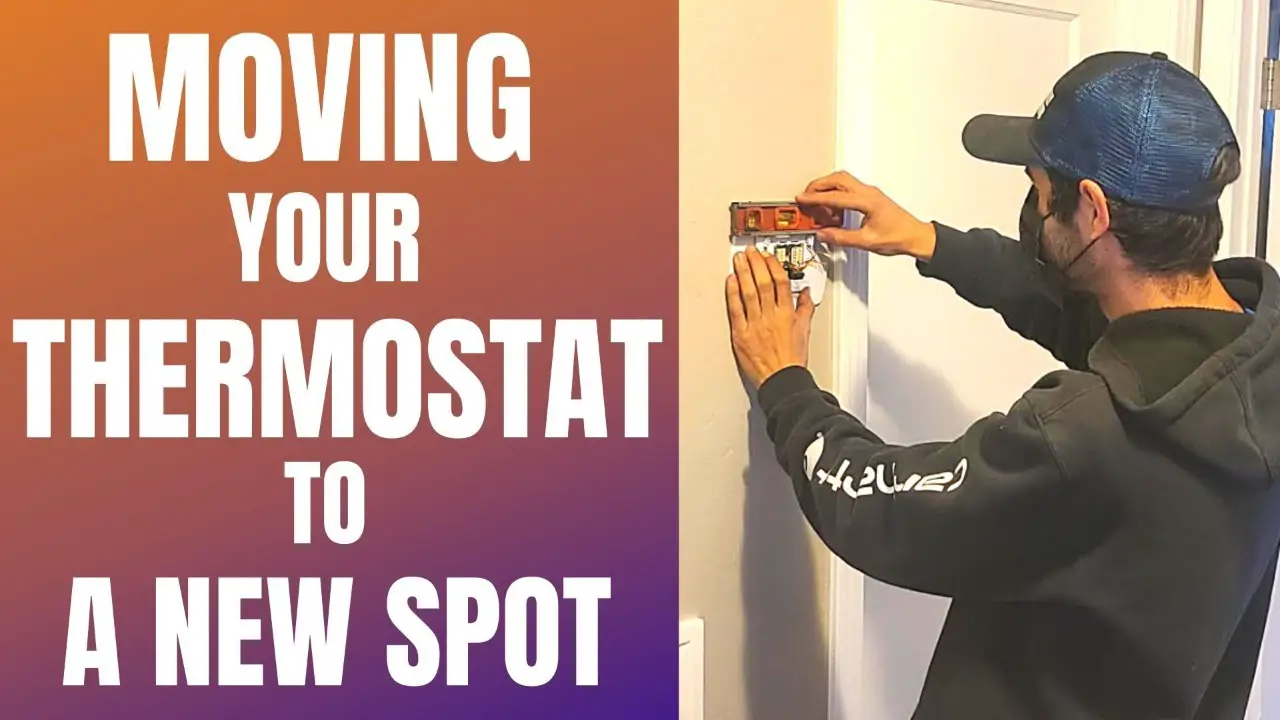
Moving a thermostat is straightforward. First, turn off the power.
Then, unscrew the unit and label the wires. A thermostat helps control the temperature in your home. Sometimes, it needs to be moved for better efficiency or remodeling purposes. Whether you’re upgrading your system or rearranging your space, moving a thermostat isn’t a task to rush.
It requires careful planning and some basic electrical knowledge. This guide will walk you through each step, ensuring you handle the task safely and effectively. From assessing the new location to reconnecting the wires, you’ll learn how to move your thermostat with confidence. Get ready to improve your home’s comfort and functionality without breaking a sweat.
Preparation
Moving a thermostat requires careful preparation. You need the right tools and safety precautions. This ensures the job is done right. Let’s start with the tools you need.
Tools Needed
Before you begin, gather these tools:
- Screwdriver set
- Wire nuts
- Electrical tape
- Drill and drill bits
- Level
- Measuring tape
Having these tools ready will save time.
Safety Precautions
Safety is important. Follow these steps:
- Turn off the power to the thermostat at the breaker box
- Use a voltage tester to ensure the power is off
- Wear safety goggles and gloves
- Keep children and pets away from the work area
These precautions help prevent accidents and ensure your safety.

Credit: www.youtube.com
Planning
Moving a thermostat involves turning off the power, removing the cover, and disconnecting the wires. Carefully label the wires for reconnection later. Choose a new location and follow the steps in reverse to reinstall.
Planning to move your thermostat is crucial. A well-thought-out plan ensures your heating and cooling systems function efficiently. Let’s break down the planning process with clear steps.Choosing A New Location
First, think about where you want to place the thermostat. It should be in a central location within your home. This helps the thermostat get an accurate reading of the overall temperature. Avoid placing it near windows, doors, or direct sunlight. These areas can give false readings. I once moved my thermostat near a window, and it kept reading higher temperatures due to sunlight exposure. Also, keep it away from vents or radiators. You don’t want it too close to heat sources or cooling vents. This can cause your system to turn on and off unnecessarily.Checking Compatibility
Before you move your thermostat, check if it’s compatible with the new location. Not all thermostats work with every system. Make sure your HVAC system and the thermostat are compatible. Look at the wiring. Different thermostats require different wiring. Ensure the new location has the necessary wires. When I moved mine, I discovered I needed a C-wire, which my new location didn’t have. Consider smart thermostats. They often need Wi-Fi, so make sure your new location has a strong signal. A weak signal can disrupt the thermostat’s functions. Planning can make your thermostat move smoother and more efficient. Are you ready to start planning?Turning Off Power
Before moving a thermostat, turning off the power is crucial. This step ensures safety and prevents electrical accidents. Follow these simple steps to turn off the power safely.
Locating The Breaker
First, locate your home’s main breaker panel. It is usually found in the basement, garage, or utility room. Look for a metal box with a door. Open the door to reveal the breakers inside.
Ensuring Power Is Off
Find the breaker that controls the thermostat. Typically, it is labeled. If not, consult your home’s electrical diagram. Flip the breaker switch to the “off” position. Double-check the thermostat to ensure it has no power. This confirms the breaker is off. You are now ready to move the thermostat.
Credit: aroundclock.com
Removing The Old Thermostat
Removing the old thermostat is a crucial step when you want to move it to a new location. It might seem a bit intimidating at first, but with the right guidance, you can do it easily. This section will walk you through the process of detaching the faceplate and disconnecting the wires. Let’s get started!
Detaching The Faceplate
First things first, you need to remove the faceplate of your old thermostat. This is usually the front part that you see and interact with. Most faceplates snap off with a bit of gentle pressure.
Carefully pull it away from the wall. If it feels stuck, check for any screws that might be holding it in place. Use a screwdriver to remove these screws if necessary. Once the faceplate is off, you’ll see the inner workings of your thermostat.
Disconnecting Wires
Now that the faceplate is off, it’s time to disconnect the wires. This part requires some attention to detail. Take a picture of the wiring setup with your phone. This will be your reference when reconnecting the wires to the new thermostat.
Most thermostats have wires connected to terminals marked with letters like R, W, Y, and G. Use a small screwdriver to loosen the terminal screws. Gently pull the wires out and label them with tape to remember their original positions.
Have you ever wondered why labeling wires is so important? It ensures you won’t mix up the connections later, which can save you a lot of troubleshooting time. What experiences have you had with DIY projects? Remember, patience and careful attention to detail are your best friends in this process.
Installing New Wiring
When you decide to move your thermostat to a new location, installing new wiring is a crucial step. This might sound daunting, but with the right guidance, you can tackle this task with confidence. Let’s dive into the specifics of running and securing the wires for your new thermostat location.
Running Wires To New Location
The first step in installing new wiring is to run the wires to the new location. Start by turning off the power to your thermostat at the circuit breaker. This ensures your safety while working with electrical components.
Next, identify the path the wires will take. You may need to drill small holes in the wall to thread the wires through. Use a wire fish tape to help guide the wires through these holes. Take your time and ensure the wires are not damaged during this process. Have you ever used a fish tape? It’s a handy tool that makes this job much easier.
Once the wires are threaded through, pull enough length to reach the thermostat’s new location. Make sure you have a little extra wire to work with. This can save you from having to redo everything if you come up short. How frustrating would that be?
Securing Wires
After running the wires, the next step is to secure them in place. Use wire staples to attach the wires to the wall studs. This prevents them from moving around and potentially getting damaged. Be careful not to pierce the wires with the staples.
As you secure the wires, keep them tight but not overly stretched. Over-tightening can cause the wires to break or weaken over time. You want a snug fit that keeps everything in place but allows for a bit of movement.
Finally, label the wires at both ends. This small step can save you a lot of headaches when it’s time to connect them to the thermostat. Have you ever tried to figure out which wire is which after they’ve been mixed up? It’s not fun.
By following these steps, you’ll have your new wiring installed safely and efficiently. Ready to move on to connecting your new thermostat? You’re almost there!

Credit: www.reddit.com
Mounting The New Thermostat
Mounting the new thermostat can seem like a daunting task, but with a little guidance, it’s quite manageable. Whether you’re upgrading to a smart thermostat or simply relocating it for better efficiency, mounting correctly is crucial. Let’s walk through the steps to ensure your new thermostat is securely and properly installed.
Check Best Thermostat Pricing in Amazon
** As an Amazon Associate, I earn from qualifying purchases.
Attaching The Base
Start by ensuring the power to your HVAC system is turned off to avoid any electrical mishaps. Use a screwdriver to remove the old thermostat from the wall, revealing the base and the attached wires.
Place the new thermostat’s base against the wall, making sure it’s level. Use a pencil to mark where the screws will go. Drill pilot holes at the marked spots to make the installation easier.
Secure the base to the wall with screws. Ensure it’s firmly attached, as a loose base can cause the thermostat to malfunction. This step is crucial for the overall stability of your new thermostat.
Connecting Wires
Each wire should be labeled, but if not, now is the time to label them. This will prevent confusion later on. Match the wires to the corresponding terminals on the new thermostat base.
Insert each wire into its designated terminal and tighten the screws to secure them. Make sure the connections are tight to avoid any loose wires that could disrupt the thermostat’s function.
Double-check all connections before attaching the thermostat faceplate. Secure any loose wires, and ensure they are not pinched when you attach the faceplate.
With the base attached and the wires securely connected, you’re almost done. Mounting your new thermostat correctly ensures it functions efficiently and keeps your home comfortable. Have you ever thought about how a simple DIY task like this can improve your home’s energy efficiency?
Testing The Installation
After successfully moving your thermostat, the next crucial step is testing the installation. Ensuring everything is working correctly is key to maintaining a comfortable and efficient home. You don’t want any surprises, especially when the weather turns extreme. Let’s dive into the essential steps for testing your new setup.
Restoring Power
Once the thermostat is in its new location, it’s time to restore power. Go to your circuit breaker and switch the power back on. This step is straightforward, but make sure you double-check that you’ve turned on the correct breaker.
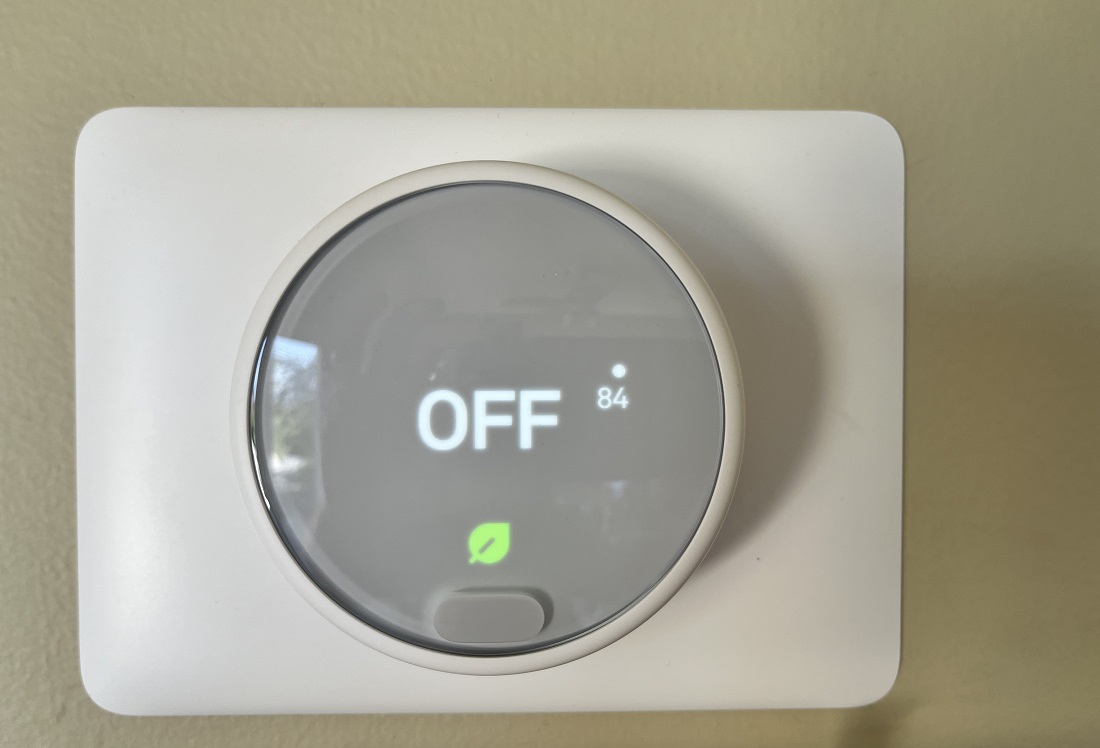
After restoring power, return to your thermostat. It should light up or display information on the screen. If it doesn’t, you might need to revisit your wiring connections. Miswiring can prevent the thermostat from powering up.
Checking Functionality
With power restored, the next step is to check if the thermostat functions correctly. Set a desired temperature and listen for a click or hum from your HVAC system. This sound indicates that the thermostat is communicating with the system.
Feel the air vents to confirm that the system is blowing hot or cold air, depending on your settings. If you don’t feel any air, it might be an issue with the system or the thermostat’s wiring.
Keep an eye on the temperature readings. They should change according to the settings you’ve input. If the temperature doesn’t change, recheck your setup to ensure everything is connected properly.
Testing the installation is all about ensuring your home’s comfort and efficiency. By restoring power and checking functionality, you can confidently use your relocated thermostat. Have you ever experienced issues after moving a thermostat? Share your tips in the comments!
Troubleshooting
Moving a thermostat can sometimes lead to unexpected problems. It’s important to troubleshoot effectively to ensure everything works smoothly. Let’s dive into common issues and how to fix them.
Common Issues
One common issue is the thermostat not turning on. This can be frustrating, especially if you’re in the middle of winter or summer. Check if the thermostat is receiving power.
Another problem could be incorrect temperature readings. This often happens if the thermostat is placed in an area with poor airflow. Make sure it’s not near heat sources or drafts.
Sometimes, the thermostat may not communicate with your HVAC system. This can lead to no heating or cooling in your home. Ensure all wires are correctly connected and not damaged.
Fixing Problems
If the thermostat isn’t turning on, try replacing the batteries. This simple step can save you a lot of hassle. If that doesn’t work, check the circuit breaker to see if it has tripped.
For inaccurate temperature readings, repositioning the thermostat might be the best solution. Move it to a central location away from direct sunlight or vents. This helps it read the room temperature more accurately.
If the thermostat isn’t communicating with your HVAC system, inspect the wiring. Look for any loose or disconnected wires. Tighten the connections and ensure they are secure. Sometimes, a simple reset can also resolve the issue. Consult your thermostat’s manual for specific reset instructions.
Have you encountered any of these issues while moving your thermostat? What steps did you find most helpful? Troubleshooting can seem daunting, but breaking it down into these manageable tasks can make the process easier.
Frequently Asked Questions
Is It Difficult To Relocate A Thermostat?
Relocating a thermostat can be challenging. It often requires professional help to avoid wiring issues and ensure optimal performance.
How Much Does It Cost To Move A Thermostat Location?
Moving a thermostat location typically costs between $100 and $300. The price varies based on labor and complexity.
Who To Call To Move A Thermostat?
Call a licensed HVAC technician to move a thermostat. They have the expertise to safely relocate it.
Where Should A Thermostat Be Located In A House?
Place the thermostat on an interior wall, away from direct sunlight, drafts, and heat sources. Position it around five feet above the floor for accurate readings.
Conclusion
Moving a thermostat can be simple with the right steps. First, plan the new location carefully. Ensure it’s away from heat sources. Next, turn off the power for safety. Remove the old thermostat and label the wires. Install the new device and connect the wires correctly.
Finally, turn the power back on and test the thermostat. These steps help make the process smooth. Remember, proper placement ensures accurate temperature control. Always follow the guidelines for a successful installation.
Check Best Thermostat Pricing in Amazon
** As an Amazon Associate, I earn from qualifying purchases.