
Check Best Thermostat Pricing in Amazon
** As an Amazon Associate, I earn from qualifying purchases.
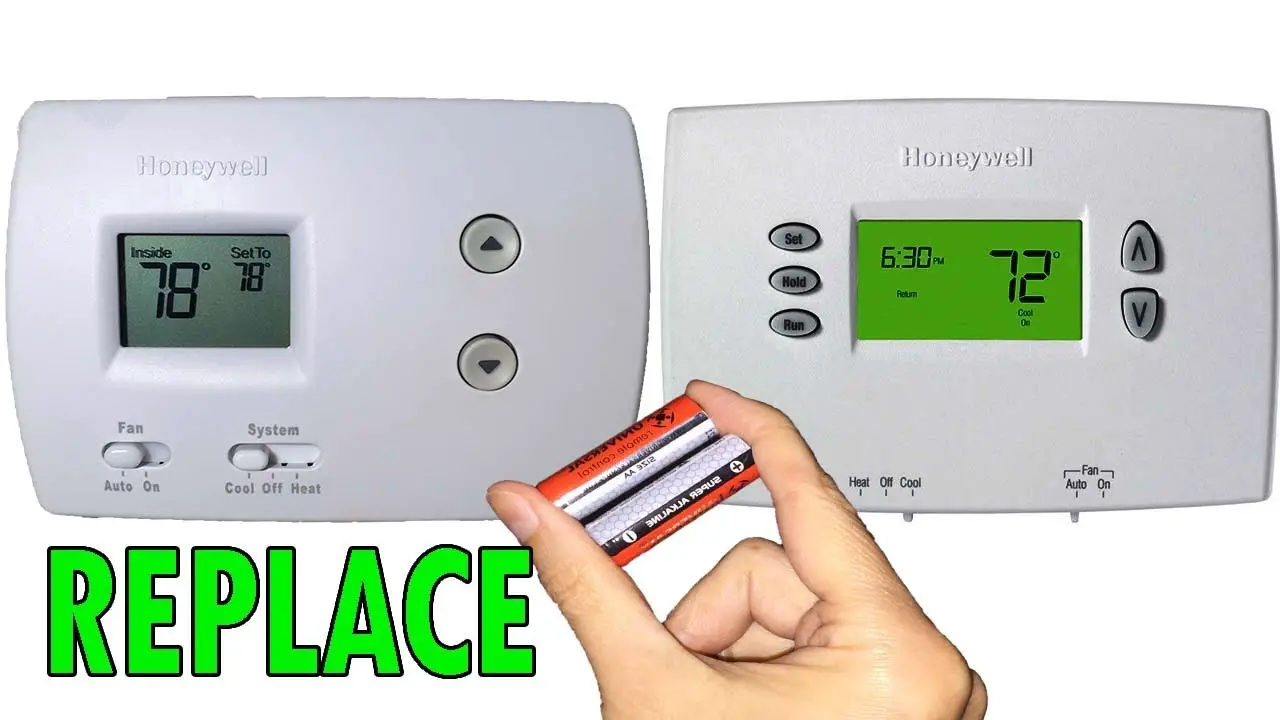
Have you ever found yourself frustrated with a Honeywell thermostat that just won’t work? You might be dealing with a simple issue: dead batteries.
Changing the batteries in your Honeywell thermostat is a quick fix that can save you time and stress. But, how do you do it without causing any damage? In this guide, you’ll learn the straightforward steps to replace your thermostat’s batteries, ensuring your home stays comfortable without interruption.
Imagine the relief of solving the problem yourself, without waiting for a technician. Plus, doing it yourself means you can avoid unnecessary expenses. Stick around, and you’ll discover just how easy it is to keep your thermostat running smoothly.

Credit: www.youtube.com
- Types Of Honeywell Thermostats
- Identifying Battery Type
- Tools Needed For Replacement
- Safety Precautions
- Removing The Thermostat From The Wall
- Accessing The Battery Compartment
- Replacing The Batteries
- Reinstalling The Thermostat
- Testing The Thermostat
- Troubleshooting Common Issues
- Maintenance Tips
- Frequently Asked Questions
- Conclusion
Types Of Honeywell Thermostats
When you’re looking to change the batteries in your Honeywell thermostat, understanding the type of thermostat you have is crucial. Honeywell offers a range of thermostats, each with unique features and maintenance needs. Knowing your model helps streamline the battery replacement process and ensures your thermostat continues to function optimally.
Programmable Models
Programmable Honeywell thermostats are popular for their ability to automatically adjust the temperature based on your schedule. These models often require batteries to store your settings and ensure the device works during power outages. Make sure to check the user manual for specific battery types. It might surprise you that a simple AA battery swap can save you from a chilly morning.
Non-programmable Models
Non-programmable models are straightforward and easy to use. They allow you to manually set the temperature, making them ideal if you prefer simplicity. These models typically use batteries for backup power. Have you ever thought about how many times you manually adjust your thermostat? With fresh batteries, you ensure reliable operation every time.
Smart Thermostats
Smart thermostats are the future of home heating and cooling. They connect to Wi-Fi and can be controlled through your smartphone. These innovative devices often use batteries as a backup for essential functions. Do you remember the last time your internet was down? Fresh batteries can keep your home comfortable even without connectivity.
Understanding the type of Honeywell thermostat you have is essential for efficient battery replacement. Whether you’re dealing with a programmable, non-programmable, or smart model, the right battery can keep your home cozy and your thermostat running smoothly. Have you checked your thermostat batteries recently? A quick check could spare you a lot of discomfort.
Identifying Battery Type
Identifying the right battery type for your Honeywell thermostat is crucial. Different models require different batteries. This ensures your thermostat functions smoothly without interruptions. Finding the correct battery type can be simple with the right guidance. Below, we explore the common types used in Honeywell thermostats.
Aa Batteries
Many Honeywell thermostats use AA batteries. They are easy to find in stores. These batteries provide reliable power. Check your thermostat’s user manual for specifics. Replace them every year to ensure continuous operation.
Aaa Batteries
Some models require AAA batteries. These are smaller than AA batteries. They offer the same reliable performance. Like AA, they are widely available. Look for alkaline versions for the best results.
Specialty Batteries
Certain advanced models need specialty batteries. These can be lithium or button cell types. They are often specific to particular models. Always check the manual for exact requirements. Buying the right type prevents potential damage.
Tools Needed For Replacement
Changing the batteries in your Honeywell thermostat is a simple task. It requires a few tools to ensure the job is done efficiently. Having the right tools will save time and effort. This section covers the essential tools you need for the replacement process. Follow these steps for a smooth battery change.
Screwdriver
A screwdriver is crucial for removing the thermostat from the wall. Most Honeywell models use screws to secure the device. A Phillips head screwdriver often works best. Check your thermostat’s manual for specific screw types. Keep the screws in a safe place to avoid losing them.
Replacement Batteries
Ensure you have the correct replacement batteries ready. Honeywell thermostats typically use AA or AAA batteries. Check your thermostat model for the specific type needed. Use fresh, high-quality batteries for longer-lasting performance. Always have a spare set on hand for future replacements.
Safety Precautions
Changing batteries in a Honeywell thermostat requires turning off the power first. Ensure hands are dry and tools are insulated to prevent electric shock. Carefully remove the battery compartment cover and replace the old batteries with new ones, following the correct polarity.
When it comes to changing the batteries in your Honeywell thermostat, safety should always be your first priority. Understanding the essential safety precautions can prevent accidents and ensure a smooth battery replacement process. Let’s dive into some crucial steps to keep you safe while handling your thermostat.Turning Off The Thermostat
Before you do anything, turn off your thermostat. This simple action prevents any accidental alterations to your home’s settings. Also, it minimizes the risk of electric shock or damage to the device. Once, I rushed to change my thermostat’s batteries without turning it off. It resulted in an annoying reset of all my programmed settings. Learn from my mistake and ensure your thermostat is off before you proceed.Avoiding Electrical Shock
To avoid any possibility of electrical shock, make sure your hands are dry and free from moisture. Water conducts electricity, and even a small amount can increase the risk. Consider wearing rubber gloves for an extra layer of protection. They act as an insulator, keeping you safe from unexpected shocks. Have you ever thought about the last time you checked your circuit breaker? It’s a good idea to familiarize yourself with its location. In case of any unexpected issues, you’ll know exactly where to go to cut off the power supply. Safety may seem like common sense, but it’s often overlooked. Take these precautions seriously to ensure your battery replacement goes off without a hitch. Remember, a few extra minutes spent on safety can save you from a world of trouble.Removing The Thermostat From The Wall
Changing batteries in your Honeywell thermostat might seem intimidating at first, but it’s actually quite straightforward. The first step in this process is removing the thermostat from the wall. This is where many people hesitate, fearing they might damage their device. But don’t worry; with a little guidance, you can do it safely and efficiently.
Locating The Release Button
Your thermostat likely has a release button or clip that holds it securely to the wall. Finding this button is crucial. Typically, it’s located on the bottom or the side of the unit. If you’re having trouble, check the thermostat’s manual; it usually has diagrams that can help you identify it. Knowing where this button is will prevent any accidental damage when you remove the unit.
Gently Detaching The Unit
Once you’ve located the release button, it’s time to detach the unit. Use gentle pressure to press the button and lift the thermostat away from the wall. You don’t need to use excessive force. Think of it like opening a jar—smooth and steady wins the race. If you feel resistance, double-check the release mechanism to ensure you’re pressing correctly. Sometimes a little wiggle is all it takes to free the thermostat.
Have you ever struggled with a thermostat that just wouldn’t budge? It can be frustrating, but patience is key. Ensuring you’re handling the unit carefully will keep it intact, ready for a quick battery change. Remember, taking your time in this step will save you from potential headaches later.
Changing batteries doesn’t have to be a daunting task. It’s a simple routine maintenance that ensures your thermostat operates smoothly. So, next time your Honeywell thermostat starts acting up, consider whether it’s time for a battery change and approach the task with confidence.

Credit: willplumb.com
Accessing The Battery Compartment
To change batteries in a Honeywell thermostat, first locate the battery compartment. Gently remove the cover by pulling it off or sliding it out. Replace the old batteries with new ones, ensuring correct alignment.
Accessing the battery compartment in your Honeywell thermostat is straightforward. Knowing the right steps makes it even easier. This guide will help you access the compartment quickly. Keep your thermostat running smoothly with fresh batteries.Opening The Battery Cover
Locate the thermostat on your wall. Most Honeywell models have a front cover. Look for small grooves or notches. These allow you to gently lift the cover. Use your fingers to apply slight pressure. Pull the cover away from the base. This reveals the battery compartment inside.Identifying Battery Location
Once the cover is open, look inside. The battery compartment is usually in the lower section. It’s designed to be easily accessible. You might see a small tray or holder. This is where the batteries sit. Remove any old batteries carefully. Check for any corrosion or dirt. Clean the compartment if needed before placing new batteries.Replacing The Batteries
Maintaining your Honeywell thermostat is crucial for optimal performance. One key task is changing the batteries. This ensures your thermostat functions without interruption. A simple process that anyone can follow.
Follow these steps to replace the batteries easily.
Removing Old Batteries
First, locate the battery compartment. It’s usually behind the cover or panel. Carefully remove the cover using your hands. No tools are needed for this step. Once open, you’ll see the old batteries.
Take out the batteries gently. Look for any corrosion or damage. If present, clean the compartment. Use a dry cloth for cleaning. Ensure it’s dry before moving to the next step.
Inserting New Batteries
Now, prepare the new batteries. Make sure they are the correct type. Commonly, AA or AAA batteries are needed. Insert the new batteries into the compartment.
Check Best Thermostat Pricing in Amazon
** As an Amazon Associate, I earn from qualifying purchases.
Check the polarity signs. Align them correctly with the markings. This ensures proper installation. Once inserted, place the cover back on. Make sure it’s securely fastened.
Your Honeywell thermostat is now ready. Check its display for proper function. If it shows errors, recheck the installation. Ensure the batteries are seated correctly. Enjoy uninterrupted thermostat performance.
Reinstalling The Thermostat
After replacing the batteries in your Honeywell thermostat, it’s time to reinstall. Proper reinstallation ensures the device works efficiently. Follow these steps to secure and align the unit.
Securing The Unit Back To The Wall
Begin by positioning the thermostat over the wall plate. Make sure the wires are not pinched. Press the unit gently against the wall. Listen for a click to confirm it’s locked in place.
Ensuring Proper Alignment
Check the alignment of the thermostat. Ensure it is level and centered. This prevents inaccurate readings. Adjust the position if necessary. The display should be clear and visible.
Proper alignment helps maintain the unit’s efficiency. Misalignment can affect performance. Always double-check before finalizing installation.
Testing The Thermostat
After successfully replacing the batteries in your Honeywell thermostat, it’s crucial to ensure everything is functioning correctly. Testing the thermostat is a simple yet essential step to confirm that your efforts have paid off and your system is ready to maintain your comfort. Let’s dive into how you can effectively test your thermostat to make sure everything is working smoothly.
Powering On
Once the batteries are replaced, your first move is to power the thermostat back on. This is a straightforward process. Simply reattach the thermostat to its wall mount.
Ensure it clicks securely into place. You should see the display light up, indicating that the thermostat has power.
If the screen remains blank, double-check that the batteries are properly installed. Incorrect placement is a common oversight that can easily be fixed.
Checking Functionality
With the thermostat powered on, the next step is to check its functionality. Begin by setting the thermostat to your desired temperature.
Listen for a click or a soft hum from your heating or cooling system. This sound indicates that the system has received the signal from the thermostat and is beginning to operate.
Feel the air coming from your vents to confirm the system is working. Is it warm or cool, as expected?
If everything seems to be in order, great! If not, consider whether the thermostat settings need adjustment. Sometimes, it’s as simple as ensuring the system is set to the correct mode, like ‘heat’ or ‘cool’.
Have you ever wondered why your room isn’t reaching the set temperature? It might not be the thermostat’s fault. Check if any vents are blocked or if the system needs maintenance.
By taking these steps, you can confidently ensure your Honeywell thermostat is functioning perfectly, keeping your home comfortable and energy-efficient.
Troubleshooting Common Issues
Troubleshooting common issues with your Honeywell thermostat can be straightforward. Changing the batteries often resolves many problems. But sometimes, issues persist, even after installing new batteries. Let’s explore solutions for two frequent problems. These are the display not turning on and the thermostat not responding.
Display Not Turning On
If the display stays blank, first check the batteries. Ensure they are installed correctly. Double-check the polarity. Fresh batteries are essential for proper function. If the display remains off, inspect the battery compartment. Look for any corrosion or dirt. Clean it gently using a soft brush. Ensure all connections are secure. Consider resetting the thermostat. You can do this by removing the batteries for 10 minutes. Then, reinsert them. This might solve the issue.
Thermostat Not Responding
A non-responsive thermostat may signal battery issues. Verify battery placement first. Correctly aligned batteries are crucial. If the problem continues, examine the wiring. Loose wires can cause malfunctions. Tighten any loose connections. Sometimes, a factory reset helps. Follow the manual to reset your Honeywell model. This can bring back normal operations. If none of these work, consult a professional. They can provide further assistance.
Maintenance Tips
To change batteries in a Honeywell thermostat, first locate the battery compartment. Slide off the thermostat cover gently. Replace old batteries with new ones, ensuring correct polarity. Secure the cover back in place. Regular battery checks ensure smooth thermostat operation.
Maintaining your Honeywell thermostat is crucial for ensuring it runs efficiently and prolongs its lifespan. While changing the batteries is a critical task, there are other maintenance steps you should not overlook. These steps can prevent unexpected breakdowns and save you money in the long run. Let’s dive into some key maintenance tips that will keep your thermostat in top shape.Regular Battery Checks
Make it a habit to check your thermostat batteries regularly. Batteries power essential functions of your thermostat, and a sudden failure could leave you in the cold or heat. An easy way to remember is to align battery checks with seasonal changes. Consider setting a reminder on your phone to alert you every six months. This ensures you don’t forget this small yet significant task. Have you ever noticed your thermostat acting sluggish? It might just need a simple battery change.Cleaning The Thermostat
Dust and dirt can interfere with your thermostat’s performance. Regular cleaning helps maintain accuracy in temperature readings. Use a soft cloth to gently wipe the exterior of the thermostat. Avoid using any liquids or abrasive materials. These could damage the thermostat’s sensitive components. A clean thermostat not only functions better but also looks more appealing on your wall. Incorporating these simple maintenance tips into your routine can significantly enhance your Honeywell thermostat’s performance. Have you tried any of these tips yet? They might just save you from a costly repair in the future.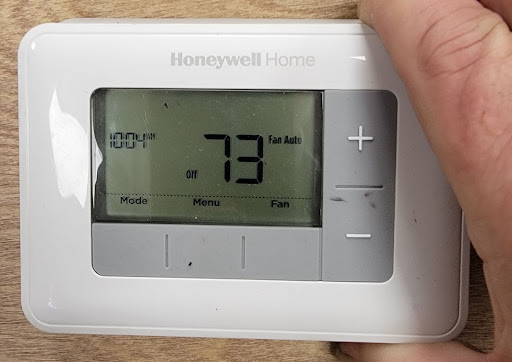
Credit: environmentmasters.com
Frequently Asked Questions
How Do You Open A Honeywell Thermostat To Change The Battery?
Remove the thermostat cover by gently pulling it off. Locate and replace the battery inside. Ensure correct battery placement before reattaching the cover.
How Do You Take The Cover Off Of A Honeywell Thermostat?
Gently pull the thermostat’s faceplate to remove it. Ensure you don’t force it, as it may damage the device.
How To Remove Thermostat Cover To Replace Battery?
Turn off the thermostat. Gently pull or unscrew the cover. Replace the battery inside. Secure the cover back.
What Happens When A Honeywell Thermostat Battery Dies?
A Honeywell thermostat stops functioning when its battery dies. Replace the battery to restore operation. Until replaced, the screen may go blank, and settings can be lost. Regular battery checks prevent unexpected shutdowns, ensuring efficient temperature control. Always use recommended battery types for optimal performance.
Conclusion
Changing Honeywell thermostat batteries is simple. Follow the steps carefully. First, find the battery compartment. Open it gently. Second, remove old batteries. Dispose of them safely. Third, insert new batteries. Ensure correct polarity. Finally, close the battery compartment. Check if the thermostat works.
If not, repeat the steps. Regular battery checks are important. They keep your thermostat running smoothly. Save time and money with regular maintenance. A little effort ensures comfort. Now, enjoy a well-functioning thermostat. Stay cozy and worry-free!
Check Best Thermostat Pricing in Amazon
** As an Amazon Associate, I earn from qualifying purchases.