

Check Best Thermostat Pricing in Amazon
** As an Amazon Associate, I earn from qualifying purchases.
To turn on a Honeywell thermostat, locate the power button. Press it once.
Honeywell thermostats are popular for their reliability and ease of use. If you’re new to using one, you might be wondering how to get started. Turning on your Honeywell thermostat is a simple process, but it’s crucial for ensuring your home stays comfortable.
This guide will walk you through the steps, making it easy to start controlling the temperature in your home. Whether you’re dealing with cold winter nights or hot summer days, knowing how to operate your thermostat can make a big difference in your home’s comfort. Let’s dive into the details and get your Honeywell thermostat up and running smoothly.
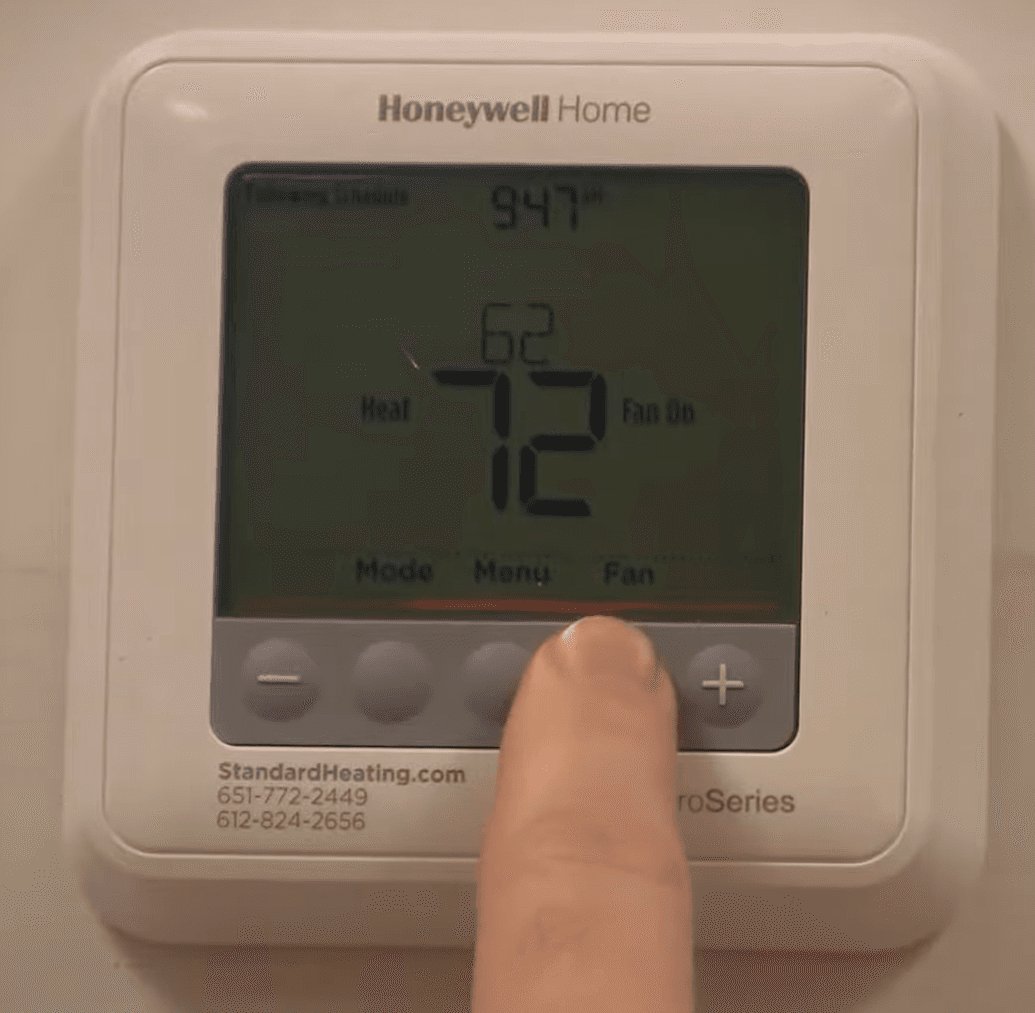
Credit: www.standardheating.com
Introduction To Honeywell Thermostats
Honeywell thermostats have become a popular choice for many households. They offer precision in temperature control and energy efficiency. Understanding how to operate these devices can enhance your home’s comfort.
Whether you have a traditional or smart model, Honeywell thermostats are user-friendly. They are designed to meet the needs of different users. Let’s dive into the various types and benefits of Honeywell thermostats.
Types Of Honeywell Thermostats
Honeywell offers a range of thermostats to suit various preferences. Here are a few types:
- Programmable Thermostats: These allow you to set schedules for different times of the day. They help in saving energy by adjusting temperatures automatically.
- Non-Programmable Thermostats: Simple to use, these let you manually set your desired temperature. They are ideal for those who prefer straightforward controls.
- Wi-Fi Thermostats: These connect to your home network. You can control them remotely using a smartphone or tablet. Perfect for tech-savvy users.
- Smart Thermostats: These offer advanced features like learning your schedule and adjusting settings automatically. They integrate with smart home systems for seamless control.
Benefits Of Using Honeywell Thermostats
Honeywell thermostats offer several advantages that can improve your home environment:
- Energy Savings: With programmable and smart options, you can reduce energy usage. This leads to lower utility bills.
- Enhanced Comfort: Precise temperature control ensures your home stays comfortable. You can set it to your preferred temperature with ease.
- Convenience: Wi-Fi and smart models allow remote access. You can adjust settings from anywhere, providing greater flexibility.
- Easy to Use: User-friendly interfaces make it simple to operate. Even those with limited tech knowledge can manage them.
By understanding the types and benefits, you can choose the right Honeywell thermostat for your needs. This ensures a comfortable and energy-efficient home.
Understanding Your Thermostat Model
Understanding your Honeywell thermostat model is the first step towards efficiently managing your home’s temperature. Each model comes with unique features and functionalities that can enhance your comfort. Knowing your specific model can help you make the most out of it.
Finding The Model Number
The model number is usually printed on the inside cover or the back of your thermostat. It may also be listed in the user manual. If you’ve misplaced the manual, a quick online search with the brand and any visible numbers should help.
Another tip is to check the packaging box if you still have it. The model number is often listed next to the barcode. If you’re still unsure, Honeywell’s customer service can assist you.
Key Features To Identify
Once you’ve found the model number, identifying key features becomes easier. Some models come with touchscreen displays, while others have physical buttons. Knowing this can help you navigate the settings more effectively.
For instance, some advanced models offer Wi-Fi connectivity, allowing you to control the thermostat through your smartphone. If yours has this feature, make sure you connect it to your home network for remote access.
Many models also come with programmable settings. This means you can set different temperatures for different times of the day. If your model has this feature, use it to optimize your energy usage.
Have you ever wondered how these features can actually save you money? By understanding your thermostat’s capabilities, you can fine-tune your home’s climate control and potentially lower your energy bills.
Now that you have a clearer picture of your thermostat model, you’re well on your way to a more comfortable and energy-efficient home. What’s the next feature you’re excited to explore?
Initial Setup And Installation
Setting up your Honeywell thermostat for the first time can be exciting. With a few simple steps, you’ll be on your way to a more comfortable and energy-efficient home. Let’s break down the initial setup and installation process to make it smooth and straightforward.
Unboxing And Inspection
Start by unboxing your Honeywell thermostat. Carefully remove all the components and place them on a flat surface.
Ensure that you have all the necessary parts, including the thermostat unit, mounting hardware, and user manual. Missing parts can delay your installation.
Inspect the thermostat for any visible damage. A quick check can save you from future hassles.
Mounting The Thermostat
Before you begin mounting, turn off the power to your HVAC system. Safety first!
Choose an optimal location for your thermostat. It should be away from direct sunlight, drafts, and other heat sources to get accurate readings.
Use the provided screws and anchors to mount the thermostat base to the wall. Make sure it is level.
Connect the wires to the corresponding terminals on the thermostat base. Follow the wiring diagram in the user manual for accurate installation.
Attach the thermostat unit to the base. It should snap into place securely.
Turn the power back on and proceed to set up your thermostat according to the user manual. You’ll be adjusting your home’s temperature in no time!
Have you ever installed a thermostat before? What challenges did you face? Share your experience in the comments below!
Powering Up The Thermostat
Turning on your Honeywell thermostat for the first time can feel a bit daunting. However, the process is straightforward if you follow the correct steps. Let’s break it down into manageable parts to ensure your thermostat is powered up and ready to control your home’s temperature efficiently.
Ensuring Proper Wiring
Before you even think about powering up your Honeywell thermostat, double-check the wiring. Ensure that all wires are securely connected to their respective terminals. A loose wire can prevent the thermostat from turning on.
Look at the thermostat’s manual for a wiring diagram. This will guide you on which wire goes where. If you’re unsure, don’t hesitate to consult a professional. Incorrect wiring can lead to malfunctions or even damage.
If you’re confident in your wiring, move on to the next step. A well-wired thermostat is the first step to a smoothly functioning system.
Check Best Thermostat Pricing in Amazon
** As an Amazon Associate, I earn from qualifying purchases.
Connecting To Power Source
Now that your wiring is in place, it’s time to connect to the power source. Most Honeywell thermostats are powered by either batteries or a C-wire (common wire). Check which one your model uses.
If your thermostat uses batteries, insert fresh ones. If it uses a C-wire, make sure it’s securely connected to the appropriate terminal. The C-wire provides continuous power, which is essential for modern smart thermostats.
Once connected, your thermostat should light up, indicating it’s receiving power. If it doesn’t, recheck the connections and ensure the power source is active.
Powering up your Honeywell thermostat is a crucial step in ensuring your home’s climate control system works effectively. Have you ever faced any wiring challenges? Share your experiences in the comments below!
Configuring Basic Settings
Configuring the basic settings of your Honeywell thermostat ensures optimal performance. You can customize settings to fit your daily routine and preferences. This guide will walk you through setting the time and date, and choosing temperature units.
Setting The Time And Date
First, press the “Menu” button on your Honeywell thermostat. Navigate to “Settings” using the arrow keys. Select “Set Time and Date.” Use the arrow keys to adjust the hour, minute, and day. Confirm your choices by pressing “Done.”
Correct time and date settings ensure your thermostat follows your schedule accurately. It helps in energy saving and comfort. So, always double-check the time and date settings.
Choosing Temperature Units
To set the temperature units, press “Menu” and go to “Settings.” Find the “Temperature Display” option. You can choose between Fahrenheit or Celsius. Use the arrow keys to select your preference.
Press “Done” to save your choice. Displaying temperature in your preferred units makes it easier to understand and adjust. This simple step enhances your user experience.
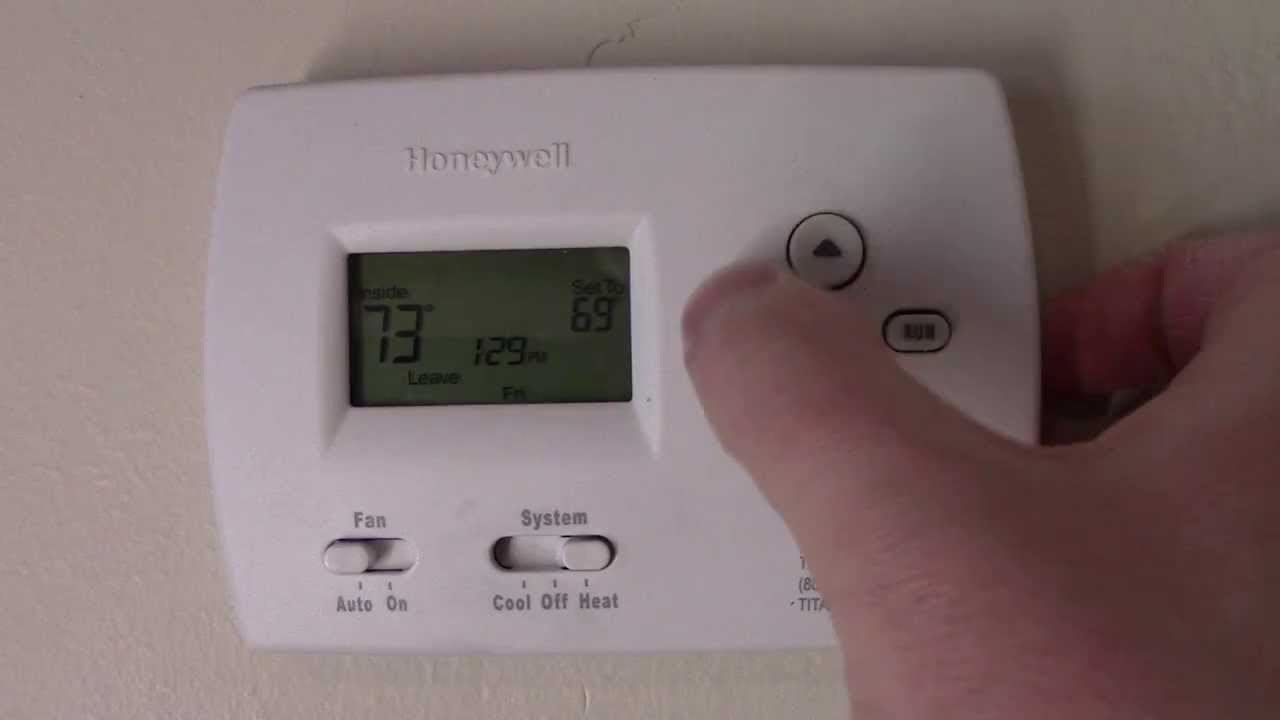
Credit: www.youtube.com
Programming Temperature Schedules
Programming temperature schedules on your Honeywell thermostat helps maintain comfort and save energy. You can set specific temperatures for different times of the day. This means your home stays warm or cool when needed without wasting energy.
Creating Daily Schedules
First, access the thermostat’s menu. Look for the ‘Schedule’ option. Select it to start creating your daily schedule. You will see different time slots like morning, day, evening, and night. Set your desired temperature for each time slot. For example, a cooler temperature at night for better sleep. Repeat this for each day of the week.
Adjusting For Weekends
Weekends might have different routines. Adjust your schedule for Saturday and Sunday separately. You may want to wake up later or stay up longer. Set the temperature higher during the day if you’re home. Lower it at night if you sleep in. This helps keep your home comfortable and efficient.
Troubleshooting Common Issues
Troubleshooting common issues with your Honeywell thermostat can save time and frustration. Sometimes, the thermostat may not work as expected. Understanding the problems and their solutions can help get it back on track quickly.
Resetting The Thermostat
Resetting the thermostat can fix many issues. It can clear minor glitches and restore factory settings. To reset, locate the reset button on your thermostat. Hold the button down for about five seconds. Release the button when the screen turns off and then back on. Your thermostat should now be reset. Check if the issue is resolved.
Dealing With Connectivity Problems
Connectivity problems can interrupt your thermostat’s performance. Ensure your thermostat is connected to Wi-Fi. Check your router and make sure it is working properly. Move the thermostat closer to the router if needed. Restart the router and the thermostat. This can often fix connectivity issues. If the problem persists, check the Honeywell app. Make sure it is updated to the latest version. Follow the app’s instructions to reconnect your thermostat.
Maintenance And Care
Regular maintenance and care of your Honeywell thermostat ensure it runs efficiently. Proper upkeep helps maintain its performance and prolongs its lifespan. Follow these steps to keep your thermostat in top shape.
Cleaning The Thermostat
Dust and dirt can accumulate on your thermostat over time. This buildup can affect its performance. Clean your thermostat regularly to prevent issues.
First, turn off the thermostat and remove the cover. Use a soft, dry cloth to wipe away dust. Avoid using water or cleaning sprays. These can damage the internal components.
You can also use a small brush to clean hard-to-reach areas. Make sure to clean the vents and buttons. This ensures the thermostat can sense the room temperature accurately.
Updating Firmware
Keeping your thermostat’s firmware up to date is important. Updates can fix bugs and improve performance. Check for updates regularly.
To update the firmware, access the settings menu on your thermostat. Look for the firmware update option. Follow the on-screen instructions to complete the update.
Make sure your thermostat is connected to Wi-Fi. This ensures it can download and install updates. A stable internet connection is crucial for a successful update.
By following these simple steps, you can keep your Honeywell thermostat running smoothly.

Credit: www.reddit.com
Frequently Asked Questions
How Do I Get My Honeywell Thermostat To Turn On?
To turn on your Honeywell thermostat, ensure it is properly connected to power. Set the mode to “Heat” or “Cool” and adjust the temperature setting. Check if the display is active and the system responds. If not, inspect the circuit breaker or replace batteries if needed.
How Do I Turn My Thermostat On?
To turn on your thermostat, locate the power button or switch. Set the desired mode (heating or cooling) and adjust the temperature.
How Can I Restart My Honeywell Thermostat?
To restart your Honeywell thermostat, turn it off, remove the batteries, wait 10 seconds, then reinsert them.
Why Is My Honeywell Thermostat Screen Blank?
Your Honeywell thermostat screen might be blank due to a tripped circuit breaker, dead batteries, or wiring issues. Check these components to resolve the issue.
Conclusion
Turning on your Honeywell thermostat is easy. Follow these simple steps. Check your model. Then, use the power button or switch. Adjust the settings for your comfort. It’s that straightforward. Enjoy consistent home temperatures. Stay warm in winter and cool in summer.
For more detailed help, consult your user manual. Feel free to explore other features. Your home will always be at the perfect temperature.
Check Best Thermostat Pricing in Amazon
** As an Amazon Associate, I earn from qualifying purchases.