
Check Best Thermostat Pricing in Amazon
** As an Amazon Associate, I earn from qualifying purchases.
Reprogramming your Honeywell thermostat is simple. In a few steps, you can adjust your home’s temperature settings to suit your lifestyle.
Honeywell thermostats offer comfort and efficiency, but sometimes you need to change the programming to better match your routine. Whether you’re adjusting for a new schedule, vacation, or just want to optimize energy use, reprogramming your thermostat can save money and enhance comfort.
In this blog, we will guide you through the process step-by-step. You’ll learn how to access the settings, make necessary changes, and ensure your home stays at the perfect temperature. Let’s dive in and make your Honeywell thermostat work best for you.

Credit: rightnowheatcool.com
Preparing For Reprogramming
Reprogramming your Honeywell thermostat can enhance your home comfort. Before you start, preparation is key. This section will guide you through the necessary steps to ensure a smooth reprogramming process.
Gathering Tools
First, gather the tools you need. A small screwdriver is essential. Keep a pen and paper handy for notes. You may also need your thermostat manual. These tools will help you navigate the reprogramming steps easily.
Understanding Your Thermostat Model
Next, identify your thermostat model. Different models have different programming methods. Check the model number on the thermostat or in the manual. Knowing your model ensures you follow the correct reprogramming steps.
Visit the Honeywell website for model-specific instructions if needed. This step prevents errors and saves time. With the right tools and model information, you are ready to reprogram your Honeywell thermostat.
Accessing The Settings
Reprogramming your Honeywell thermostat starts with accessing the settings. This step is crucial. It helps you adjust the temperature and set schedules. Follow these steps to locate the menu and navigate the interface.
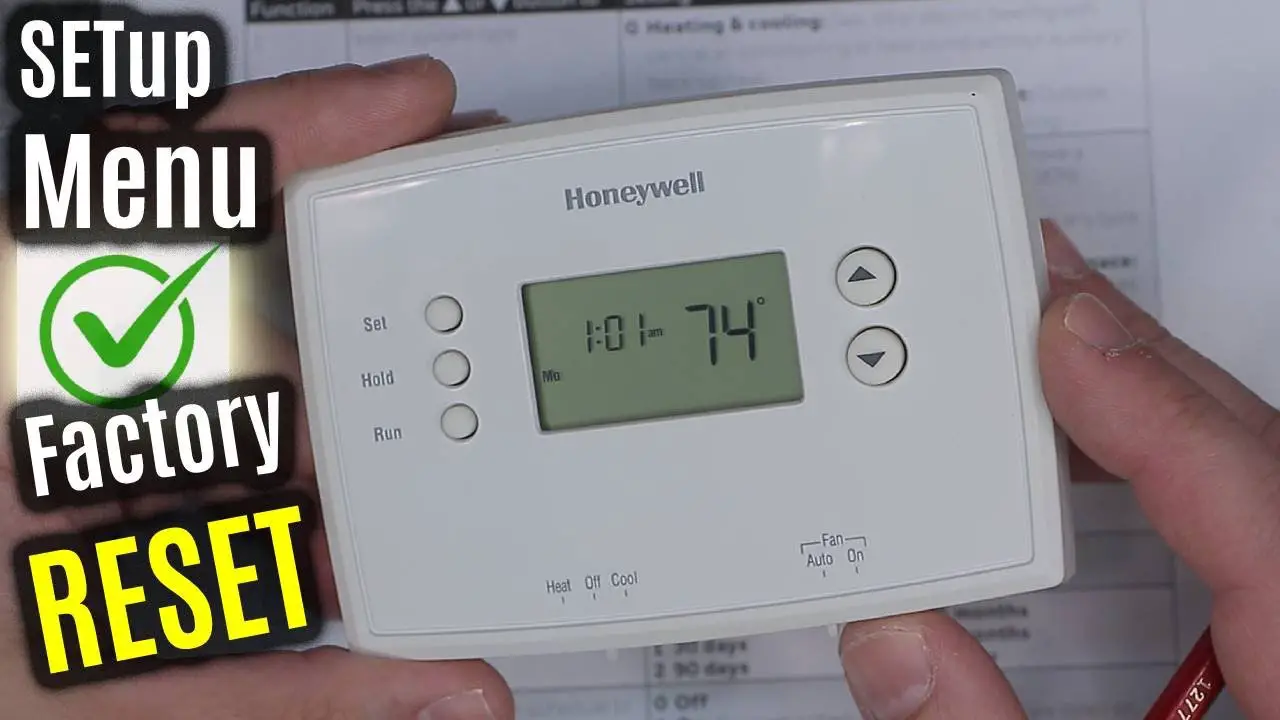
Locating The Menu Button
First, find the menu button on your Honeywell thermostat. Usually, it is labeled as ‘Menu’. The button might be on the front or side. Check the user manual if you have trouble finding it. Pressing this button will take you to the settings menu.
Navigating The Interface
Once you press the menu button, you will see the interface. It might display different options. Use the arrow keys to navigate through these options. Look for settings like ‘Schedule’ or ‘Preferences’. Select the option you want to adjust. Follow the on-screen instructions to make changes. Remember to save your settings before exiting the menu.
Setting The Date And Time
Set the date and time on your Honeywell thermostat by accessing the settings menu. Navigate to the clock option and adjust accordingly. Ensure the correct time zone is selected for accurate scheduling.
Setting the Date and Time on your Honeywell thermostat is crucial for it to function correctly. Imagine waking up on a chilly morning only to find your heating system not working because the thermostat thought it was still summer! Accurate date and time settings ensure that your thermostat follows the correct schedule, saving you from such discomfort.Entering Date
Start by accessing the main menu on your Honeywell thermostat. You can do this by pressing the “Menu” button on the screen. Look for the “Date/Time” option and select it. This will take you to a new screen where you can enter the date. Make sure you enter the date in the correct format. Usually, it follows the MM/DD/YYYY format. Double-check before proceeding to avoid any errors.Adjusting Time
Next, you’ll need to set the correct time. This is equally important as setting the date. A wrongly set time can throw off your entire schedule. Navigate to the “Time” option on the same screen. Use the arrow keys to adjust the hour and minute settings. Make sure to select AM or PM correctly. After setting the time, save your settings by pressing the “Done” or “Save” button. Your thermostat should now display the correct date and time, ensuring it works efficiently. Have you ever struggled with setting the date and time on your thermostat? What challenges did you face, and how did you overcome them? Share your experiences in the comments below.
Credit: www.homeserve.com
Configuring Temperature Settings
Configuring the temperature settings on your Honeywell thermostat is a simple task. It ensures your home remains comfortable throughout the day. Whether you need to set a specific temperature or schedule changes, follow these steps.
Setting Desired Temperature
First, locate the thermostat’s main screen. You will see the current temperature displayed. Find the up and down arrows on the device. Press these arrows to adjust the temperature. Set it to your desired level. Once done, the thermostat will maintain this temperature.
Scheduling Temperature Changes
Next, scheduling temperature changes helps save energy. It also ensures comfort at different times of the day. Begin by accessing the schedule menu. This is usually done by pressing the “schedule” button. Some models may require you to navigate through the settings menu.
Once in the schedule menu, choose the day you wish to program. Select the time you want the temperature to change. Use the arrows to set the desired temperature for that time. Repeat this process for other times and days. Save your settings by pressing “done” or “save”.
Now your Honeywell thermostat will automatically adjust the temperature. It follows the schedule you created. This helps maintain a comfortable environment while managing energy use efficiently.
Programming Heating And Cooling Cycles
Reprogramming your Honeywell thermostat involves accessing the menu and adjusting the schedule settings. Set preferred temperatures for different times of the day. Follow the step-by-step instructions in the manual for precise guidance.
Programming the heating and cooling cycles of your Honeywell thermostat is essential to maintain comfort in your home while optimizing energy efficiency. By setting up precise schedules for heating and cooling, you can ensure your home stays cozy during winter and cool during summer without any hassle. Here’s how you can do it:Defining Heating Schedule
Start by setting the heating schedule. Decide when you need your home to be warmest and when you can afford to lower the temperature. For instance, you might want a warmer house in the morning and evening when everyone is home. On your Honeywell thermostat, navigate to the heating schedule settings. Typically, you will find options to set different temperatures for various times of the day, such as Wake, Leave, Return, and Sleep. Example Schedule: – Wake (6:00 AM): Set to 70°F – Leave (8:00 AM): Set to 62°F – Return (5:00 PM): Set to 70°F – Sleep (10:00 PM): Set to 65°F Remember to customize these times and temperatures according to your family’s routine. This simple adjustment can save energy and reduce heating costs.Setting Cooling Schedule
Next, move on to the cooling schedule. Similar to the heating schedule, determine when you need your home to be coolest. Often, homes are cooler in the early morning and late evening, while daytime might require higher temperatures when no one is home. Access the cooling schedule settings on your Honeywell thermostat. Set the temperature for the same periods as you did for heating: Wake, Leave, Return, and Sleep. Example Schedule: – Wake (6:00 AM): Set to 75°F – Leave (8:00 AM): Set to 82°F – Return (5:00 PM): Set to 75°F – Sleep (10:00 PM): Set to 78°F Adjust these settings based on your comfort preferences and daily activities. These small tweaks can significantly impact your cooling efficiency and utility bills. Remember, each home and family is different. Test out different schedules and find what works best for you. Have you found that adjusting the thermostat settings impacts your comfort or energy bills? Share your experience in the comments!Adjusting Fan Settings
Adjusting the fan settings on your Honeywell thermostat can improve comfort. It lets you control air circulation and can save energy. This section will guide you through setting the fan mode and customizing the fan schedule.
Setting Fan Mode
First, access your thermostat’s main menu. Look for the “Fan” option. This is where you can choose different fan modes. The typical modes are “Auto,” “On,” and “Circulate.”
“Auto” mode turns the fan on only when heating or cooling. This is the most energy-efficient option. “On” mode keeps the fan running continuously. It helps with air circulation but uses more energy. “Circulate” mode runs the fan at intervals. It balances comfort and energy use.
Select your preferred mode. Use the up or down buttons to navigate. Press “Select” to confirm your choice.
Customizing Fan Schedule
Next, you can customize the fan schedule. This feature allows you to set specific times for the fan to run. It helps maintain comfort based on your routine.
Go to the “Fan Schedule” option in the menu. You can set different schedules for weekdays and weekends. Use the “Edit” button to make changes.
Check Best Thermostat Pricing in Amazon
** As an Amazon Associate, I earn from qualifying purchases.
Set the start and end times for each period. You can create multiple periods in a day. For example, you might want the fan to run more during the day and less at night. Adjust the settings to fit your needs.
After setting the schedule, press “Save” to apply the changes. Your thermostat will now follow the customized fan schedule.
Saving And Exiting
After reprogramming your Honeywell thermostat, it’s crucial to save and exit. This ensures your new settings are applied correctly. Here’s how you can do it efficiently.
Reviewing Settings
First, review the settings you’ve just changed. Confirm that each temperature and time setting matches your preference. This step helps avoid any errors.
Take a moment to scroll through each programmed period. Check the temperature settings for morning, day, evening, and night. Ensure that each setting aligns with your schedule.
Saving Changes
To save your new settings, find the ‘Save’ button or option. Press it. Your Honeywell thermostat will prompt you to confirm. Select ‘Yes’ or ‘OK’. This action will save your changes.
If your model has a ‘Run’ button, press it next. This will activate your new schedule. The thermostat will now follow the new settings you’ve programmed.
Finally, exit the programming mode. This can often be done by pressing the ‘Home’ button. Your thermostat should now display the current temperature and active settings.
Troubleshooting Common Issues
Reprogramming your Honeywell thermostat can sometimes lead to unexpected issues. Whether you’re encountering error messages or need to reset the device, it’s crucial to understand how to troubleshoot common problems. Let’s dive into some practical solutions.
Error Messages
Error messages on your Honeywell thermostat can be frustrating. They often indicate a problem with the device or its connection to your HVAC system. For instance, you might see error codes like “E1” or “E2”.
These codes can point to sensor issues or communication problems. Check your thermostat’s manual to understand what each code means. If you can’t find the manual, Honeywell’s website offers online resources.
Another common error is “Wi-Fi not connected.” This usually means your thermostat has lost its connection to your home network. Ensure your Wi-Fi is working correctly and try reconnecting the thermostat.
Resetting The Thermostat
Sometimes, a simple reset can solve many issues with your Honeywell thermostat. To reset, locate the reset button on your model. This button is often tiny and requires a pin or paperclip to press.
Press and hold the reset button for about 5 seconds. The screen should go blank and then restart. This resets the settings to their default values.
If your thermostat doesn’t have a reset button, you can try removing the batteries for a minute. Reinsert the batteries and check if the issue is resolved. This is a quick way to reboot the system.
Have you ever faced a stubborn error message on your thermostat? Share your experiences in the comments below and let us know how you resolved it!
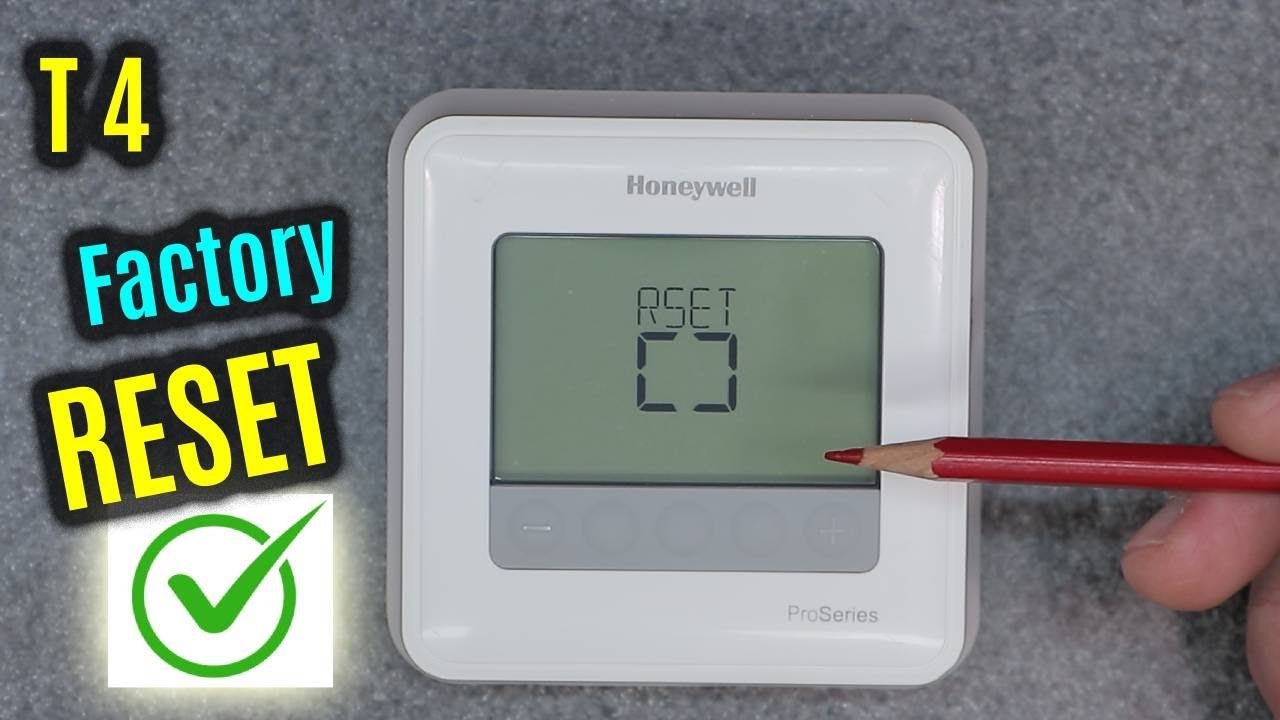
Credit: www.youtube.com
Frequently Asked Questions
How Do You Reset A Honeywell Thermostat?
To reset a Honeywell thermostat, turn off the thermostat. Remove the batteries, wait 10 seconds, and reinsert them. The display should reset.
How Do I Turn The Schedule Off On My Honeywell Thermostat?
Press the “Schedule” button on your Honeywell thermostat. Select “Schedule Off” to disable the schedule. Save changes.
How Do I Clear The Programming On My Honeywell Thermostat?
To clear programming on a Honeywell thermostat, press the “System” button. Next, hold the center button for 5 seconds. Then, select “Reset to Factory Settings. “
Why Is My Honeywell Thermostat Reading The Wrong Temperature?
Your Honeywell thermostat may read the wrong temperature due to sensor issues, incorrect placement, or dust buildup. Ensure it’s placed away from direct sunlight and drafts. Clean the thermostat regularly and check for any calibration settings.
Conclusion
Reprogramming your Honeywell thermostat is simple and straightforward. Follow the steps outlined above for a smooth process. Remember to check your settings regularly. This ensures your home stays comfortable. You can always refer to the manual for extra help. Maintaining your thermostat can save energy and costs.
With practice, adjusting settings becomes second nature. Enjoy a well-regulated home environment all year round. Happy reprogramming!
Check Best Thermostat Pricing in Amazon
** As an Amazon Associate, I earn from qualifying purchases.