
Check Best Thermostat Pricing in Amazon
** As an Amazon Associate, I earn from qualifying purchases.
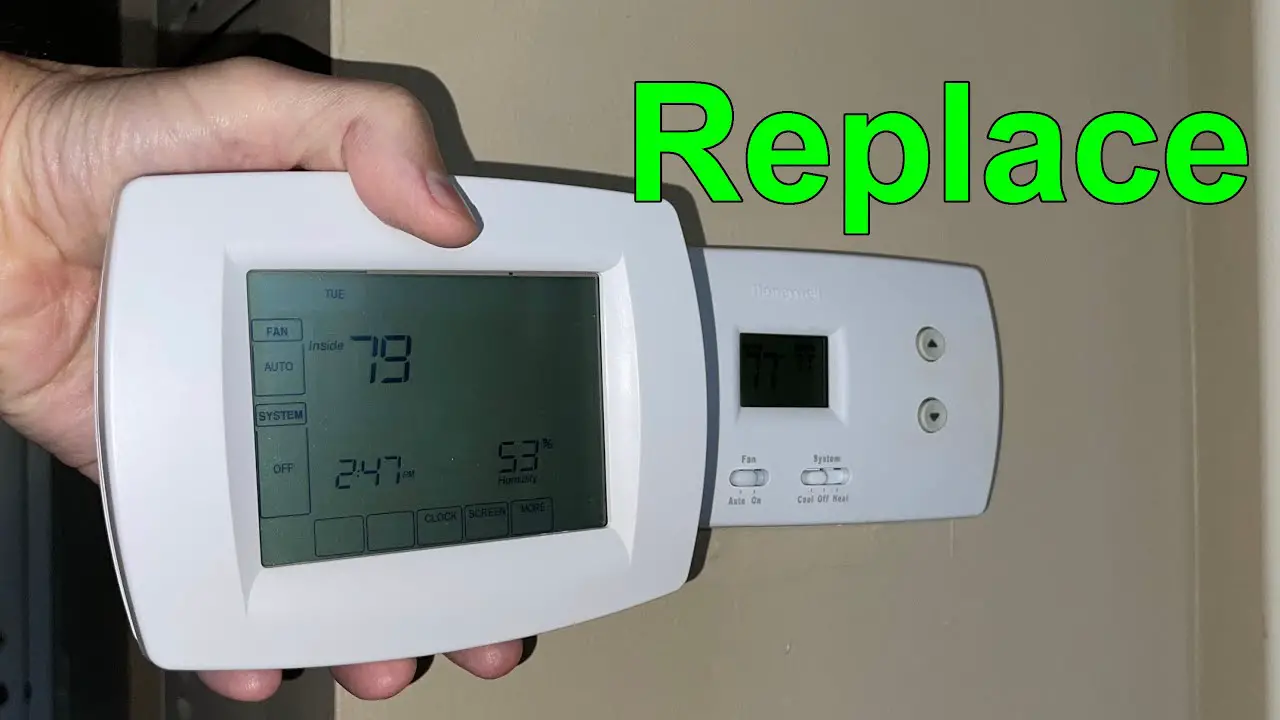
To open a Honeywell thermostat, start by removing the cover. It usually snaps off with gentle pressure.
You might need a small tool like a screwdriver for this. Honeywell thermostats are popular for their reliability and ease of use. Sometimes, you need to access the inside for maintenance or to check wiring. Opening the thermostat can seem tricky if you’re unfamiliar with the process.
This blog will guide you through the steps to safely and efficiently open your Honeywell thermostat. Understanding the internal components helps ensure your heating and cooling system runs smoothly. Whether you’re adjusting settings or troubleshooting, knowing how to open your thermostat is essential. Let’s dive into the process and make it simple for you.
Gathering Necessary Tools
Opening a Honeywell thermostat might seem like a daunting task, but with the right tools, it becomes a straightforward process. Before you dive in, it’s crucial to gather all the necessary tools to ensure a smooth and efficient job. Let’s break it down into basic and optional tools for your convenience.
Basic Tools Required
To get started, you will need a few basic tools that are likely already in your toolbox. A Phillips head screwdriver is essential. Most Honeywell thermostats use screws that require this type of screwdriver. A small flat-head screwdriver can also come in handy for prying open the thermostat cover.
Another tool you’ll need is a voltage tester. Safety is paramount, and you need to ensure that the power to the thermostat is turned off before you start. The voltage tester will help you confirm this. Additionally, having a flashlight can be beneficial. Thermostat wiring can be tricky to see clearly, especially in low-light conditions.
Optional Tools For Convenience
While the basic tools will get the job done, a few optional tools can make the process even smoother. A magnifying glass can help you see tiny screws and intricate wiring more clearly. This is particularly useful if your eyesight isn’t perfect or the thermostat components are very small.
If you’re planning to replace the thermostat or make wiring changes, having a digital camera or smartphone can be a game-changer. Take a photo of the wiring setup before you start. This will serve as a handy reference if you need to reattach wires later. Trust me, this can save you a lot of time and frustration.
Another optional tool is a small container to hold screws and other small parts. You’d be surprised how easily these can get lost. Keeping them in one place ensures that you won’t be scrambling around looking for them later.
So, what tools have you found indispensable for tasks like this? Share your experiences and tips in the comments below. Your insights could be just what someone else needs to make their job easier.
Locating Your Thermostat Model
Trying to figure out how to open your Honeywell thermostat can be a bit tricky if you don’t know your thermostat model. Different models have different ways to open them. Let’s walk through how you can locate your thermostat model, which will make the process much easier.
Identifying Your Thermostat
First, you need to identify your thermostat model. Look at the front of the thermostat for any model numbers or names. Sometimes, the model number is printed on a label on the back of the thermostat cover.
If you can’t find it on the front, gently try to lift or slide the cover. Be careful not to break it. The model number is usually located inside or on the back of the cover.
Having trouble? Try searching online using a description of your thermostat. This can help you identify the model based on pictures and descriptions.
Checking The User Manual
Once you have the model number, the next step is to check the user manual. User manuals are a goldmine of information. They usually have clear instructions on how to open your thermostat.
If you’ve misplaced the manual, don’t worry. Most user manuals can be found online. Search for your thermostat model followed by “user manual” to find the right document.
Still having trouble? Consider reaching out to Honeywell customer support. They can provide guidance specific to your model.
By following these steps, opening your Honeywell thermostat becomes a straightforward task. Have you ever struggled with identifying your thermostat model? Share your experiences below.
Turning Off The Power
Before opening your Honeywell thermostat, it’s important to turn off the power. This ensures your safety and prevents any electrical issues. Follow these steps to safely turn off the power to your thermostat.
Safety First
Always prioritize safety when handling electrical devices. Begin by wearing rubber gloves to protect yourself. Ensure you have a flashlight handy for better visibility.
Locating The Circuit Breaker
Find your home’s main circuit breaker panel. It’s usually in the basement, garage, or utility room. Open the panel door carefully.
Look for the breaker labeled “HVAC,” “Furnace,” or “Thermostat.” Flip this switch to the “off” position. Confirm the power is off by checking the thermostat display. It should be blank.
Now, you can safely proceed with opening your Honeywell thermostat.
Removing The Thermostat Cover
To open a Honeywell thermostat, gently pull the thermostat cover from the base. Start at the bottom and work upwards.
Removing the thermostat cover on your Honeywell device might seem daunting, but it’s a simple process once you know the steps. Understanding how to remove the cover is essential for maintenance, troubleshooting, or replacing batteries. Let’s dive into the details to ensure you can handle this task with confidence.Types Of Covers
Honeywell thermostats come with different types of covers. It’s important to identify which type you have. Some models have a snap-on cover. These covers can be gently pulled off without any tools. Others have a screw-on cover. You will need a screwdriver to remove these. Knowing the type of cover helps you choose the right method for removal.Steps To Remove The Cover
First, ensure your thermostat is turned off. This prevents any accidental adjustments. If you have a snap-on cover, gently pull the cover from the base. Start from the bottom edge and work your way up. For screw-on covers, locate the screws holding the cover in place. Use a screwdriver to remove these screws. Keep the screws in a safe place to avoid losing them. This will make reassembly easier. Once the screws are removed, gently pull the cover away from the base. Remember, patience is key. Forcing the cover can damage the thermostat. Have you ever struggled with a task that seemed simple? Removing a thermostat cover can feel like that, but following these steps makes it a breeze.Accessing The Internal Components
Accessing the internal components of a Honeywell thermostat may seem daunting, but it’s quite simple. You might need to check or replace internal parts. This guide will help you access the inner parts with ease.
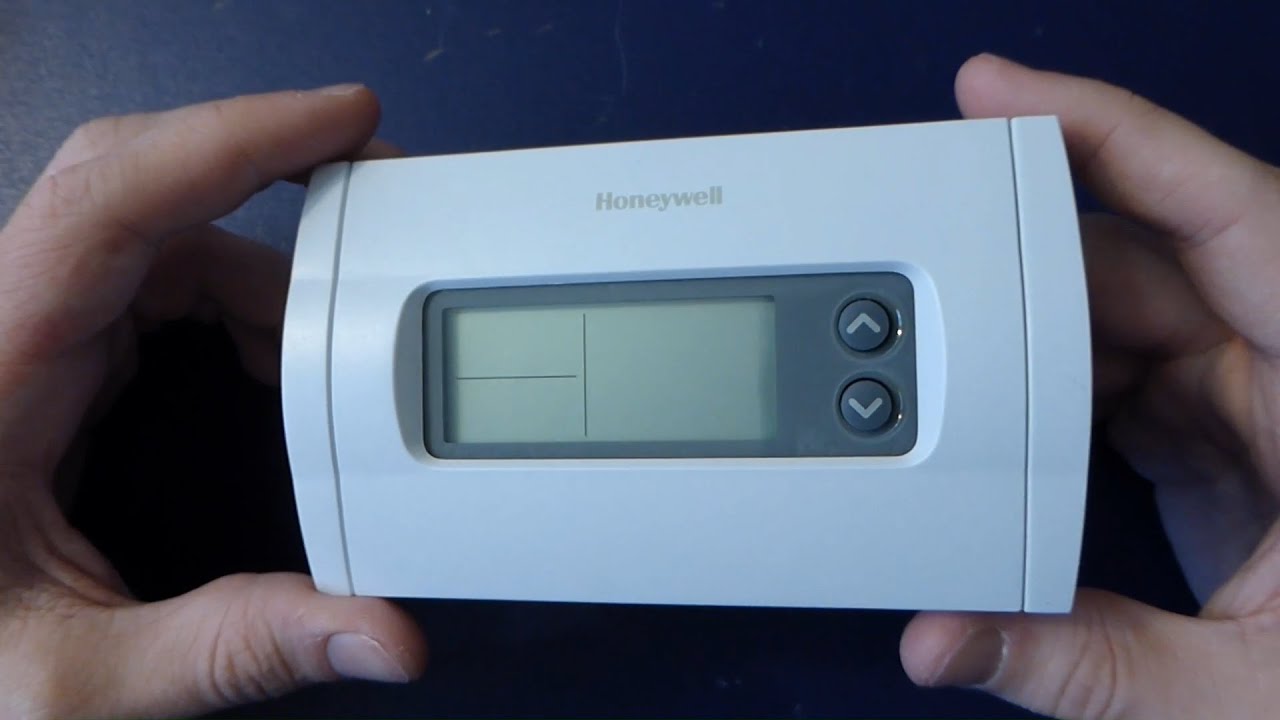
Opening The Inner Panel
First, turn off the power to your thermostat. Locate the small notch or seam on the thermostat’s cover. Insert a flat-head screwdriver into the notch. Gently twist the screwdriver to pop open the cover. The inner panel should now be visible.
Identifying Key Components
Once the inner panel is open, you will see several components. Look for the display screen, circuit board, and wiring connections. The display screen shows the thermostat’s settings. The circuit board controls the functions. Wiring connections link the thermostat to your HVAC system.
Check Best Thermostat Pricing in Amazon
** As an Amazon Associate, I earn from qualifying purchases.
Familiarize yourself with these parts. This knowledge will help you troubleshoot issues effectively. Always handle the components with care. Avoid touching the circuit board directly to prevent damage.
Credit: www.reddit.com
Reassembling The Thermostat
Reassembling your Honeywell thermostat is crucial to ensure it operates correctly after opening it for maintenance or troubleshooting. This process involves a few straightforward steps that, when followed carefully, can help you avoid future issues. Let’s get started with securing the cover and restoring power.
Securing The Cover
Begin by aligning the cover with the base of the thermostat. Ensure all the clips or screws are lined up correctly. This prevents any damage to the internal components.
Press the cover gently but firmly until you hear a click or feel it snap into place. If your model uses screws, tighten them securely but avoid over-tightening. This can crack the cover or strip the screws.
Double-check that the cover is securely attached. A loose cover can lead to incorrect temperature readings or malfunctioning of buttons.
Restoring Power
After securing the cover, you need to restore power to the thermostat. Head to your circuit breaker and switch it back on. This step re-energizes your thermostat and gets it ready for use.
Once power is restored, observe the thermostat’s display. It should light up, indicating that it’s receiving power. If it doesn’t, you may need to check the connections or consult your manual for troubleshooting tips.
Finally, test the functionality by adjusting the temperature settings. Ensure the system responds correctly to your inputs.
Have you ever reassembled a thermostat and faced unexpected issues? How did you resolve them? Share your experiences in the comments below!
Testing The Thermostat
Testing your Honeywell thermostat is crucial to ensure it is functioning properly. Whether you’ve just installed a new unit or you’re experiencing issues with your current one, thorough testing can save you time and hassle. Let’s break down the process into manageable steps and focus on ensuring proper functionality and troubleshooting common issues.
Ensuring Proper Functionality
Start by setting your thermostat to the desired temperature. Wait a few minutes to see if your HVAC system responds accordingly. If you feel warm or cool air flowing, your thermostat is likely working correctly.
Check the display screen. It should be clear and easy to read. If the screen is dim or unresponsive, it may need new batteries or a reset.
Test different settings such as “heat,” “cool,” and “fan.” Make sure each setting activates the appropriate system response. This will help you confirm that all modes are operational.
Troubleshooting Common Issues
If your thermostat isn’t responding, don’t panic. First, check the power source. Ensure the batteries are fresh and properly installed.
Next, verify the wiring connections. Loose or improperly connected wires can prevent your thermostat from functioning. Use the manual to check the wiring diagram.
Sometimes, a simple reset can solve many issues. Refer to your Honeywell thermostat manual for specific reset instructions. If problems persist, contacting customer support might be necessary.
Remember, a well-functioning thermostat can significantly improve your home’s comfort and energy efficiency. Have you ever faced issues with your thermostat? How did you resolve them? Sharing your experience can help others in the same situation.

Credit: www.wikihow.com
Credit: www.youtube.com
Frequently Asked Questions
How Do You Take The Cover Off Of A Honeywell Thermostat?
Gently pull the thermostat’s bottom edge outward. Lift and remove the cover from the base.
How To Open Up A Honeywell Thermostat?
To open a Honeywell thermostat, gently pull the cover plate from the base. Use a screwdriver if needed.
How Do You Open A Thermostat To Change The Battery?
Open the thermostat by gently pulling or sliding the cover off. Locate the battery compartment, remove old batteries, and insert new ones.
How To Change Batteries In Honeywell Wireless Thermostat?
To change batteries in a Honeywell wireless thermostat, remove the thermostat from the wall plate. Open the battery compartment, replace old batteries with new AA batteries, and reattach the thermostat to the wall plate. Ensure proper battery orientation for optimal performance.
Conclusion
Opening your Honeywell thermostat is simple with the right steps. Start by carefully removing the cover. This exposes the internal components. Handle each part with care. Ensure you follow the manufacturer’s instructions. Proper handling prevents damage. Always turn off the power before starting.
This ensures safety. Regular maintenance keeps your thermostat running smoothly. Check for loose wires and dust buildup. Clean as needed. Remember, proper care extends the life of your thermostat. For further assistance, consult the user manual or contact Honeywell support.
Check Best Thermostat Pricing in Amazon
** As an Amazon Associate, I earn from qualifying purchases.