
Check Best Thermostat Pricing in Amazon
** As an Amazon Associate, I earn from qualifying purchases.
Honeywell thermostats have been a popular choice for controlling home heating and cooling systems for many years. However, as with any technology, these thermostats eventually need to be replaced. Whether due to malfunction or simply the desire for an upgrade, replacing a Honeywell thermostat can be a daunting task for homeowners.
Fortunately, there are many options available for those looking to replace their Honeywell thermostat. From basic models to smart thermostats with Wi-Fi connectivity, there is a wide range of choices to fit any budget and level of technical expertise. This article will explore the various options available and provide guidance on how to choose the best replacement thermostat for your needs.
Understanding Thermostat Replacement
Replacing a Honeywell thermostat can be a simple and cost-effective way to improve the energy efficiency of your heating and cooling system. However, it is important to understand when and why a thermostat replacement may be necessary.
Signs You Need a New Thermostat
There are several signs that may indicate it is time to replace your Honeywell thermostat. These include:
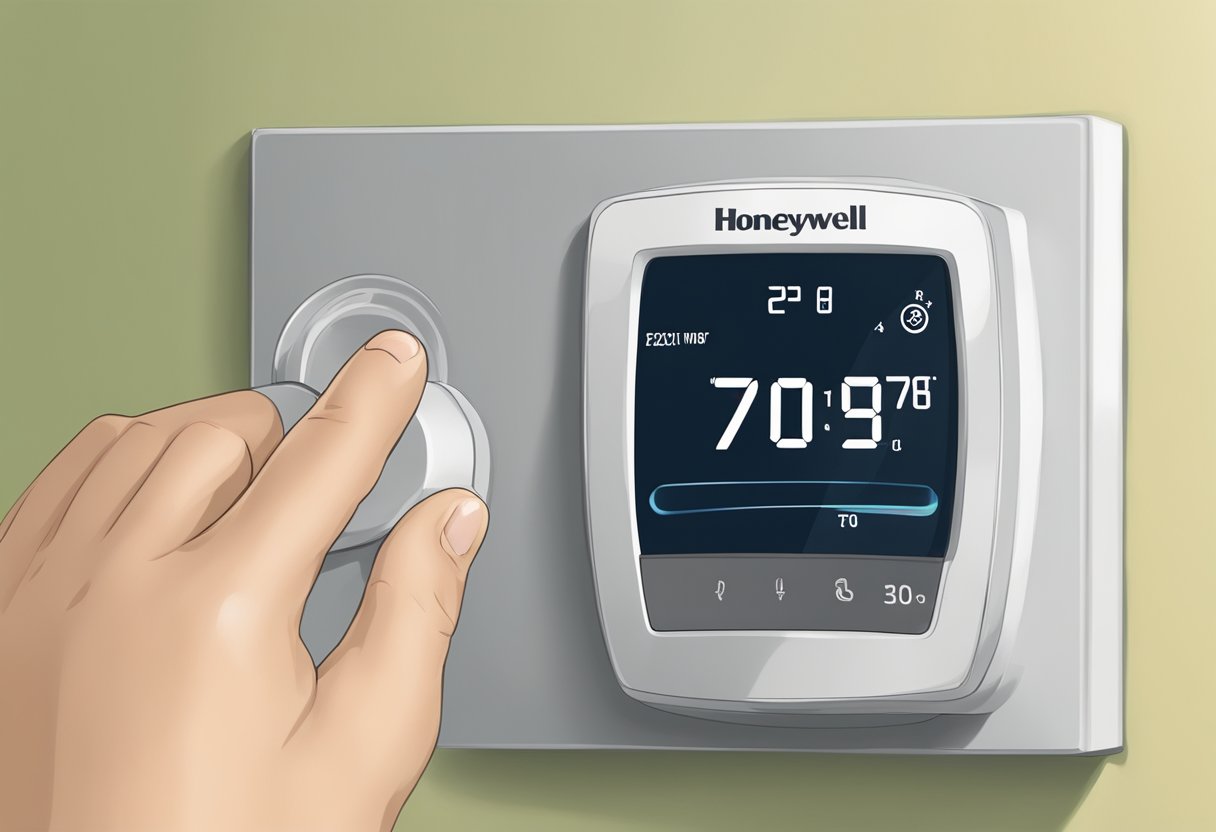
- Inaccurate temperature readings: If your thermostat is displaying incorrect temperatures, it may be time for a replacement.
- Difficulty maintaining temperature: If your heating or cooling system is struggling to maintain a consistent temperature, it could be due to a faulty thermostat.
- Outdated technology: If your current thermostat is more than 10 years old, it may not be as energy-efficient as newer models.
- Wear and tear: Over time, the components of a thermostat can wear down, leading to malfunctions or inaccurate readings.
Types of Honeywell Thermostats
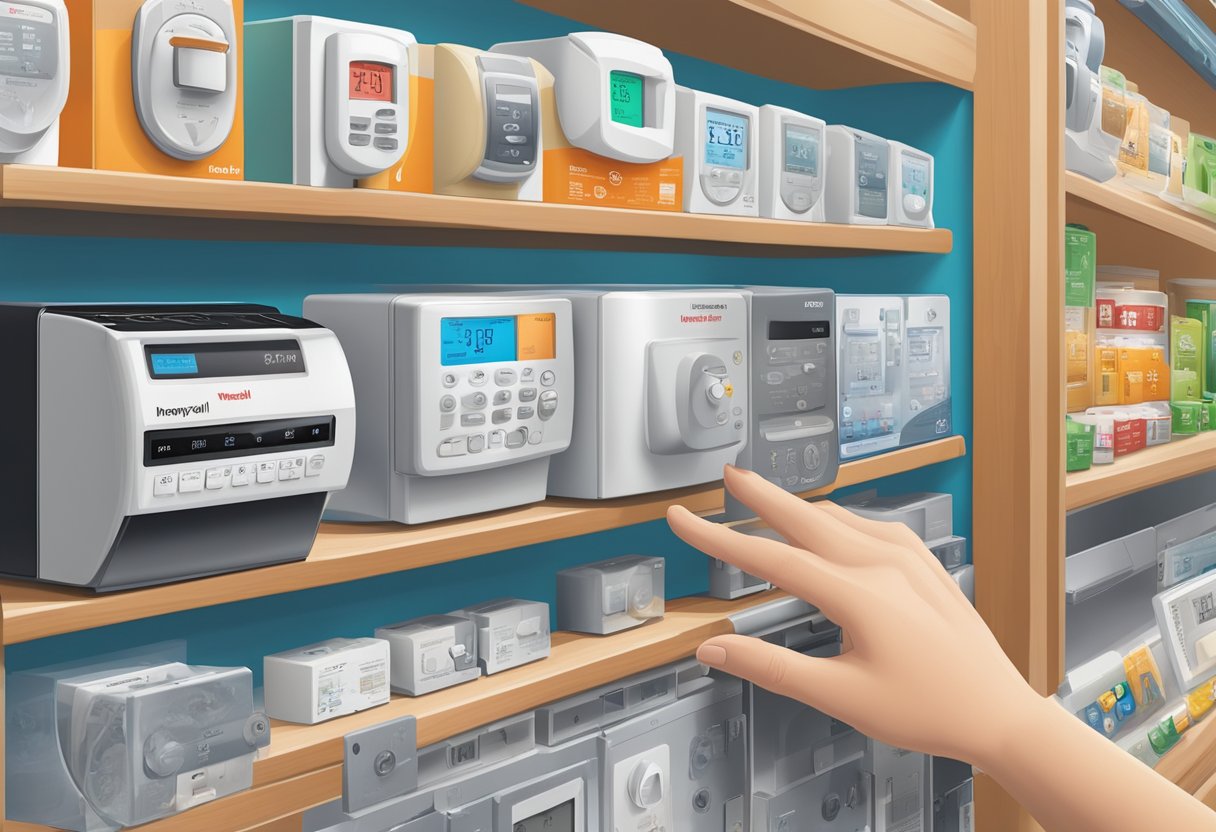
Honeywell offers a variety of thermostats to fit different needs and preferences. Some of the most popular types include:
- Programmable thermostats: These allow you to set specific temperature schedules for different times of day, saving energy and money.
- Wi-Fi thermostats: These can be controlled remotely via a smartphone app, giving you more flexibility and convenience.
- Smart thermostats: These use advanced algorithms to learn your heating and cooling preferences and automatically adjust to optimize energy efficiency.
When selecting a replacement thermostat, it is important to consider your specific needs and budget. Replacement parts such as wiring, mounting plates, and batteries may also be necessary depending on the model and installation requirements.
Preparation for Replacement
Tools and Materials Needed
Before replacing a Honeywell thermostat, it is important to gather all the necessary tools and materials. The following tools and materials are recommended for a successful replacement:
- Screwdriver (flathead or Phillips, depending on the thermostat model)
- Wire stripper
- Pliers
- Voltage tester
- New Honeywell thermostat
- Mounting plate (if needed)
- Screws and anchors (if needed)
- Pen and paper (to take note of wire connections)
Make sure to have all the necessary tools and materials ready before beginning the replacement process.
Safety Precautions
When replacing a Honeywell thermostat, it is important to take the necessary safety precautions. Follow these guidelines to ensure a safe replacement process:
- Turn off the power to the thermostat by switching off the circuit breaker or removing the fuse.
- Use a voltage tester to confirm that the power is off before beginning any work.
- Be careful when handling the wires to avoid electrical shock.
- Avoid touching any exposed wires or terminals.
- If unsure about the wiring, consult a professional electrician.
Removing the Old Thermostat
Shutting Off Power
Before removing the old thermostat, it is important to shut off power to the heating and cooling system to prevent electrical shock. This can be done by turning off the circuit breaker or removing the fuse that controls the HVAC system. Alternatively, some thermostats have a switch that can be turned off to disconnect power.
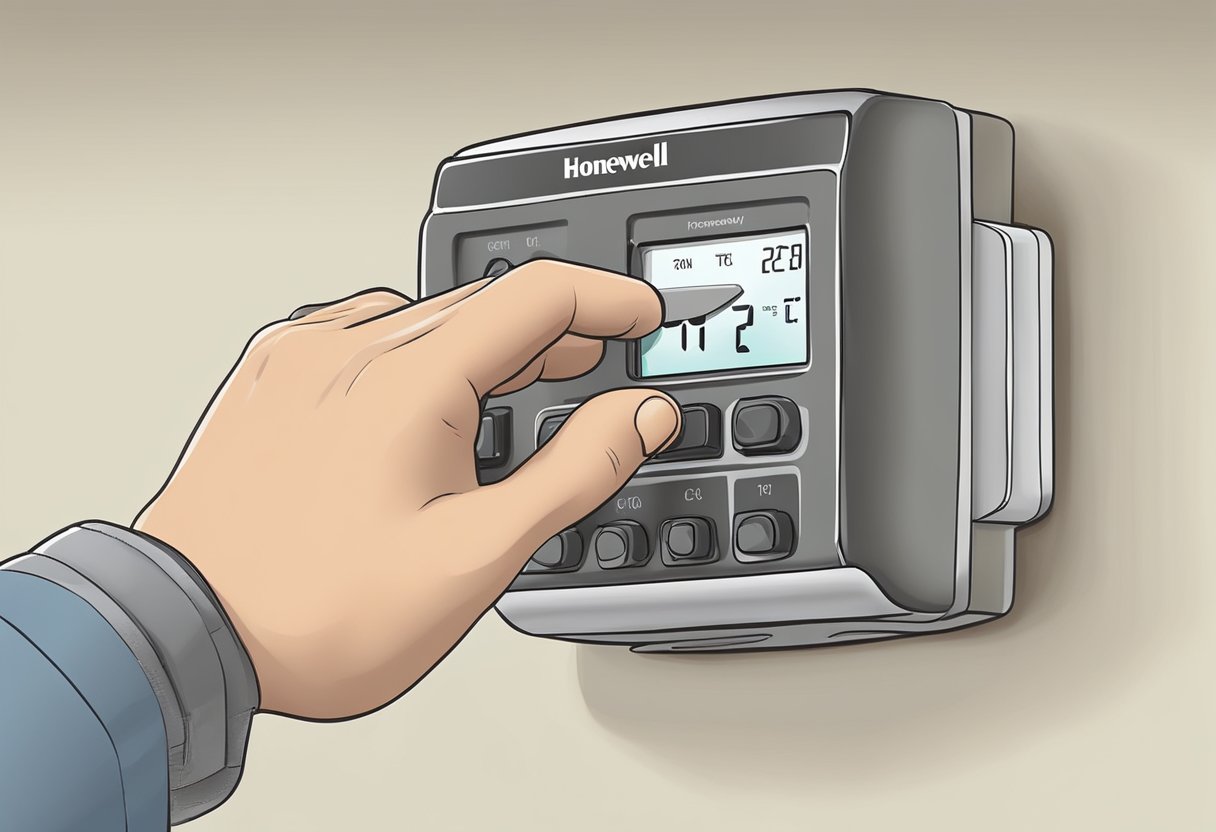
Detaching the Thermostat
Once power has been shut off, the old thermostat can be removed. This typically involves removing the cover plate, which may be held in place by screws or clips. Once the cover plate is removed, the wires connecting the thermostat to the HVAC system can be disconnected. It is important to take note of which wire is connected to which terminal on the thermostat, as this will be necessary when installing the new thermostat.
After the wires have been disconnected, the old thermostat can be removed from the wall. This may require loosening screws or clips that hold the thermostat in place. Once the old thermostat is removed, the wall should be cleaned and any remaining debris or adhesive should be removed before installing the new thermostat.
Installing the New Thermostat

Once the old thermostat has been removed, it’s time to install the new one. This section will cover the steps involved in installing a Honeywell thermostat replacement.
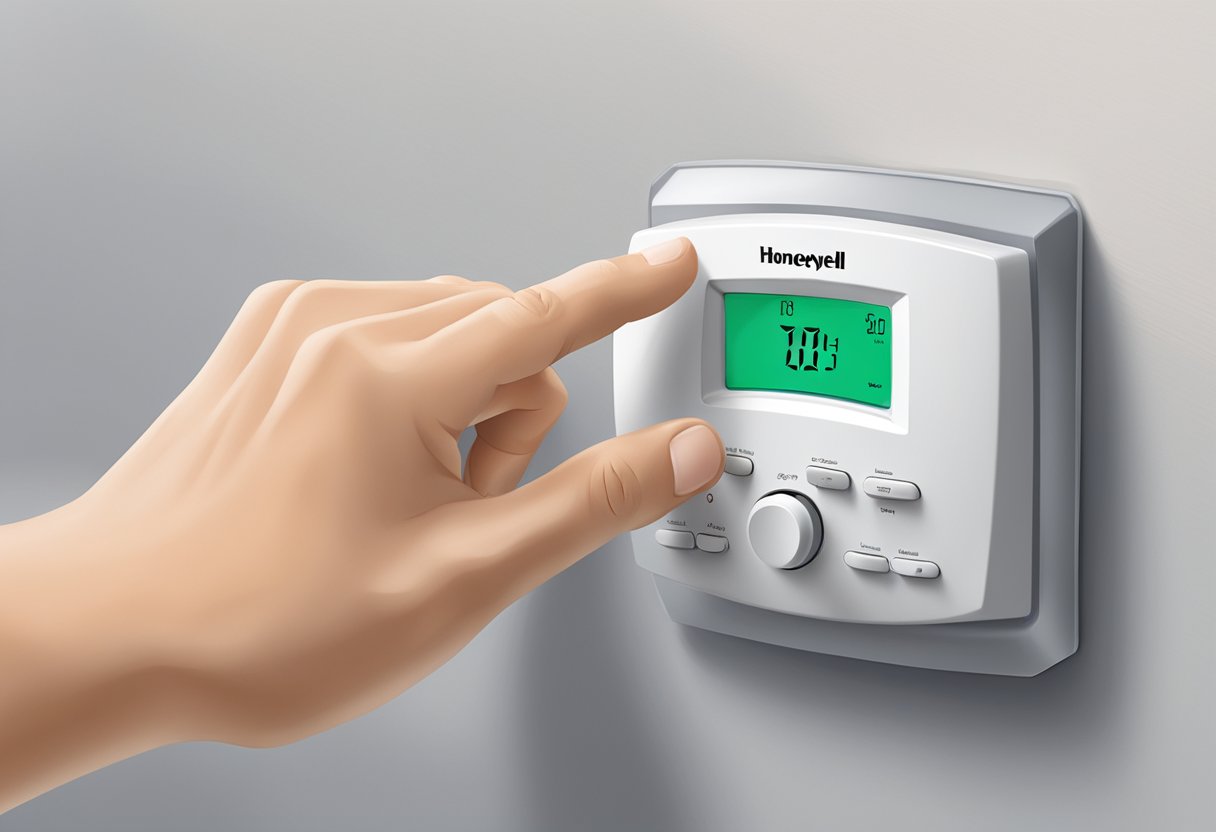
Mounting the New Thermostat
The first step is to mount the new thermostat onto the wall. This can be done by following the manufacturer’s instructions, which typically involve drilling holes into the wall and securing the thermostat with screws. It’s important to make sure the thermostat is level and securely mounted to the wall.
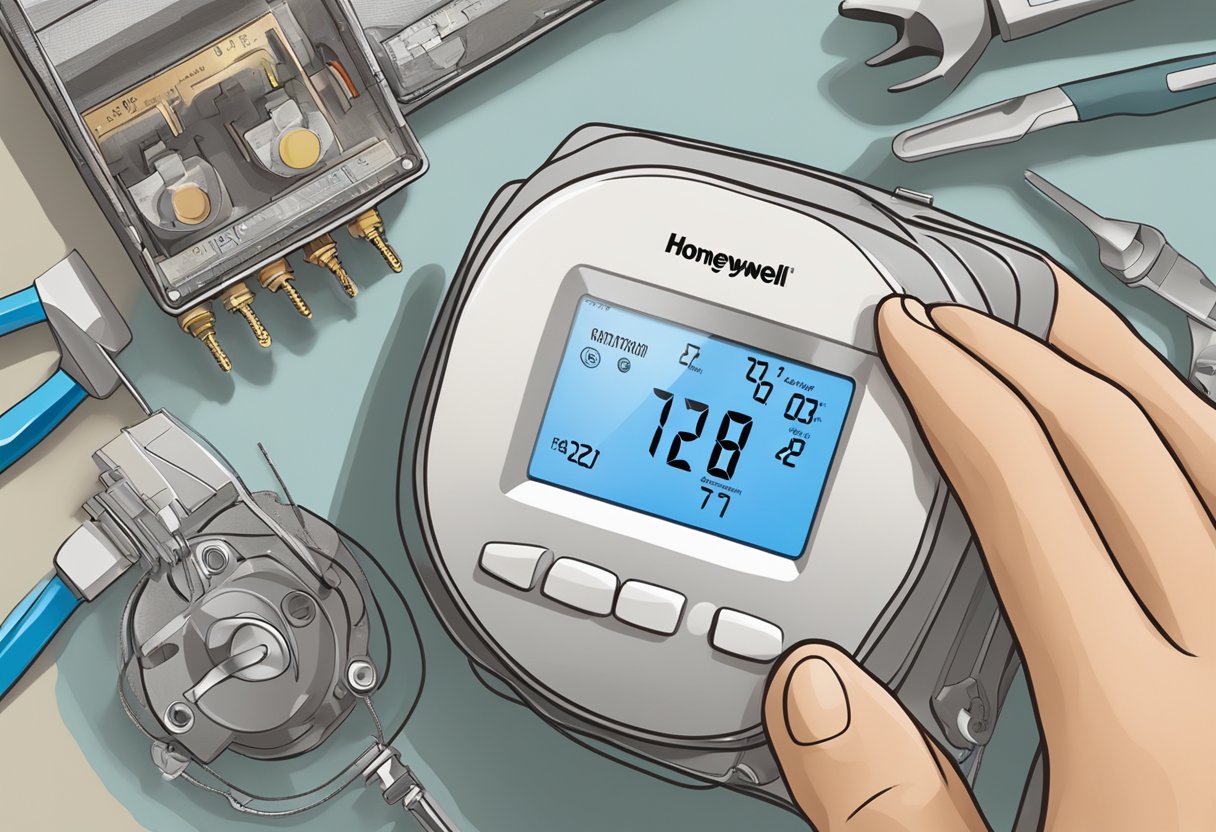
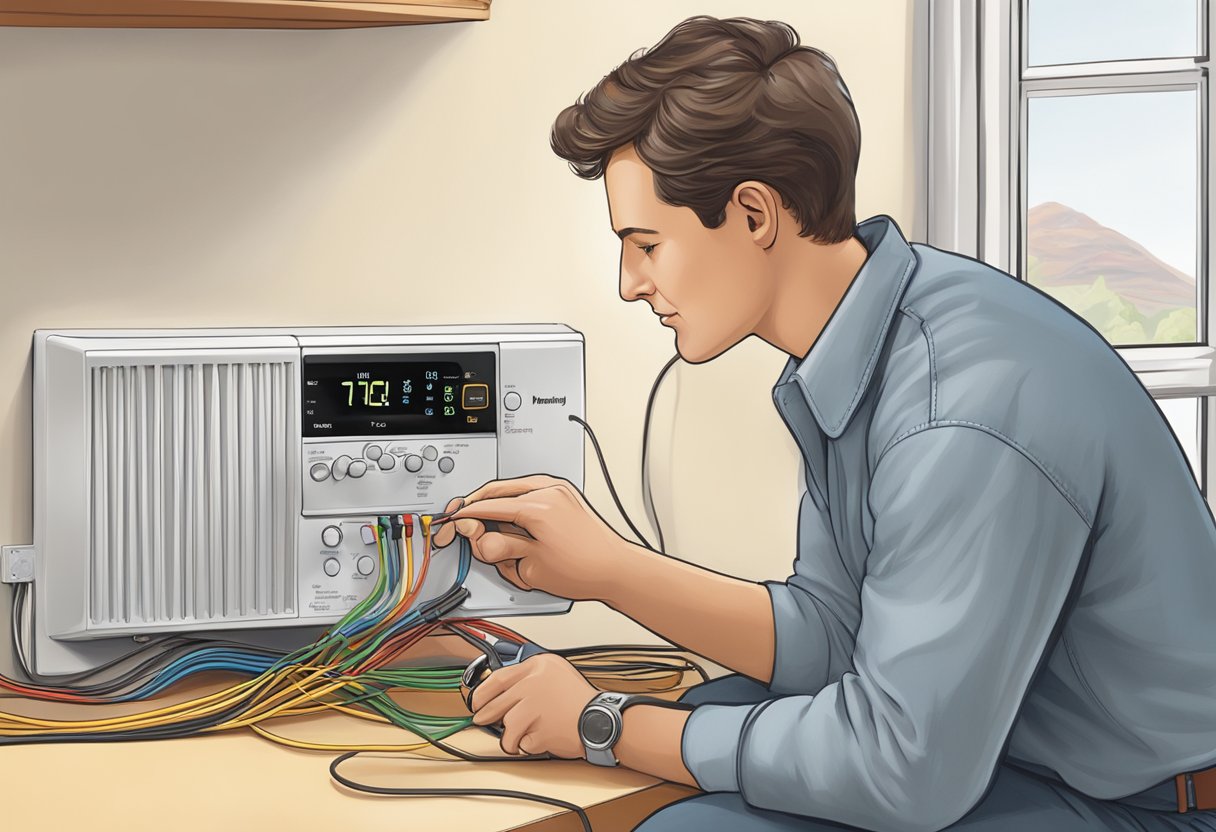
Connecting Wires
Once the thermostat is mounted, the next step is to connect the wires. This can be done by referring to the wiring diagram provided by the manufacturer. It’s important to make sure the wires are connected to the correct terminals on the thermostat. If unsure, it’s best to consult a professional electrician.
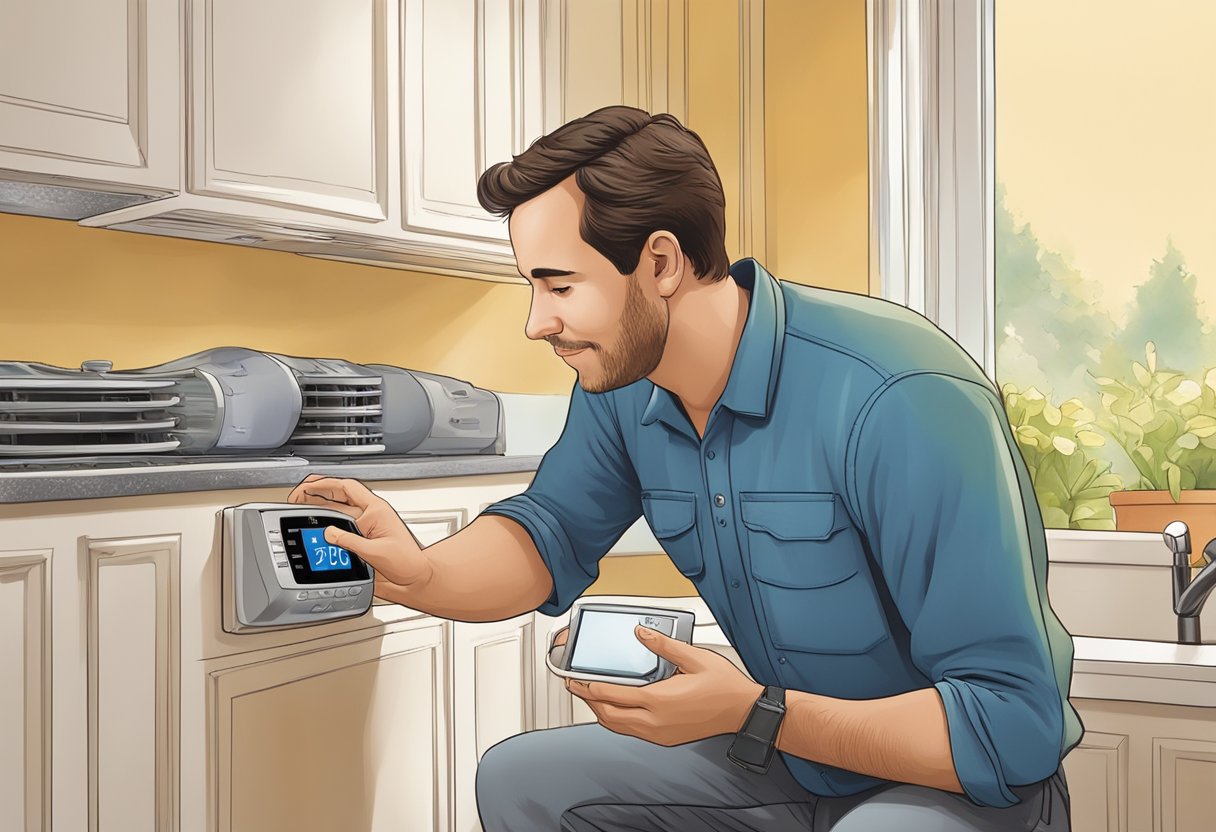
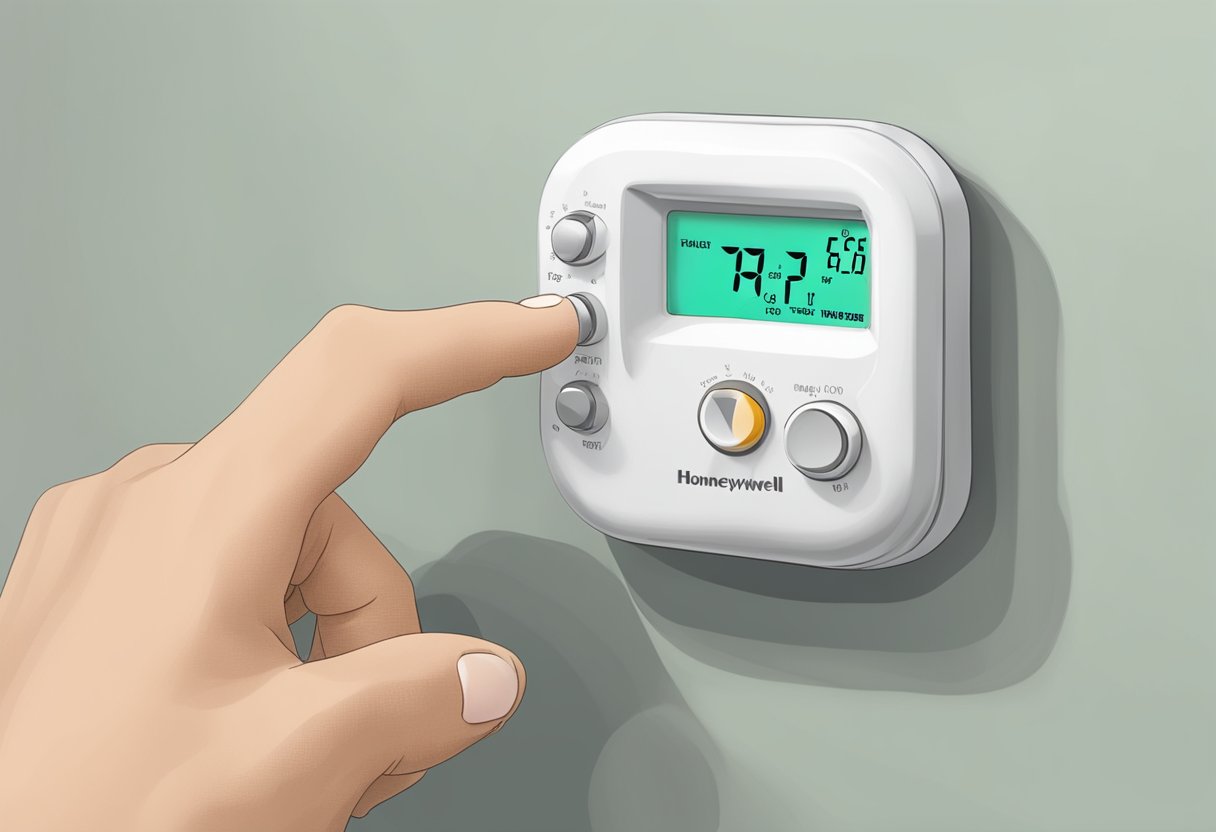
Configuring Settings
After the wires have been connected, it’s time to configure the settings on the thermostat. This can be done by following the manufacturer’s instructions, which typically involve setting the time and date, choosing the desired temperature settings, and selecting any additional features or options.
Cost Considerations
Estimating Replacement Costs
When it comes to replacing a Honeywell thermostat, the cost can vary depending on several factors. The first consideration is the type of thermostat being replaced. A basic model can cost as little as $20, while a more advanced model with Wi-Fi connectivity and voice control can cost upwards of $200.
Another factor to consider is the complexity of the installation process. If the wiring needs to be updated or if additional components are required, the cost can increase. It is recommended to consult with a professional HVAC technician to get an accurate estimate of the replacement cost.
Check Best Thermostat Pricing in Amazon
** As an Amazon Associate, I earn from qualifying purchases.
Ways to Save on Replacement
There are several ways to reduce the cost of a Honeywell thermostat replacement. One option is to purchase a basic model that doesn’t have all the bells and whistles of a more advanced model. Another option is to install the thermostat yourself, although it is important to note that this should only be attempted by those with a good understanding of wiring and HVAC systems.
Additionally, some utility companies offer rebates or incentives for upgrading to a more energy-efficient thermostat. It is worth checking with the local utility company to see if any programs are available.
Troubleshooting Common Issues
Post-Installation Problems
After installing a new Honeywell thermostat, there are a few common issues that users may encounter. One issue is that the thermostat may not be properly calibrated, resulting in incorrect temperature readings. In this case, it is recommended to perform a calibration check by comparing the thermostat reading to a separate thermometer. If the thermostat is not calibrated correctly, refer to the user manual for instructions on how to adjust the calibration.
Another issue that may arise after installation is that the thermostat may not be communicating with the HVAC system. This can be caused by a number of factors, such as incorrect wiring or a malfunctioning HVAC system. It is recommended to check the wiring connections and ensure that they are properly connected to the correct terminals. If the wiring is correct, it may be necessary to contact a professional HVAC technician to diagnose and repair any issues with the HVAC system.
Thermostat Malfunctions
Even after the initial installation, Honeywell thermostats may experience malfunctions. One common issue is that the thermostat may not be turning on or off at the appropriate times. This can be caused by a faulty thermostat or incorrect programming. It is recommended to check the programming settings and ensure that they are set correctly. If the programming is correct, it may be necessary to replace the thermostat.
Another common issue is that the thermostat may be displaying error codes. These codes can indicate a variety of issues, such as a malfunctioning sensor or wiring issues. It is recommended to refer to the user manual for a list of error codes and their corresponding solutions. If the issue cannot be resolved by following the manual, it may be necessary to contact a professional HVAC technician for assistance.
Maintenance and Care
Routine Check-Ups
To ensure the Honeywell thermostat replacement continues to function optimally, it is recommended to perform regular check-ups. The frequency of these check-ups depends on the usage of the thermostat. However, it is recommended to perform a check-up at least once a year.
During a check-up, the user should ensure that the thermostat is clean and free from any dust or debris. They should also check that the wiring is secure and that there are no signs of wear or damage. If the thermostat uses batteries, the user should check the battery life and replace them if necessary.
Longevity Tips
To extend the lifespan of the Honeywell thermostat replacement, the user should follow some simple tips. Firstly, they should ensure that the thermostat is installed in a location that is not exposed to direct sunlight or other heat sources. This will prevent the thermostat from overheating and potentially malfunctioning.
Secondly, the user should avoid placing any objects on or near the thermostat that could obstruct the airflow. This includes curtains, furniture, or any other items that could block the vents.
Finally, the user should avoid adjusting the thermostat too frequently. Constant adjustments can cause wear and tear on the device, reducing its lifespan. Instead, the user should set the thermostat to a comfortable temperature and leave it at that setting.
Professional vs. DIY Installation
When to Hire a Professional
Replacing a thermostat may seem like a simple task, but it can be more complicated than it appears. If the homeowner is not comfortable working with electrical wiring, it is best to hire a professional for the installation. A licensed electrician or HVAC technician can ensure that the new thermostat is installed correctly and safely.
Another reason to hire a professional is if the homeowner is unsure which thermostat to purchase. A professional can recommend the best thermostat for the homeowner’s needs and budget. They can also ensure that the new thermostat is compatible with the existing HVAC system.
DIY Installation Guide
For those who are comfortable working with electrical wiring and have some DIY experience, replacing a thermostat can be a straightforward task. Before starting the installation, it is important to turn off the power to the HVAC system at the circuit breaker.
The first step is to remove the old thermostat from the wall and disconnect the wires. It is important to label the wires to ensure they are connected to the correct terminals on the new thermostat.
Next, the mounting plate for the new thermostat should be installed on the wall. The wires can then be connected to the new thermostat and the thermostat can be mounted on the plate.
Check Best Thermostat Pricing in Amazon
** As an Amazon Associate, I earn from qualifying purchases.